Hand Stitchery Bag Tutorial
Today is the TUTORIAL for the Hand Stitchery Bag that I’ve been working on for the last several weeks.
If you go to the end of the post you will see a link to the tutorial that you can download as a PDF file. Oh heck, why wait, you can download it right here!
But first, I wanted to let you know some general basic really important stuff and my thought process for creating a bag, tote, or box.
The Hand Stitchery Bag should finish at 12″ high, 8″ deep, and 12″ wide.

As I explained in the Basic Boxed Bottom Bag — Part 1, I will need a piece of fabric 41″ wide by 17″ high.
And here’s a little review from that post to figure out how I came up with that size:
My three variables are height (h), width (w), and depth (d). Plus I have to account for the seams.
I use 1/2″ seams on most of my totes, bags, and boxes.
I want this tote to be 12″ in height (h), 12″ in width (w), and have an 8″ depth (d).
To get the total width, the calculation is ((2 * w) + (2 * d) + 1)
That’s one front and one back, two sides, plus 1″ for the 1/2″ seam.
The desired height is 12″ and the width is 12″ so I just fill in the variables.
(2 * 12) + (2 * 12) + 1 = 41
The height formula is (h + (1/2 * d) + 1)
The height is 12″ and the depth is 8″. Taking the height, half of the depth, and adding 1″ for the seam.
(12 + (.5 * 8) + 1) = 17
One last calculation allows me to figure out how to box the corners.
(d/2)
My depth on this bag is 8″
8/2=4″
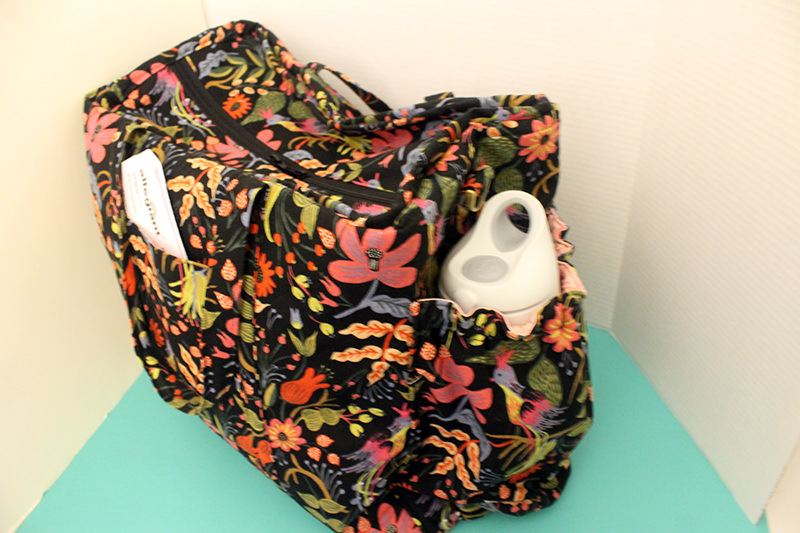
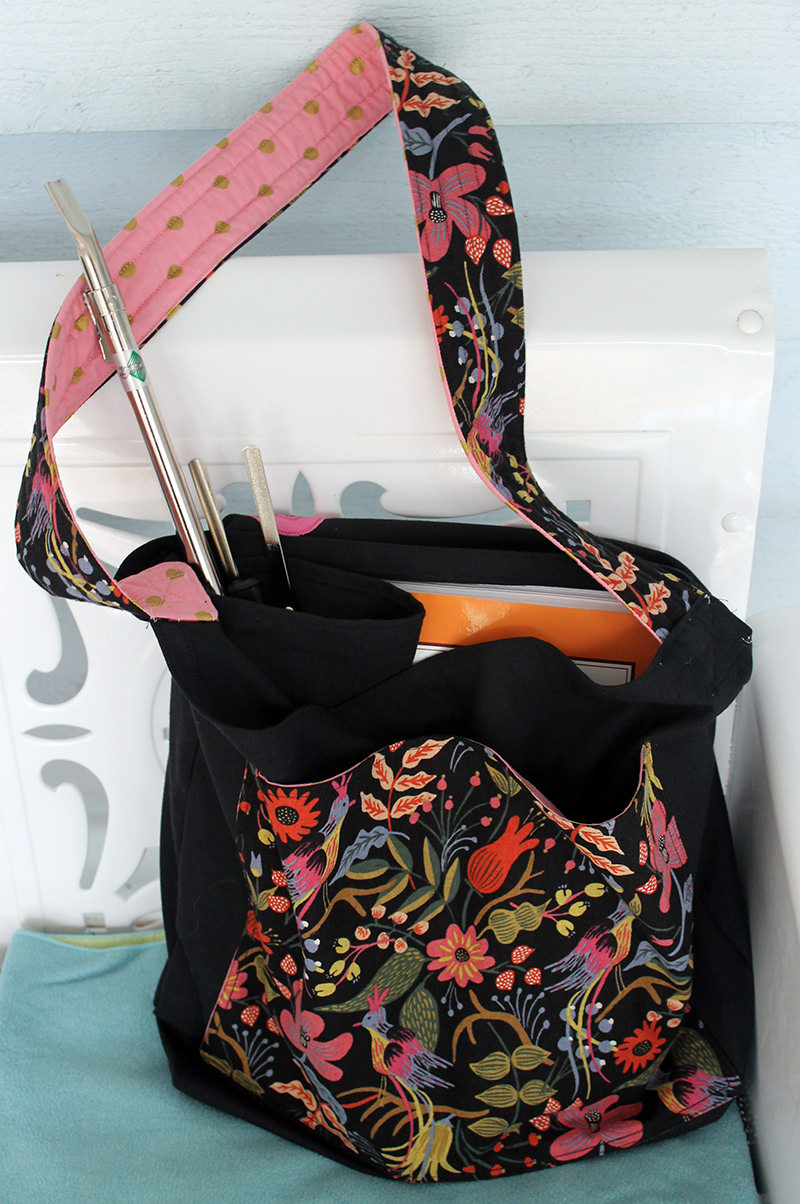
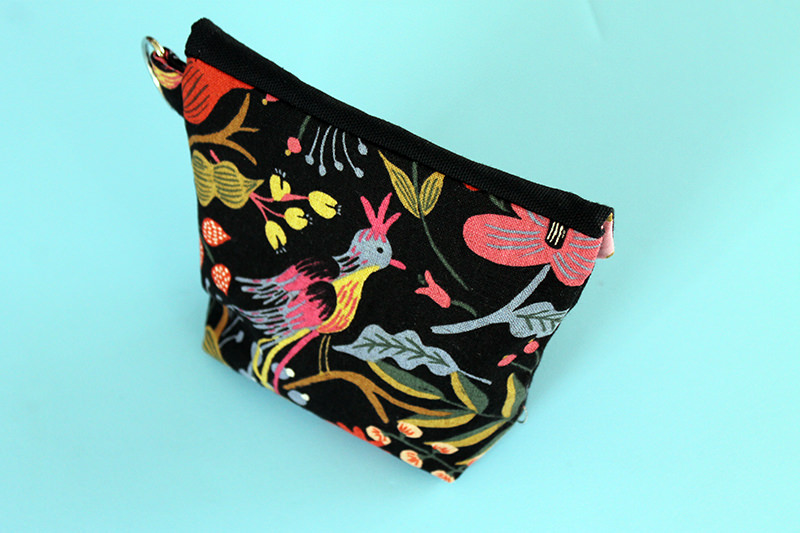
For this bag, I am piecing different fabrics together. I LOVE LOVE LOVE this canvas fabric from Cotton & Steel, .
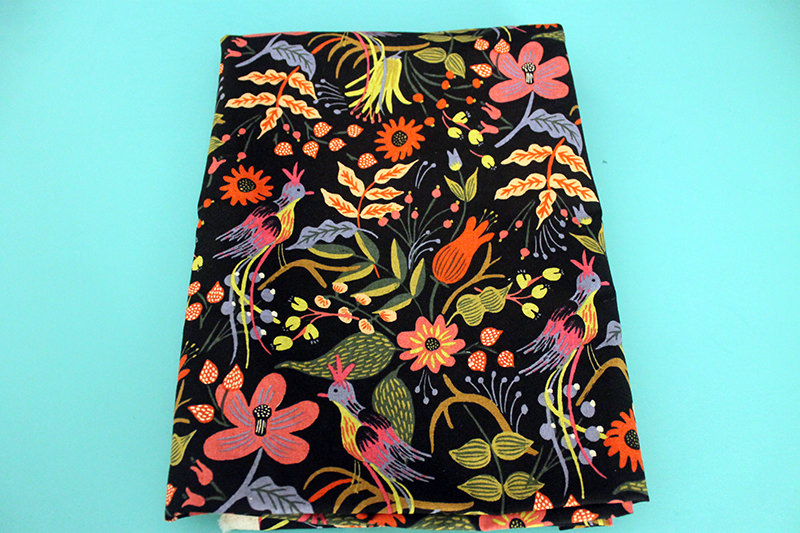
I have been using it like crazy! You can click on any of the following photos and go to that post!
I even made a little triangular sewing kit which I might post about in the future!
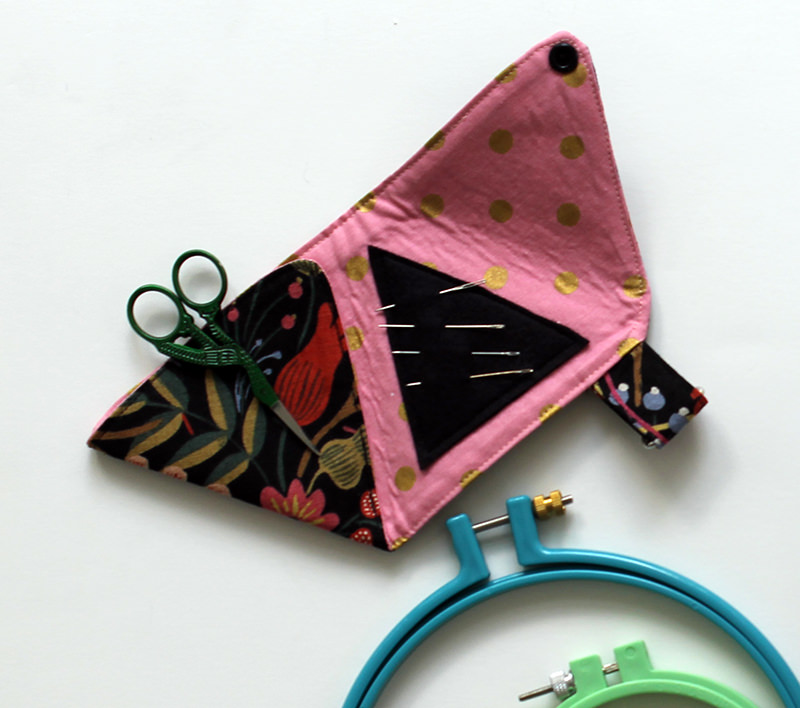
I still had a few bits and pieces left and I was able to make the Hand Stitchery Bag from those and even did some fussy cutting.
In order to design your own bag and figure out where to put the different fabrics, you have to have some knowledge about the sizes of all the sides, etc.
I am boxing the bottom of the bag to make the sides 8″ and the front and back 12″. I also have to have a seam on one of the sides (which I’m calling the divided side).
Don’t forget my seams are 1/2″.
So I need a side of 9″ (8″ plus 1″ for seam allowance) The side that will get the seam in the center will need two 5″ pieces. (two 4″ pieces plus the 1″ for seams.)
Then two 13″ pieces for the front and back. (12″ plus 1″ seam allowance)
I like to use a dark sturdy fabric on the bottom of the bag. For this one I am using black canvas–because I have a bunch of that left! Since I am boxing at 8″, the bottom of the bag has to be 8″ which would be 4 1/2″ on the bottom. I wanted to add a little more black canvas because I didn’t have enough of the Cotton & Steel fabric so I made the canvas piece 9″ — 4 1/2″ for the bottom and another 4 1/2″ piece for the side. This includes the two 1/2″ seams.
The top section pieces are all 9″ high.
So I need to cut two 13″ x 9″ pieces for the front and back.
And for the sides I need one 9″ x 9″ piece and two 5 x 9″ pieces.
Plus a black canvas piece 41″ wide by 9″ high.
Here it’s all laid out with the top section already stitched together. If your top section is not 41″ wide, check your seams. I had that issue. Turned out the mark on my sewing machine was a wee bit off so I put some washi tape down to provide a sewing line on my sewing machine table that was exactly 1/2″.
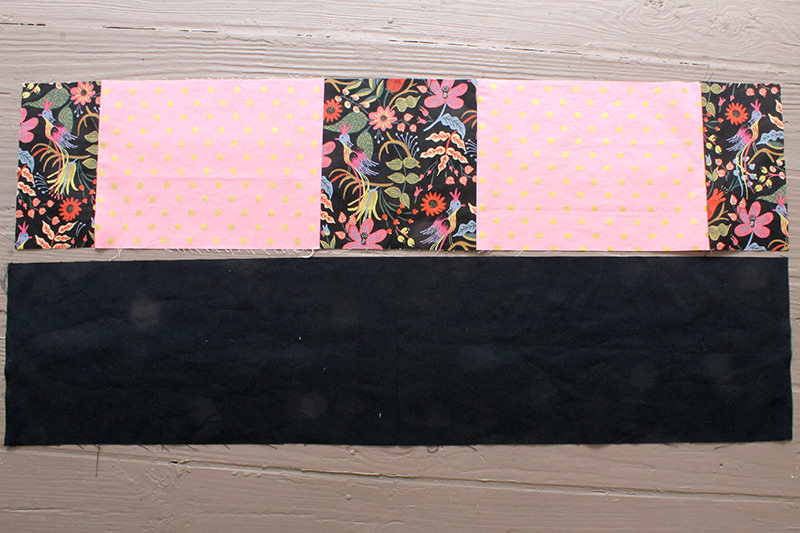
Each section is 41″ x 9″. Which will be 41″ x 17″ when I stitch the top and bottom sections together. (you might have added in your head 9 + 9 = 18 but don’t forget those two 1/2″ seams!)
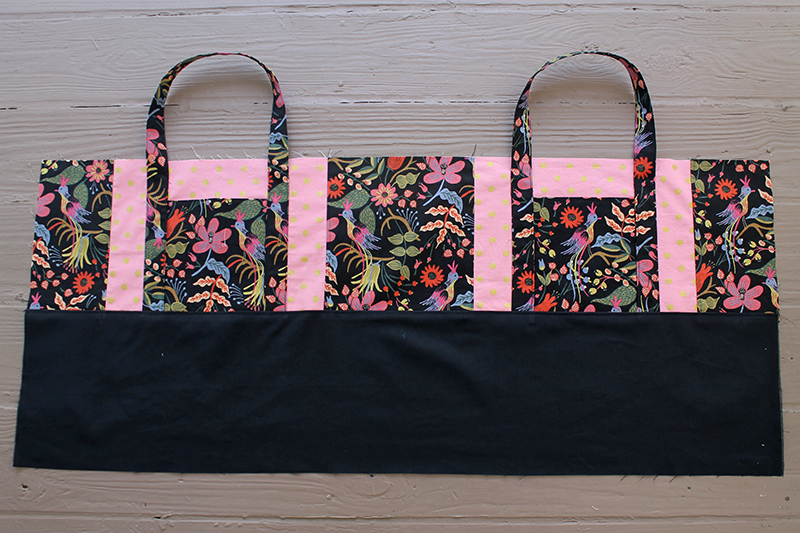
Before stitching together I wanted to add handles and put the ends in the seam between the top and bottom section. Makes it a little sturdier plus I don’t have to worry about the raw edges.
You can make the handles any old way you wish. If I’m designing a bag that I’ll be taking for a long walk or for shopping, I’m adding batting or fleece inside the handle for a little bit of extra cush. The Hand Stitchery Bag will mostly just be sitting around holding my little projects so I just made some easy peasy handles by cutting 3″ wide fabric, turning under each side 1/4″ then folding it together and doing some top stitching. I also based the length on the longest piece of the feature fabric I had so these handles finish at 1 1/2″ x 34″.
I added pockets on the outside–again because I had just enough of the Cotton & Steel!
I wanted some pockets inside the bag, too. I find it easiest to lay out the pockets if I mark the sections on the fabric first with a disappearing fabric ink pen.
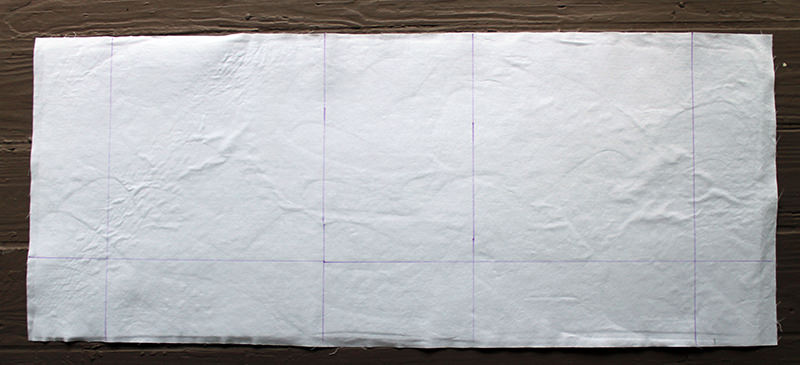
A side note here, See how puckered the fabric is? That’s because I used fusible fleece and that’s how it looked after fusing it. Before I finished the bag I was able to press all of those ugly wrinkles out. Although I REALLY don’t like fusible fleece for this reason and that it doesn’t always fuse–it is a necessary evil because I need to reduce bulk from the seams.
I have marked from the bottom edge up 4 1/2″ because that will be the actual bottom of the bag. I can’t place my pockets in that area. I do not want to put my pockets on the side with the seam, either. Those are the two end pieces and are marked at 4 1/2″. The two larger sections are the front and the back which are 12″ wide.
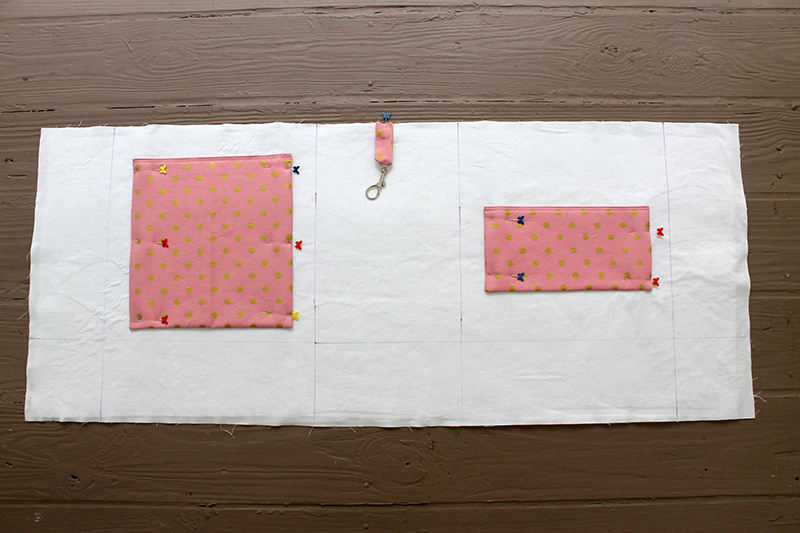
So I made pockets for my tools centered on the front and back and a key clasp on the 8″ side. It doesn’t matter the size of the pockets–make them to fit the tools you’ll be using. (Although I did put all the sizes, etc., in the attached tutorial)
I put fusible fleece on the pockets, too, it makes them sturdier. Hate floppy pockets!
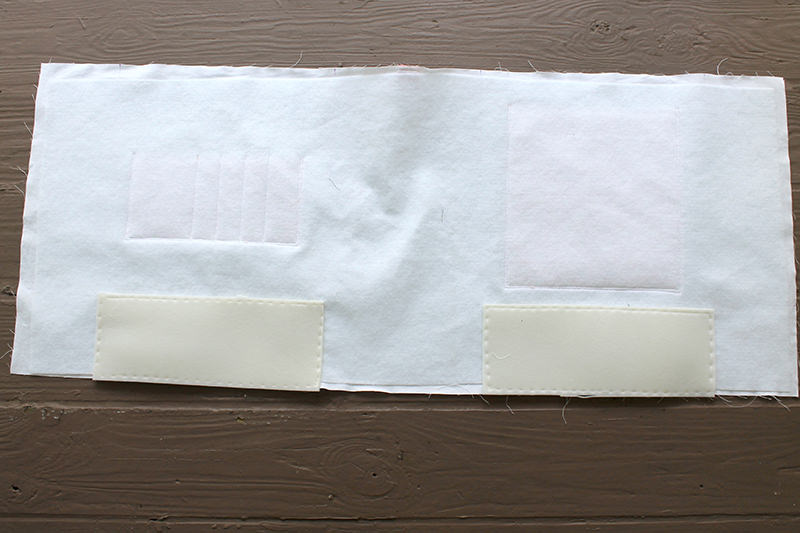
One last note. I had some Annie’s Soft & Stable left from a previous project. Decided to add it to the bottom of the lining. This is totally optional and a test on my part. But I wanted to be truthful in case you wondered how the bottom is so sturdy. I cut pieces to fit on the bottom of the front and back. 4 1/2″ x 12″. This stuff is great. You can sew right through it with NO problemo! I actually wish I had had enough to do the whole bag.
I think that’s all I wanted to let you know. The Hand Stitchery Bag Tutorial is very detailed and in PDF format. So you can save it forever! And here’s the link, again!
If you try it, let me know how it works out–and send me some pics!
By the way, I’m designing another tote right now with different dimensions and fabrics which will be fun! No promises when I’ll be posting about it here, though!
Discover more from
Subscribe to get the latest posts sent to your email.


Comments
Hand Stitchery Bag Tutorial — No Comments
HTML tags allowed in your comment: <a href="" title=""> <abbr title=""> <acronym title=""> <b> <blockquote cite=""> <cite> <code> <del datetime=""> <em> <i> <q cite=""> <s> <strike> <strong>