DIY Mermaids Tail
I had been planning on making granddaughters Adley and Piper mermaid tail blankets. One of my Unfinished Projects. Had the fabric for several months and was headed to visit them soon.
I already made them for Addison and Kendall. So I went out here on my blog looking for the tutorial, “DIY Mermaids Tail”.
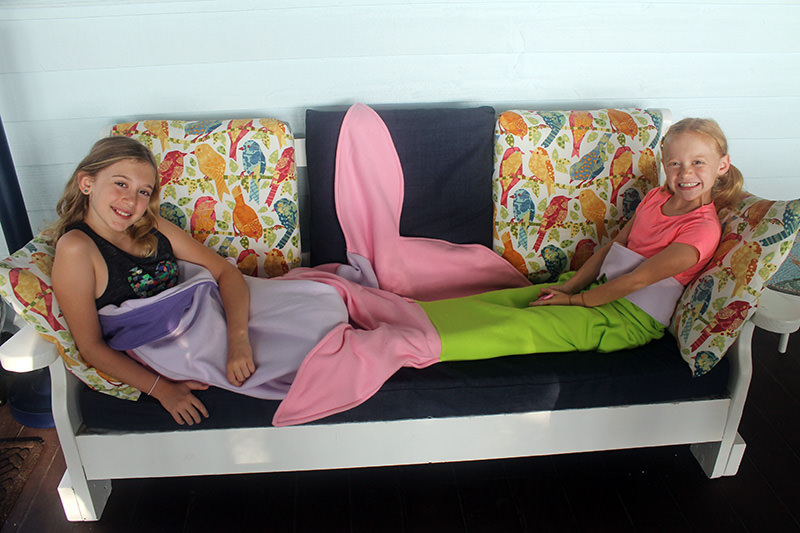
And after much searching, I finally found it–in the drafts! Even though I had finished it LAST SEPTEMBER it was never published. I wondered what was going on that it didn’t get posted so looked at the other posts from that week in 2017.
That’s when Hurricane Irma hit us and we were without power for several days. Although it was set to be published on September 15, 2017, it never happened. And I didn’t even realize it! Had a few other things going on!
But that’s not all bad. It gave me a chance to make two more blankets and proofread the instructions!
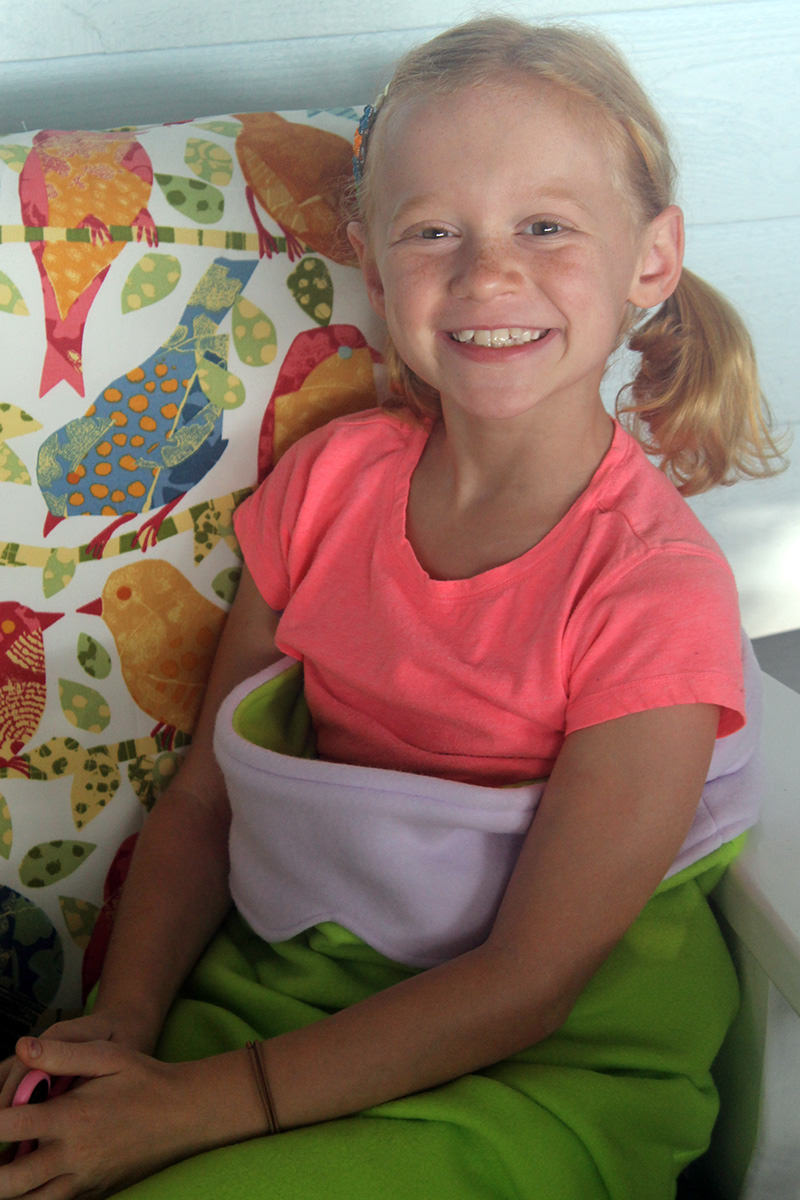
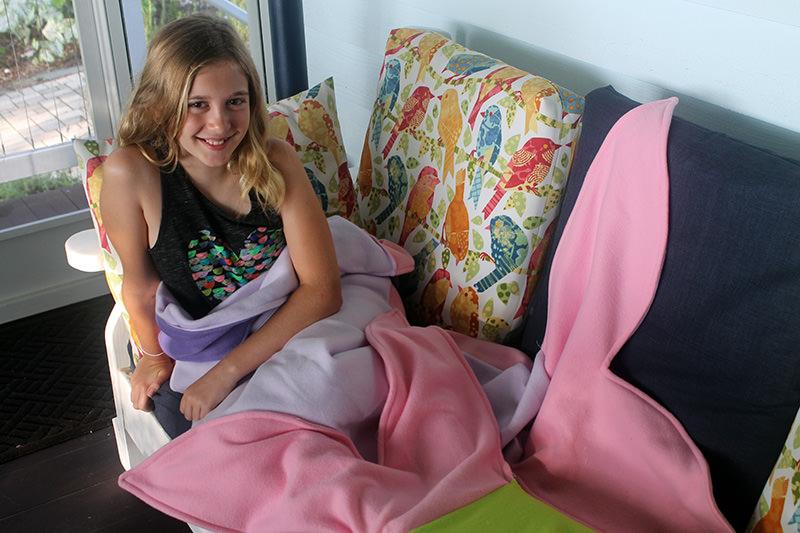
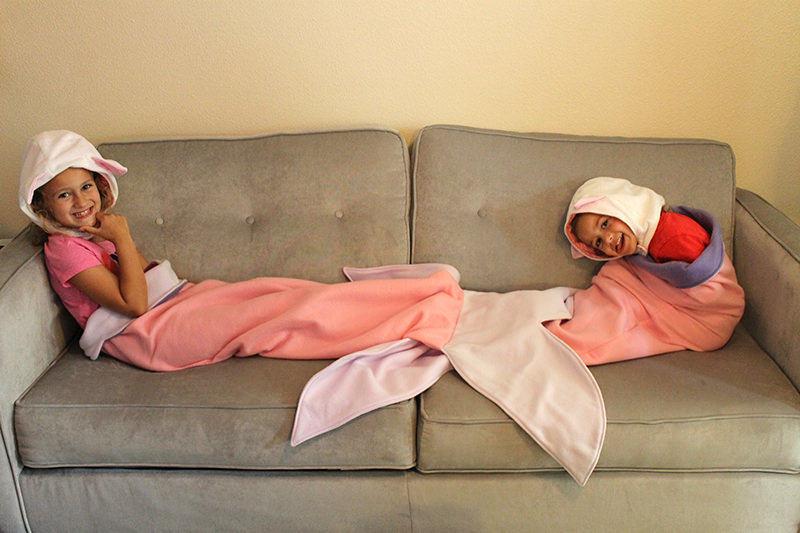
I finished the mermaid tails just in time for my flight to ND and presented them to Piper and Adley, They were SO EXCITED!
Then that clever Piper came down to our suite the next morning with her Karate Kitty hood on, her new mermaid tail, a mermaid and a cat. (She keeps everything I make her! I’m making new kitty hoods which will be a future post!)

And she wasn’t a mermaid.
She was a cat fish!
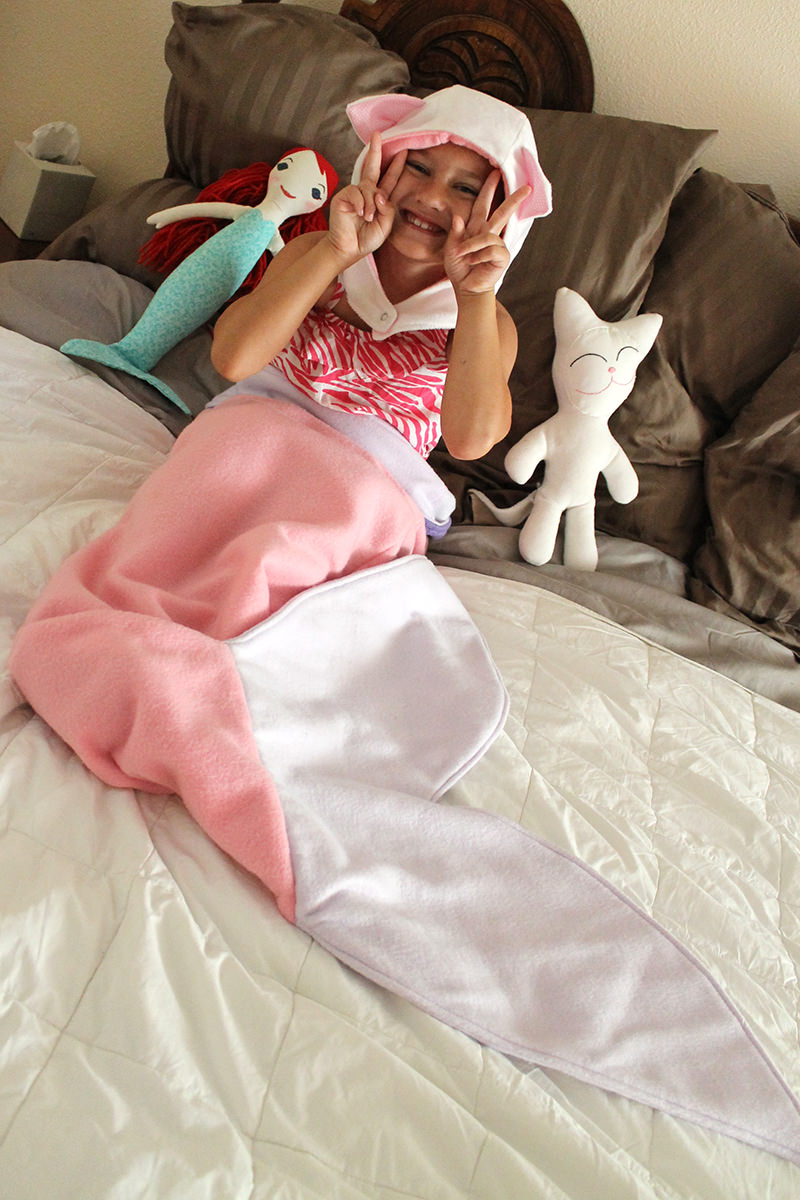
And that’s how the vacation went….
Lots of catfish visits!

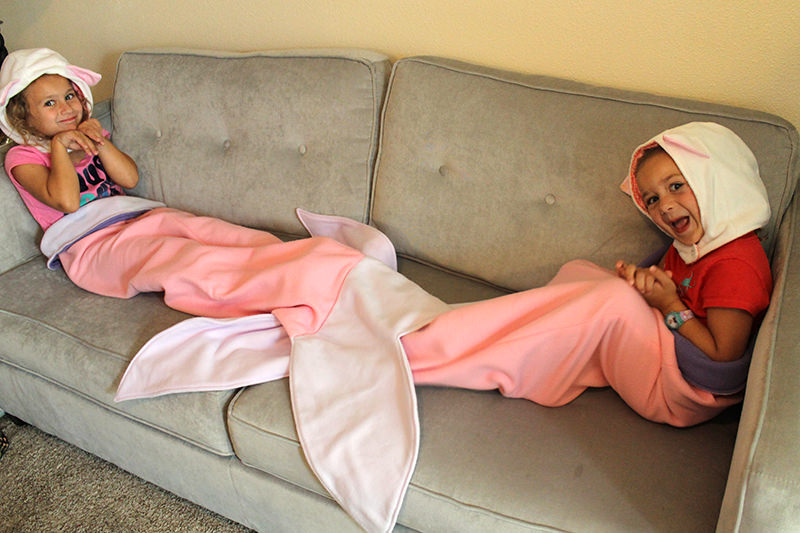
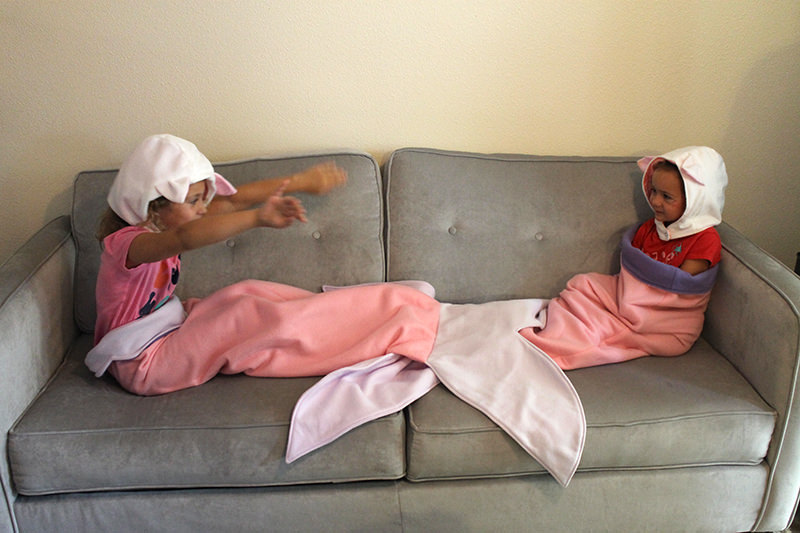
And here is how I made them….
DIY Mermaid Tail
The fleece I purchased is 60” wide. If you are very careful, you can cut the tail out of 1 yard of fleece. Or you can play it safe and get 1 1/4 yards. The fin needs 1/2 yard. For a contrasting color belt, that’s another 1/4 yard. Or you could just use the fin fabric–there should be plenty left.
I based this pattern on Kendall’s size. She is 9 and petite. I measured her from the chest to the floor which was 40″ and added 2 more inches for seam allowances. This size worked for Piper (7 years old) and Adley (4 years old). You would need to adjust the measurements for a larger size.
For the tail, I cut two 18″ wide x 42″ long pieces. Put them together and marked in 3″ on the bottom on each side and then 20″ up. Marked that line then cut. Did this on both sides. The measurement on the bottom of the tail is now 12″ wide and the top is 18″.


I just drew the mermaid fin. The easiest way to draw this is to make one side, flip it over and trace around it then overlap them. If you have young granddaughters, they will be happy to advise you on what a mermaid tail should look like!
The top of the tail fin is 12″ wide and the bottom 34″ wide. 17″ long. I cut two of these.

I’m using 1/2″ seams throughout.
Stitched together the tail to the fin. Then did the same to the other side.

Then stitched both sides of the tail right sides together along the sides. And stitched it again so it would be extra sturdy. I don’t want any toes or fingers finding a gap!

Trimmed and graded the seams and curves on the fins. Turned right side out and poked out the corners.
I lined up the seam between the tail and the fins and stitched across that. (I skipped that step for Kendall because she wanted to be able to stick her feet in the fins–I told her that it wasn’t safe to be walking around in the tail but I don’t argue with Kendall for very long.)
Top stitched around the outside of the tail.
I drew the belt for the tail.
It’s 18″ wide x 5 3/4″ high with a 1 1/4″ dip in the middle.

You can see the progression of steps here.
Cut four pieces. Stitched two together at the sides. Then did the same with the other two.
Put right sides together–matching side seams–and stitched along the curved side, leaving the straight side open.

Clipped and graded the seams and turned right side out and basted the straight edge.

I then put the straight side of the belt on the WRONG side of the tail.

Stitched around the top. Turned the belt to the right side and top stitched along the edge.

Done!

Now I have to figure out how to make a shark for Jack since the girls told me that I couldn’t use the fin pattern from the mermaid. “Sharks tail fins are pointier!” Okay, okay, okay!
Discover more from
Subscribe to get the latest posts sent to your email.

Comments
DIY Mermaids Tail — No Comments
HTML tags allowed in your comment: <a href="" title=""> <abbr title=""> <acronym title=""> <b> <blockquote cite=""> <cite> <code> <del datetime=""> <em> <i> <q cite=""> <s> <strike> <strong>