Wine Bottle Bag Tutorial
Let’s talk about Wine! Or maybe let’s talk about wine as gifts. Presented in a wine bottle bag. Not one of those paper ones you buy at Walmart. A Pretty One. Whipped up by you from fabric you just happened to have stashed away in a trunk.
Pretty. Pretty. Pretty.
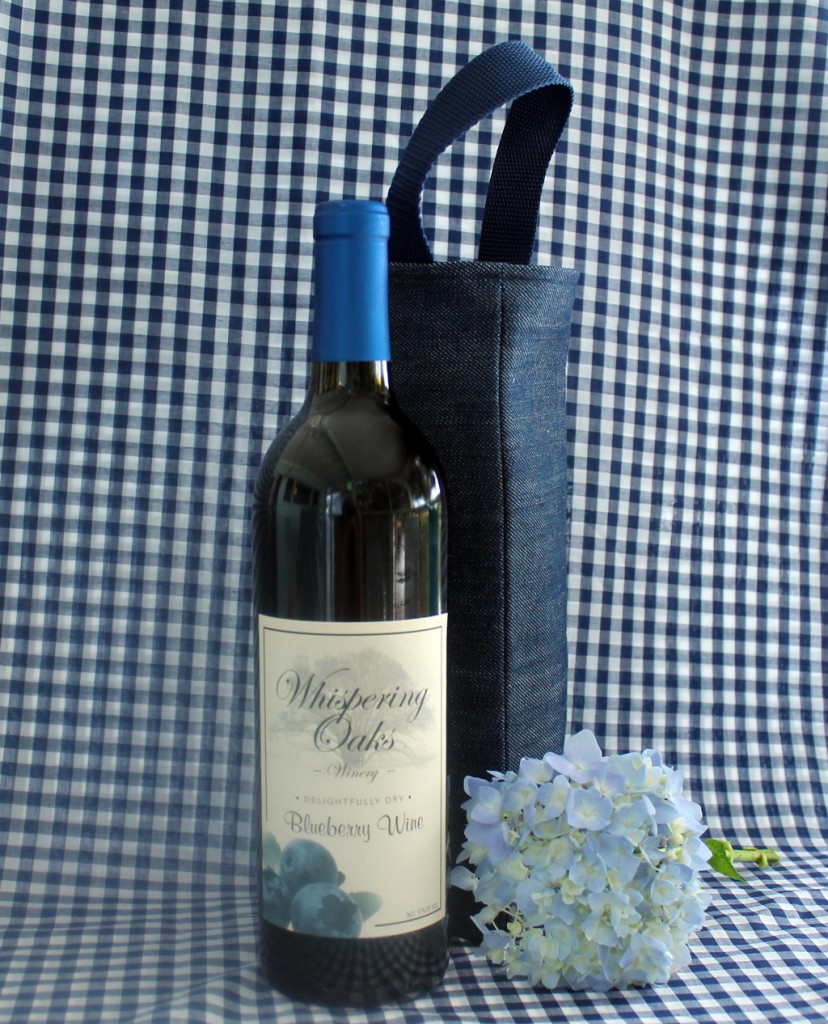
We went to a Blueberry Festival a few weeks ago and picked up a couple of bottles of wine. Destined as unique gifts.
I like making wine bottle bags. It’s quite easy. Especially this method. And the handmade bag just makes the present a little more special.
I always have denim stored away. So useful. Totes, boxes, quilts–guess I could probably make some clothes with it, too! So I found a scrap of denim and some pretty blue gingham. Blueberries. Blue Denim, Blue Gingham, Blue Hydrangeas. Just shouts spring! Perhaps you didn’t know that March through May are the prime months for blueberries here in Florida. And they are so delicious picked fresh. Or made into wine! All those antioxidants from blueberries and a yummy wine!
And here’s the tutorial….
Wine Bag Sides: 11-3/4″ x 3-3/4″ — Cut four denim and four gingham.
Wine Bag Bottom: 3-3/4″ x 3-3/4″ — Cut one denim and one gingham.
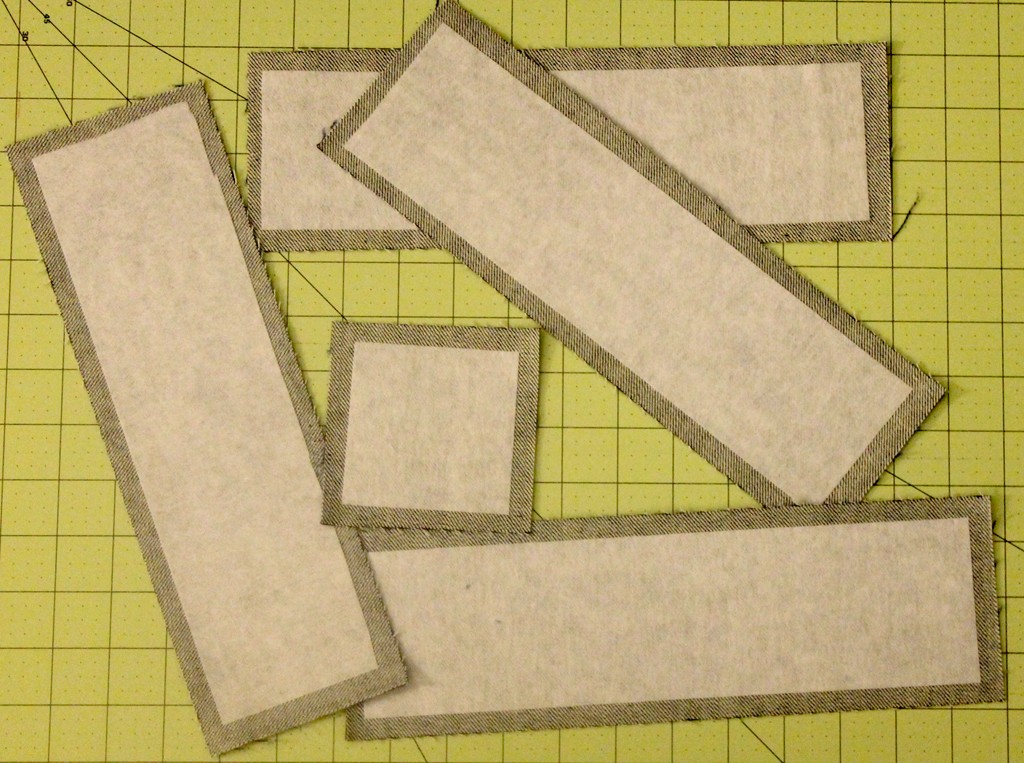
Fusible interfacing or fleece, I used fusible craft fuse but have used fusible fleece in the past. Just depends what I have in stock. Cut four 11” x 3” and one 3”x 3”
Wine Bag Strap: 10-1/2″ of 1″ belting
Use 3/8″ seams throughout.
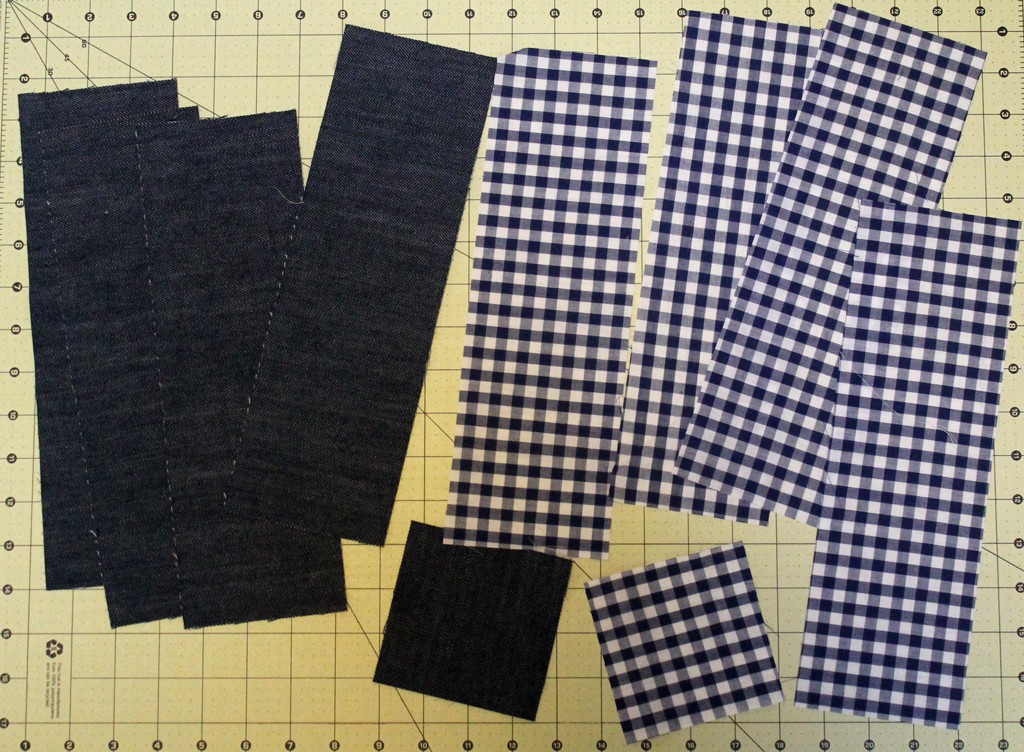
All the pretty pieces.
Following the directions that come with your fusible piece, iron on the backing, center it on the wrong side of each piece of denim.
With right sides together, stitch the bottom to the four sides. I sew each piece by starting at 3/8″ from one end and ending at 3/8″ from the other.
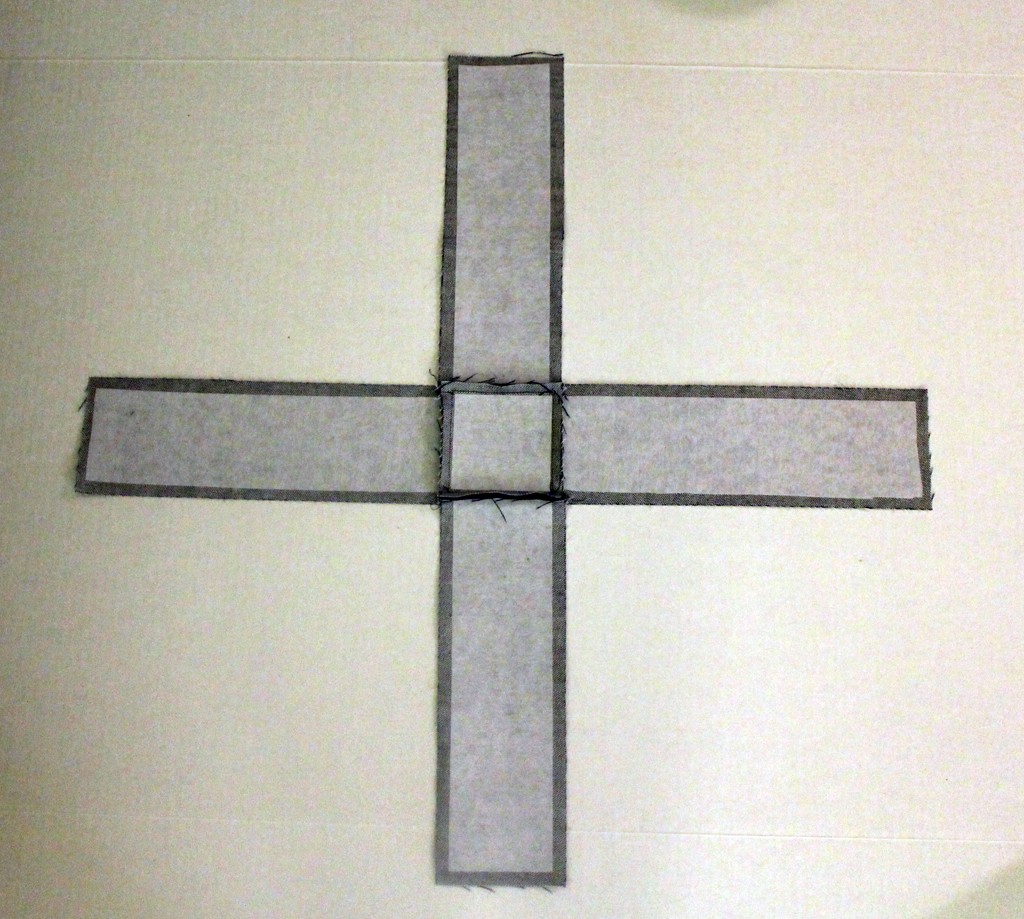
Now you have a giant plus sign.
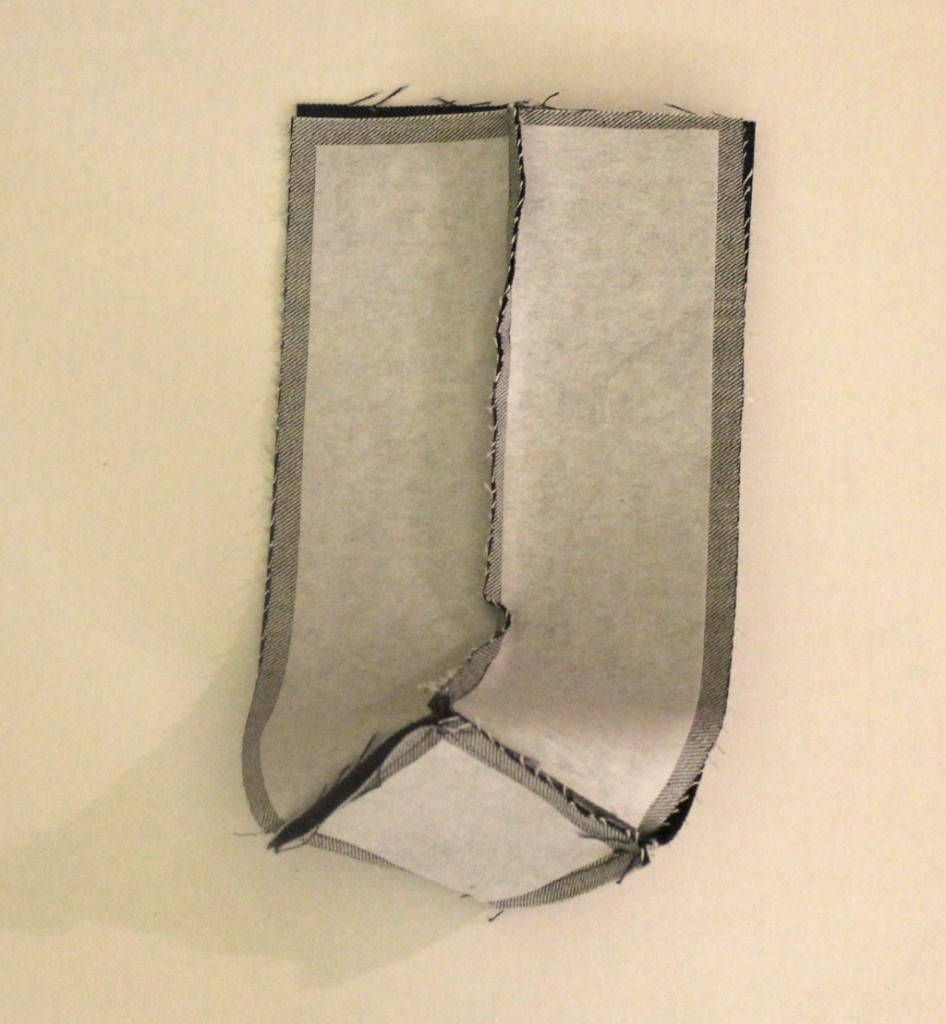
Fold the plus sign right sides together sides and sew the outer edges. Just the straight edges, not the diagonal that is the bottom piece. Seems weird but it WORKS!
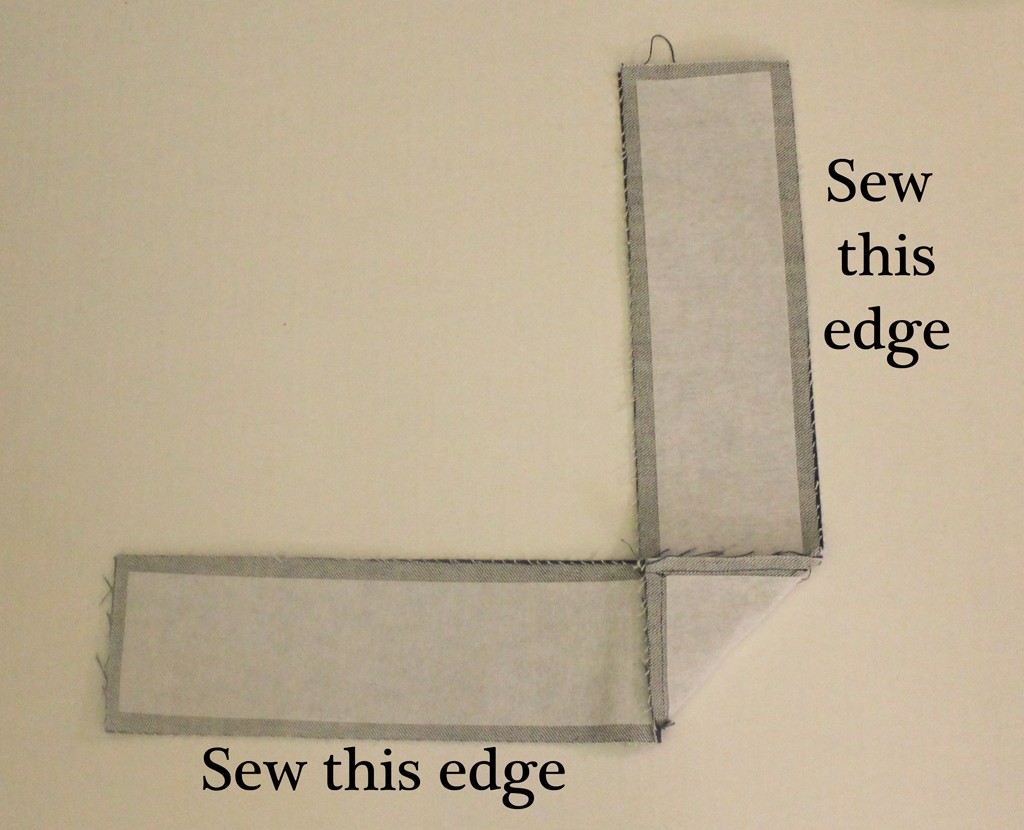
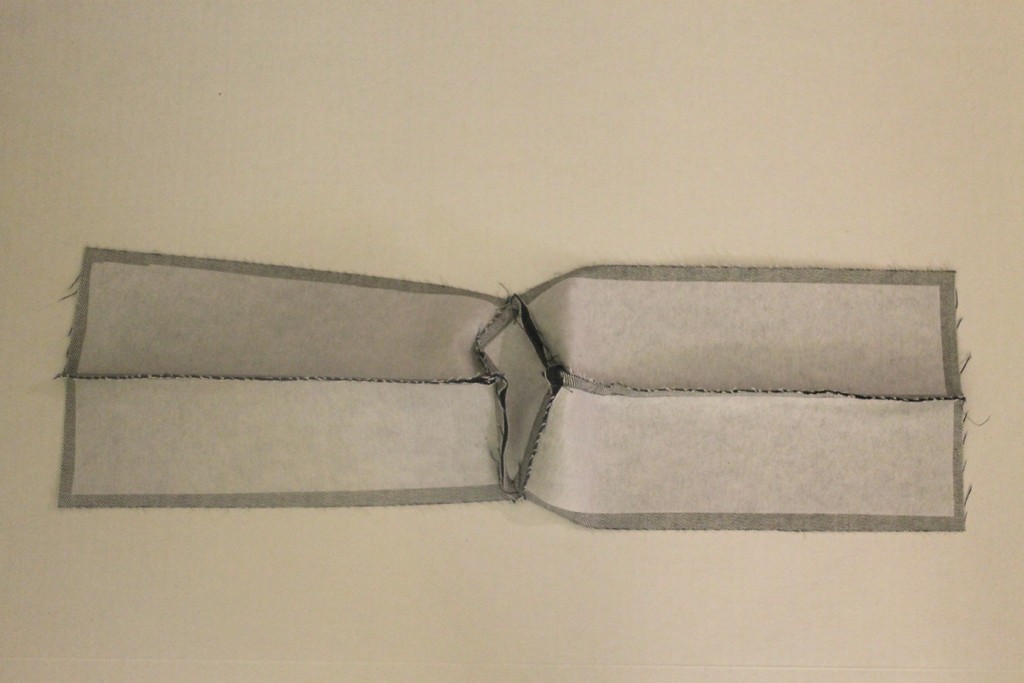
It will look like this.
Fold right sides together (see the following photo) and sew up the remaining two sides.
Now you have a box!
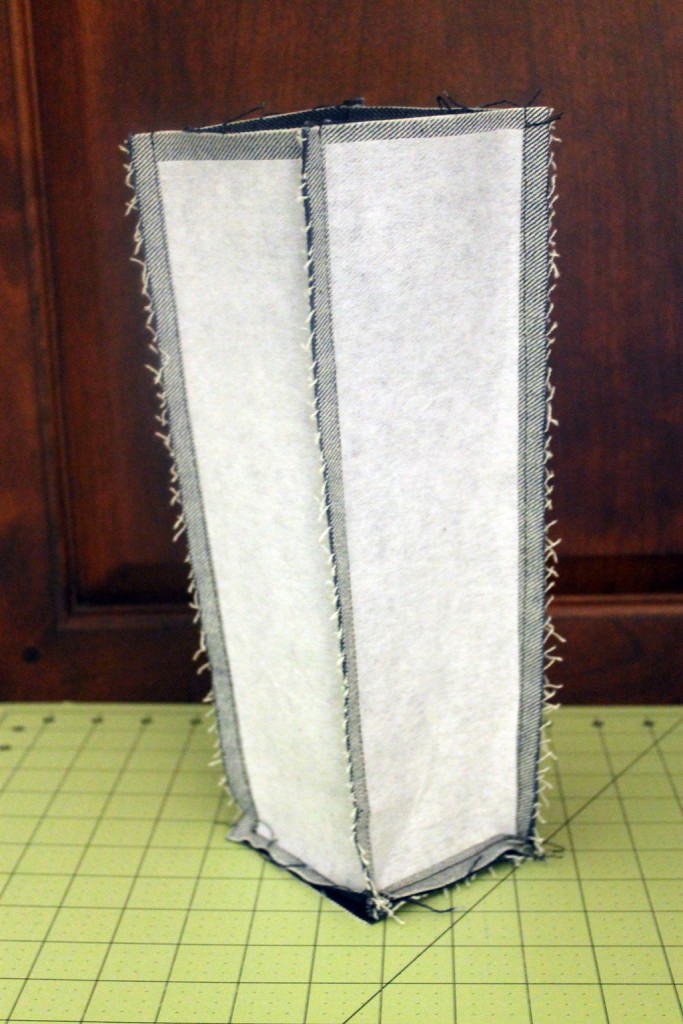
How cool is that?! Now, do the same thing with the lining. EXCEPT, leave a 4″ opening on one side. We’ll use this opening to pull the denim to the right side.
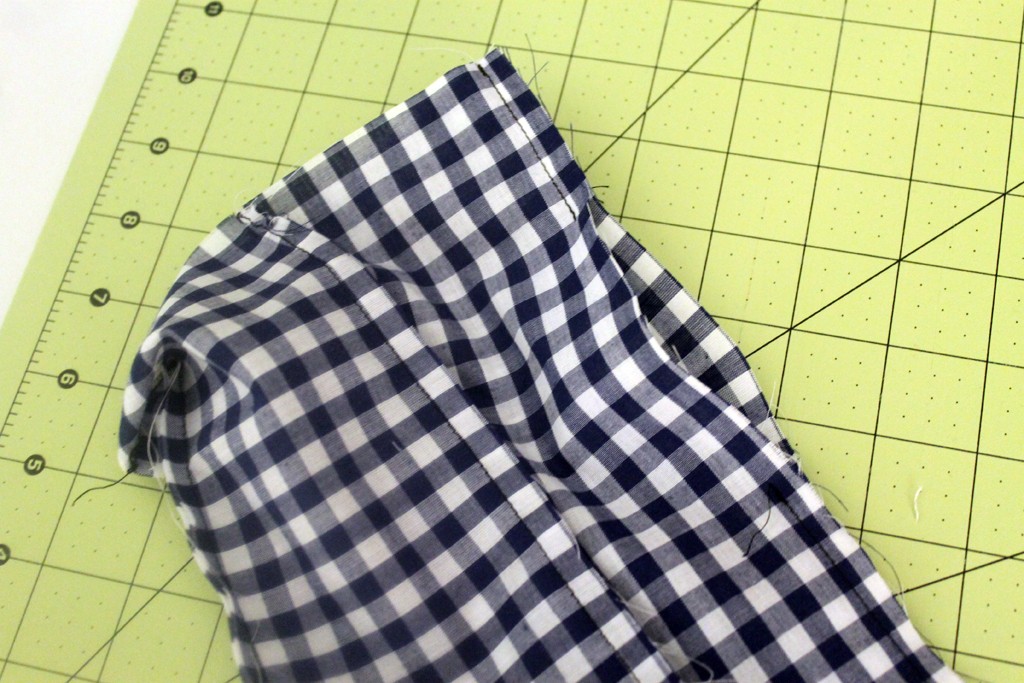
Here’s the opening for turning.
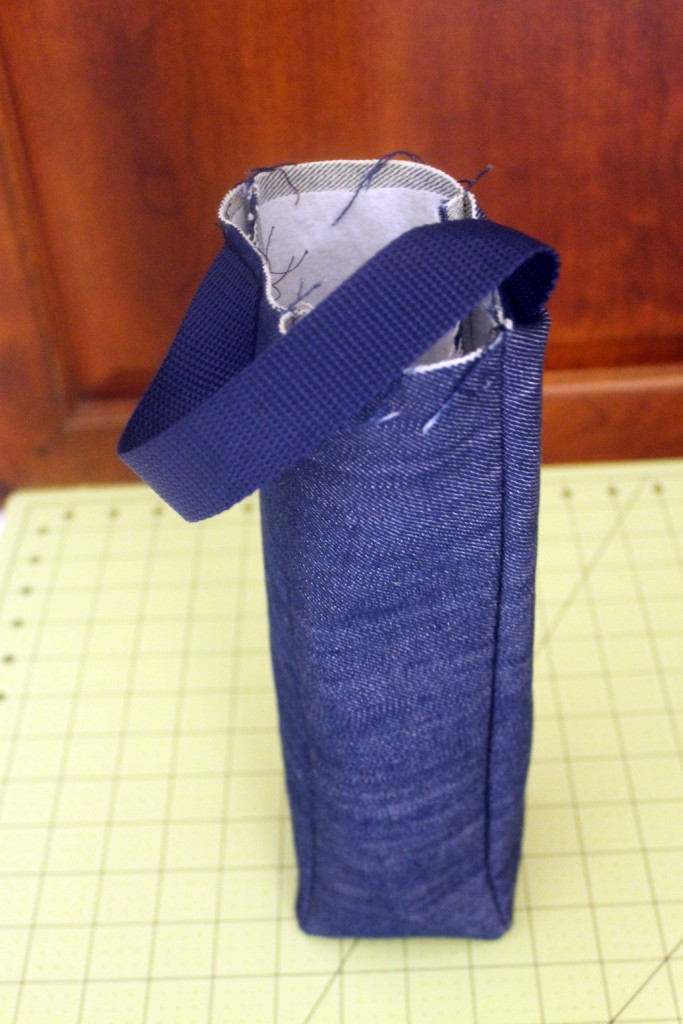
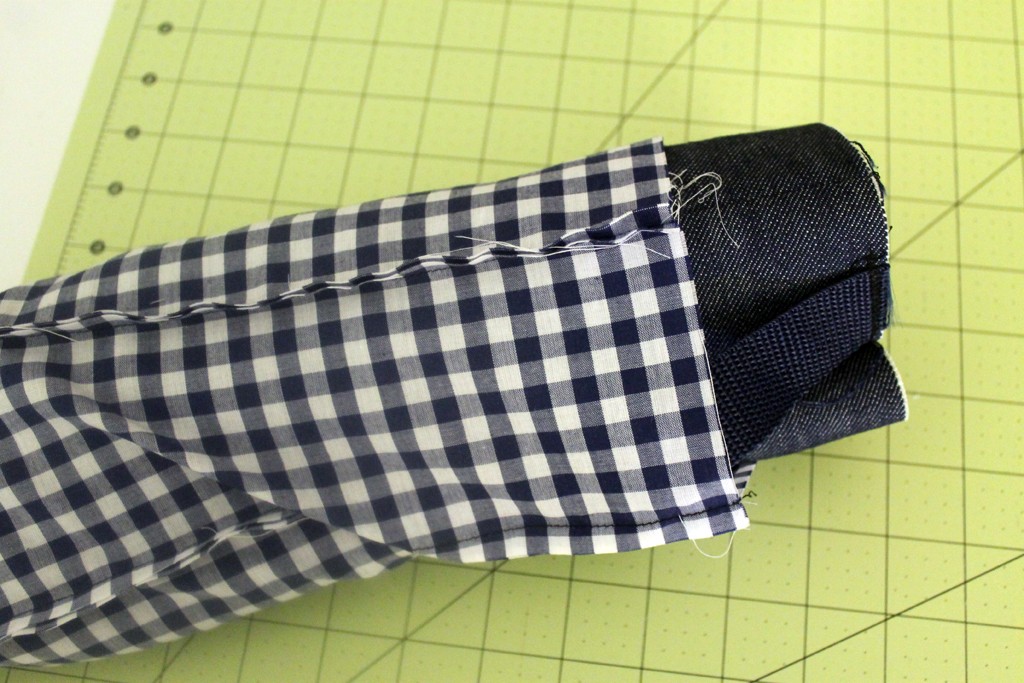
Let’s put the handle on the denim. Just attach it on two opposite sides. I stitch then stitch again. And maybe I do a little zig zag stitch on top of those two stitches. Always in the seam allowance so all that thread doesn’t show. Also make sure the handle isn’t twisted! (Yes I have done that and it’s really a pain in the butt removing it when I’ve already sewn three times)
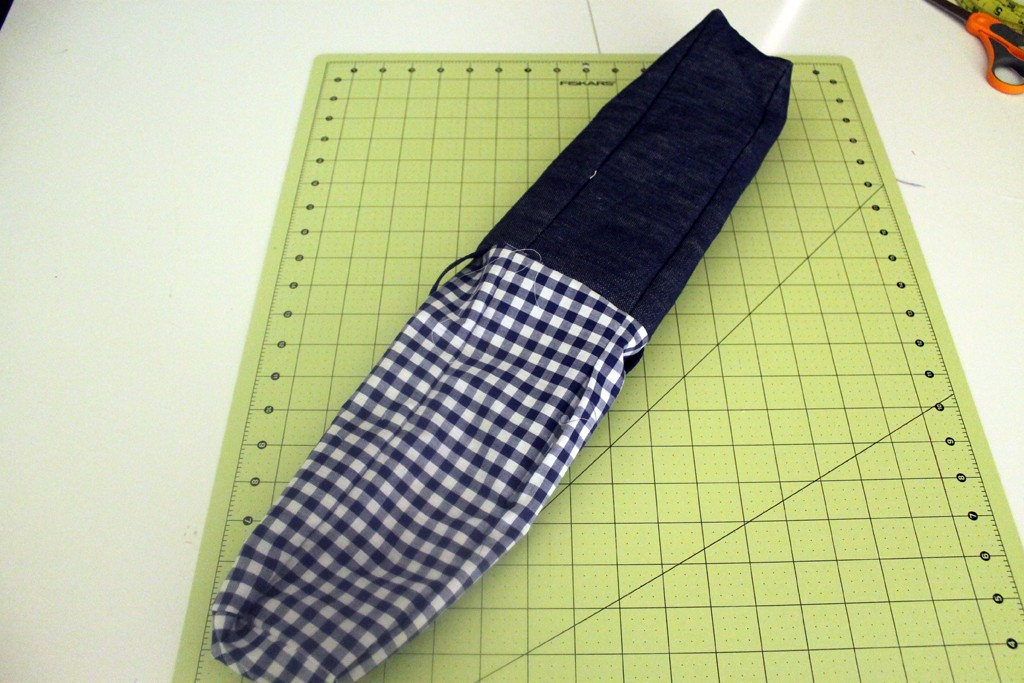
Next, slide the lining over the denim–right sides together.
Sew the top edges together with a 3/8″ seam. Turn right side out through the opening in the lining. Turn the seam allowance under in the opening and stitch very close to the edge.
Tuck the lining into the denim and topstitch along the top edge.
Voila!
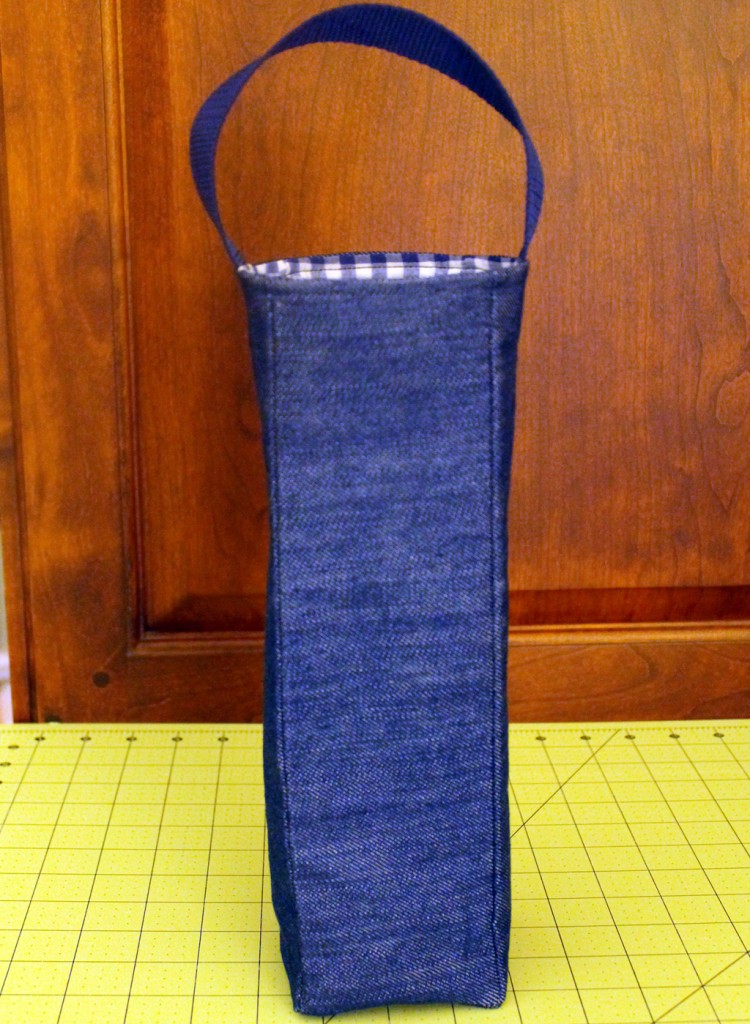
Wine Bag!
I press right along all the seams to get a nice crisp corner. So important.
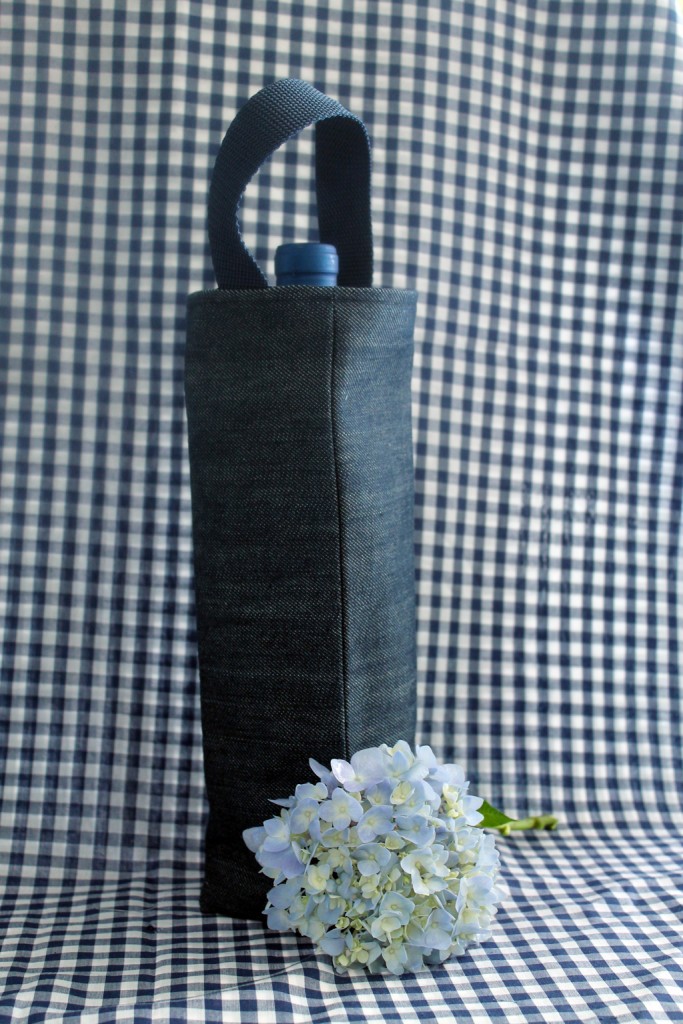
Ready to go!
Thanks for stopping by! More to come!
Discover more from
Subscribe to get the latest posts sent to your email.


Comments
Wine Bottle Bag Tutorial — No Comments
HTML tags allowed in your comment: <a href="" title=""> <abbr title=""> <acronym title=""> <b> <blockquote cite=""> <cite> <code> <del datetime=""> <em> <i> <q cite=""> <s> <strike> <strong>