Valentine’s Tea Towel — Part 2
February 1st! Can’t believe another month has flown by!
It’s not too late to make one more set of towels for Valentine’s day, is it?
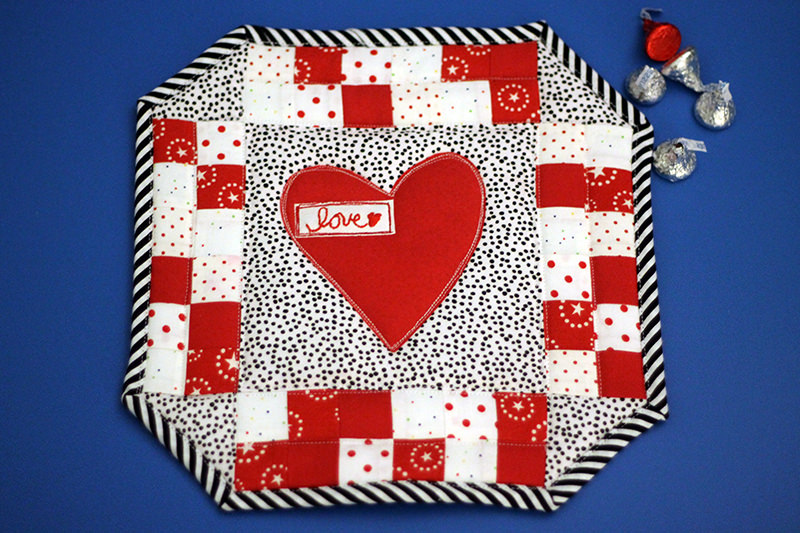
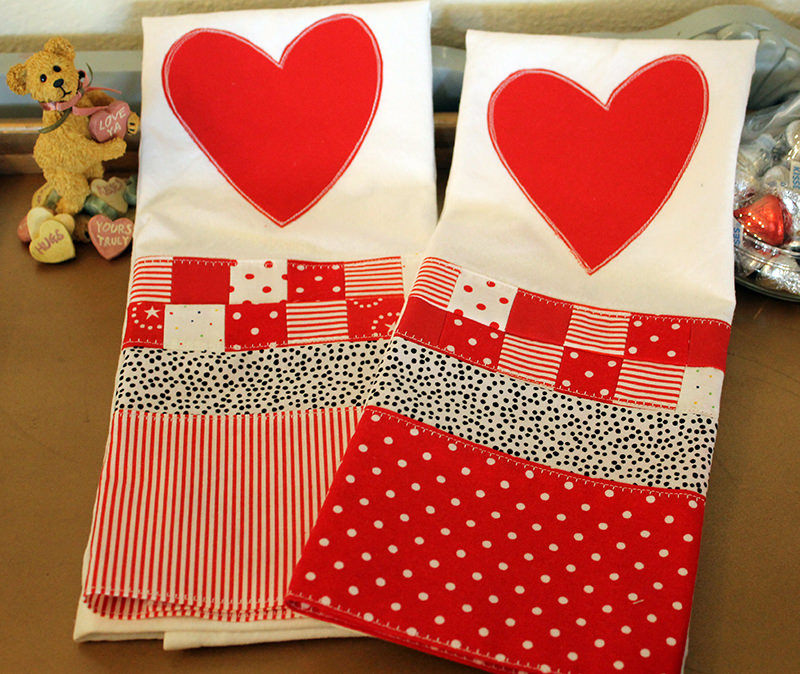 These were inspired by the hot pad I made a couple of weeks ago.
Using Moda Toweling makes this a little quicker because the sides are already hemmed but each one of the tea towels needed 32 LITTLE 1 1/2 ” SQUARES! Yikes!
The toweling is about 16″ wide–I say “about” because I washed the toweling and it shrunk a bit. But I still am basing the border on the bottom for a 16″ wide towel.
I like my towels to be finished on both sides–no ragged seams showing.
First I cut the toweling 21″ long.
Since I used a lot of my red prints from my stash on the hot pad, I bought some red-striped and red with white polka dot fabrics.
I cut 1 1/2″ strips and pieced them with a 1/4″ seam then sliced that into 1 1/2″ squares. (A little quicker then cutting out 32 squares and stitching each one!)
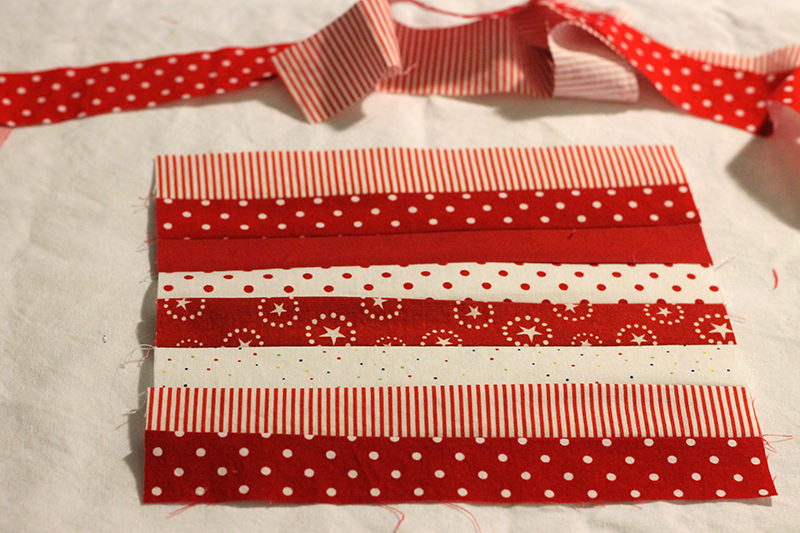
Each row has 16 squares. (I made sure none of the same fabric squares were touching)
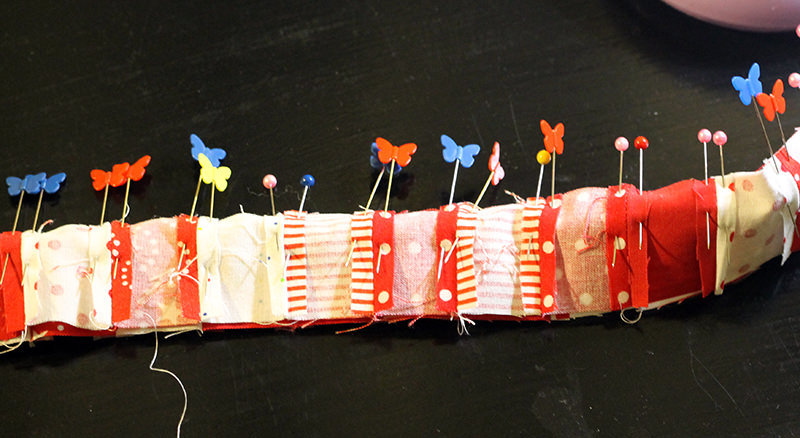
Takes lots of pins to line up all those seams!
Stitched the two rows together.

The next two strips I cut 1″ wider than toweling–17″.
The black dotted strip is 2″ x 17″. Stitch that piece to the bottom of the squares with a 1/4″ seam.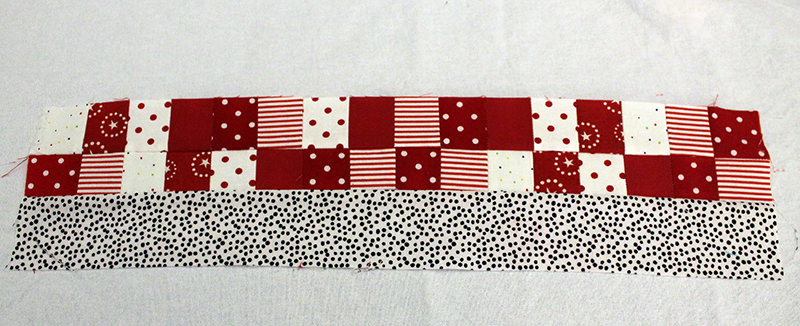 Cut one 12″ x 17″ strip of red dotted fabric and stitch to the bottom of the dotted fabric with a 1/4″ seam.
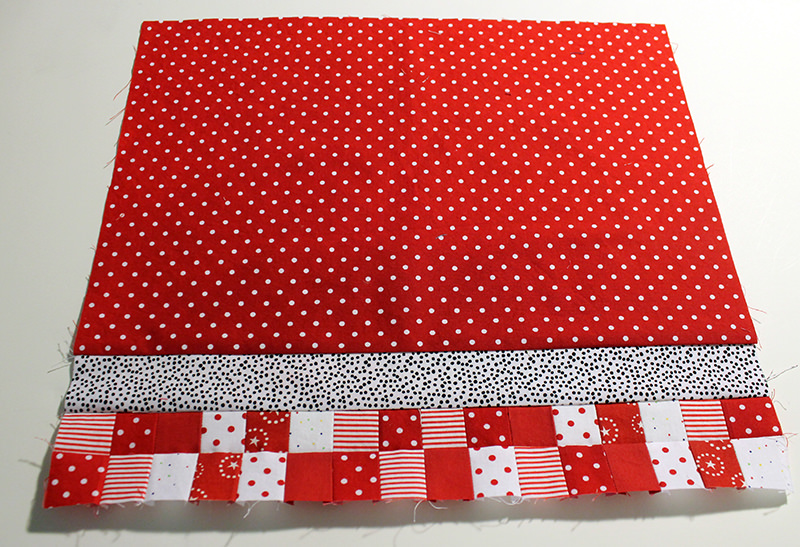
With right sides together, center the strips with the squares on the bottom of the toweling. Stitch with a 1/4″ seam.
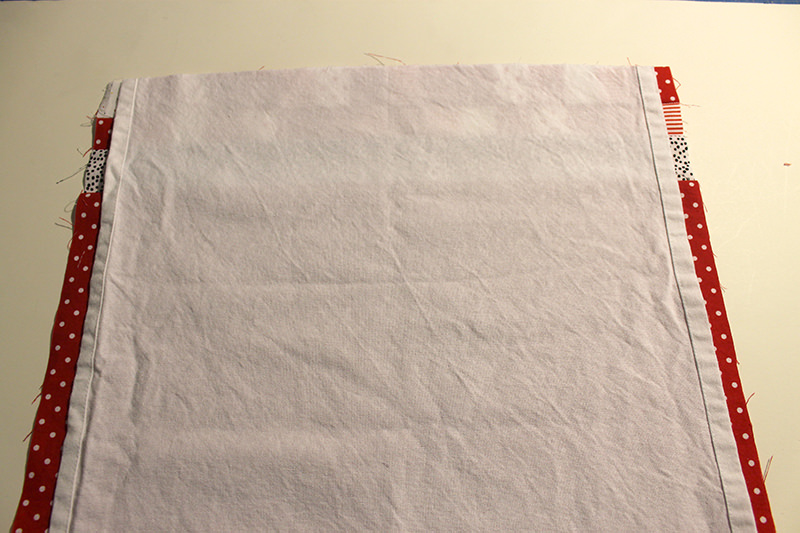
Press up 1/2″ on the bottom of the red dot fabric.
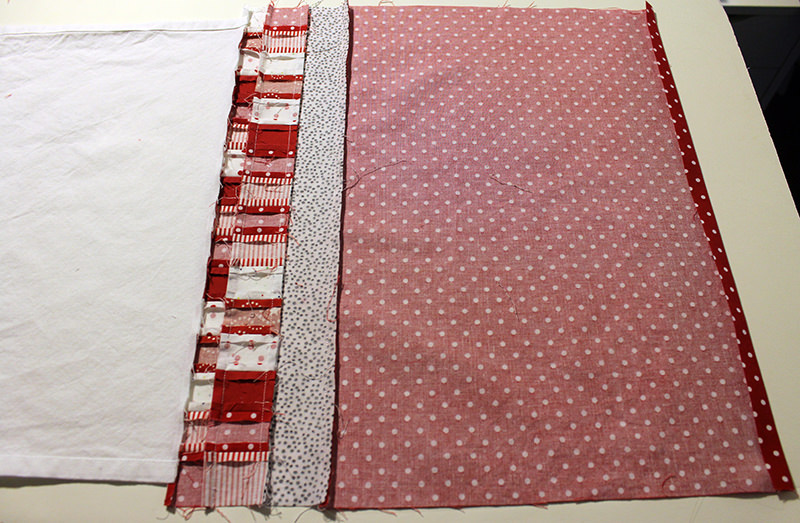
With right sides together, bring the dotted piece’s folded edge up to the seam on the back of the towel.
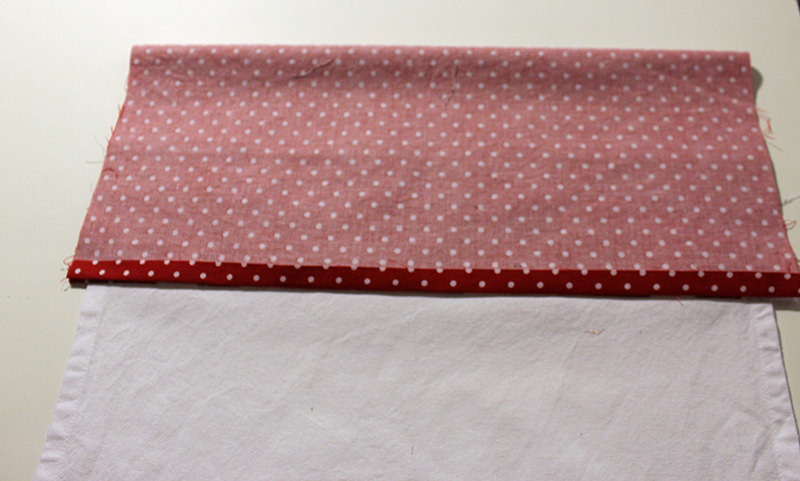
Stitch along the edges with a 1/2″ seam.
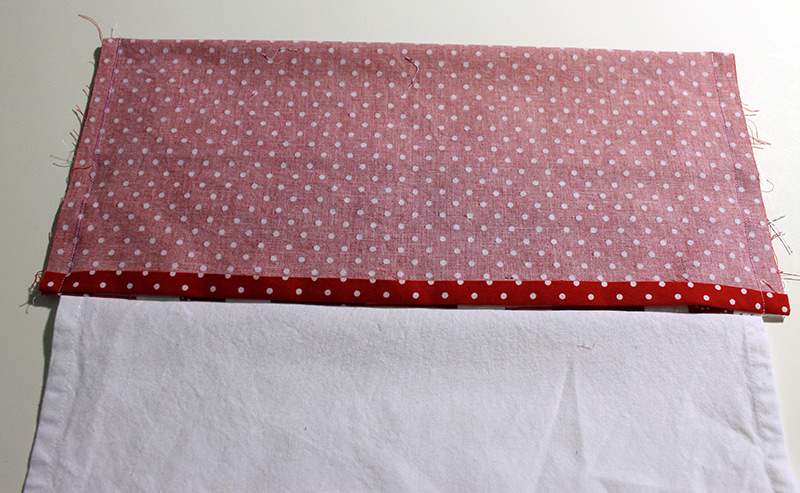
Trim the corners, then turn right side out and poke out the corners so they are nice and pointy. Make sure the folded edge goes EXACTLY along the seam of the toweling.
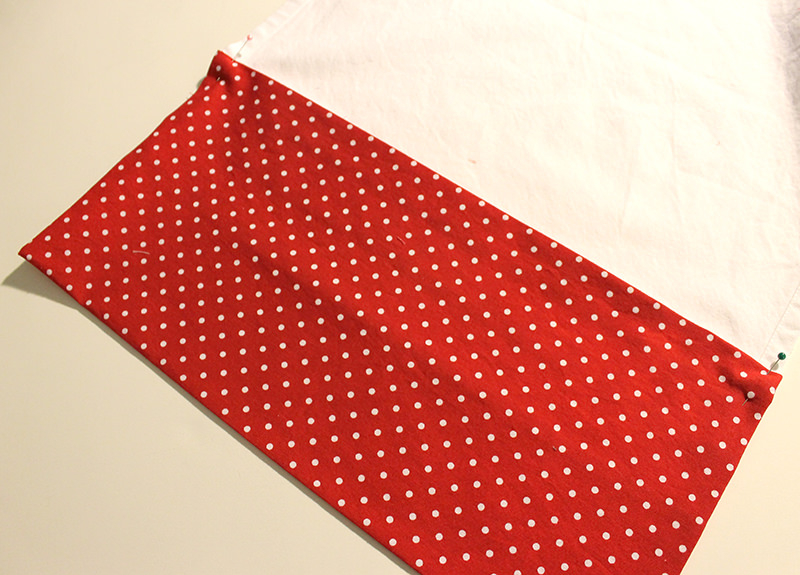
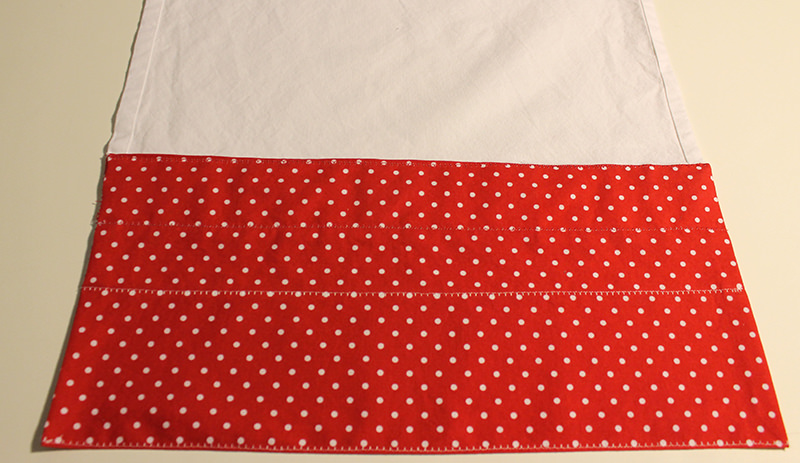
I turned it to the front and did a blanket stitch along the top seam, then along three other seams.
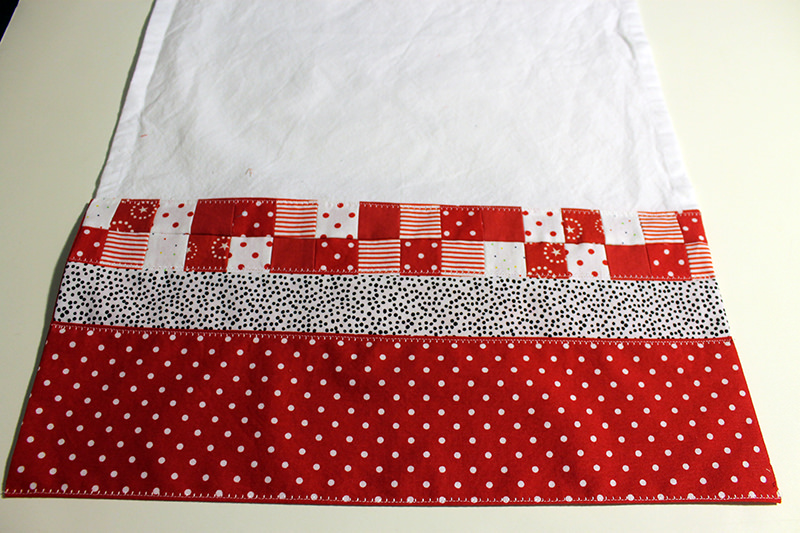
Here’s the back. All nice and neat and no raw seams showing!
For the top, I used this really cool gadget–a Clover Hot Ruler. It’s heat proof and makes pressing perfect folds SO EASY!
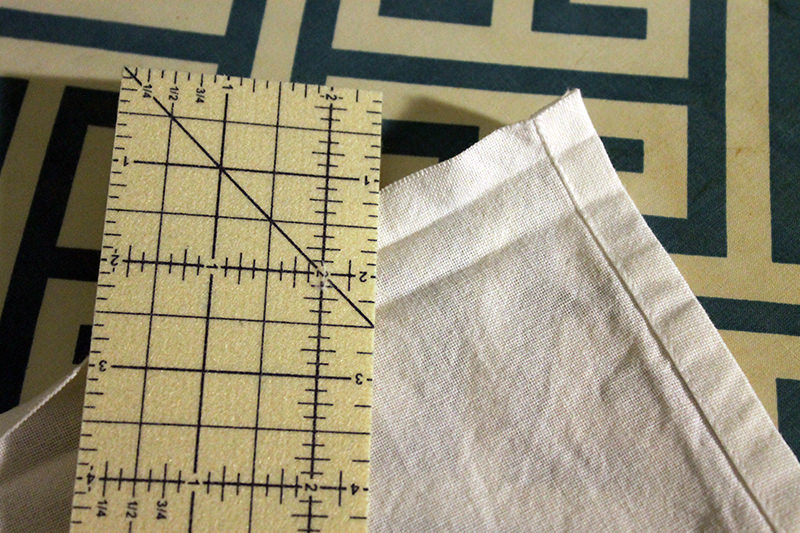
I use it for a lot of pressing projects!
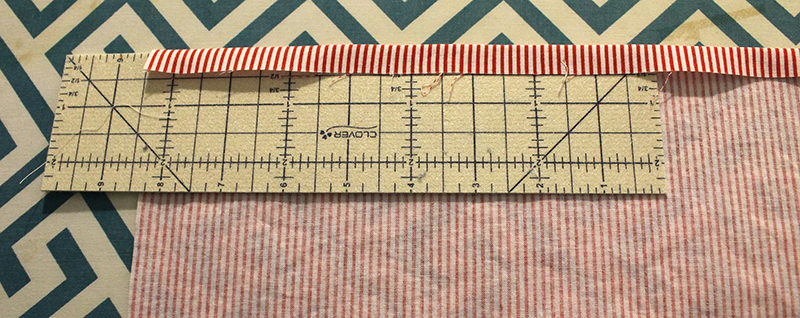
Okay, back to the top. Press under 1/2″ then another 1/2″ then open that up to see the pressed lines.
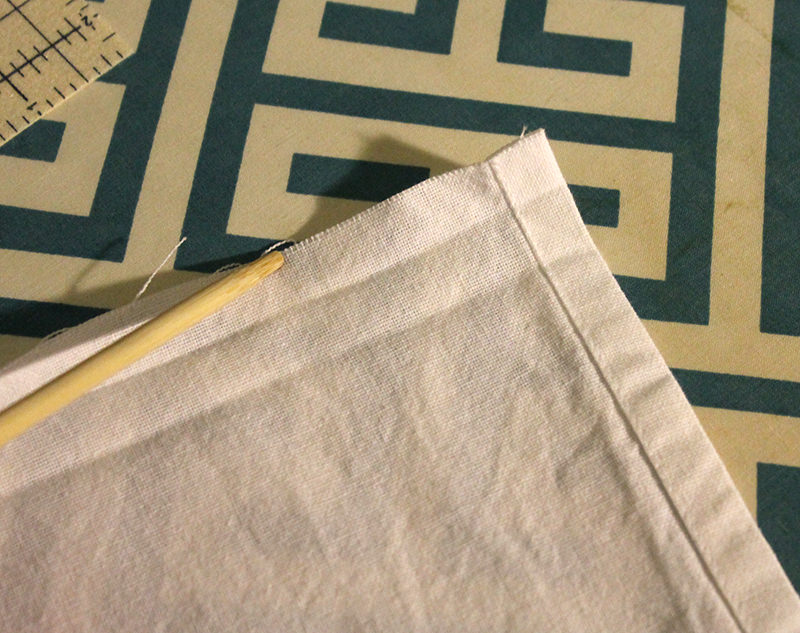
Fold the outer corner to the inner pressed line.
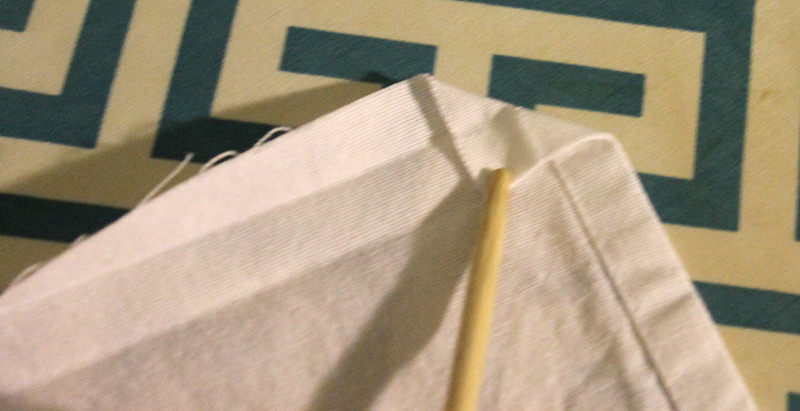
Then fold the top fold to the bottom pressed line.
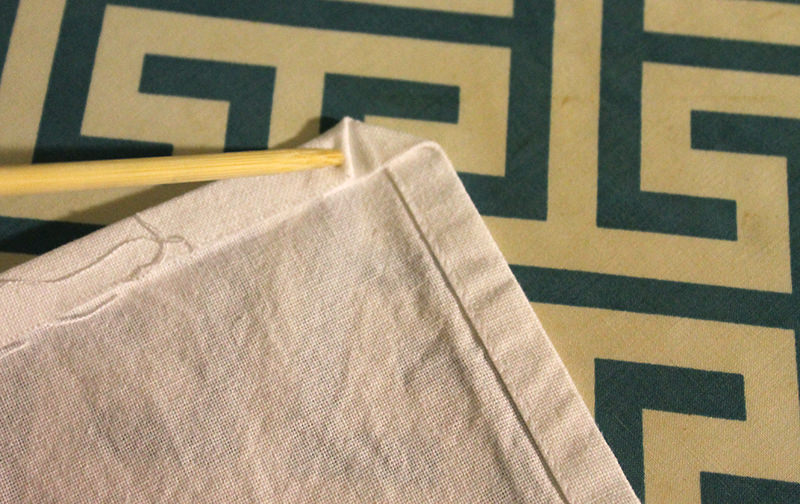
Then fold over again on the last pressed line.
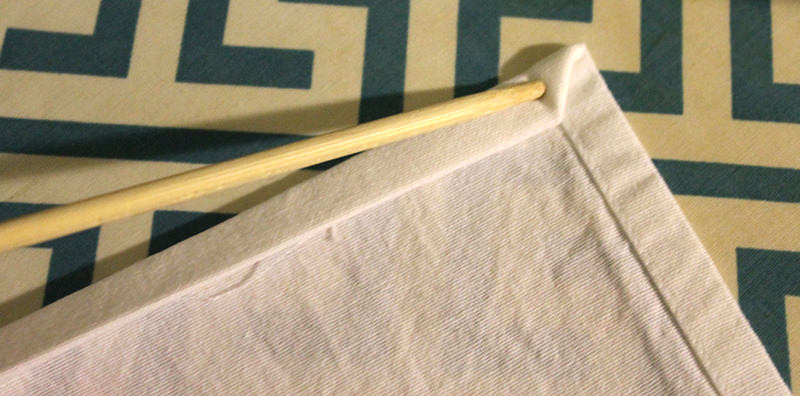
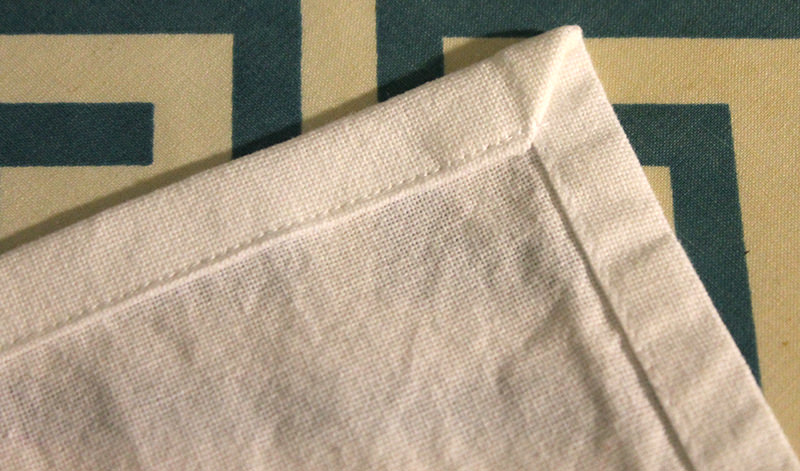
And stitch. (Do the other side, too!) Perfect corners!
I used the same heart applique as I did for the hot pad. Follow the directions for Heat n’ Bond lite and center the applique 1″ above the border
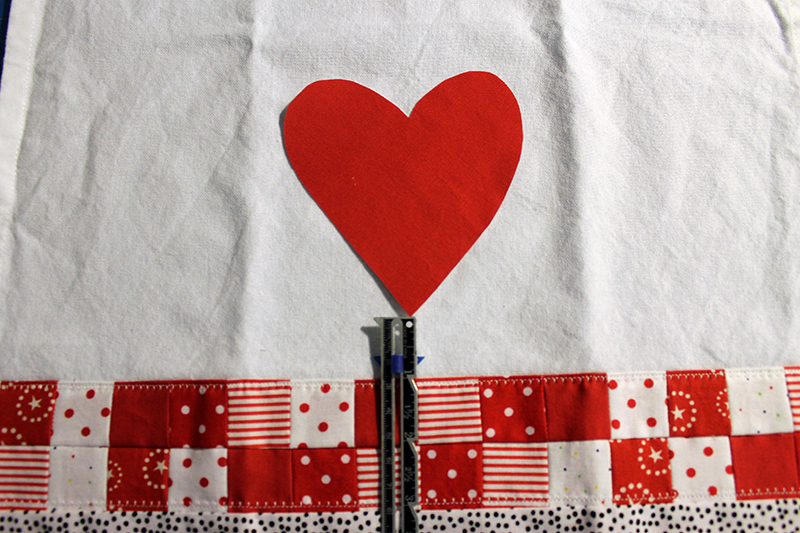
I did three rows of stitching along the outside of the heart.
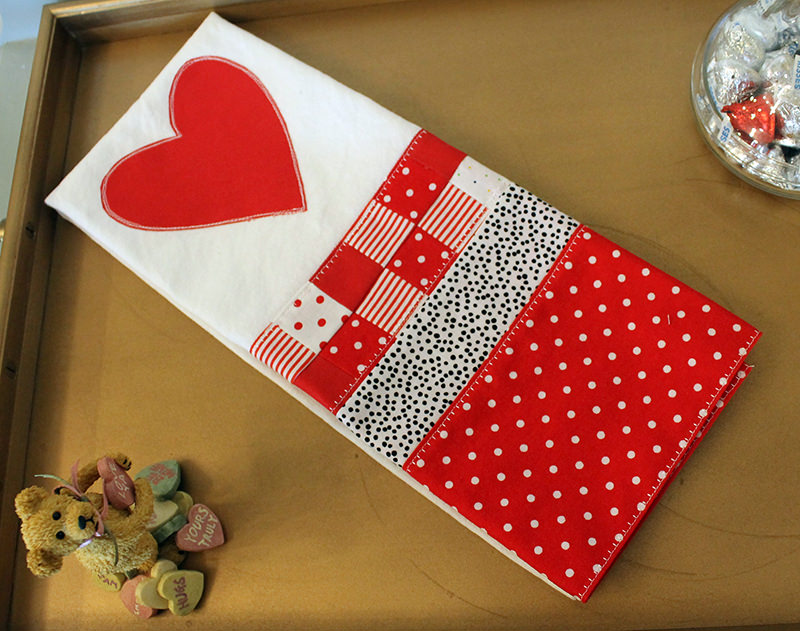
And then I made one with stripes! Gotta have a pair of tea towels!
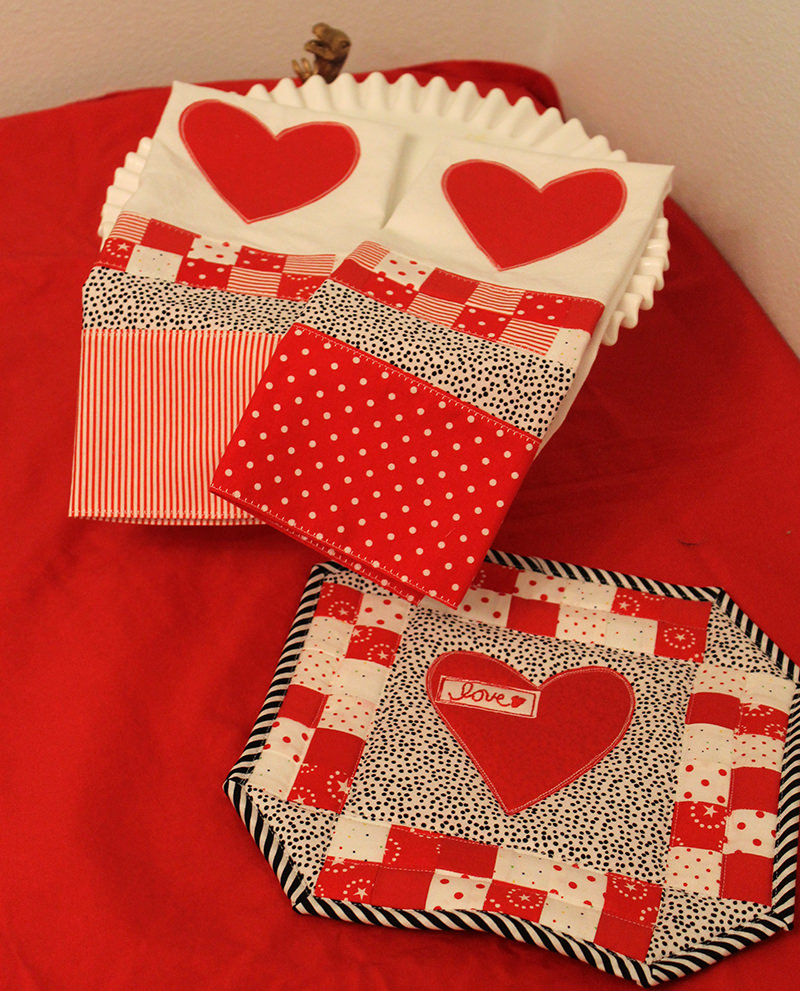
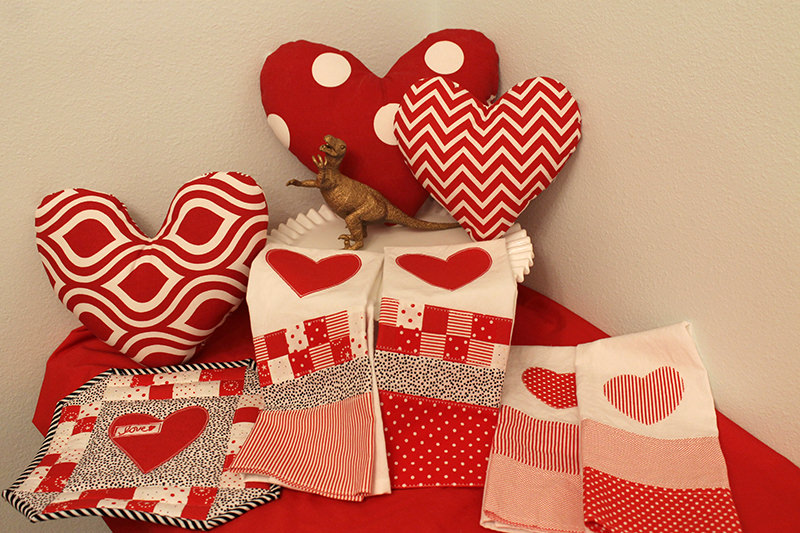
Ready for Valentine’s Day!
Discover more from
Subscribe to get the latest posts sent to your email.

Comments
Valentine’s Tea Towel — Part 2 — No Comments
HTML tags allowed in your comment: <a href="" title=""> <abbr title=""> <acronym title=""> <b> <blockquote cite=""> <cite> <code> <del datetime=""> <em> <i> <q cite=""> <s> <strike> <strong>