Valentine’s Day Tea Towels
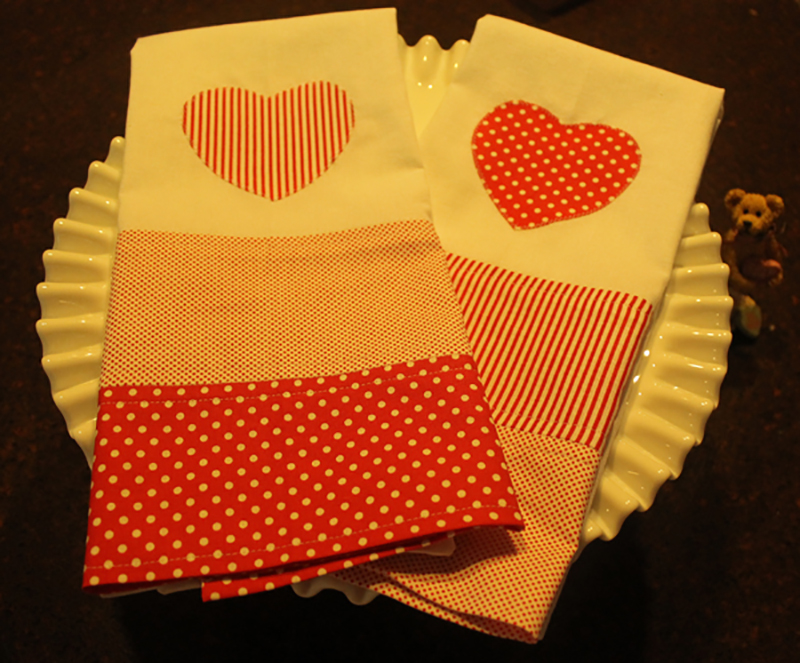
I’ve been tossing out a bunch of old stained or worn out linens. I was thinking about hitting some sales to pick up more dish towels then it struck me “hey, I make tea towels!, why don’t I just get into my fabric stash and whip up some towels for myself!” So far I’ve given all of the tea towels that I made away. This would be a good method to find out how those towels hold up under regular use!
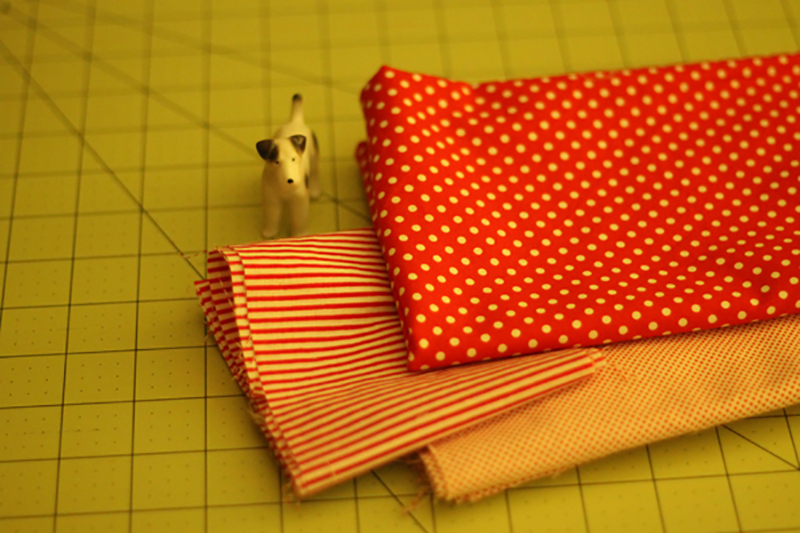
I had some red and white fabric left from Christmas which is perfect for a Valentine’s project! And that holiday is just around the corner! I found three pieces that didn’t have any snowflakes or other holiday themed objects on them. I had one piece of the red and white striped material that was 35″ by 4″. So that’s how I decided what size the color band for the bottom would be.
I also had just enough of Kaufman Essex Linen Blend White to make three tea towels!
I cut the tea towel fabric 17″ x 20″ then hemmed three sides (two long and one short) using the tutorial for clever corners from Sew4Home.com. The towel was then 16″ x 19 1/2″ with one raw short edge.
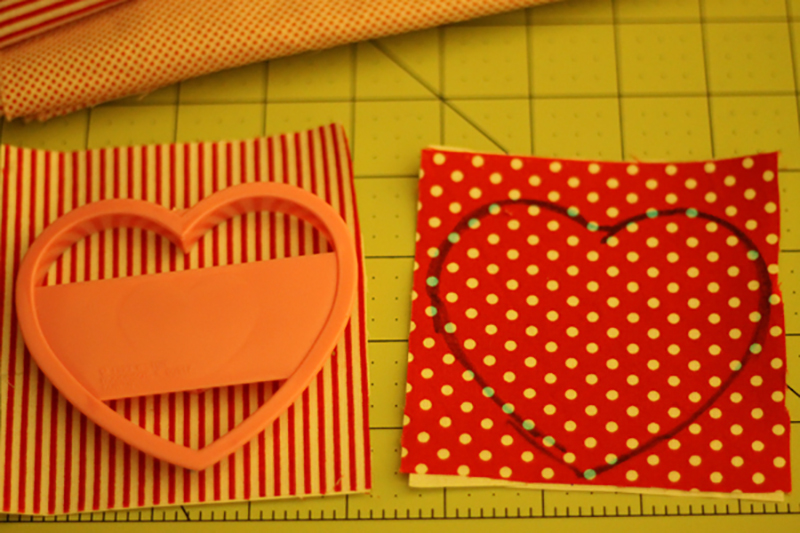
I used heat ‘n bond lite on a couple of small pieces of fabric then used a heart shaped cookie cutter for the applique. Just drew around it with a Mark-B-Gone pen. The blue wipes right off with a damp towel.
After hemming the the tea towel fabric, it was 16″ wide. I’m using a ½” seam so I cut the color strips for the band at the bottom of the towel 1” wider than the towel–17”.
I cut:
2 strips of the candy stripe 17” x 4”
1 strip of the white and red polka dot 17” x 7”
Pin the two 4″ strips to the 7″ strip right sides together and sew with a 1/4 “ seam.
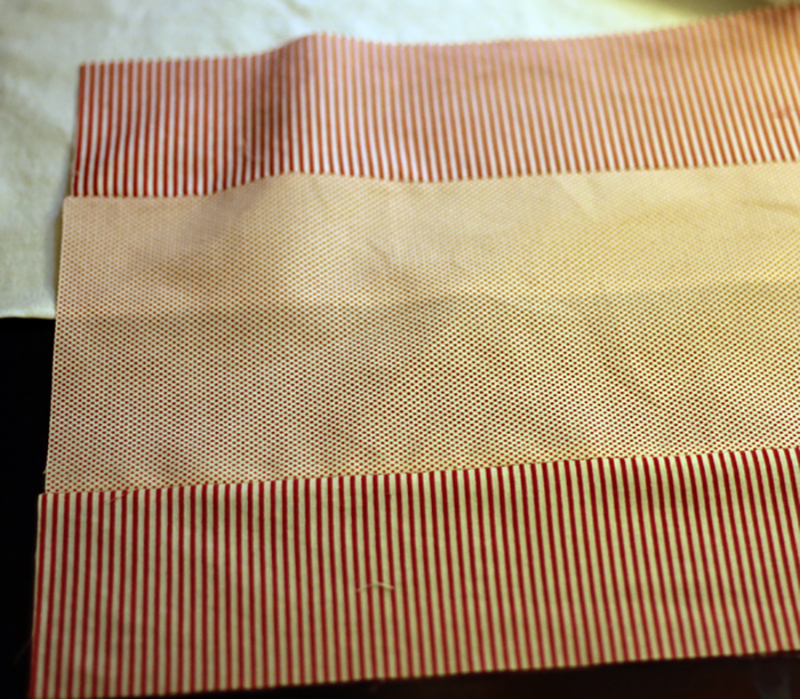
Press seams open.
Center the color band under the unfinished end of the towel fabric, right sides together. The band should be ½” wider on each side than the towel.
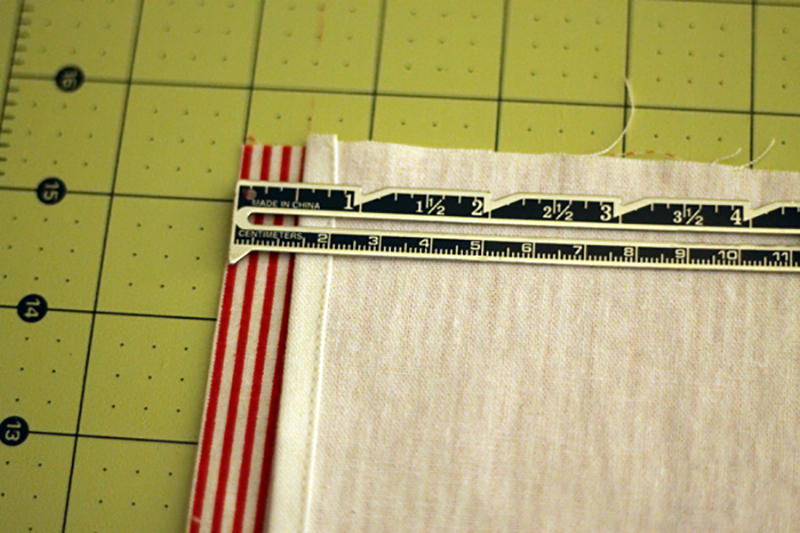
Stitch, press seam down. Press raw edge of color band under ½”
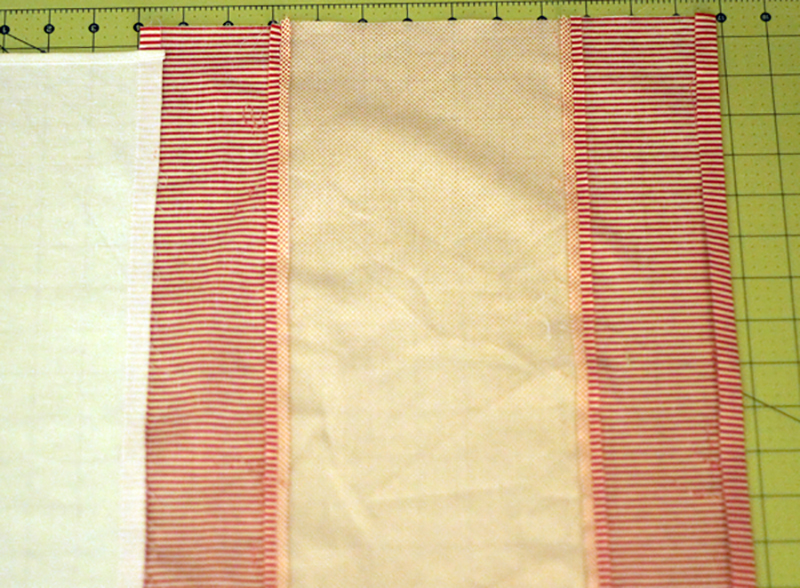
The top seam between the strips and the towel is pressed down and the bottom strip is pressed up 1/2″.
Fold color strip right sides together up to meet the seam on the towel. The ½ “ pressed edge will be on that seam.
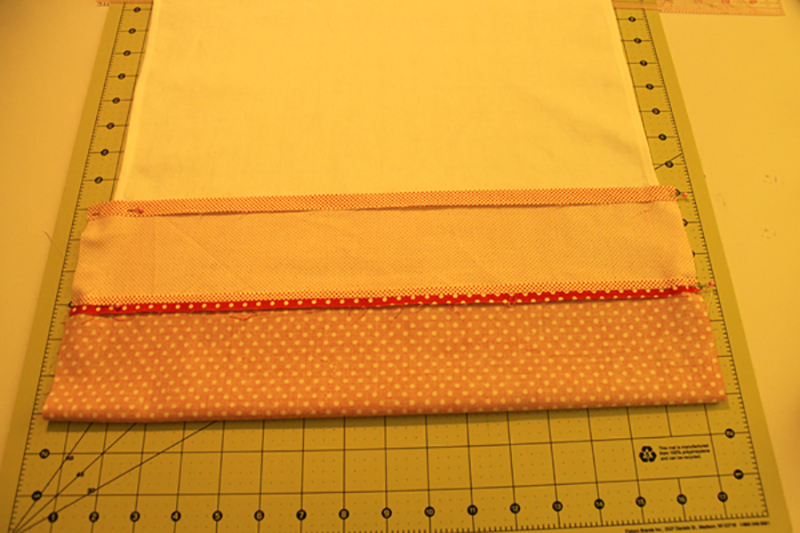
This is actually the second towel I made but forgot to take a picture of this step and thought it was important.
The seams on the color band must line up. You might be able to see in the above picture that I have pins on that seam. Sew ½“ seams along edges of the color band, making sure not to catch in the towel sides.
Clip corners. Turn strip right side out and poke the corners out so they are nice and sharp. Press.
On the back of the towel, the pressed under edge should be right on the seam between the strip and the towel.
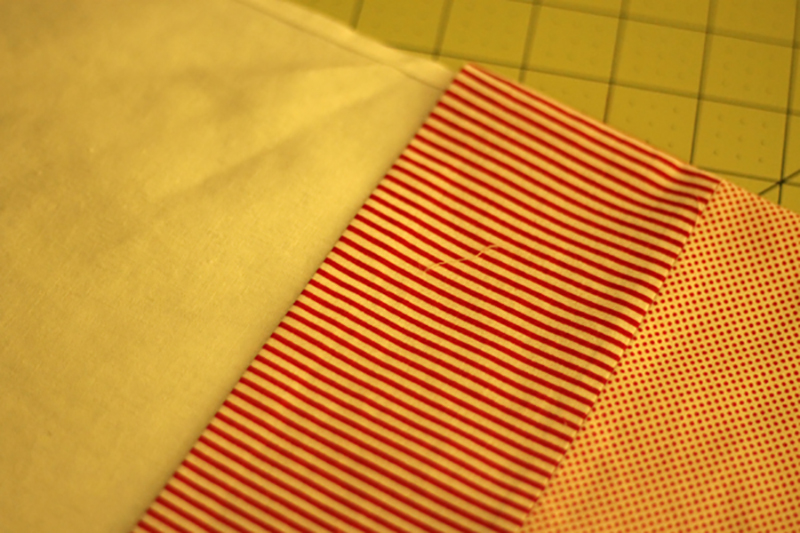
This is the back of the tea towel with the color strip turned right side out and along the seam edge.
Stitch 1/4″ away from that edge. I did this from the right side of the towel because I wanted to make sure it looked good.
I did a “stitch in the ditch” on the middle seam of the color band then some top stitching 1/4″ away on both sides of that seam and along the bottom.
I centered the applique on the towel, 1″ from the color band and pressed it–follow the instructions that come with heat ‘n bond lite.
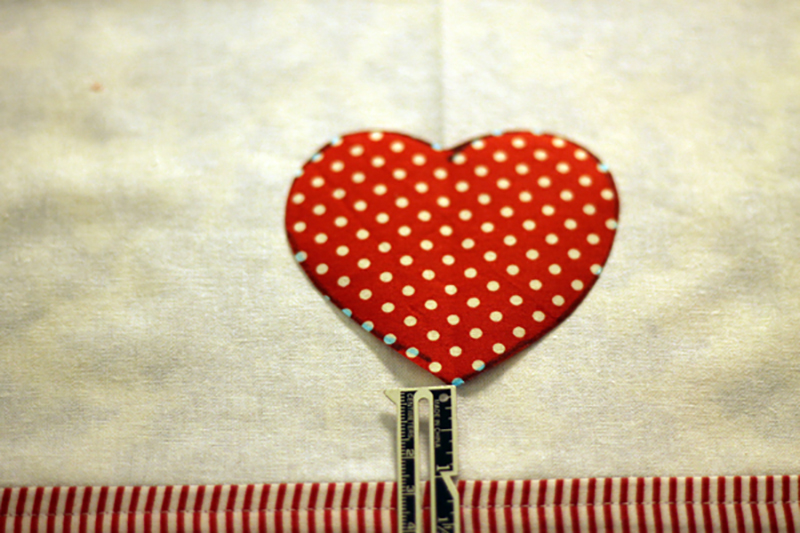
Then I did a little zigzag stitch around edges of the appliqué.
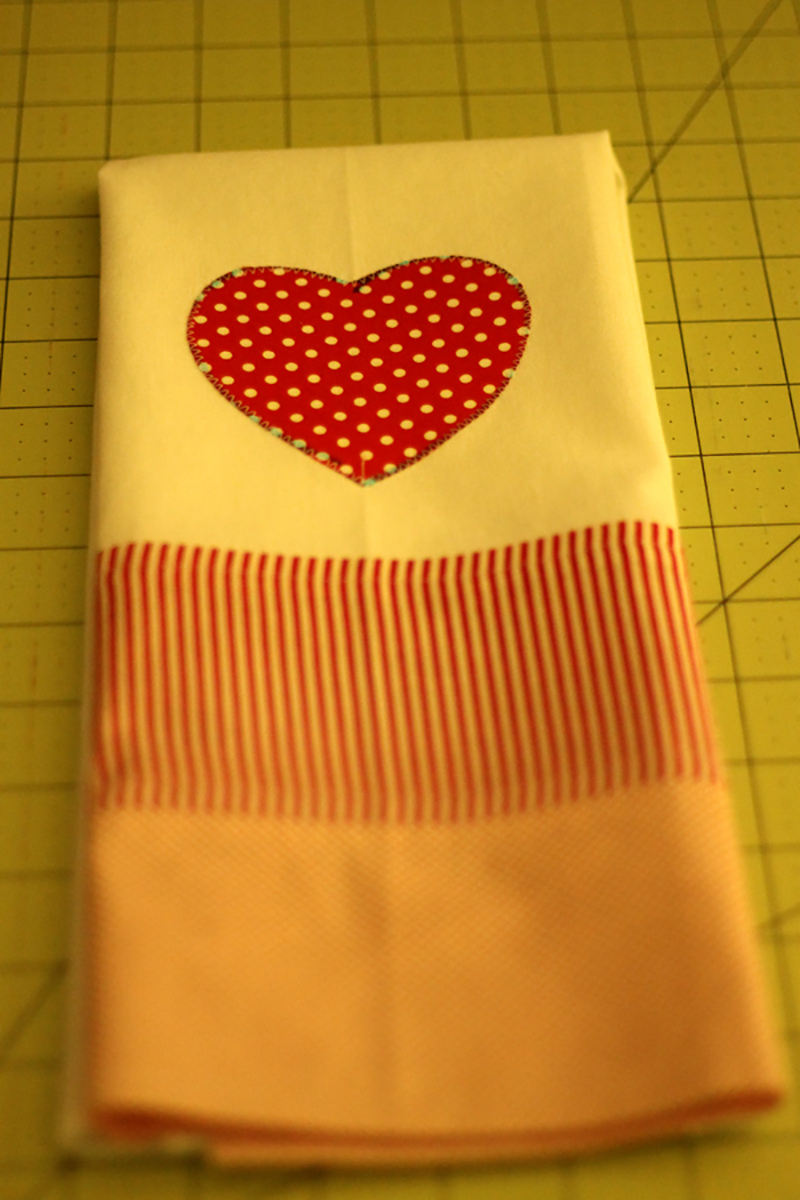
And I had enough of the two polka dot fabrics to finish a second towel.
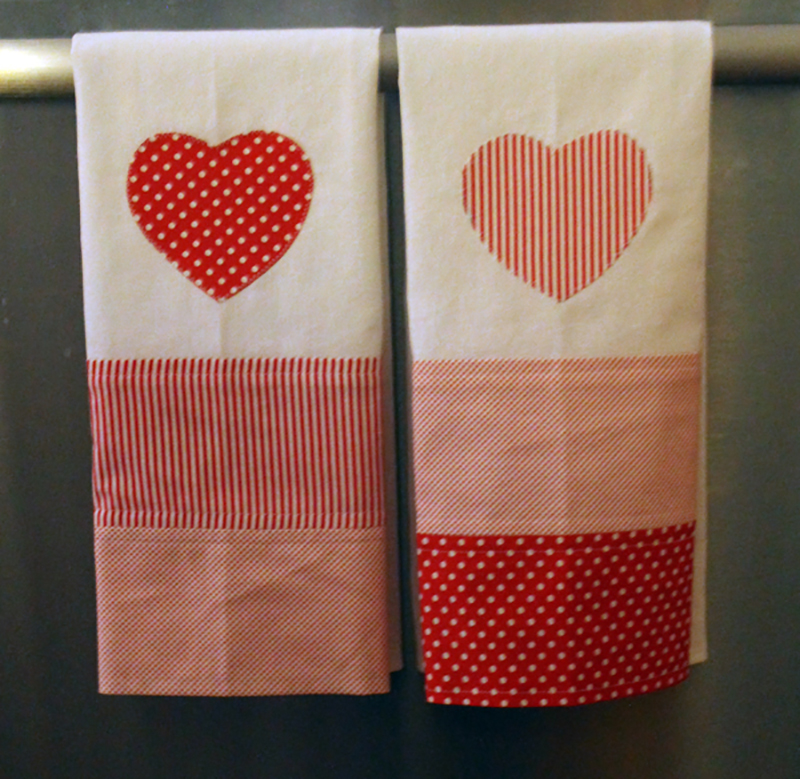
Next week–another project with heart!
Discover more from
Subscribe to get the latest posts sent to your email.

My tea towels get used all the time! They hold up fantastic!