Two More Sandhill Slings!
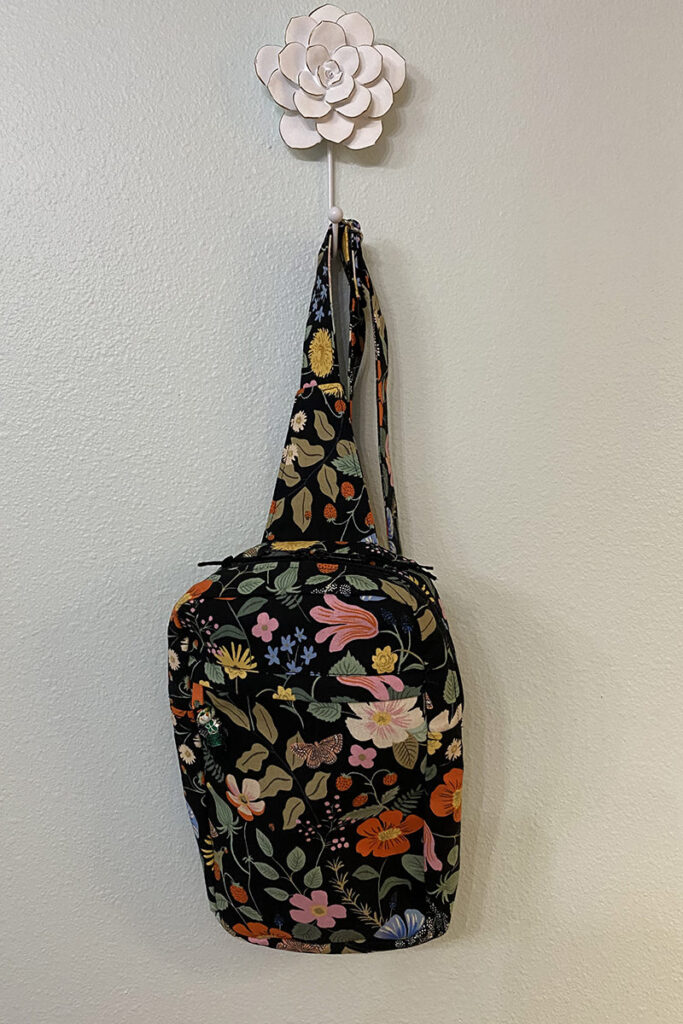
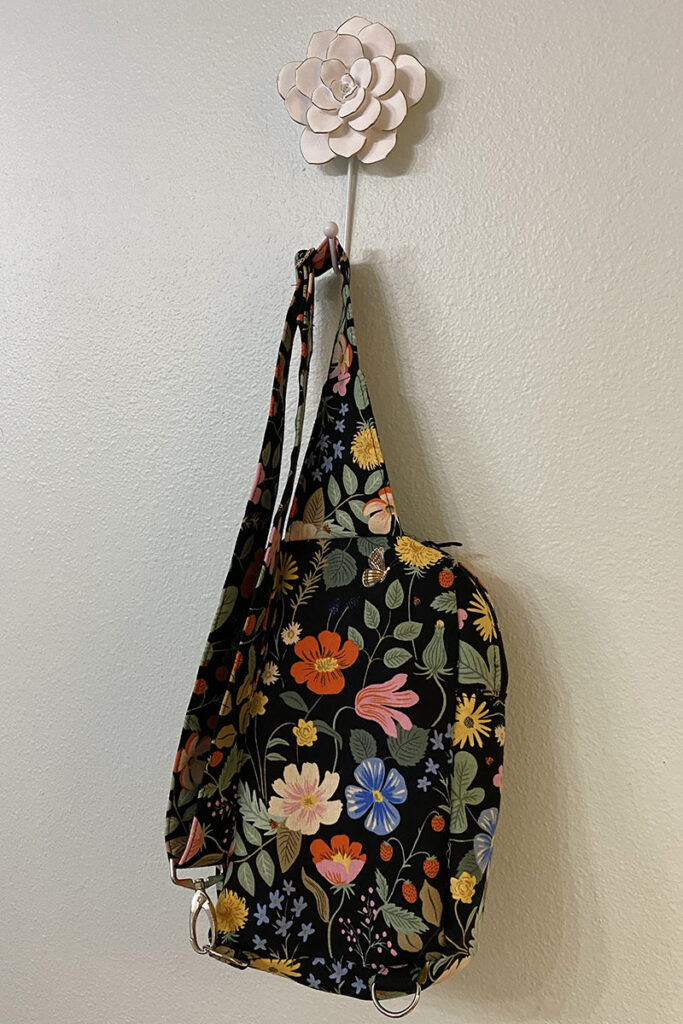
I had a request for sling identical to the one I was carrying around. My first sale! Not that I really want to sell my handcrafts. But anyhow, I agreed. Had to order more of the Rifle Paper Company Strawberry Fields. (Of course, I ordered extra for more fun projects for my office.)
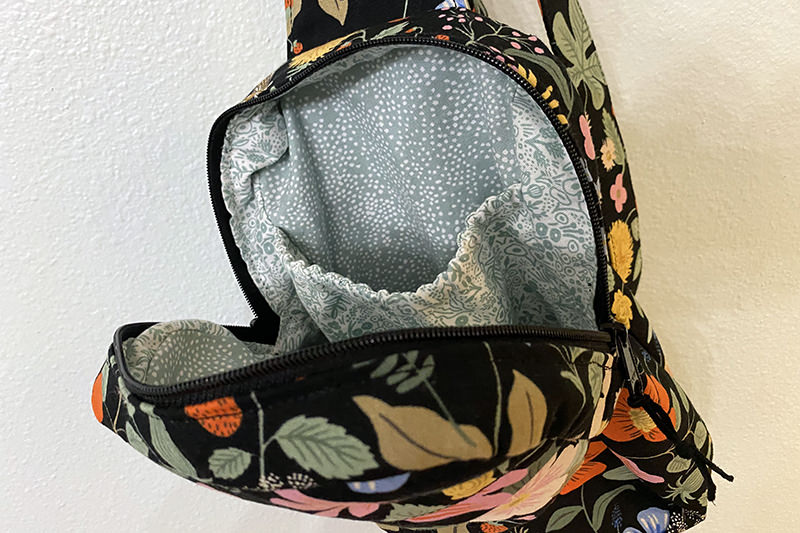
I finally made it and got it to her a couple weeks ago. This was only the second one I had made and I stitched up the first many months ago. I clearly recall how difficult it was to get the lining in. And it was even worse for the second endeavor because I really wanted it to be perfect. I hand basted it in. Then machine-stitched. Ripped out. Hand basted. Machine-stitched. Ripped out again. Finally I got something that was acceptable but not perfect.
Here’s the results….
This pattern is from Noodlehead and called the Sandhill Sling. Both patterns that I have purchased from her are very well done. There are also video tutorials which are very helpful. The problem for me is this lining. If you look closely at the above photo, the lining is a little rumpled on the corners. The method is called “drop in”. You complete both the exterior and lining separately and then “drop in” the lining–wrong sides together. Match it all up along the zipper opening, hand stitch then machine stitch. While it doesn’t appear to be that difficult, it’s hard to get the exterior and the interior matched up and then to have the top stitching match between the two. Anyhow I did it. Took a ridiculous amount of time. I thought that there had to be a better way!
And there is….
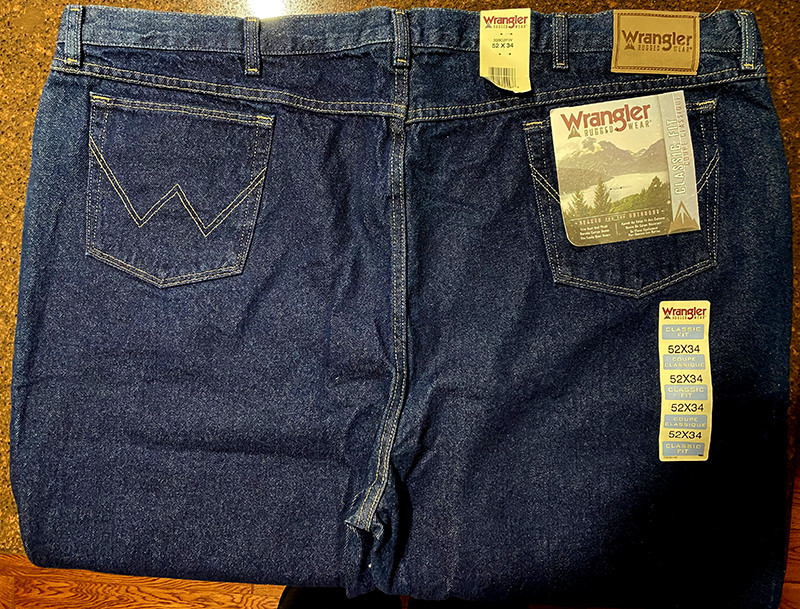
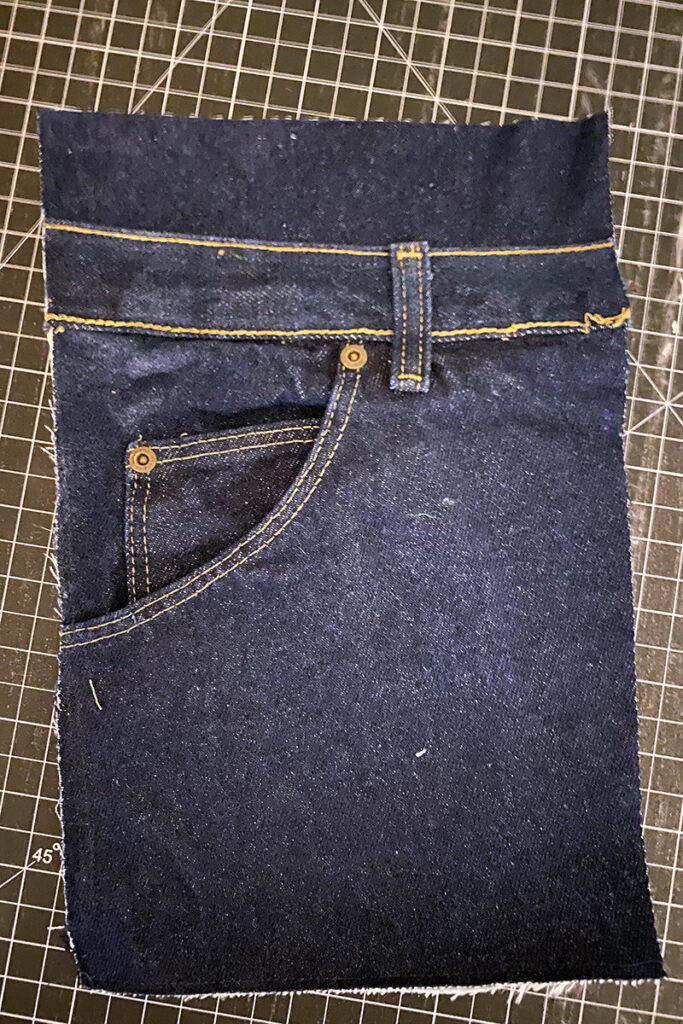
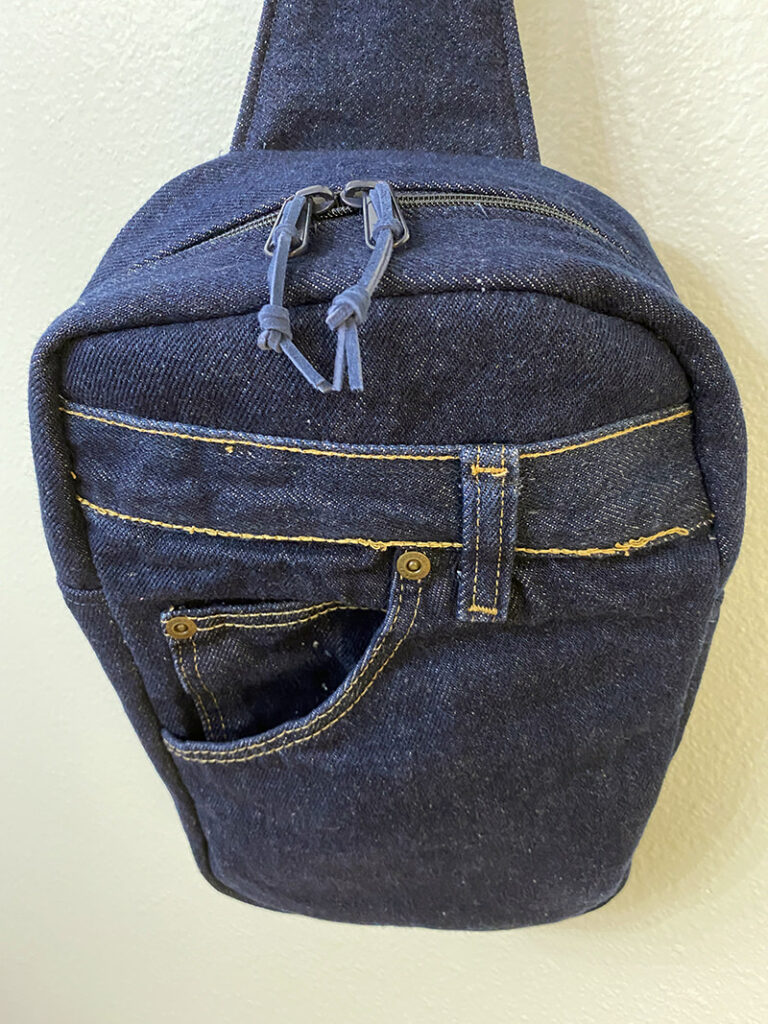
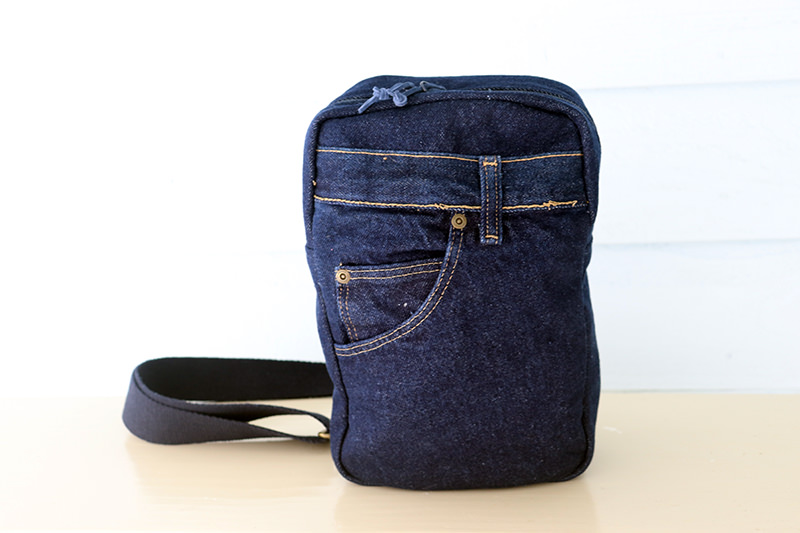
I decided to make a second sling for my next sewing project. (After I finished my second perfect picnic quilt.) Hoping I wouldn’t forget what I had already learned! For this sling, I upcycled denim from some jeans that a friend gave me. They were a size 52!
I had already used it to make my “jeep” bag and a tote for a friend. There was still plenty denim left for this sling plus more!
There is a second way called the “binding” method. Rather than struggling with “drop in” lining watched the YouTube video by SiahSwag for the lining. I’m not putting a link here but you can can search on google for “Sandhill Sling Binding Method”. It’s the only one that I found. I watched it twice, then started putting the sling together. And watched it again. Then kept the video up while I did the binding.
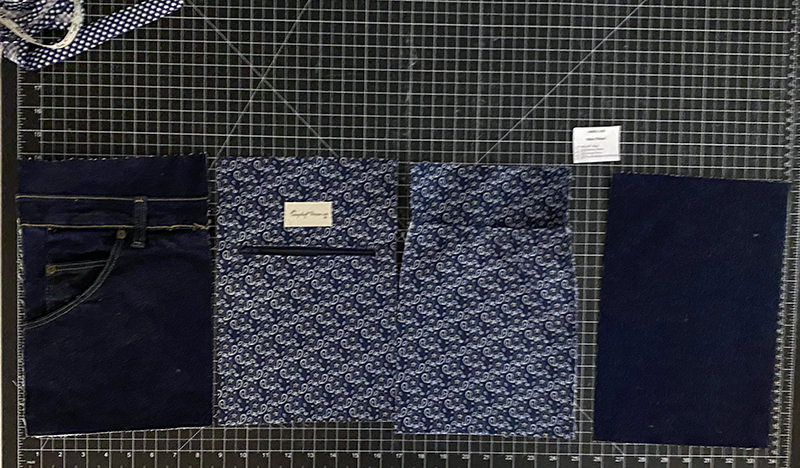
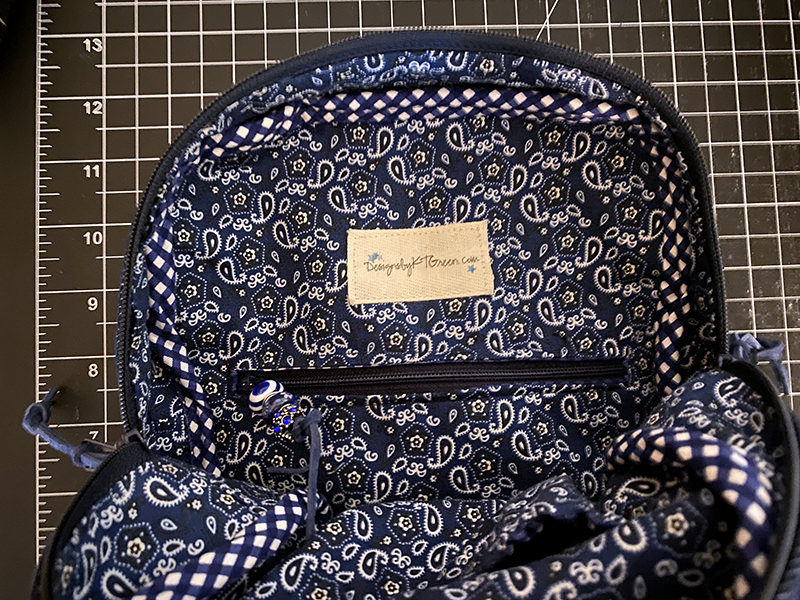
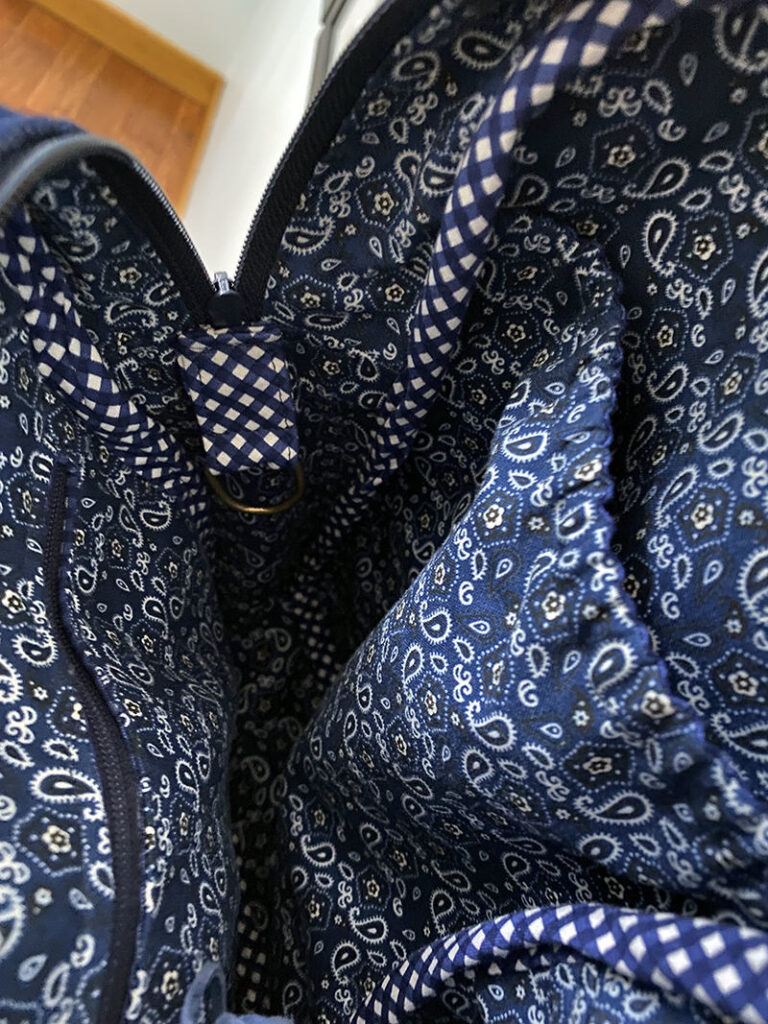
For this method, the lining is attached to each piece. Here’s my main panel. I love this bandana print paired with gingham. This fabric was leftover from the denim quilt I made earlier this year.
I put the all pieces wrong sides together and stitched around the edges.
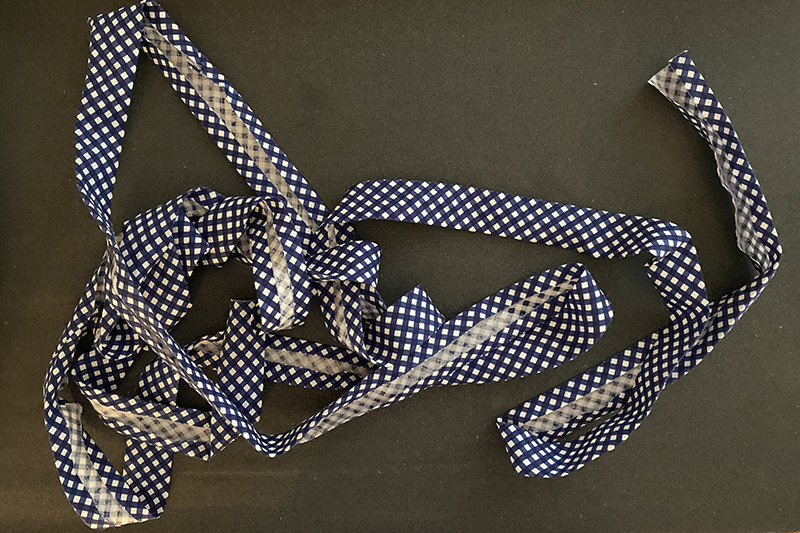
I made my own bias binding. ‘Cause I just like things to coordinate!
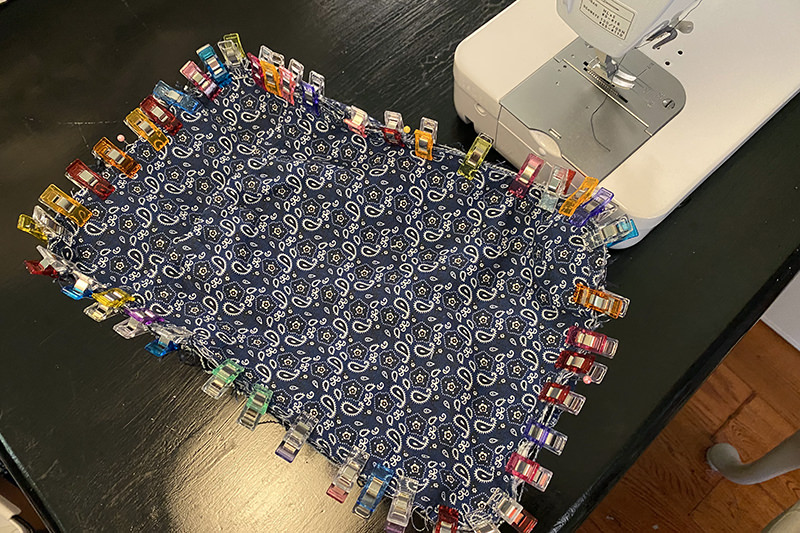
And I used a LOT of wonderclips.
The first side was a little difficult and my binding turned out a little wonky but I learned from that and was really happy with the second side.
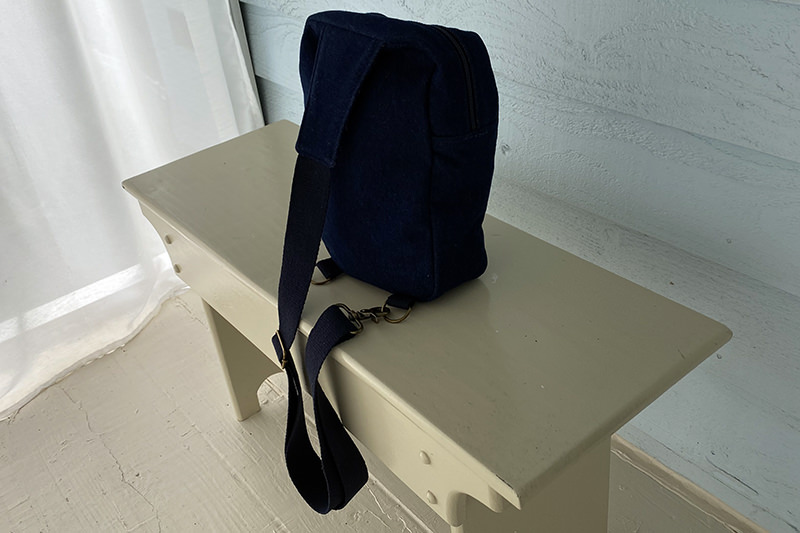
And the finished sling!
Changes I made for this version along with the new binding method–I used webbing for the strap and the two strap holders plus added a zipper pocket to the interior and a D ring for my jeep keys. I think the binding method is SO MUCH EASIER! It took a little while to get the hang of it, but I’ll use this method for all future slings. I intend to make a few for Christmas gifts plus maybe I’ll sell some more since I really know how to make them with this latest sling!
Now I’m off on an adventure and the new denim Sandhill Sling is going with me!
Discover more from
Subscribe to get the latest posts sent to your email.

They turned out GREAT!
Thanks Pamela! I do like this pattern!