Tutorial for the Perfect Market Bag
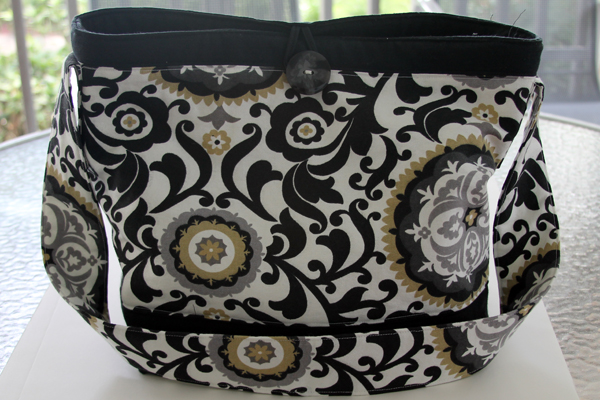
Finally I put together the tutorial for the Perfect Market Bag!
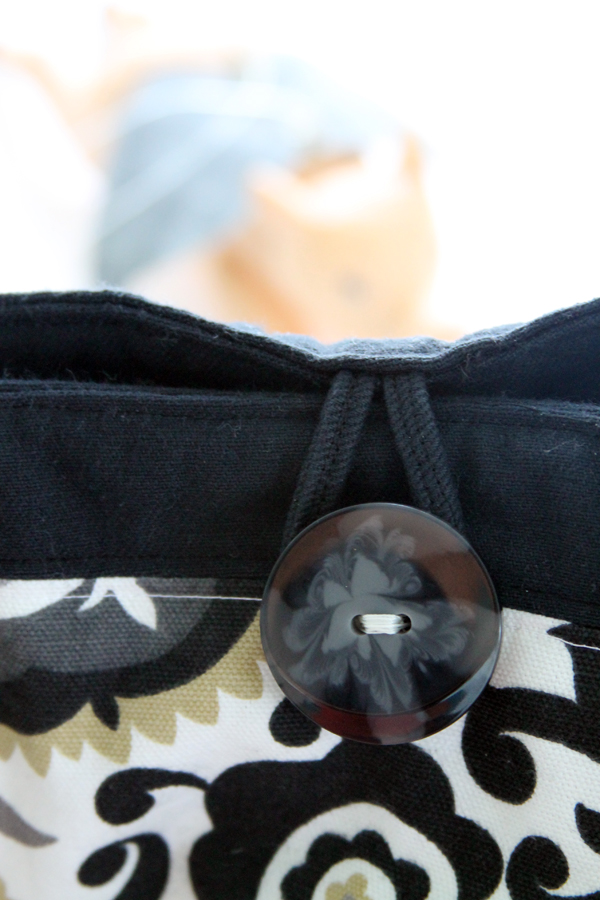
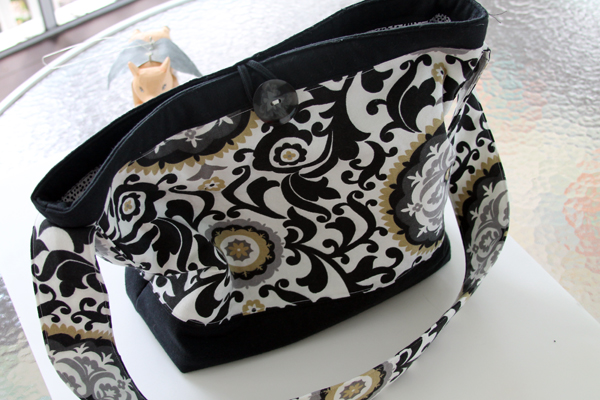
Measuring 12 3/4″ high, 12″ wide and 6″ deep, it’s big enough to carry flea market finds but small enough not to whack anyone in the head while your hunting for those treasures. I’ve double stitched all the seams to make it extra strong and the strap has two layers of fleece so it’s comfortable on the shoulder. There are lots of pockets on the inside and it closes with a loop and button.
This is NOT an easy peasy bag. I’ve introduced several new ideas and tried to explain each step simply with many pictures. If you don’t understand any of the directions, just email at designsktg@gmail.com and I’ll get right back to you.
I’ve made several totes for myself over the past three years and included all the features I like which makes it perfect for shopping. If the giveaway winner picks this bag, I plan to make this version just for me to use on my “treasure hunts”. Someday. When I get caught up on all my other unfinished projects!
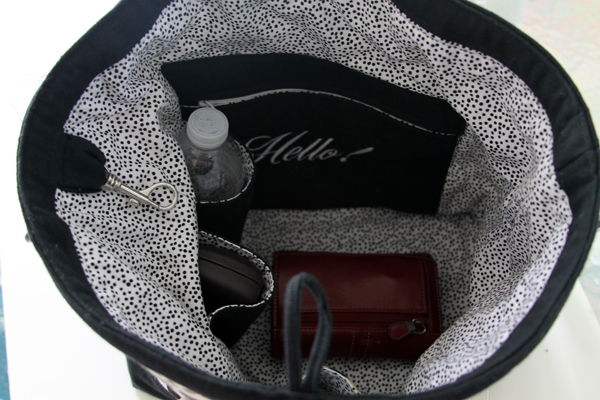
I hate my stuff just jingling around in the bottom of a tote. So I put in pockets–one is a zippered pocket for all of my little stuff, another holds my water bottle and glasses case, plus there is one just right for my iPhone. I never lose my keys in the bottom of my bag because I’ve included a spring loaded key chain. I like the button and loop rather than a zipper on the top of my bag. Quicker to get in and out!
I also appreciate a light color interior in my bags. It’s just so much easier to see what’s in there! I’ve been wanting to use this quilting cotton for lining for some time–I was just waiting for the perfect bag to put it in!
SewMamaSew.com, one of my very favorite sewing blogs, recently posted about a new method to make lined pockets. Since I started sewing, when I was a teenager, I’ve always just sewed around all four sides, pivoted at the corners, clipped the corners, turned the right sides out and poked them sharp with a chop stick. When I checked out this video, I was stunned. Such a simple and clever idea. I’ll never clip corners again! I was so excited to learn this new method. I would explain it to you but the video is so much better then what I could do, so just check it out!
Here’s the tutorial for the
PERFECT MARKET BAG!
Unless otherwise indicated, seams are ½”.
You will need:
Fabric for inner and outer bags plus pockets.
I used ½ yard of canvas duck from Hobby Lobby, ½ yard of black denim, plus ½ yard of quilting cotton for the lining.
Fusible Fleece, Sew-in Fleece, or Batting
Pellon Peltex 71F Single-Sided Fusible Ultra Firm Stabilizer
7” zipper
Spring loaded key chain
1 large button (I used 1 ½”)
Lining
I’m making the lining first.
Cut:
Denim 2 ¼ ” x 37”
Quilting Cotton 15 ½ ” x 37 “
Strap for Keys
Cut 3” x 3” piece of denim
Fold wrong sides together and stitch ¼” away from edge.
Turn right side out.
Slip through the strap through the circle on the key holder and fold.
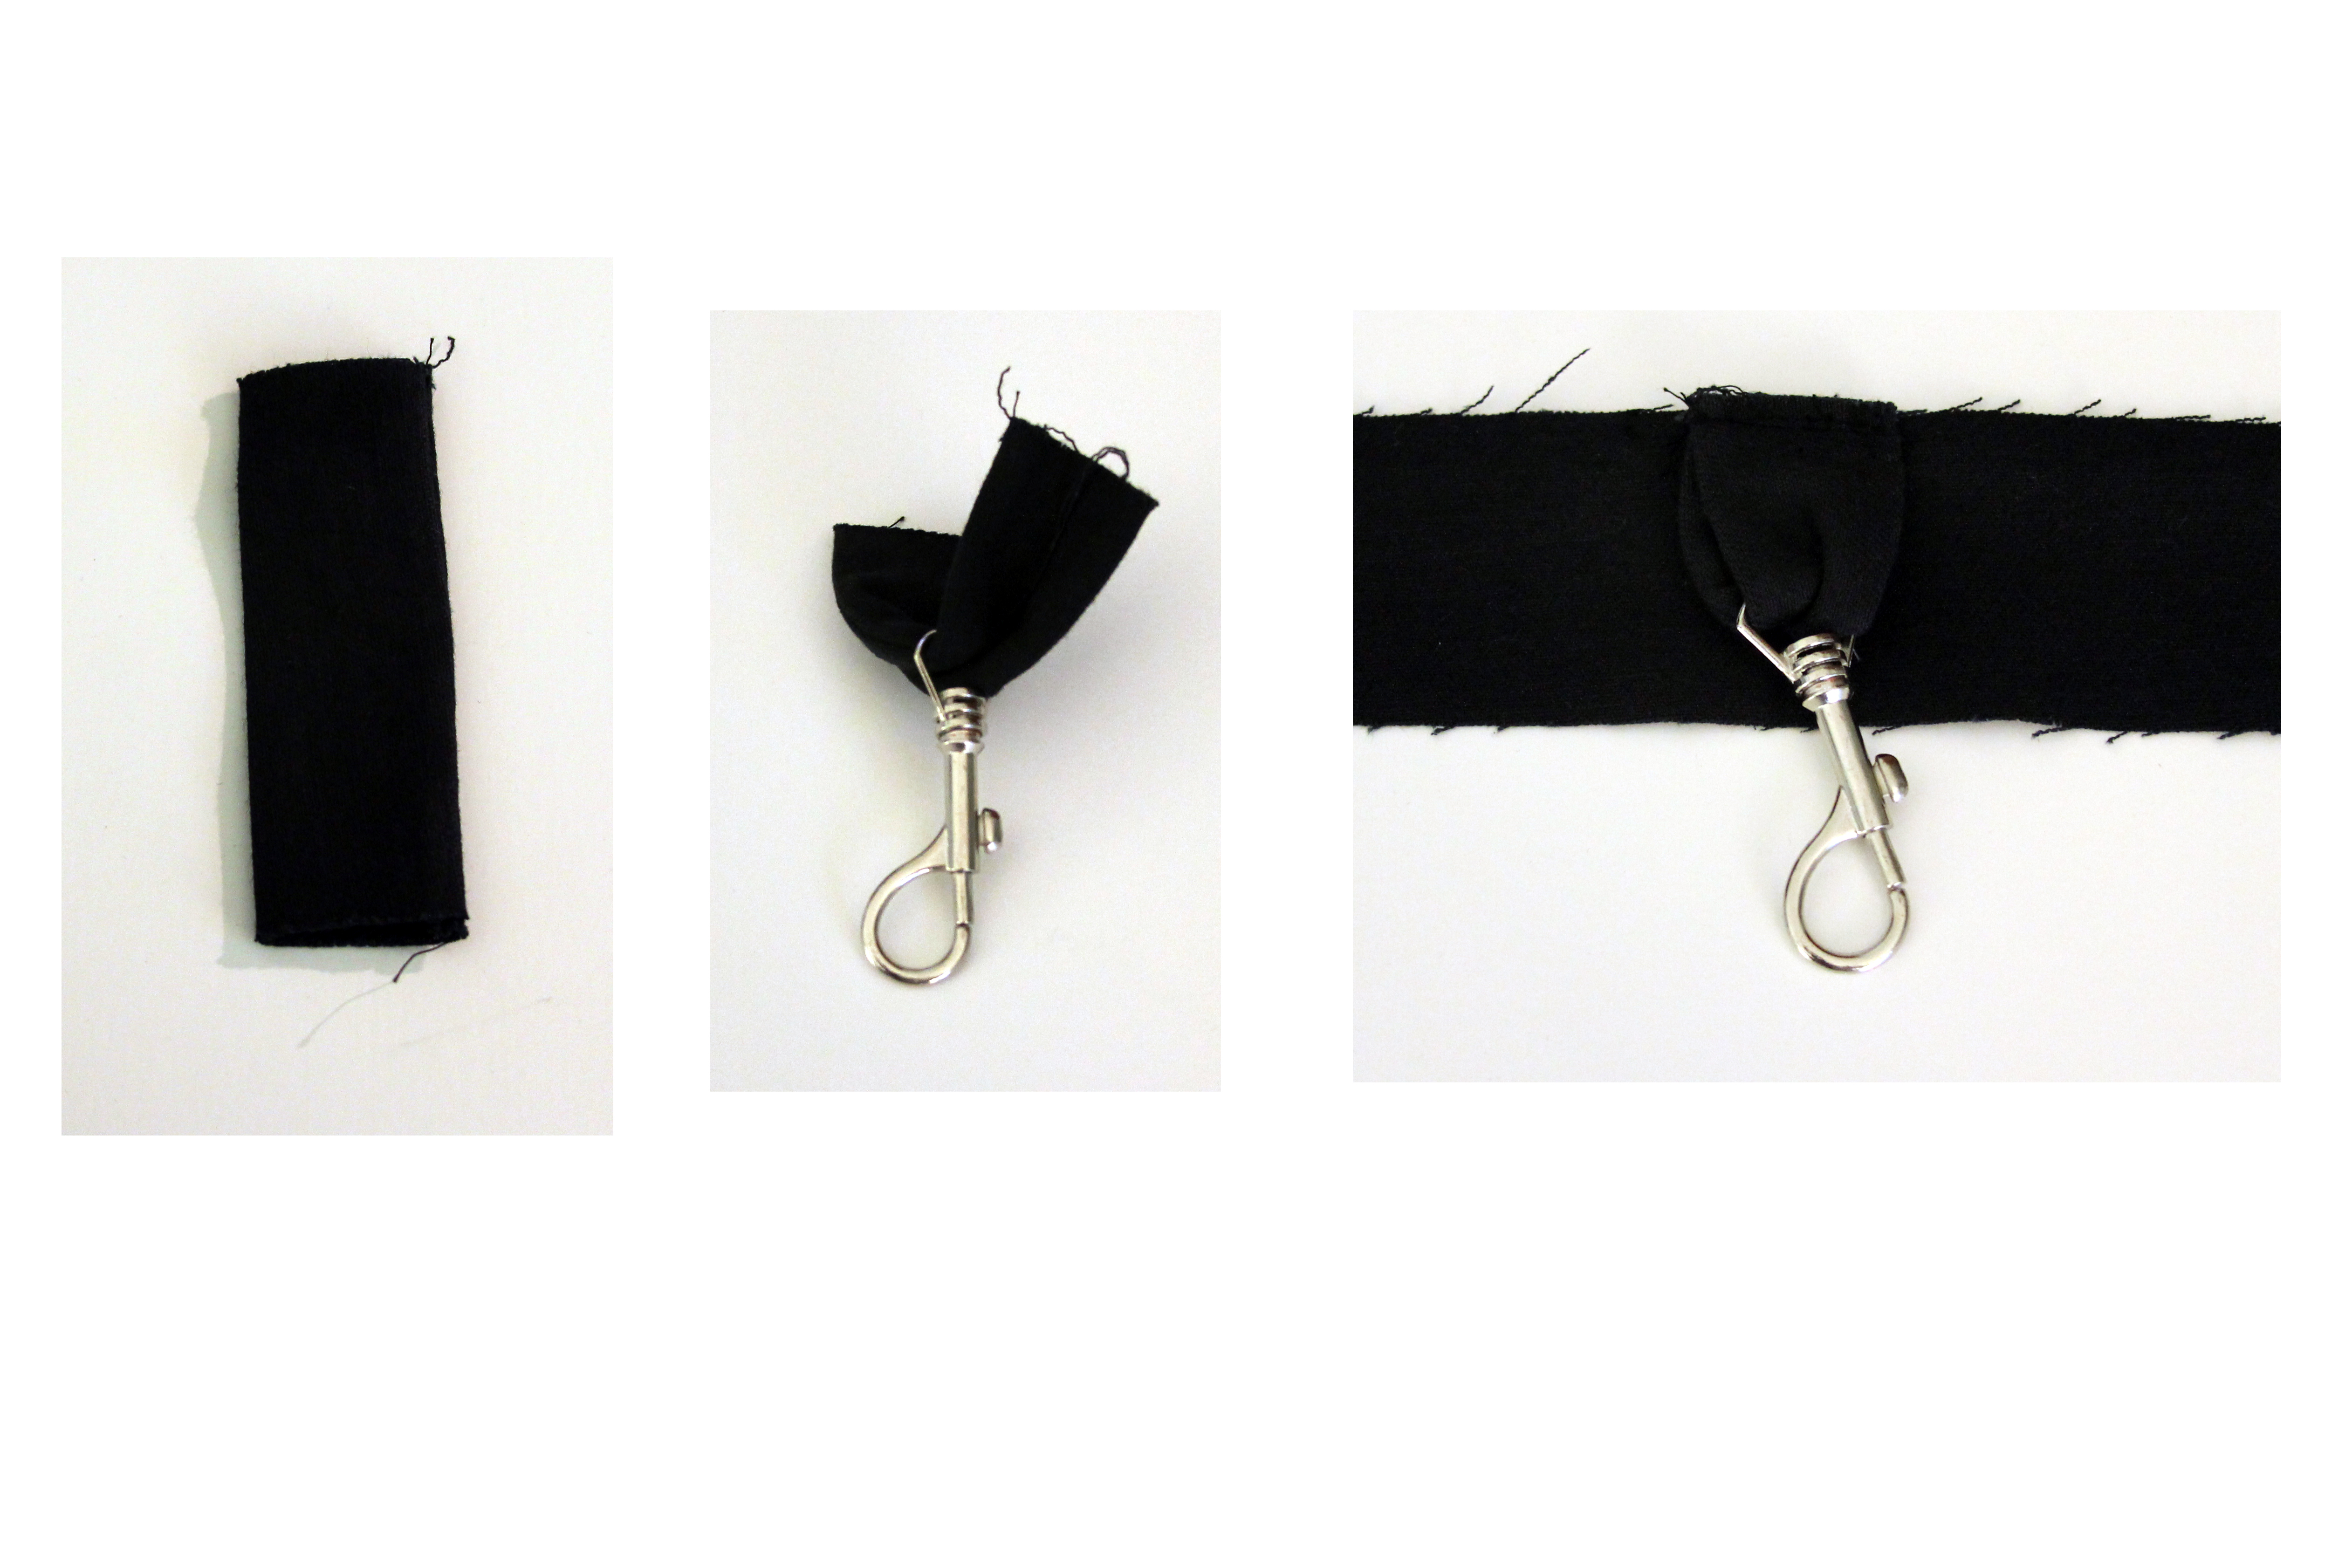
To mark the center, fold the 2 ¼” x 37” piece of denim for the lining in half and press.
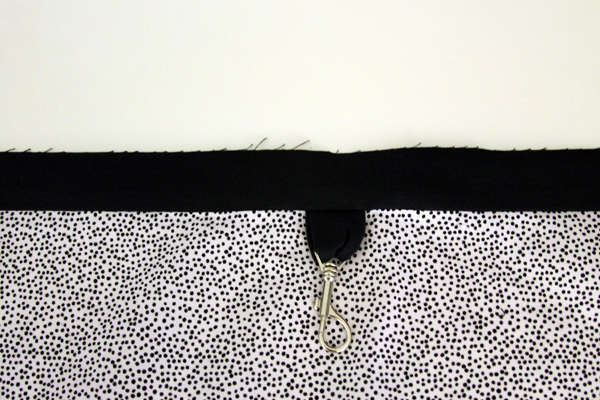
Center the key holder on the right side of the denim on the pressed fold.
Stitch ¼” away from the edge.
Sew Together
Put the right side of the denim on the right side of the lining.
Stitch ½” from edge, stitch again.
Press seam open.
Fleece for Lining
I’ve used fusible fleece in all the other tote tutorials. Because I could not iron over the key strap, I used warm ‘n natural batting and sewed it in for the lining. (I would have used sew-in fleece but I didn’t have enough.)
(You could use fusible fleece if you put it on each piece before adding the key strap and sewing the lining together. Just cut it 1” smaller then that width and height of each piece.)
Cut a piece of batting/fleece 16 ¾” x 37”
Baste onto the back of the lining piece. Trim.
Topstitch on either side of the lining seam between the denim and the quilting cotton.
Pockets for Interior of the bag:
Water Bottle Pocket
Cut one piece of denim and one piece of quilting cotton 13” x 6 ½”
Center and iron 12” x 6” piece of fusible fleece on the pocket lining piece. (I’m putting fleece on this pocket so it will absorb any “sweat” from the water bottle)
Put wrong sides together and stitch ¼” on all sides, leaving a gap for turning.
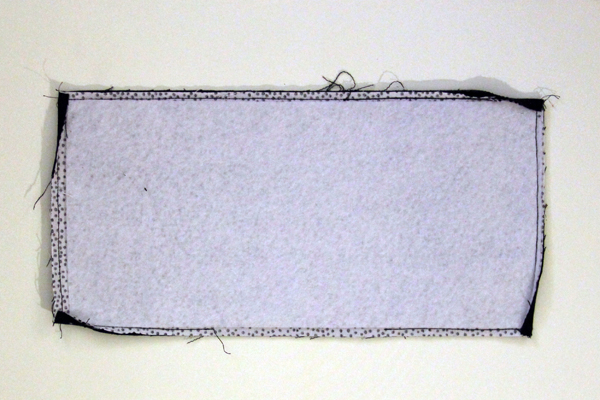
Above shows the new way I make lined pockets! So clever!
Turn right side out, top stitch, catching the opening.
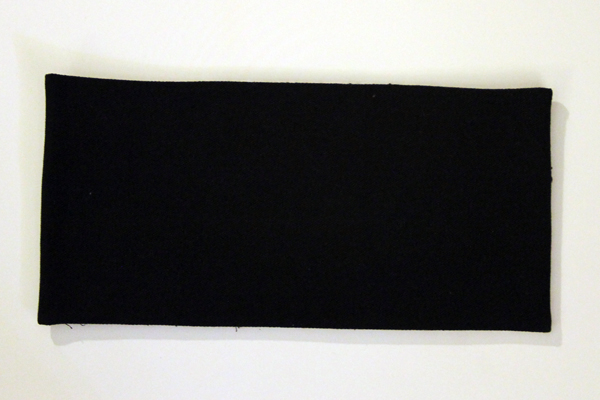
See how nice and pointy the corners are!
Fold pocket and press to mark center. (I stitched down the middle just to have a better guide line)
Fold bag lining and press to mark center.
Pin center of pocket on the center of the bag lining.
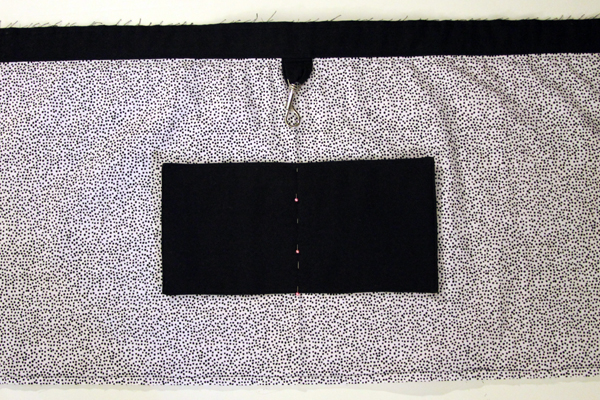
Place the bottom of pocket 4” from the bottom edge. Pin the sides of the pocket 3 ½ ” from center.
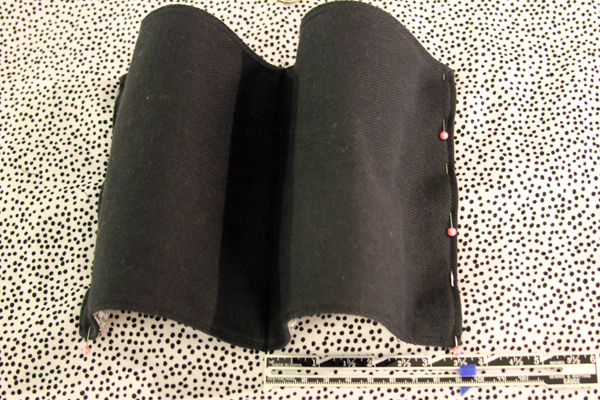
Double stitch center line and 1/8” from sides. Do not stitch bottom. This is open for the bottles to go through.
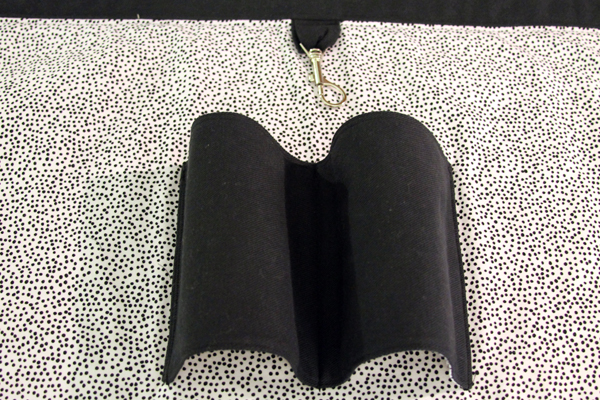
Zippered Pocket
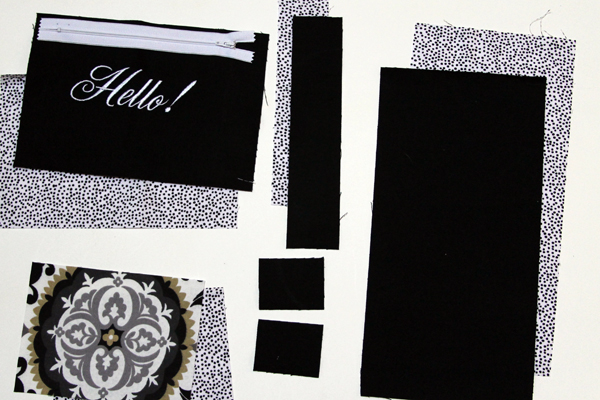
Zippered pocket will be 9” x 7 ¼”
Use a 7” zipper
Cut two 2 ½” x 2” pieces of denim.
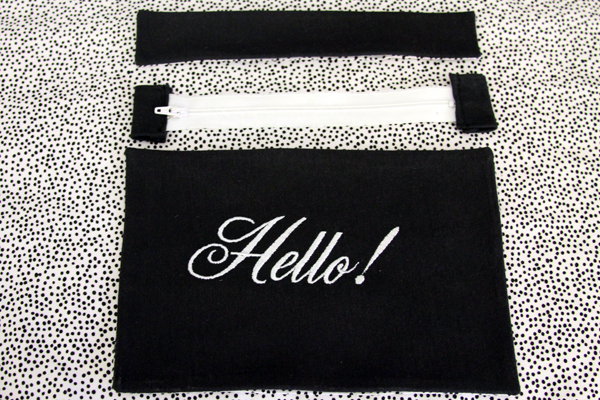
Turn under ¼” on the 2 ½” sides and stitch.
Turn under ¼” on the 2“ sides and stitch. Fold 2” sides over end of zipper. Stitch.
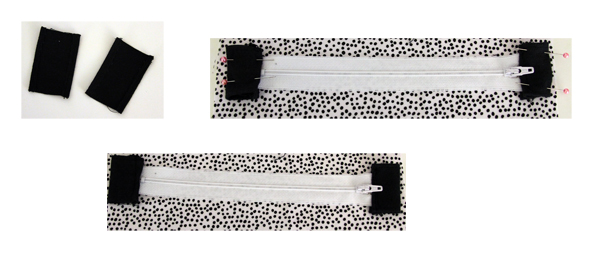
Zipper section is now 9” wide.
Cut 1 piece of denim and 1 piece of lining fabric 9 ½” x 6 ½”, Stitch right sides together on all sides, leaving a gap for turning. Turn right side out. Press. Using a zipper foot, attach to bottom of zipper.
Cut 1 piece of denim and 1 piece of lining fabric 9 ½” x 2, Stitch right sides together on all sides, leaving a gap for turning. Turn right side out. Press. Using a zipper foot, attach to bottom of zipper.
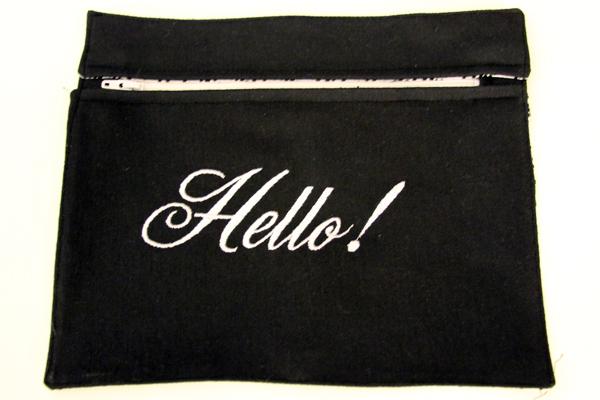
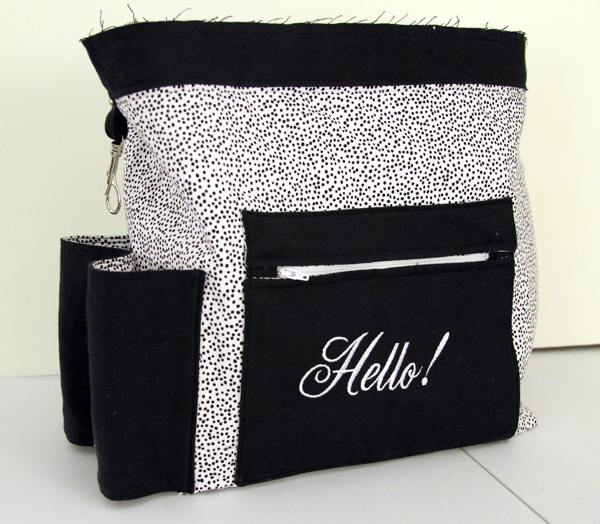
I wanted to add a little personality to the bag and do not use my embroidery attachment enough. So there’s a little greeting every time you look in your bag!
I made this pocket before I discovered the new method for sewing pockets. See the corners are a bit wonky?
Center pocket on one side of the lining and 4” from bottom. (Remember when you center on one side of the interior bag, to take into account the ½” seam allowance. If you don’t, your pocket will be ½” off center when stitching the sides together)
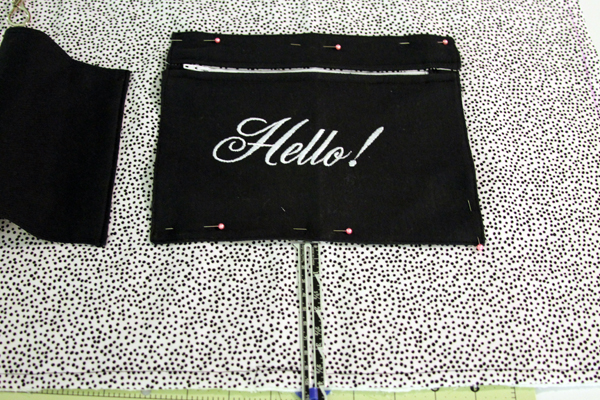
Double stitch 1/8” from all 4 sides.
Phone Pocket
Cut two pieces of fabric 6 ½” x 5”. (I fussy cut mine from left over exterior fabric. Warning! Cut the exterior bag and strap out before doing any fussy cutting or you might not have enough material!)
Use ¼” seams.
Top stitch top of pocket
Center on other side of lining, 3 1/2″ below the denim/quilting cotton seam. Double stitch 1/8” away from the two sides and bottom. (Remember to account for the ½” side seam.)
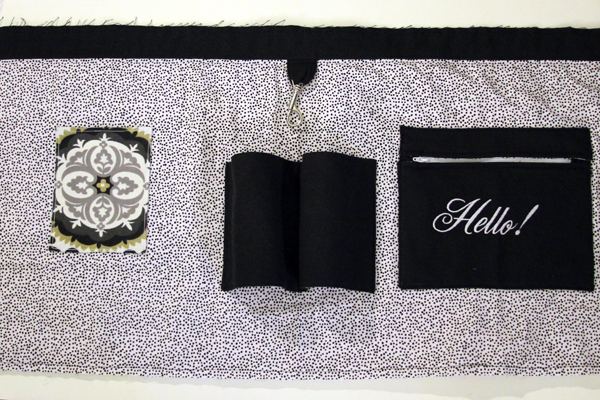
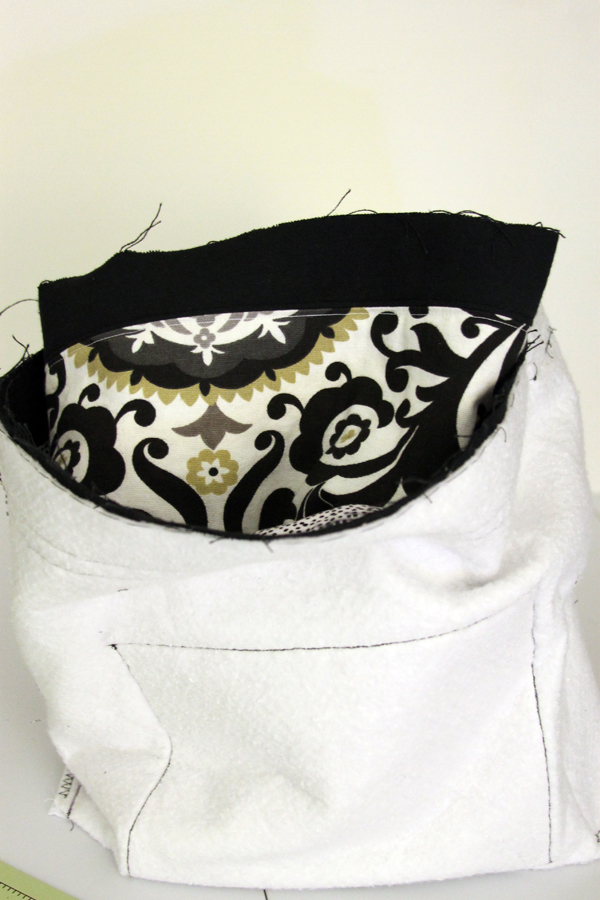
Sew lining together.
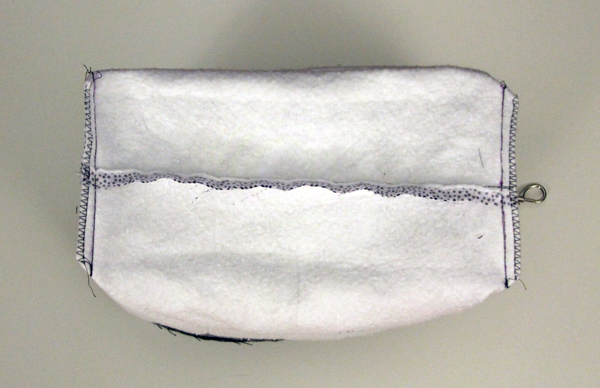
Fold lining so raw edges meet. Wrong sides together. Double stitch the side and the bottom.
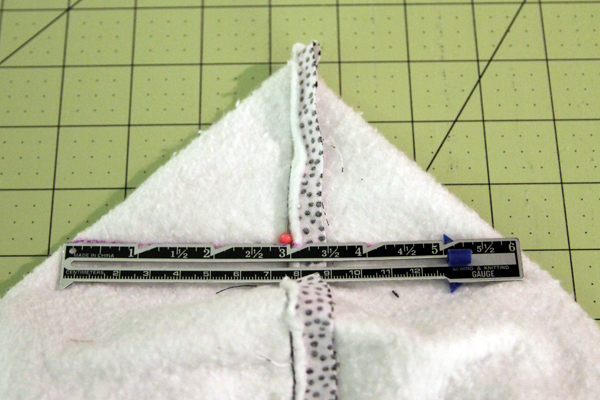
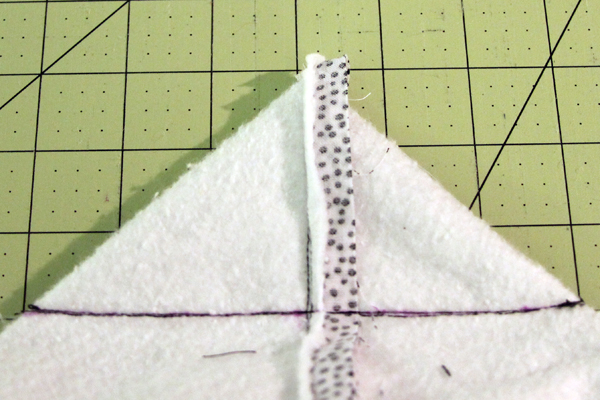
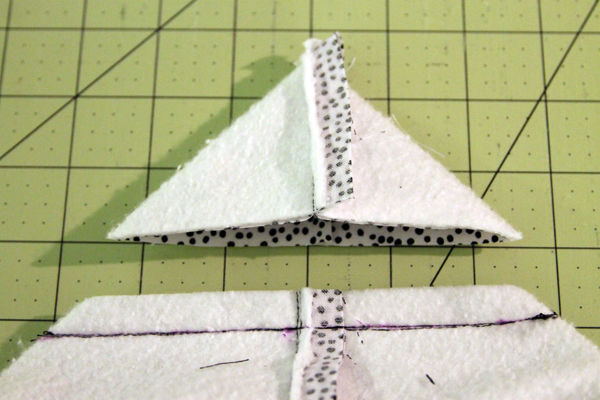
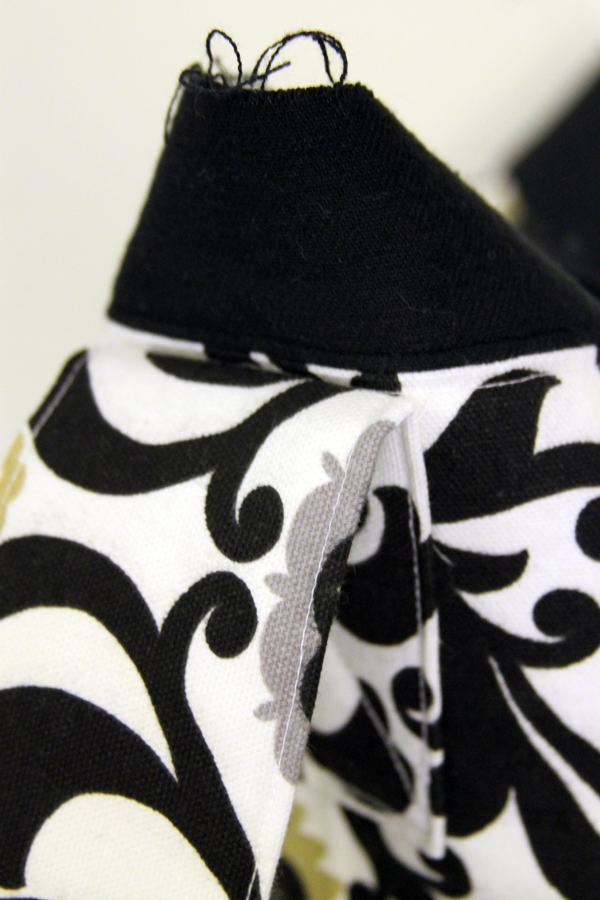
Box the corners
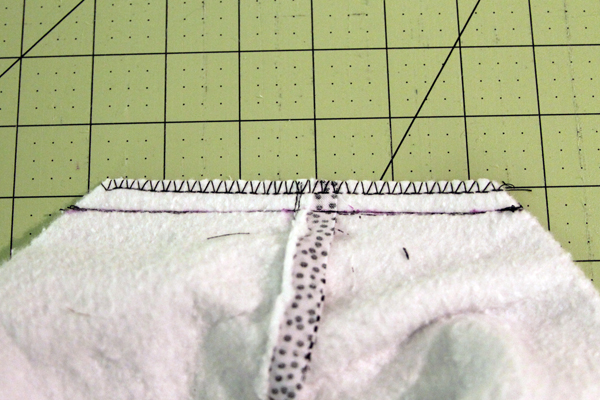
Box the corners at 6” , matching side seam with bottom seam on one side and pressed fold with bottom seam on the other side. (If you have questions about boxed corners, you can refer to this tutorial.)
Bottom Insert
Pellon Peltex is a very stiff fusible interfacing. So stiff that it can be difficult to work with. It’s also a little pricey. I only used it to introduce you to a new concept. Plus I had some in my stash.
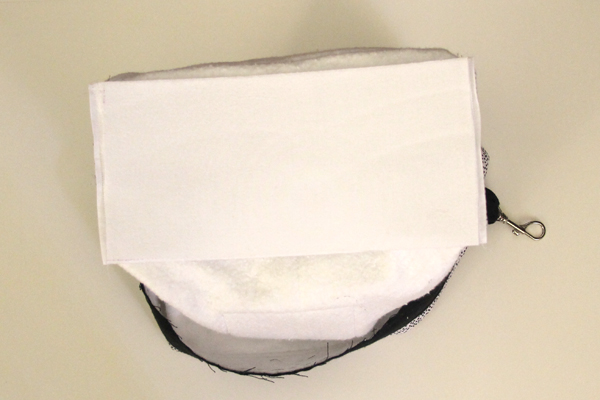
Cut Pellon Peltex 71F Single-Sided Fusible Ultra Firm Stabilizer 12” x 6”
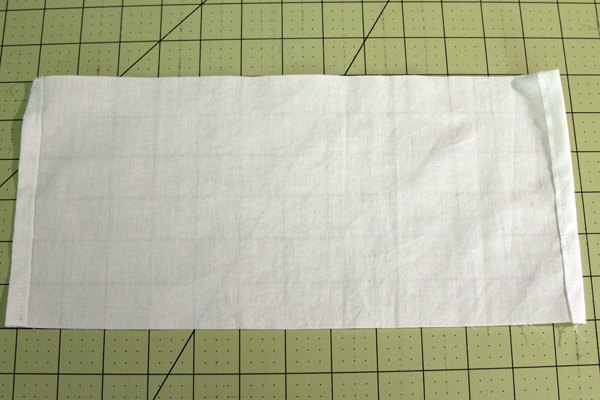
Cut a piece of muslin 14” x 7”. Turn the short sides under 1/4” and then another 1/4”.
Iron the Peltex onto the center of the muslin. Turn the long sides over onto the Peltex and stitch.
Stitch the insert to the seam allowances on the bottom of the lining.
Outside Bag
Cut for the Outside Bag:
Denim 2 ¼” x 37”
Canvas Duck 10” x 37”
Denim 6 ½” x 37”
I used fusible fleece for the exterior bag. Cut a piece 17” x 36”
Use ½” seam allowances.
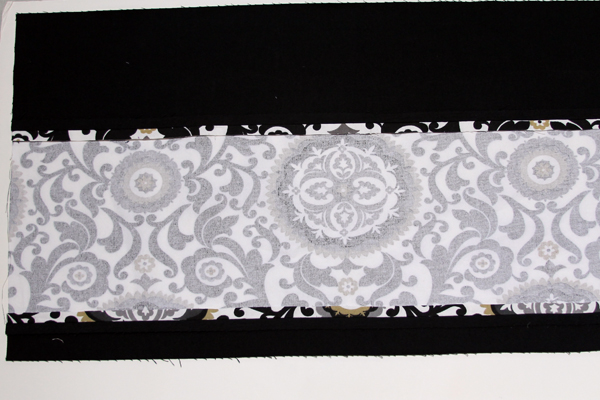
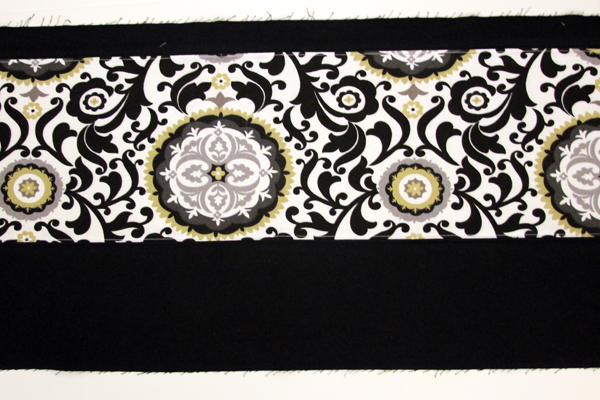
Double stitch long sides together of main and denim. 2 ½” Denim on top, 6 ½” Canvas duck in the middle and 2 ½” denim on bottom.
Press seams open.
Center then iron the fusible fleece onto the wrong side of the exterior bag.
Top stitch close to the two seams on both sides.
Fold short ends together and press. The fold will be one side of the bag. .
Stitch the two sides together, wrong sides together and the bottom.
Box the corners at 6” , matching side seam with bottom seam on one side and pressed fold with bottom seam on the other side. (Refer to the lining pictures above)
Strap
Cut one 44” X 5 ½” fabric
Cut one 43” x 4 ½” fusible fleece
Center and iron fusible fleece on wrong side of strap.
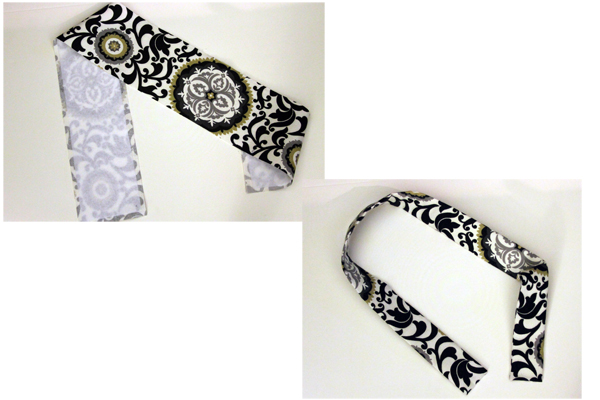
Fold long sides wrong sides together. Use ¼’ seam and stitch all four sides together, leaving a 4” gap for turning on one of the long sides.
Turn right side out and top stitch on all four sides, catching in the opening.
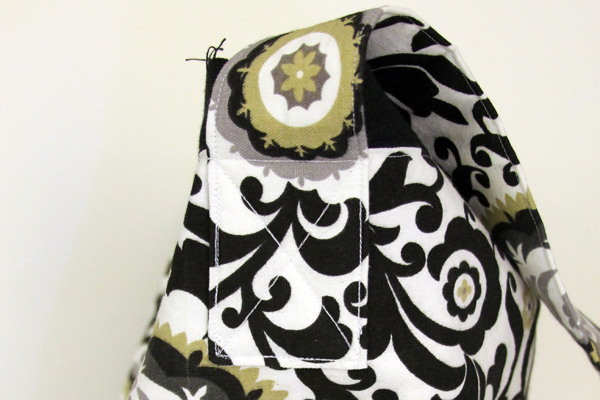
Attach to exterior bag 3 ½” from the bottom of the denim piece. Double stitch a large box with a big X for extra durability.
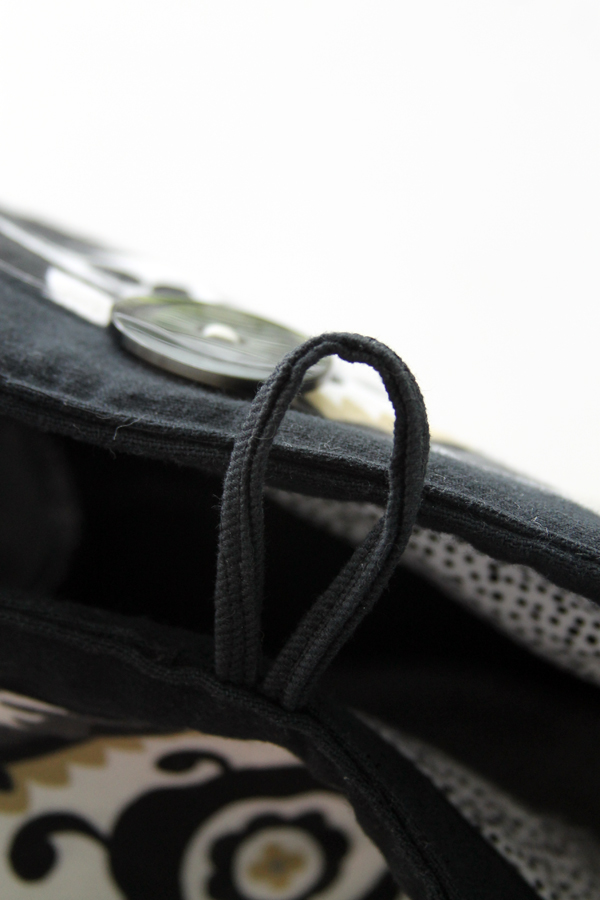
Loop
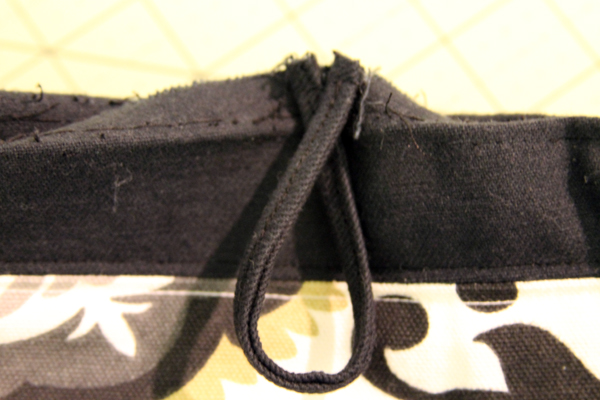
Cut fabric 6” x 1”
Turn under ¼” on each long side. Fold over so stitch edges are on top of one another. Stitch.
Fold Fabric, center toggle on raw edges on outer bag. Stitch in place.
PUT THE EXTERIOR AND INTERIOR BAGS TOGETHER
Put the exterior bag inside the interior bag, right sides together. Make sure the strap is tucked inside.
Stitch ½” from top, leaving gap for turning.
Turn through opening.
Stitch ¼” from top.
Center button on the opposite side of the loop strap.
Hand sew the button! (I tried to use the sewing machine to attach it but the button was too big)
Done!
Discover more from
Subscribe to get the latest posts sent to your email.


Great directions! But I will start with an easy peasy one