The Splendid Sampler — Week 42
I don’t know about you, but I’m really get tired of my posts on the Splendid Sampler.
Scheesch, the never-ending quilt.
I would kinda really like to throw it in a basket and hide it in a closet.
But, I’m goal-oriented. I must get it finished!
If it was in a basket in the furthest closet in the house, I would hear it calling at 2 am. Finish me.
Seriously. It’s a problem.
So. I. Gotta. Move. On.
Finished the white borders this week! Yay!
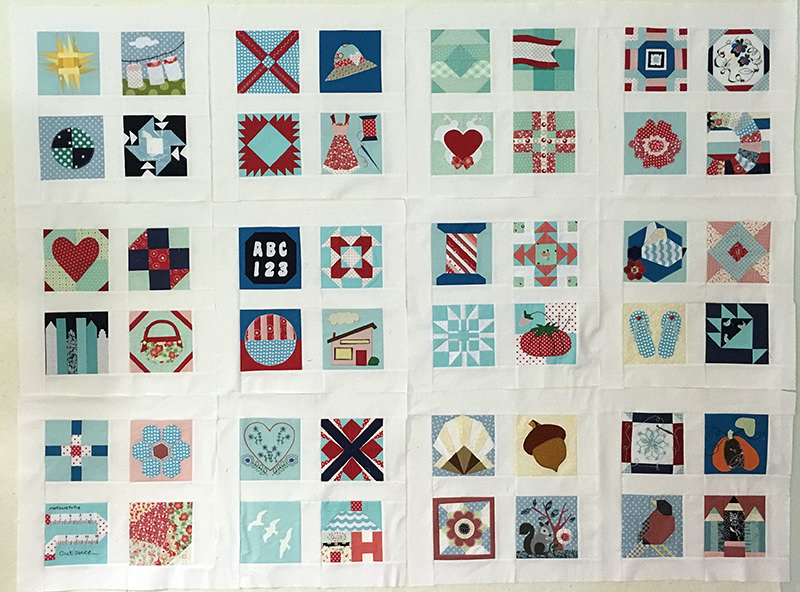
In week 40 I finished the aqua blocks and navy blue blocks.
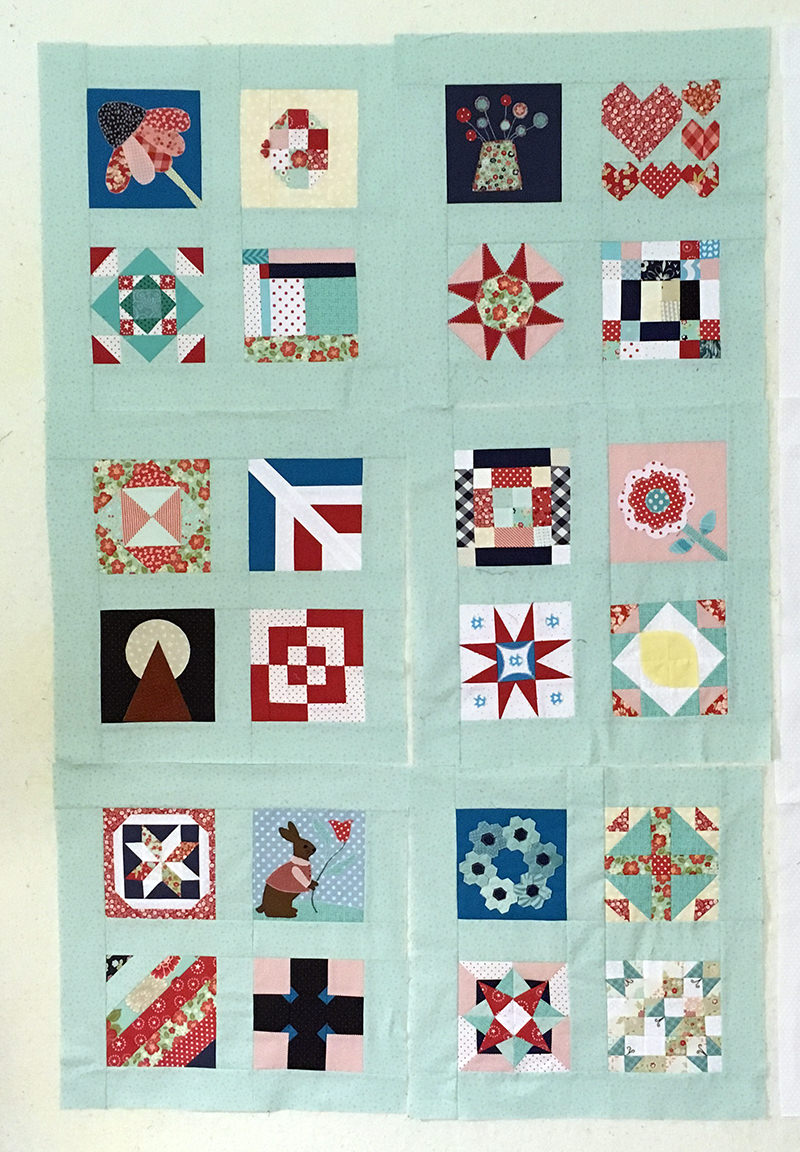
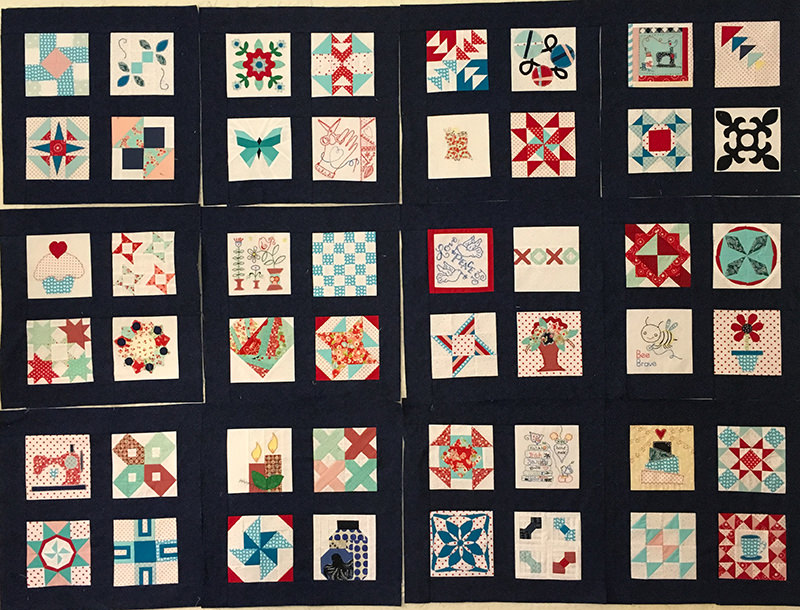
While I enjoyed creating the blocks and liked most of them individually, I thought all of them together was just too “busy”.
I mean really. Something needs to be in control here, right?
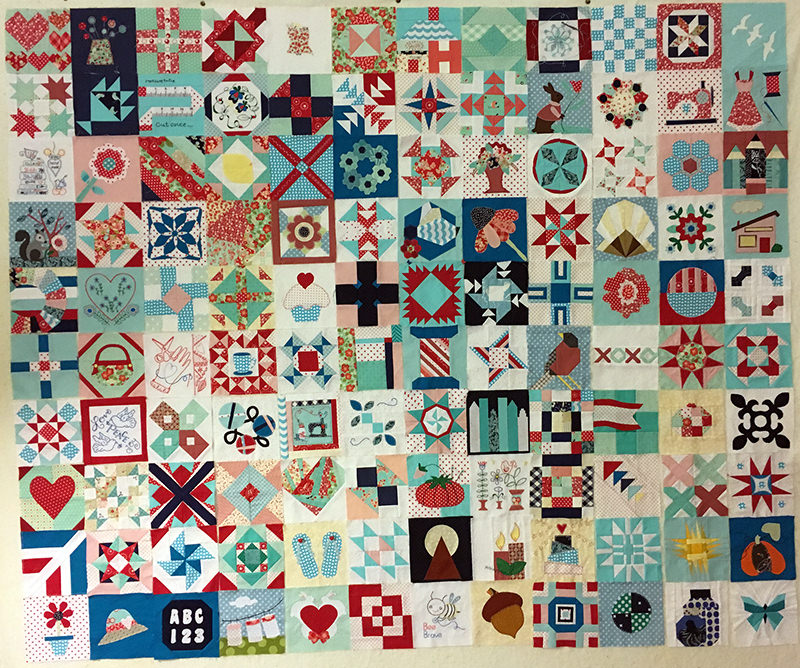
Chaos!
So I decided to make groups of four and outline them with borders.
And I then put them in the layout I thought might work.
Here’s my “hi-tech” design.

I had 12 blocks bordered with navy blue, another 12 with white, and then 6 with aqua. I thought this was a pretty good design.
And then I decided to get my camera out.
Now, I have to tell you that my “design wall” isn’t big enough to actually put all of these blocks up at one time. So I put two rows up together and took a photo, then did the next two, and then the last two. And, through the miracle of Photoshop, I put them all together.
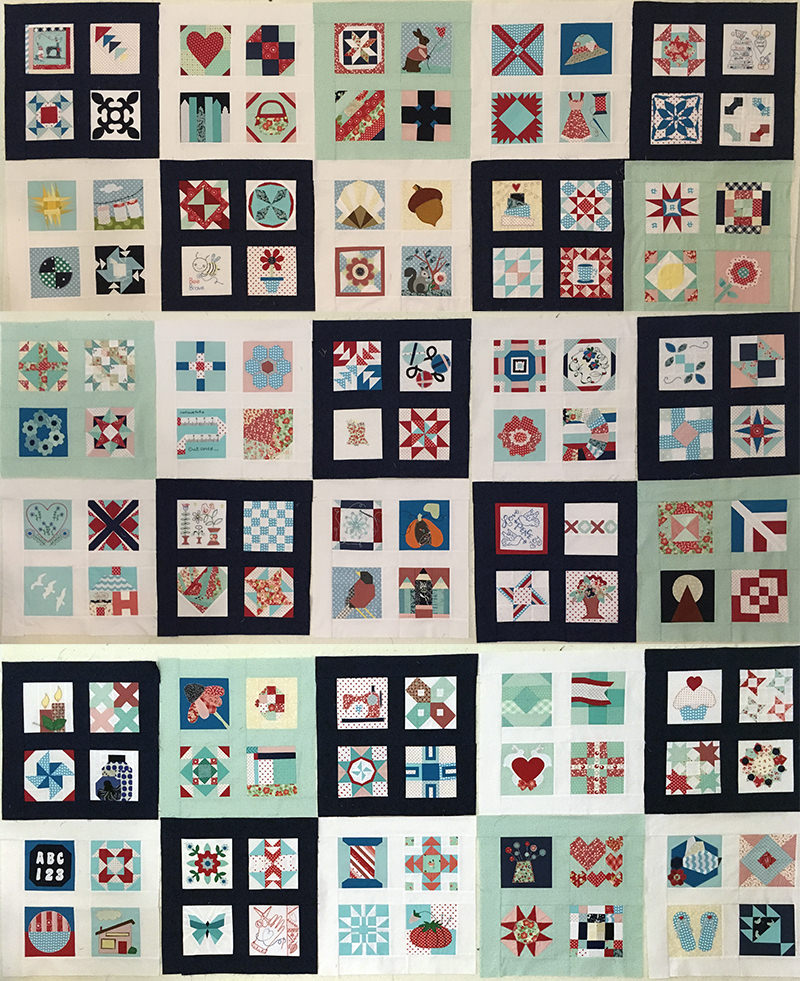
On no! The chaos is back!
I wasn’t happy with it. All those little blocks were back being too busy.
Since I have to stand on my desk plus get a ladder out for the part that’s not by my desk to rearrange the blocks, I went to Photoshop and moved things around again. You might notice that I’ve just used the same blocks over and over. Laziness.
Here’s a second layout option.
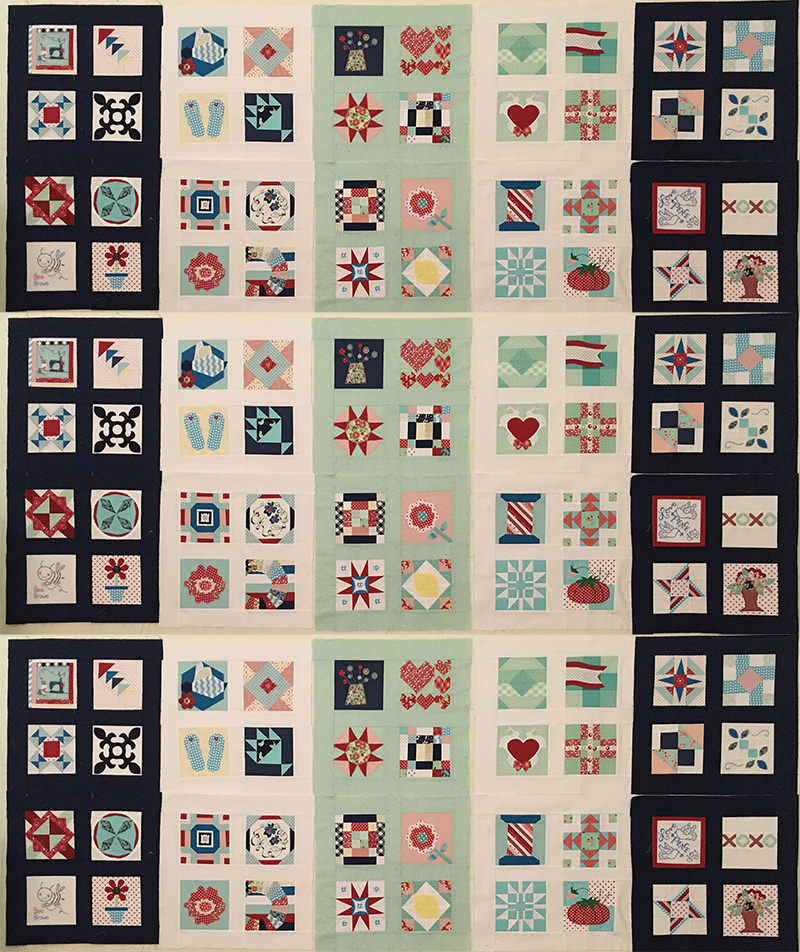
A little calmer, right? I liked it much better but thought the aqua blocks kind of blended into the white ones.
Then a third idea.
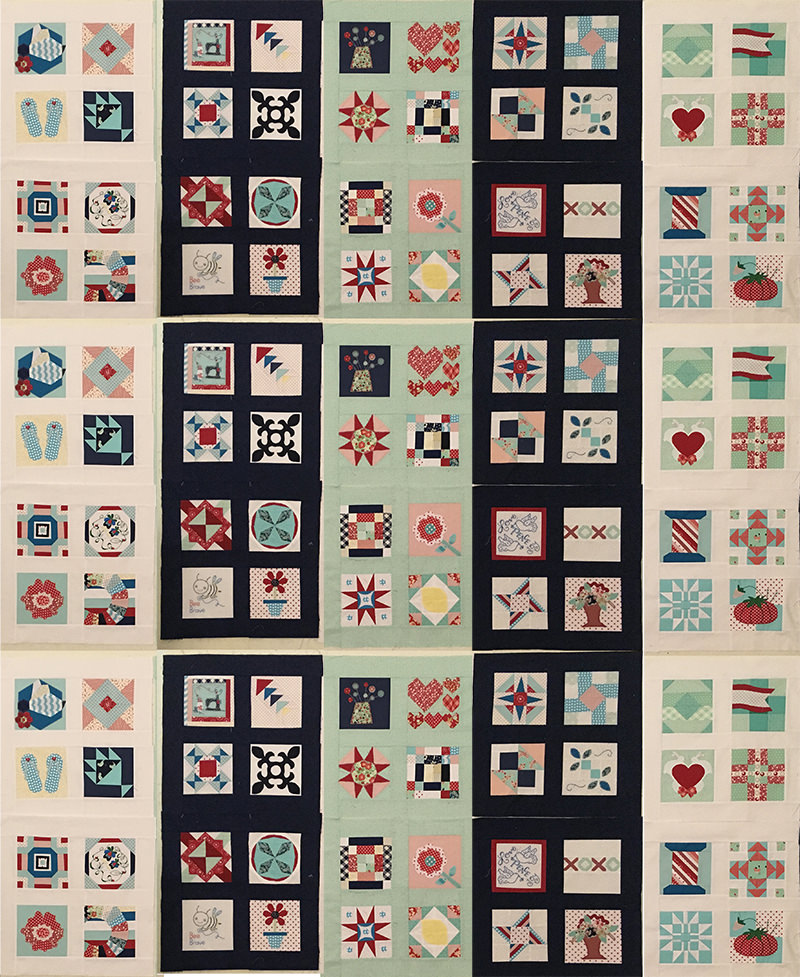
Now I think I like the third option better.
But I’m open to suggestions. On the layout. Not anything else!
When this quilt is finished it should be 90″ x 108″–a very large Queen-size. The biggest quilt I’ve made yet. Just to make the quilting easy, I’m using the Quilt As You Go method (qayg) from Shiny Happy World so the next step is putting the batting on individual blocks and quilting them. Then I’ll put on the backing and the final step will be the binding.
I’m making progress! Very slow, but progress!
I will finish this! The sooner the better! (Because I have the next quilt calling out to me!)
Discover more from
Subscribe to get the latest posts sent to your email.

Beautiful beautiful beautiful! Such talent! I like the third design too!
Thanks Terry! Yes, I think the 3rd layout is what I’m going with.