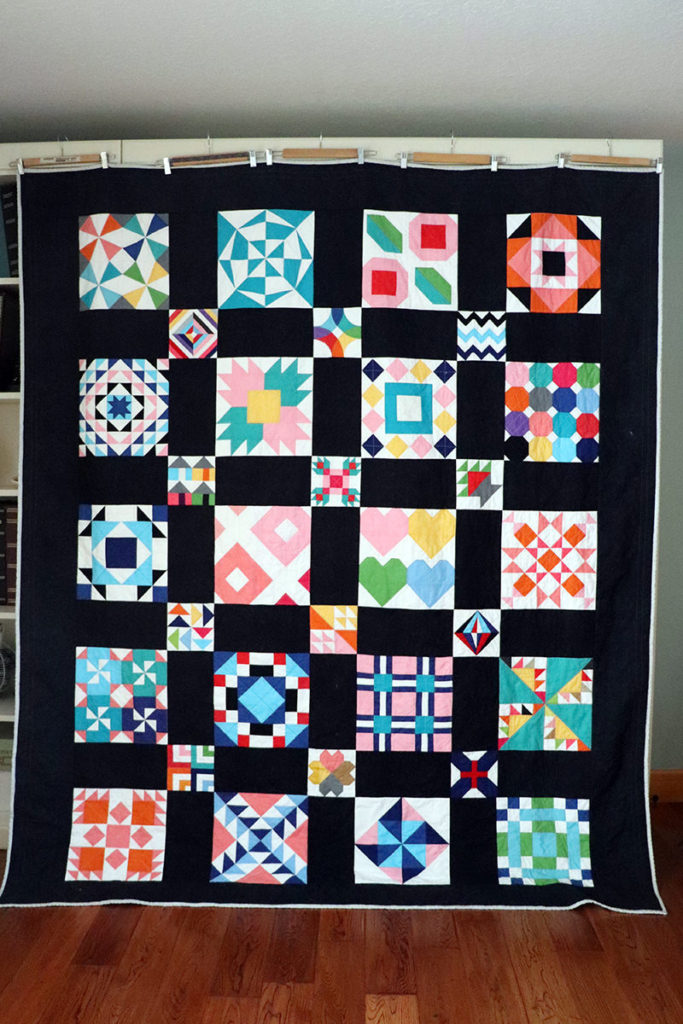
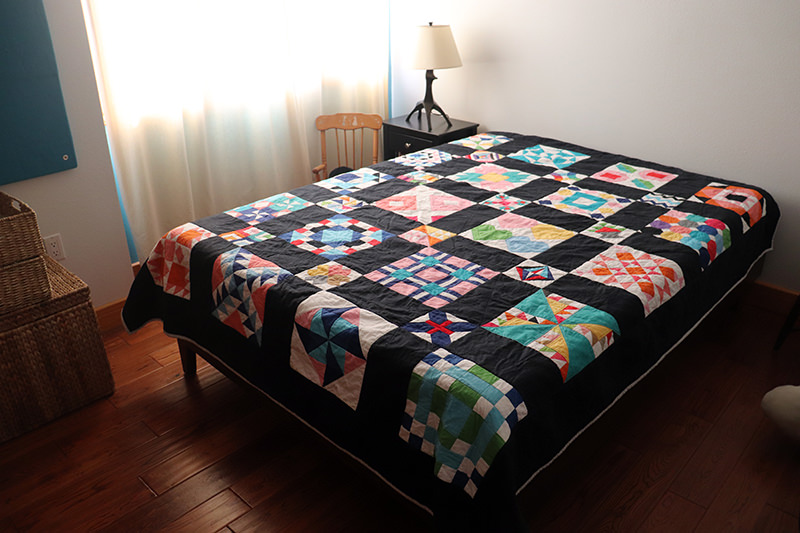
The second Moda Block Heads 3 Quilt. Finished!
Yippee!
I am so happy it is done. And I love it!
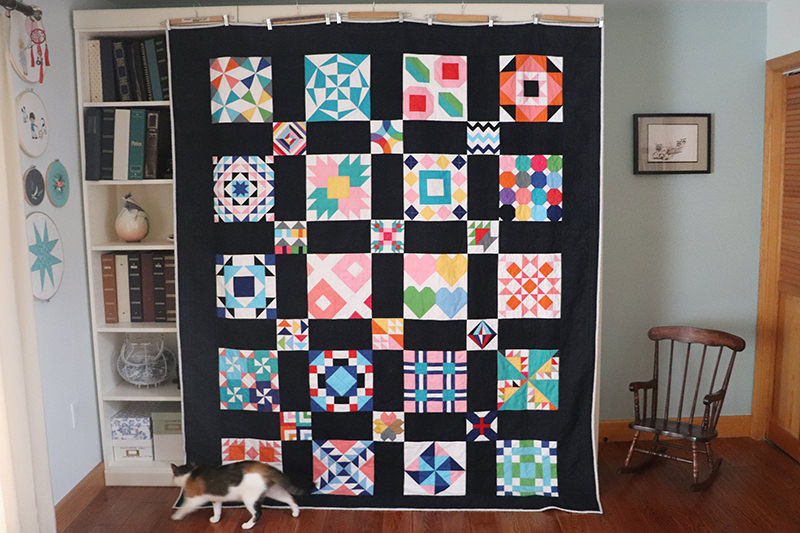
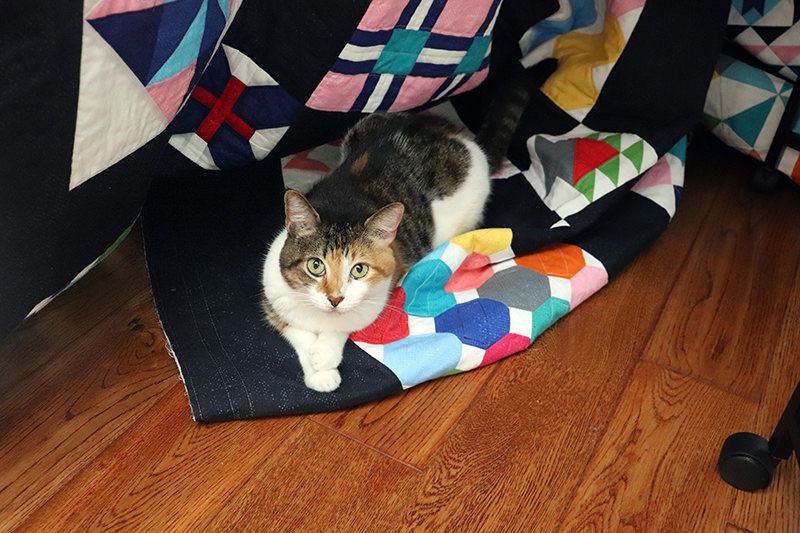
Gotta say, it’s queen sized and very difficult to photograph. Especially when Miss Kitty follows me everywhere I go and loves nothing better than photo bombing my snaps!
I had planned on taking it out in the community yesterday to get some pictures in the beautiful Florida natural sunlight. But nope. It started raining in the wee hours of the morning and continued pouring throughout the entire day. Had to cancel our weekly ukulele session because the streets were flooded. Really. I have a Jeep Wrangler and had to go out in the morning and barely got home two hours later.
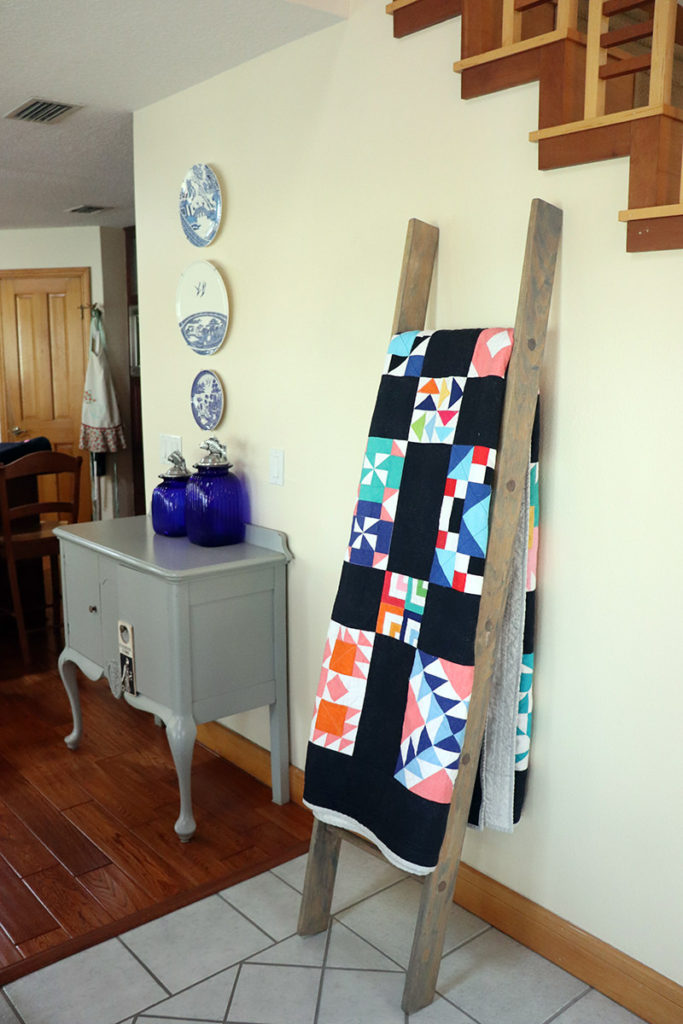
I have been interviewing the quilt all over the house.
A little background…
I used a “quilt as you go” method. I separated all the blocks into manageable sections, stitched those pieces together, then quilted each with the batting. Then stitched the large bits together.
Then I had to add the backing.
I prefer “glue basting” my quilts. That’s where you put the top, batting, and backing together with a spray adhesive. Quilting peeps say it’s expensive. You know what? Quilting is an expensive hobby! The other option is pin basting. I have done pin basting. Lots of special safety pins. Lots of extra time pinning then pulling the pins out as you stitch, and the layers still move. For me, glue basting is the way to go.
The last couple quilts I did, I used “table glue basting”. That’s where you spray all the pieces (backing, quilt, and batting) and then carry them back inside and put them all together.
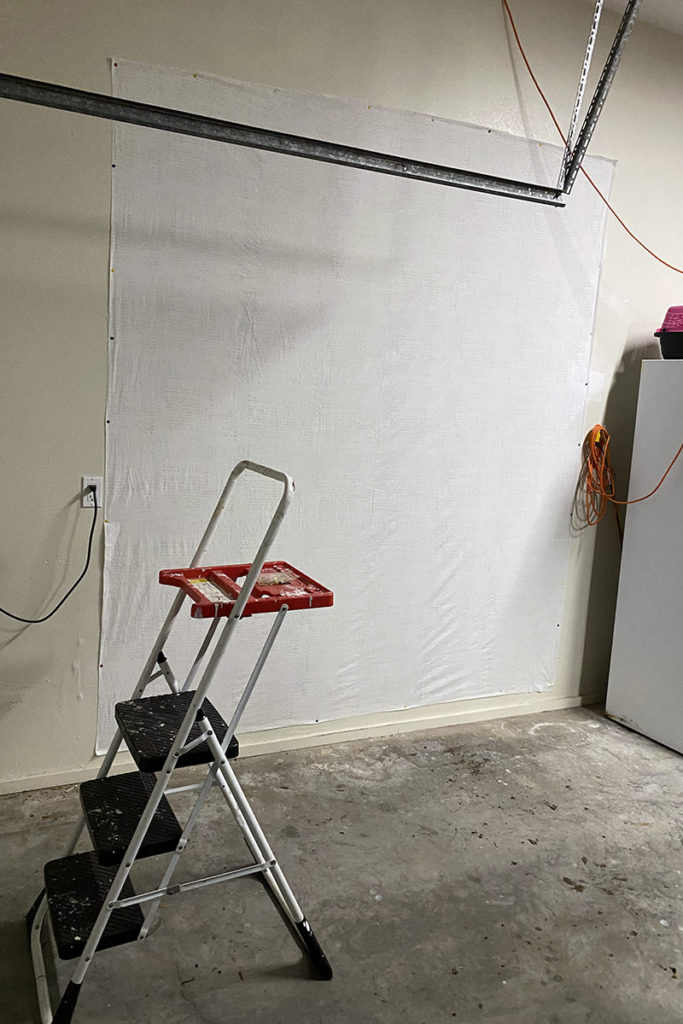
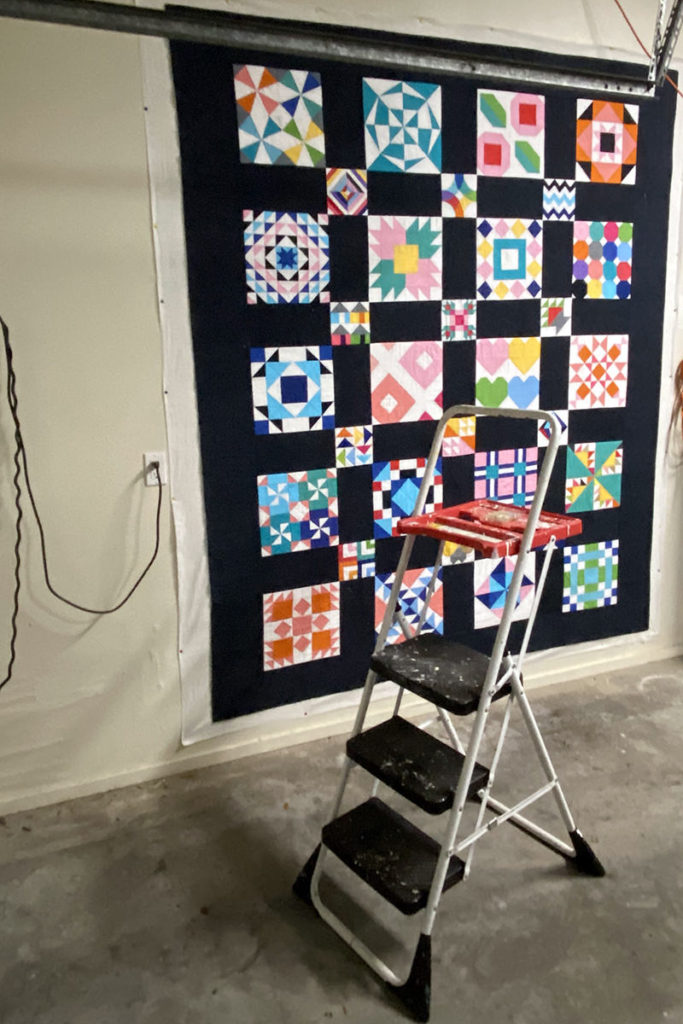
That wasn’t going to work with this quilt because of it’s size. (I don’t have a queen sized table. Who does?) So I did wall basting. I found a spot in my garage and pinned the backing up and sprayed it with the adhesive. (Okay this is a garage. Probably better than some but still very garage-like. I had plans to paint the floor this summer but that’s obviously not done yet!)
Next I put the front on that is already quilted with the batting and pressed it on the prepared backing.
Then I brought it in and pressed. While I don’t pin the entire quilt, I do pin along the edges because they will separate.
Then I did some “stitch in the ditch”. Just enough to make sure the backing is attached securely. Plus some more quilting on the borders. Miss Kitty was supervising.
Almost all of the fabric used in this quilt is from Moda’s Zen Chic. All the colors are from her “Spotted” line. I think I bought all of it from Fat Quarter Shop.
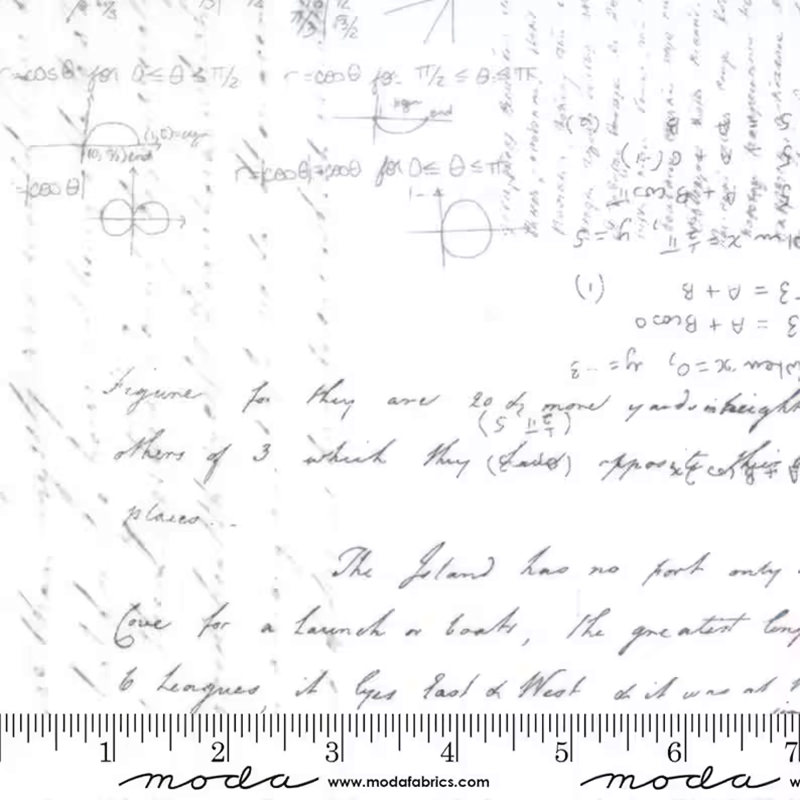
I ordered the backing from Crimson Confection on Etsy. By the way, I’ve been pleased with all the places I have ordered from on Etsy. This is 108″ wide “Script”. I’ve always wanted to use “words” on the backing for a quilt but never liked the phrases. You can barely read these. And there are some algebraic references and hexies. Perfect! Plus using this wide backing simplifies the process since I don’t have to piece the back.
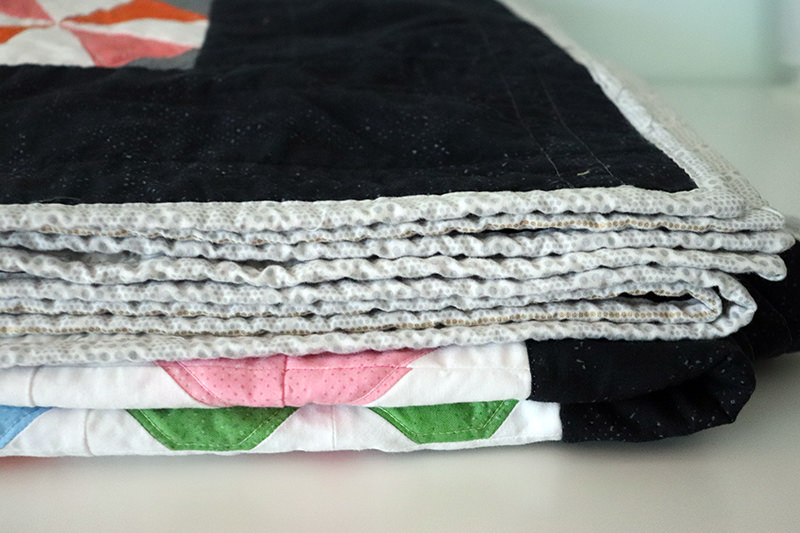
I had the fabric for the binding, “Day in Paris”, in my stash. It’s an old Zen Chic line that I originally purchased for binding the “Negative Space” quilt I made for my North Dakota family’s guest suite.
The only fabric that was not from Zen Chic was the white. That’s Robert Kaufman’s “Kona Cotton Solid White” that I just always have tucked away.
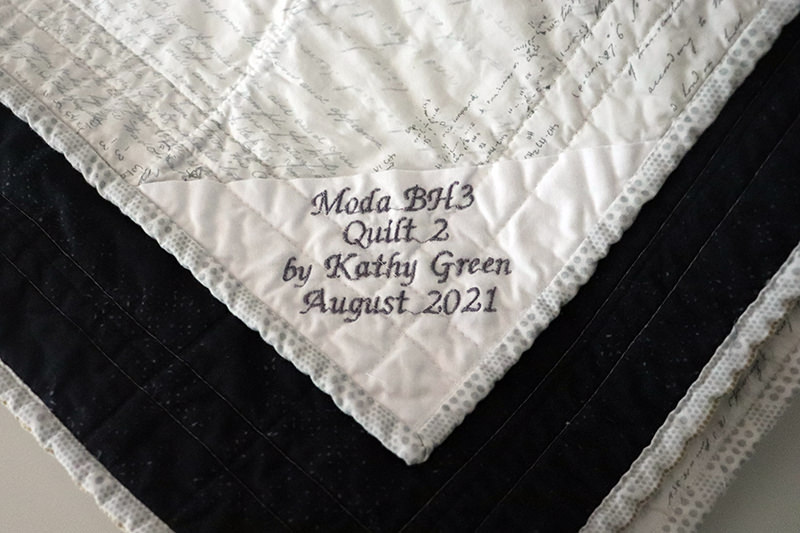
I used my Babylock Unity to embroider the label.
This will be placed on my second guest room’s bed. That room is a work in progress and this quilt is the only thing finished so far! Baby steps!
Now I have to get back to tote making. I’ve got to test my new sewing machine on all those layers!
Discover more from
Subscribe to get the latest posts sent to your email.


LOVE IT!
Thanks Lauri! Next time you come on vacation, it’s in the second guest bedroom!
Wow! So beautiful! Glad you have a helpful one to pose for pics!
Terry
Thank you Terry! It turned out much better than I expected! And Miss Kitty is so cute!
Great looking quilt! Miss Kitty is a good model! That glue situation on the wall looks precarious!
Thanks Jes! Miss Kitty is doing much better at modeling than Maggie ever did! I think the annual pet Christmas Cards will have to start back up!