
Spooky Mabel Quilt
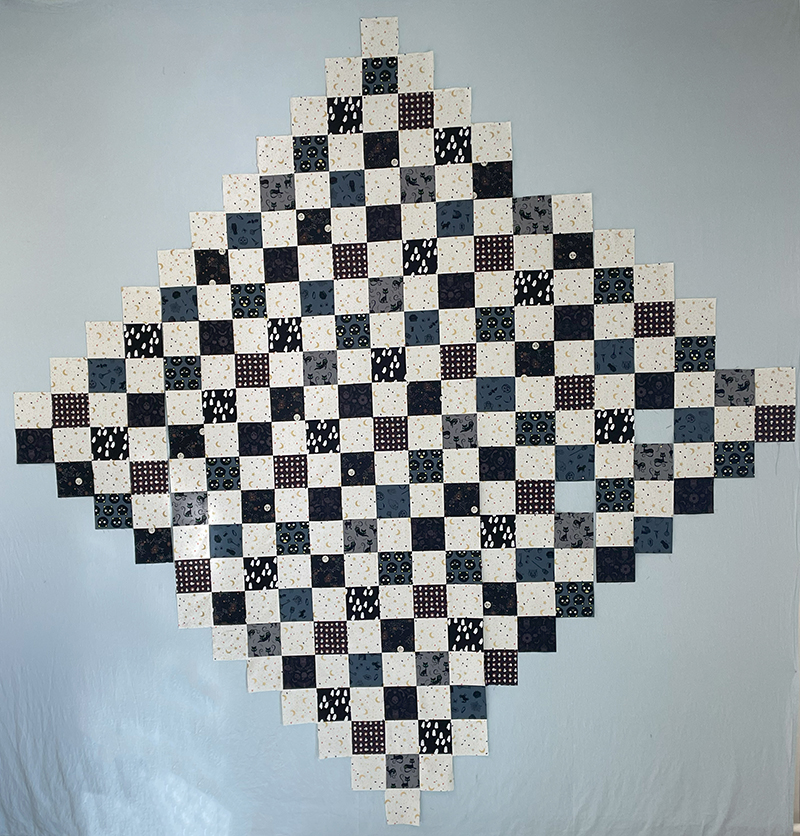
I have finished another quilt top!

Last week I mentioned that I would give you some details on this quilt.
First, I washed and dried all the fabric then starched and pressed it.
This quilt top was finished in a short time because I did “strip piecing”.
I cut several strips of the background fabric on the 44” side at 4 1/2″. Then cut one strip from each of the Halloween fabrics from Ruby Star Society. And stitched them together.
Then cut them up into 4 1/2″ x 8 1/2″ rectangles.
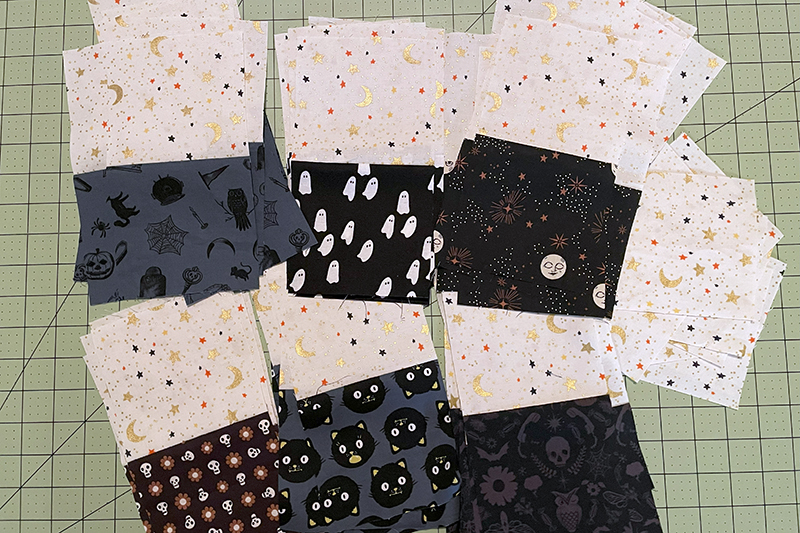
I had enough of these green-eyed cats from last year’s Halloween stash to make twelve more blocks. I couldn’t strip piece those. Just stitched them together.

I had originally ordered two yards of the background fabric but it wasn’t quite enough, especially since I cut one strip too small. I actually needed 17 more blocks and had to cut two more strips. When I make this quilt again, I will get 2 1/4 yards.
I went to the local quilt shop and they carry neither Rifle Paper Company nor Ruby Star Society. I ordered more of the background from Etsy. I also purchased backing and binding for the Lucy quilt.
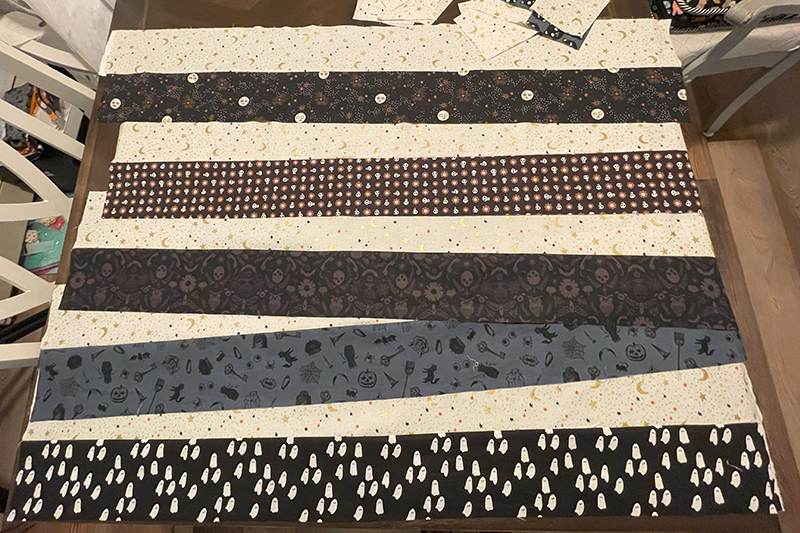
While I was waiting for these supplies I played around with placing the pieces and stitched what I could together.
Here is how far I was before the additional fabric arrived:
Strip piecing really speeds up making a quilt, but some of my blocks were coming apart!
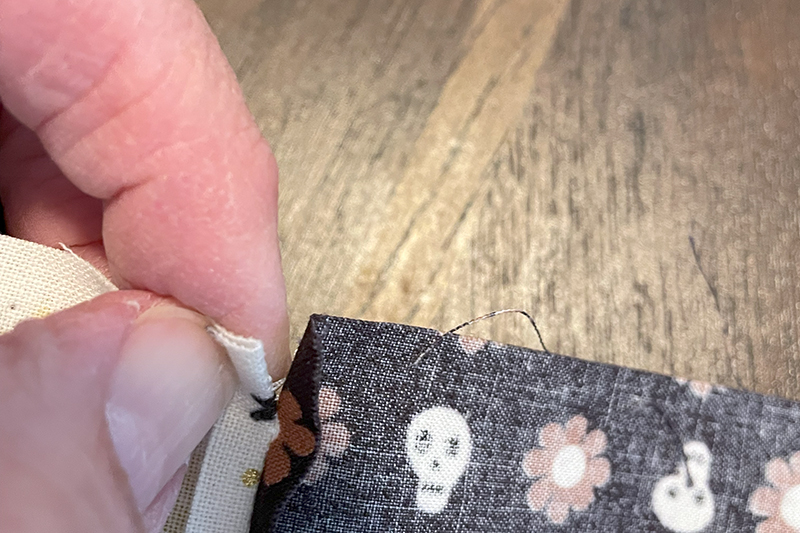
I had to restitch a couple. I’m wondering if I should make the stitches smaller in the future. I already use 2.0 mm when piecing. I use 1.6 mm when doing Foundation Paper Piecing so the pieces don’t come apart when pulling the papers out. I think I’ll try that using a smaller stitch next time I strip sew. I went out on the www for tips and there was nothing about this issue. Is it just me? Anyone out there have suggestions to prevent this unraveling?
For this quilt I pressed all of my seams open. I know that a lot of quilters say this is a no-no–especially if you “stitch in the ditch”. And I understand the concern–you are only quilting over the threads that are holding the blocks together. But I will not be stitching in the ditch for this quilt. I plan to use a serpentine stitch that will go back and forth on both sides of the seam. Plus I have never had a quilt fall apart when pressing seams open–or to one side.
Here is how I pin my blocks together. I line up the seams. Then put a pin in that seam. Followed up with wonder clips to hold the seam allowance down and then I pull the pin out. After the entire side is done, I flip the fabric over and stitch from the side that I was not pinning from. That way, if I messed up with the clips, I can fix it as I sew.
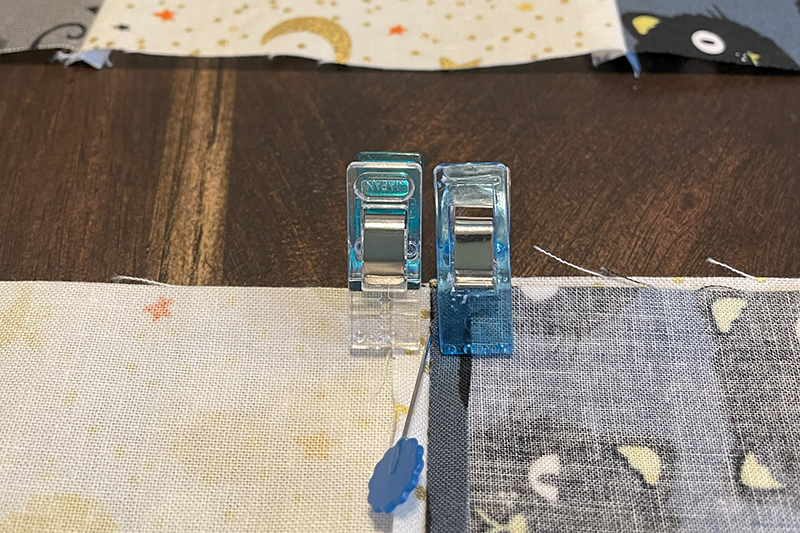
My seams usually match up very well. In the following photo, I have not even pressed it yet. Looks good!
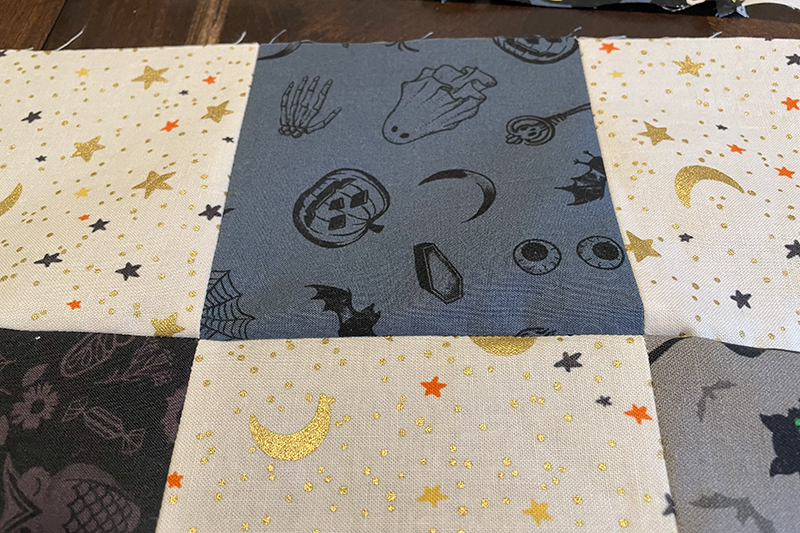
This was a really quick, easy and fun quilt. My quilts are usually my own design but I couldn’t resist this pattern called Mabel from Penelope Handmade. I highly recommend it. At first I thought I would name her Mabel the Witch but there isn’t one witch in any of these fabrics! Broom sticks, owls, coffins, cats, ghosts, but no witch! I had to rename her Spooky Mabel! I might eventually make a scrappy Mabel if I need a quick quilt in the future.
Trimming, batting, quilting, and binding going on before Halloween!
Discover more from
Subscribe to get the latest posts sent to your email.
Comments
Spooky Mabel Quilt — No Comments
HTML tags allowed in your comment: <a href="" title=""> <abbr title=""> <acronym title=""> <b> <blockquote cite=""> <cite> <code> <del datetime=""> <em> <i> <q cite=""> <s> <strike> <strong>