
Softie Fish DIY
These fish are EASY-PEASY! So easy-peasy you probably already know how to make them and have already made up a mess. But just in case you haven’t….
What makes them really extra easy-peasy is using freezer paper. You can get that in most grocery stores where you would find plastic wrap and sandwich bags. My local store doesn’t carry it but most places do. There is even printer sized freezer paper available to purchase.
First thing is draw a fish shape on the freezer paper–on the paper side. Not the shiny side. Your fish doesn’t have to be fancy. These are very basic fish shapes. If you don’t think you can draw it, download a fish clipart. It’s out there. And it’s free.
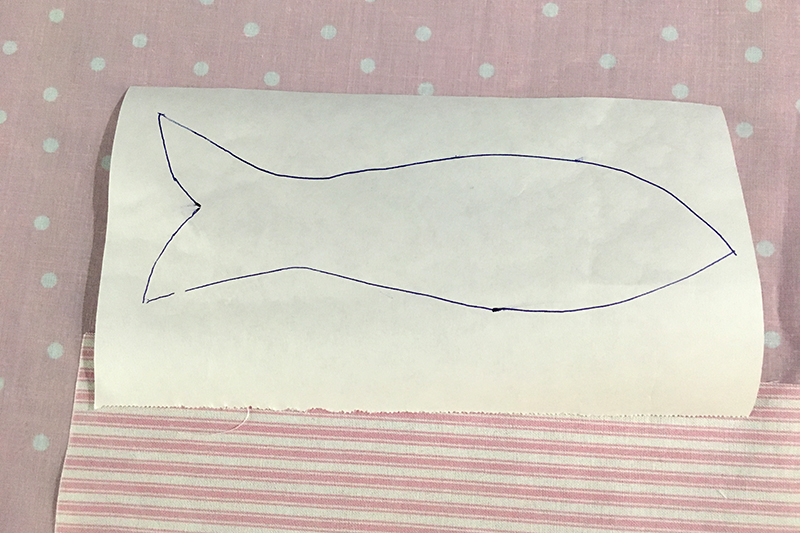
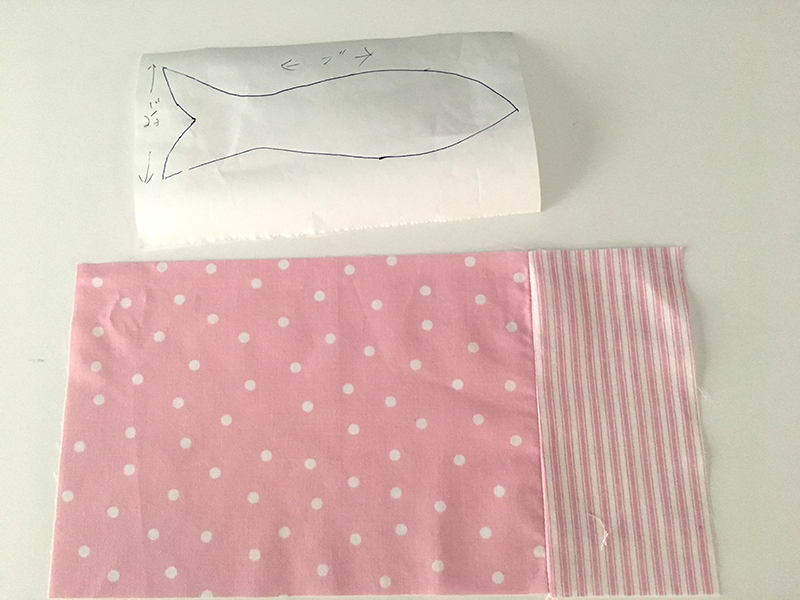
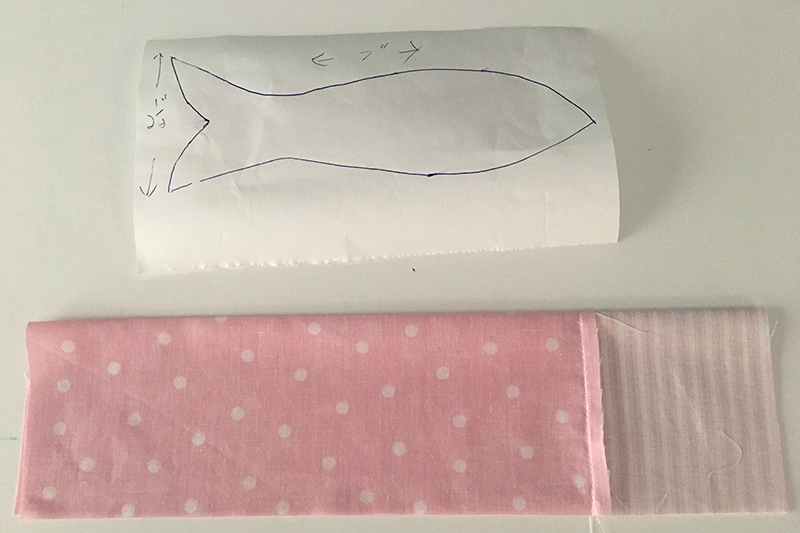
Measure your fish. My fish is about 7″ long by 2 1/2 ” wide.
You will need a piece of fabric 1/2″ longer and double the width plus 1/2″
So I need a piece of fabric, 7 1/2″ long by 6″ wide.
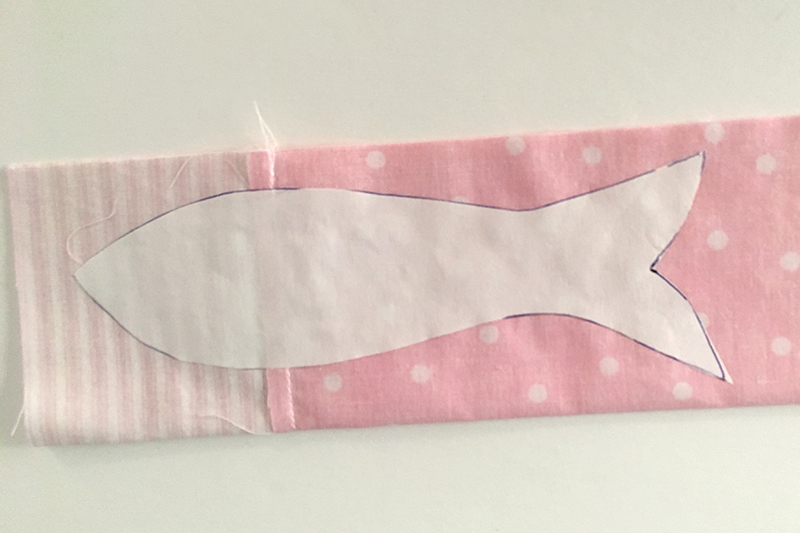
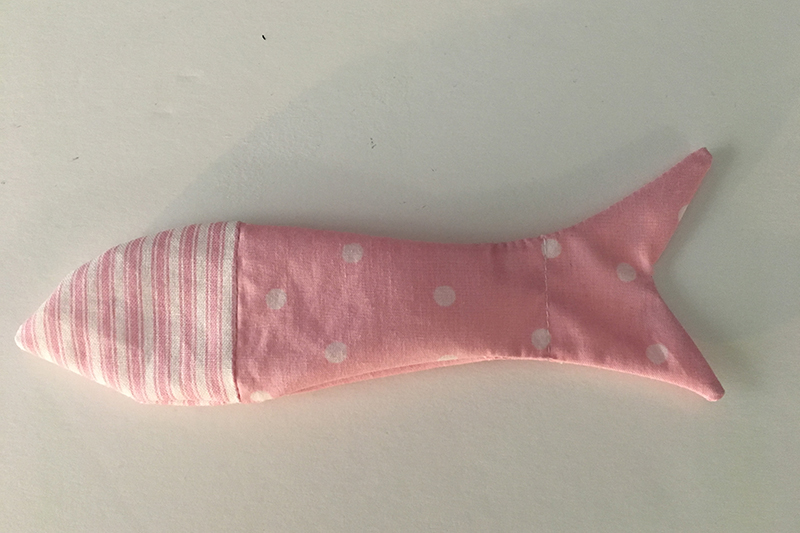
Just to add a little fun to the fish, I decided to make the head a different fabric. And this head is about 2 1/2″ long so I added a 3″ strip of fabric with a 1/4″ seam and stitched the two fabrics right sides together. Then pressed.
Fold the fabric, right sides together.
Cut your freezer paper fish out–along the drawing lines–you don’t have to add seam allowances.
Make sure the seams of the fish head and body match up on both sides. You need to leave enough space around the fish pattern to have a 1/4” allowance all the way around. Then press the freezer paper fish on the fabric—shiny side down.
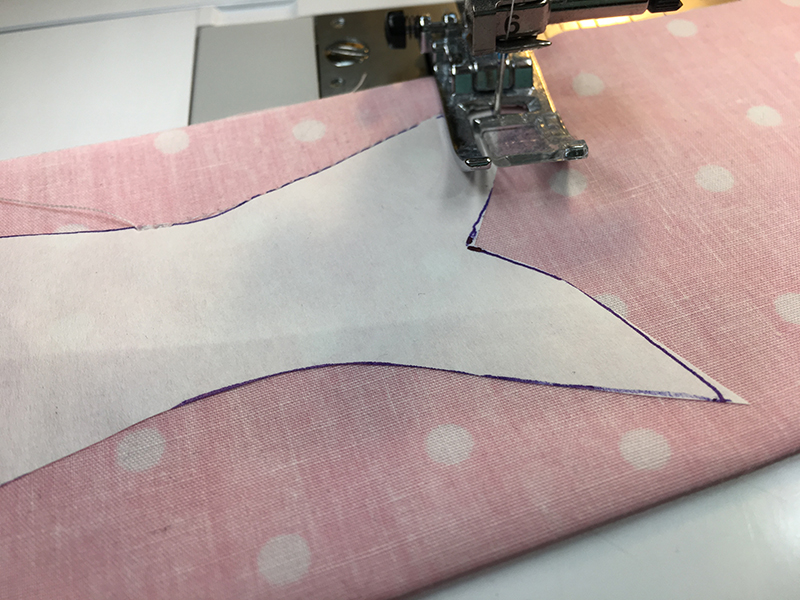
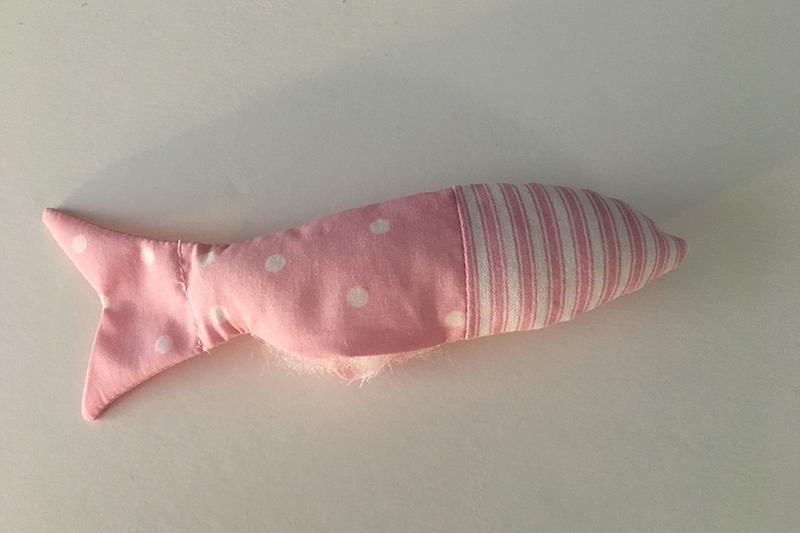
Take your piece to the sewing machine and stitch around the fish pattern. You will need an opening to turn and stuff the fish so start on the bottom close to the fins, stitch all the way around and end 2” from where you started.
Peel the freezer paper fish off, you can use it again. And again. And again.
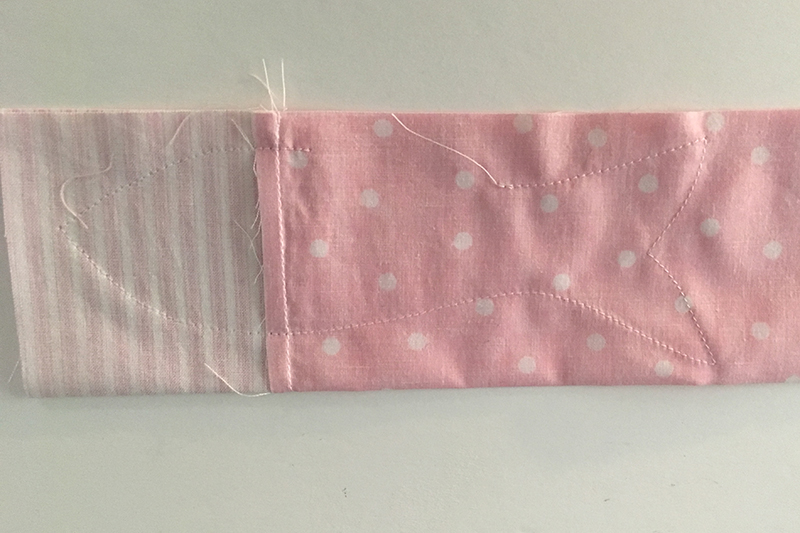
Trim closely all the way around the fish except for the opening–leave that 1/4″. Makes it easier to hand stitch it closed! Clip the sharp points and angles such as the nose and the fins.
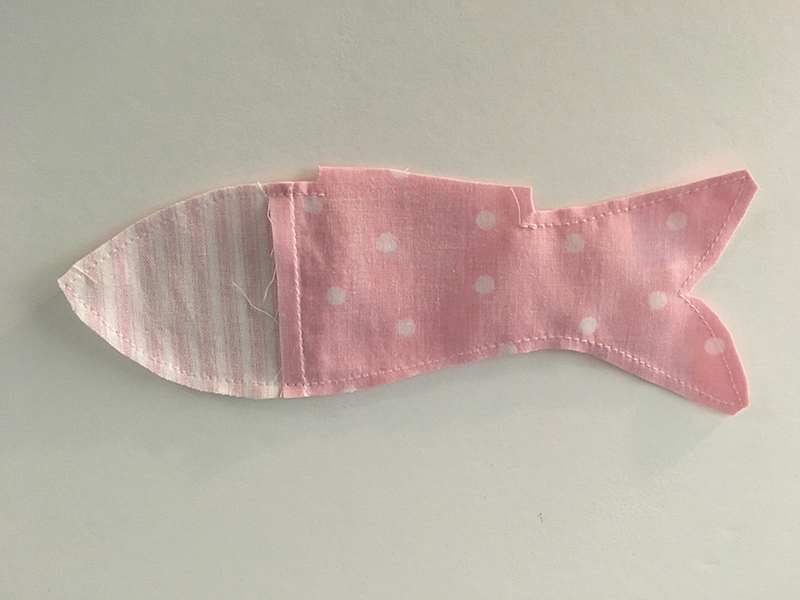
Turn the fabric fish right side out and poke out all the corners.
I usually stitch across the tail fin because tail fins are flat, right? Sometimes I top stitch around the tail fin. Sometimes not.
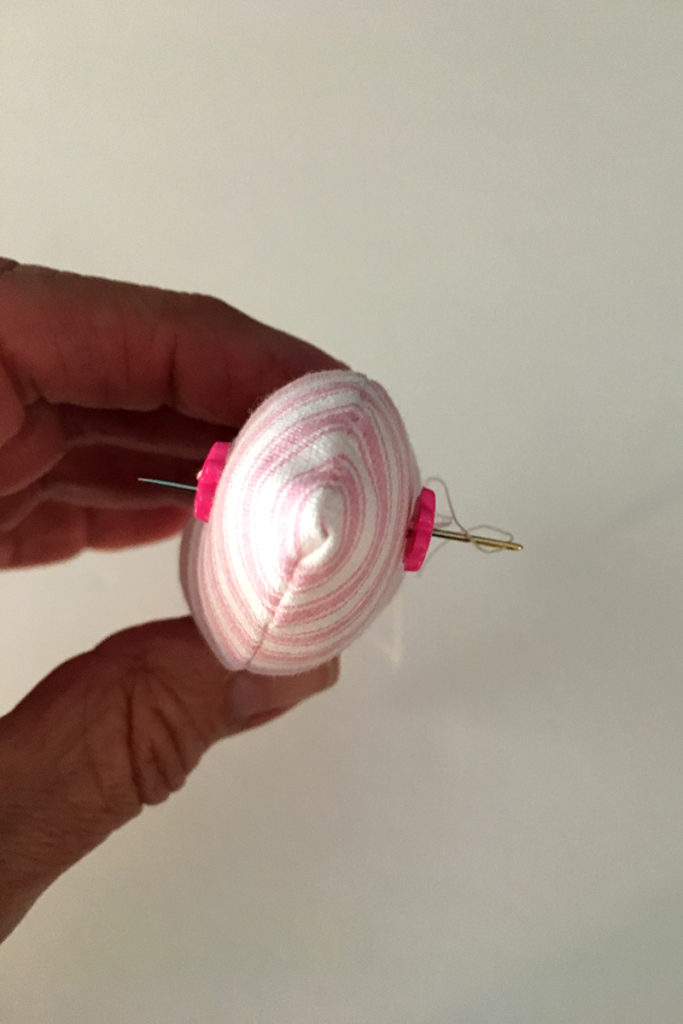
Then I stuff the rest of the fish with polyfil and close the gap with a ladder stitch.
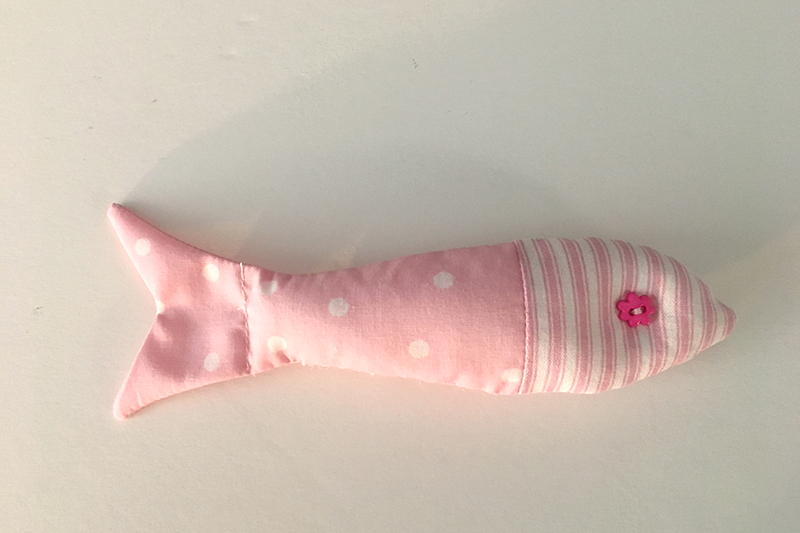
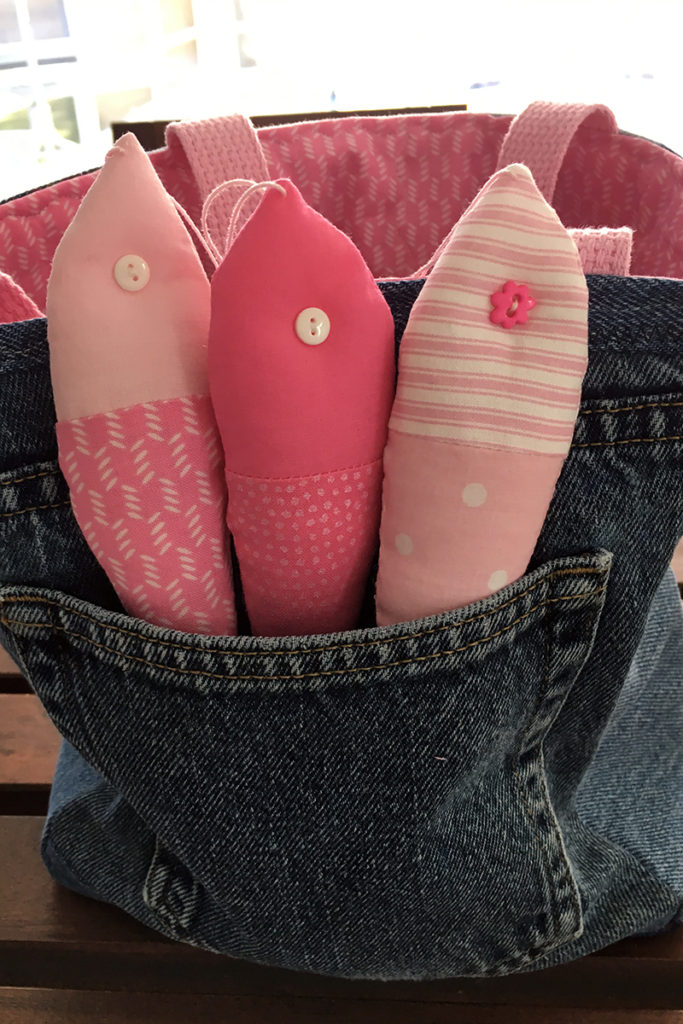
Sew two small buttons on for the eyes. I put them on at the same time and pulled them tight so they are a little inset. (If this is going to a small child embroider the eye–buttons are a safety issue! A french knot would work nicely)
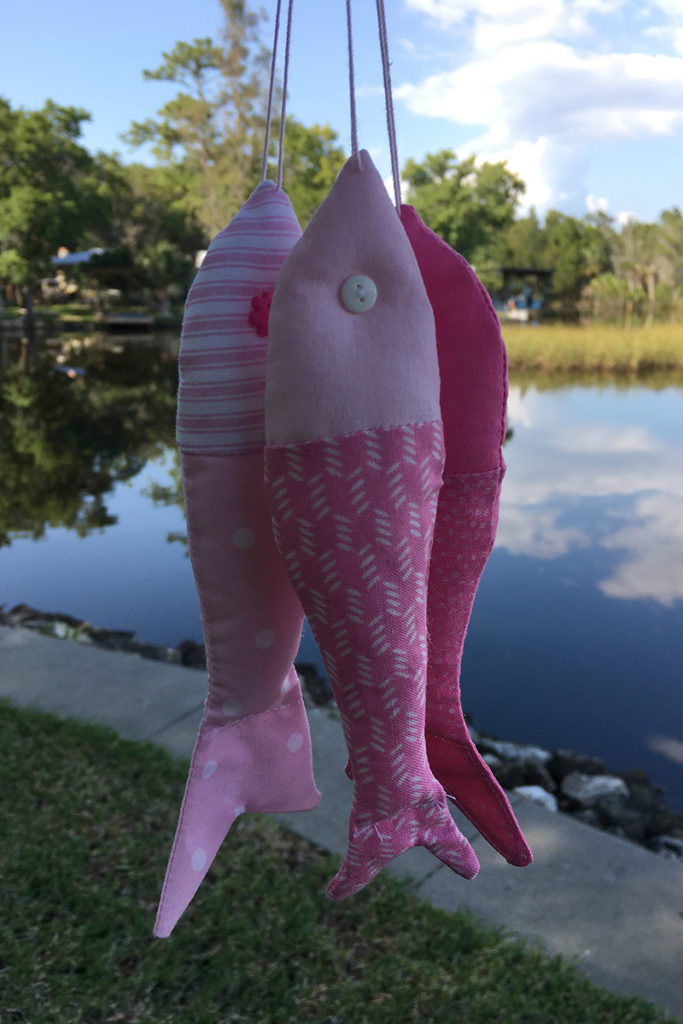
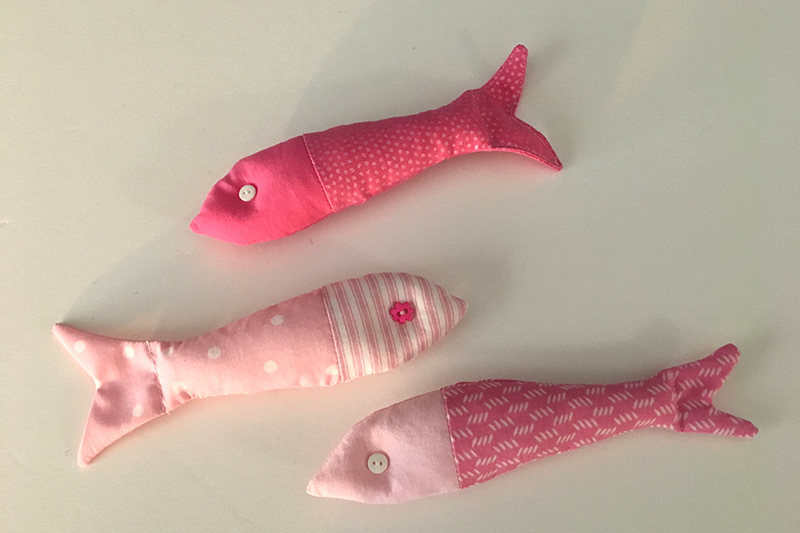
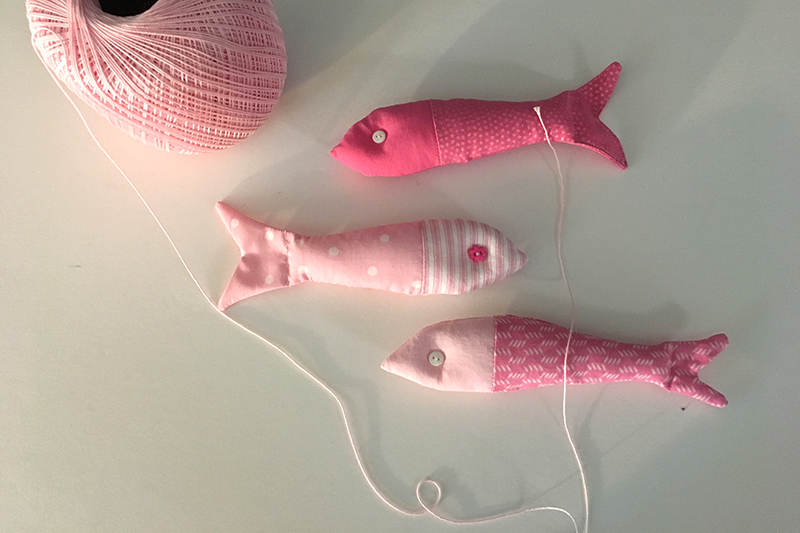
I made three fish. Same way.
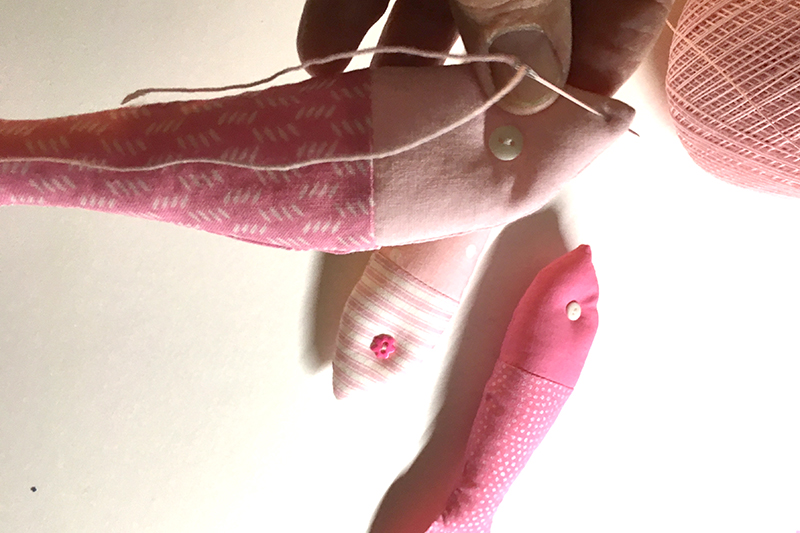
Then used some thread to stitch them together.
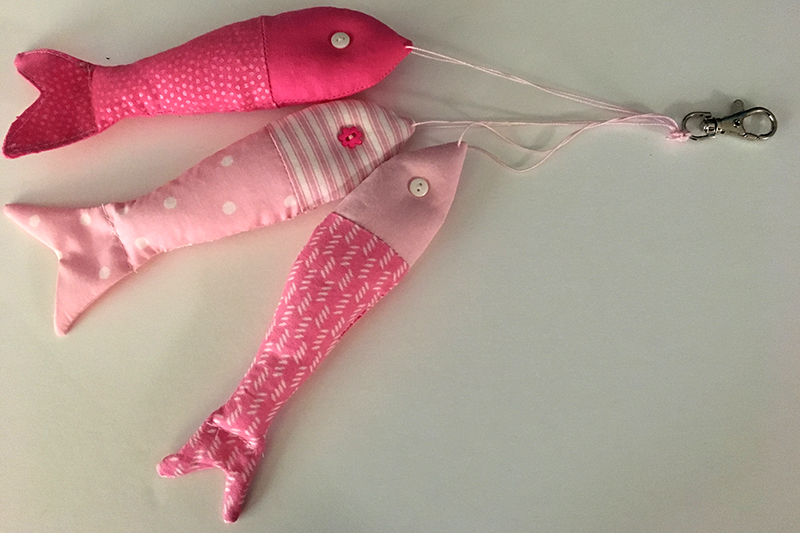
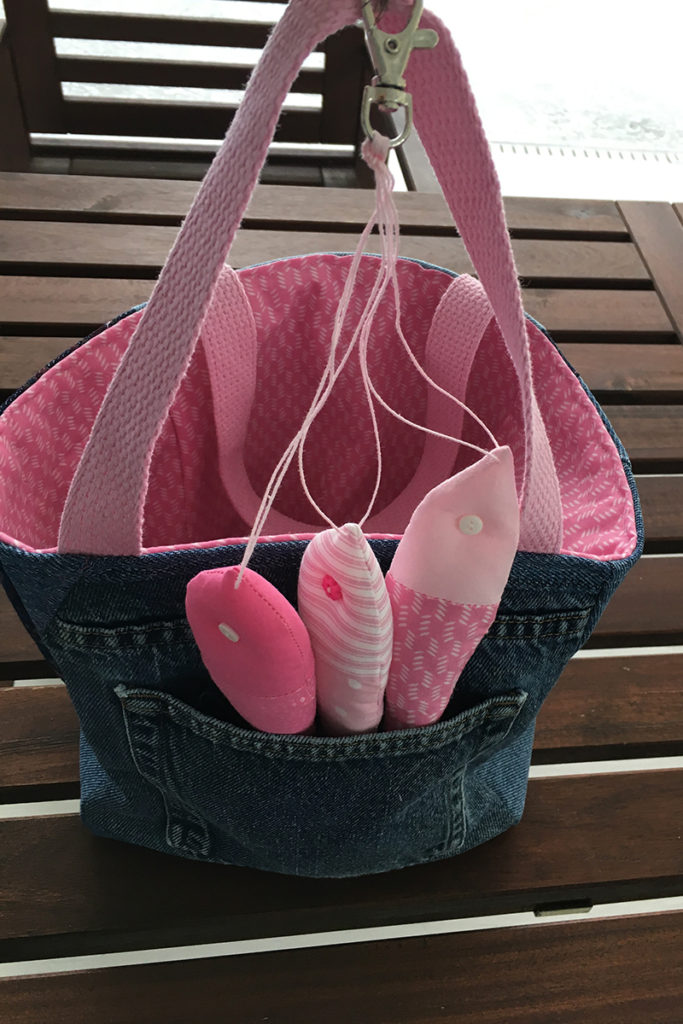
These are little fish, because they are going into a pocket. But they could be made in any size and adorned in numerous ways–like embroidered scales and fabric fins. I plan on making bigger fish to hang as decor.
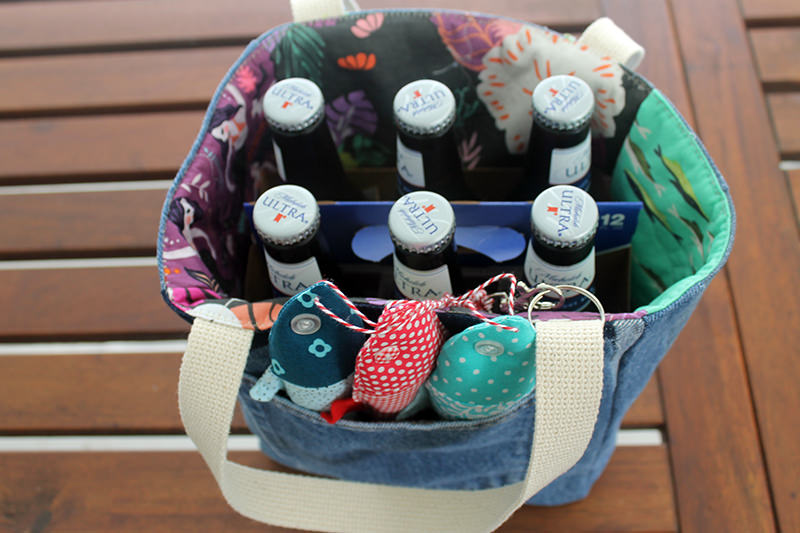
Beer Bag Tutorial coming up next week!
Discover more from
Subscribe to get the latest posts sent to your email.
Comments
Softie Fish DIY — No Comments
HTML tags allowed in your comment: <a href="" title=""> <abbr title=""> <acronym title=""> <b> <blockquote cite=""> <cite> <code> <del datetime=""> <em> <i> <q cite=""> <s> <strike> <strong>