Quilty Table
This is a furniture DIY on Quilty Thursday because this is my Quilty Table. For quilting. For cutting. For piecing. For basting. Or any other project that needs a large flat surface!
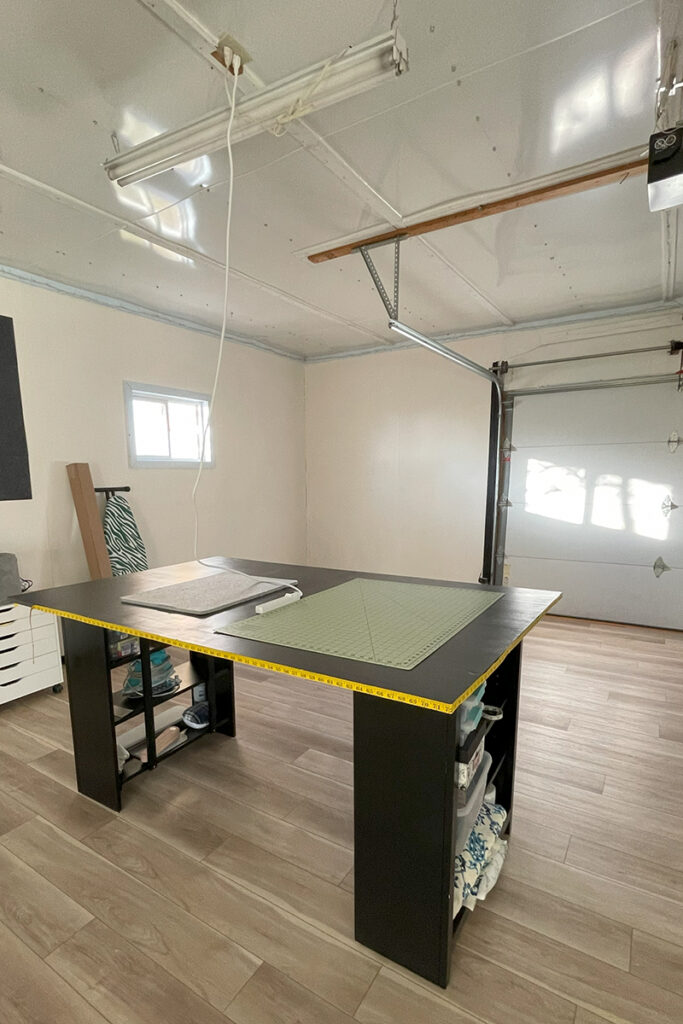
Very excited about this table. Although I know I have lots of stuff to be excited about in this life. On this day. I’m really excited about. THIS. Table.
And I made it myself. (With a little help from husband. And son.)
Okay. A bit of a look back….
I had a quilting table in Florida. I probably bought it online. It folded and had wheels. I loved it and moved it from room to room and then to the Grrrrrl Garage. Most of my quilts until this year were birthed right there on that table. Cutting…..basting…..
But. It was pretty flimsy and towards the end, screws were falling out left and right and then. We. Had. A. Flood. Hurricane Idalia killed it. . (Along with the fridge, freezer, boat dock, outdoor lighting, pool pump, and……..my spirit).
Then we sold that beautiful home. (And this year Helene caused even more devastation for that house.)
And we moved.
Our new home had a huge shop with three bays. I was really starstruck with this space. Never mind that the house was wonderful. And the deck. And the view. And I had the most amazing family living close by.
Then I woke up one day and decided to turn the third bay of the shop into my sewing studio. Lots of planning, design, and work ensued.
Of course, that space needed to have a sturdy table with plenty of surface area and storage.
I went to the both big box home stores in Bismarck to check out wood supplies and settled on two 24” by 72” pieces of finished wood from Lowe’s. Thought I would just glue those two together along the edge for the tabletop.
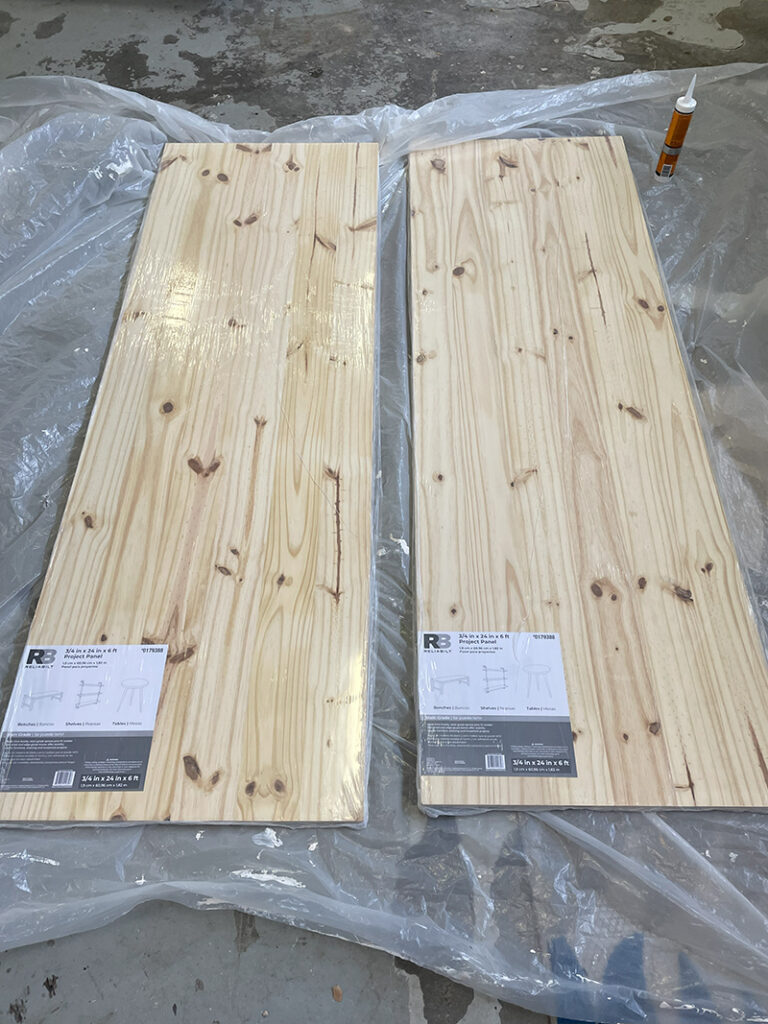
Of course, there were challenges.
I needed something to hold those pieces together while the glue set. Clamps to handle this size of a job were WAY expensive. And I needed four. A shout out to my son. He made them. He is a clever guy.
Oh yeah, I bought the wrong glue, and didn’t realize it until I had already started using it. But it worked.

I ordered shelves from Amazon for the table base. (Gotta say here that I could earn a tiny commission from Amazon if you click on the link and buy these. Hasn’t happened yet, but I am a rule follower so here is my statement) They were exactly the right height—36”—to raise the table top to counter height.
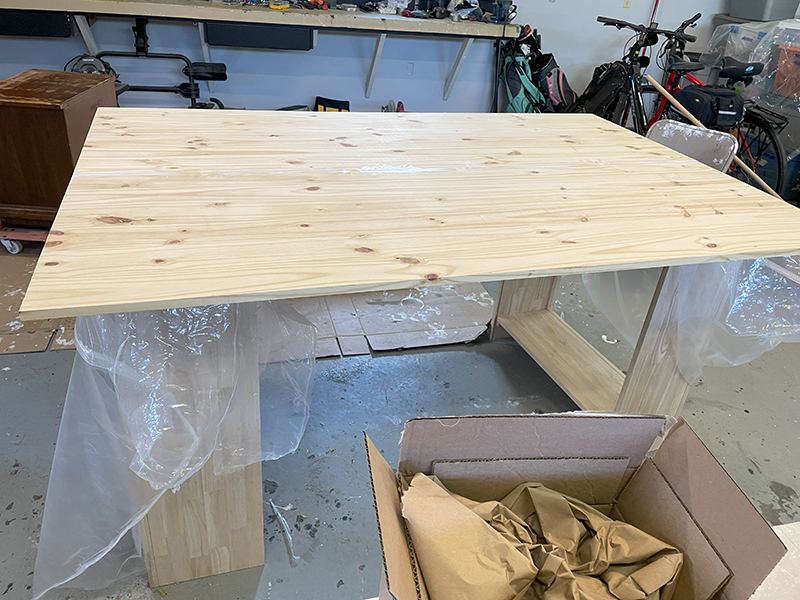
And I put the shelves together myself. (I am becoming very handy.)
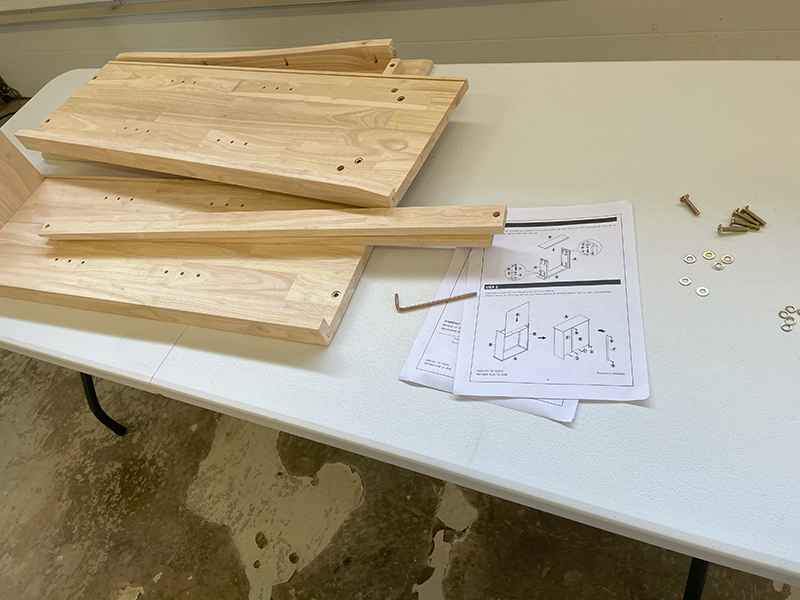
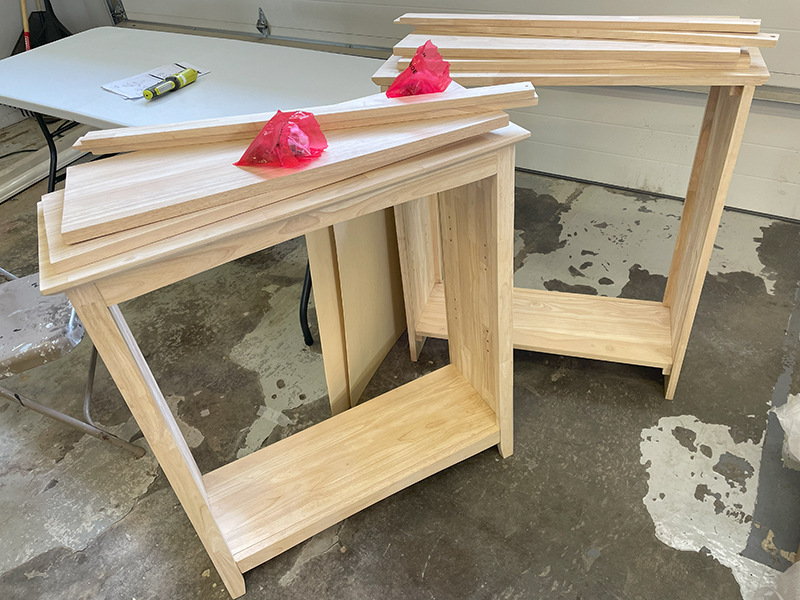
Filled dips and divots in the table top with wood filler and primed all the pieces with a couple coats of Zinnzer Bullseye 1-2-3 and then painted everything with three coats of glossy black paint.

It’s now in the center of the studio. It is very sturdy but if I need to move it, it is in 3 separate pieces so that is easy-peasy.
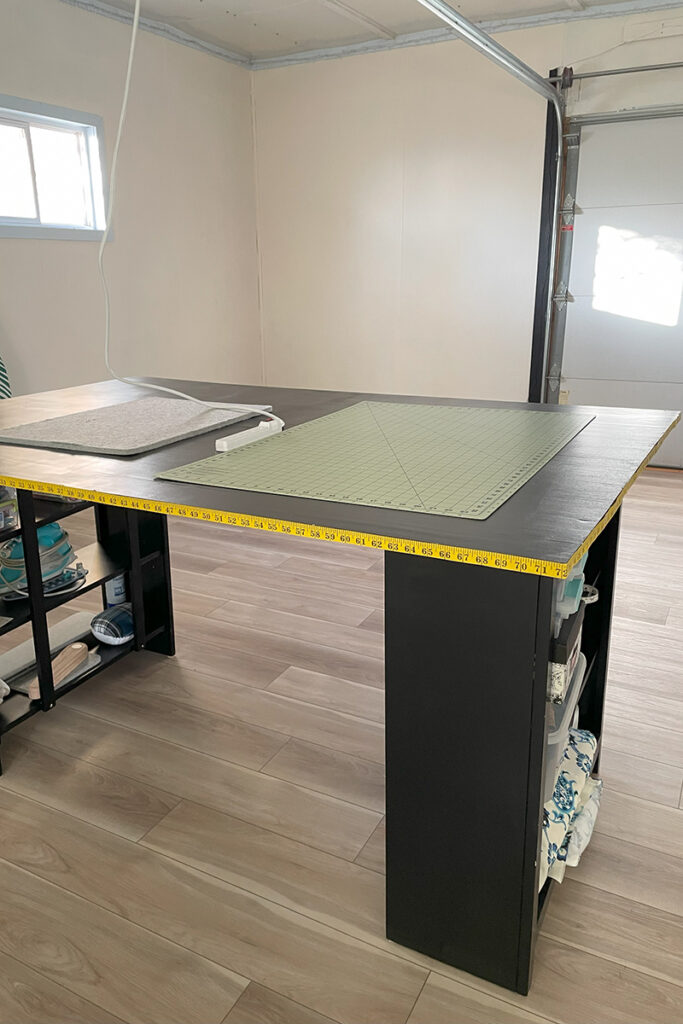
And I have already cut up all the fabric for two quilts here and basted them and am now working on drapes.
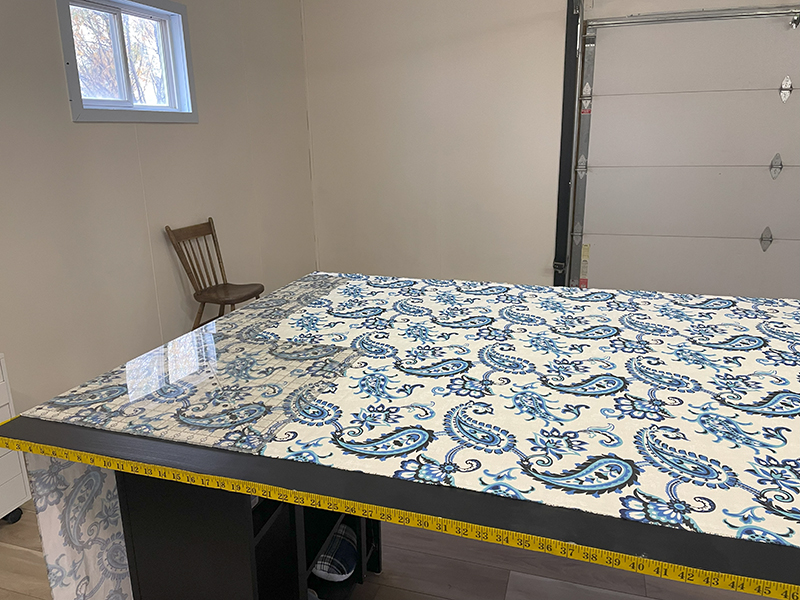
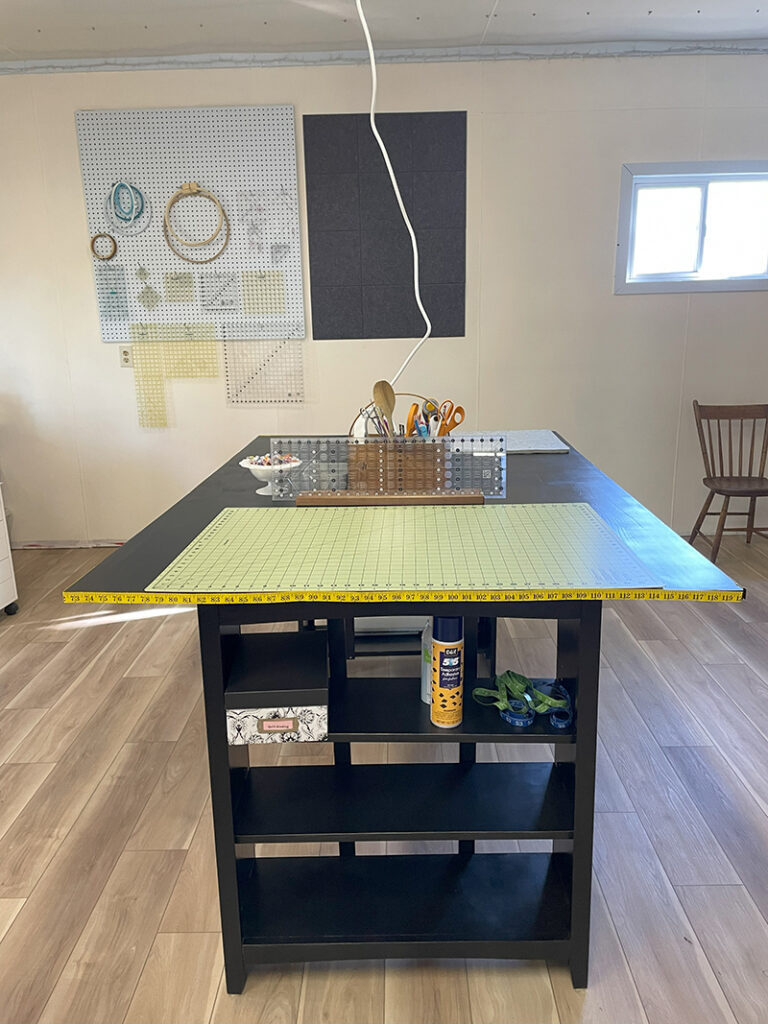
This was a manufacturing facility many years ago and I’m guessing they ran their machines along with the fluorescent lighting from the outlets in the ceiling. I plan to eventually replace the lights with something more attractive but for now they really give out bright light which is great for all of my projects! And I was very excited when I realized that I could have power without running an extension cord across the floor. I plugged an 8 foot power strip into the outlet right above my quilty table and can now use my glue gun and any other electric equipment without falling over a cord running along the floor to the wall outlet. (Always concerned about tripping hazards).

I haven’t made a final decision as to what will be stored on the shelves.
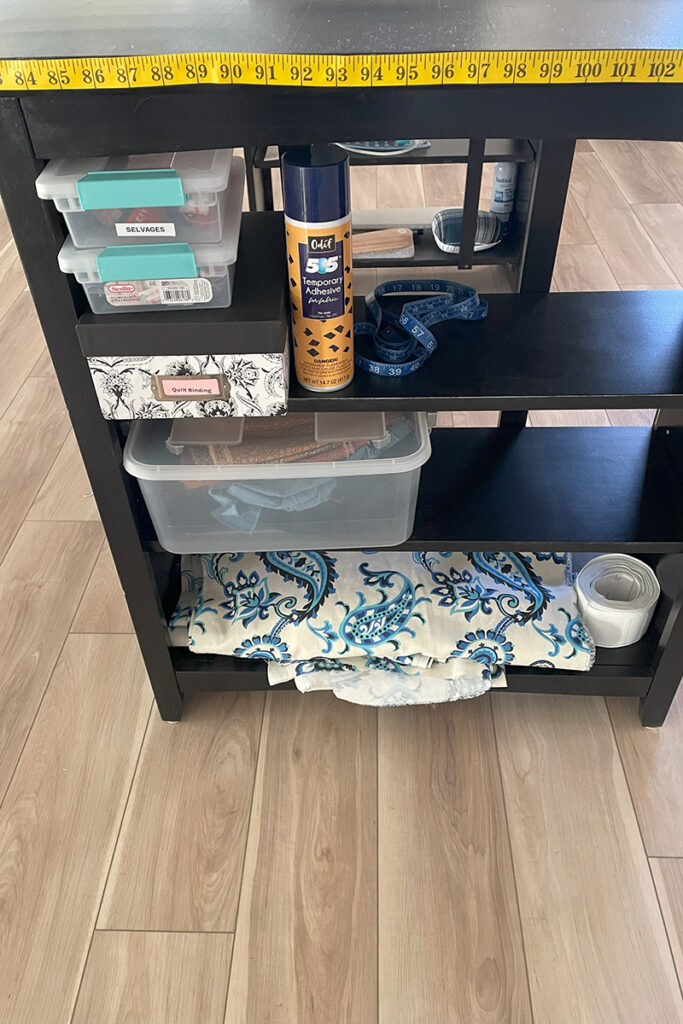
I still have much more to do in the sewing studio but I’m working on it slowly. I want everything to be useful and efficient. And maybe even pretty.

Really happy that my DIY quilty table idea worked!
Discover more from
Subscribe to get the latest posts sent to your email.

Your table looks great! And the extension cord from the ceiling is a game changer I’m sure. I wondered if stapling the measuring tape would work?
Enjoy the new space!
I didn’t think of staples? A friend made another suggestion for a different glue. If that doesn’t work, I will definitely get the staple gun out!