Quilted Name Pillow Tutorial
I’ve been making all of my grandkids “Name Pillows”. They are a lot easier than the quilts that I will someday get done! (Maybe Justin and Courtney will get their quilts for graduation, who knows when I’ll get them finished!)
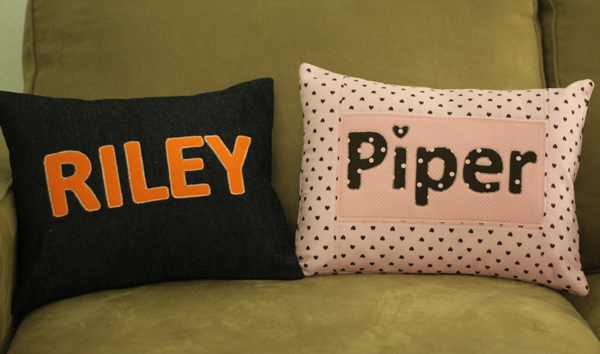
Here’s Piper’s and Riley’s. Click here for the Tutorial for these pillows.
I made a different style for Addison and Kendall and here’s that tutorial.
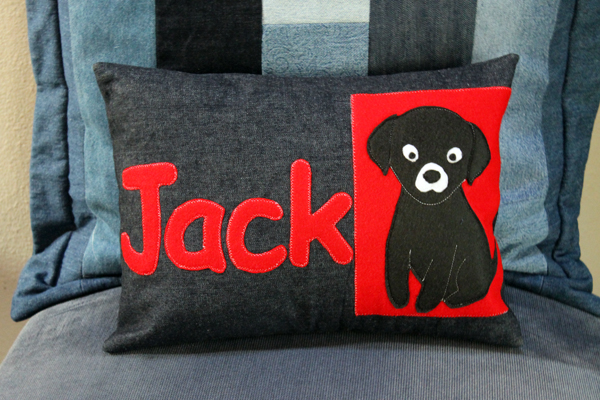
And here’s Jack’s! Plus the tutorial.
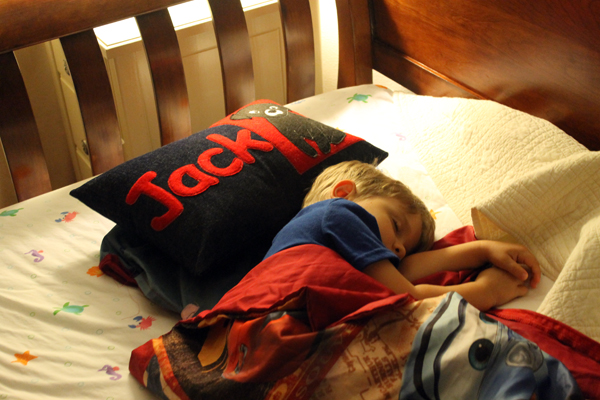
I use a 12″ x 16″ pillow form for all of my name pillows. Mostly because you can buy them at any fabric store.
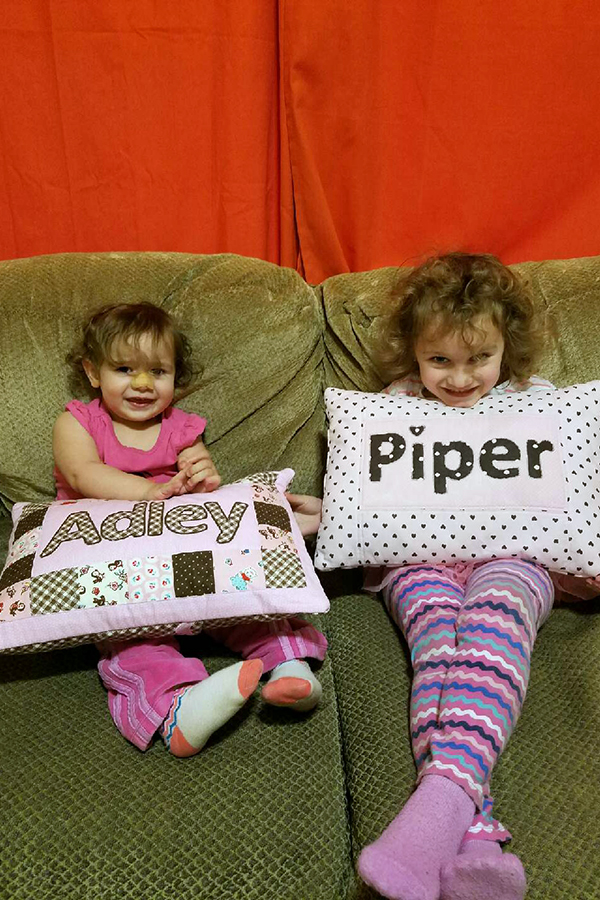
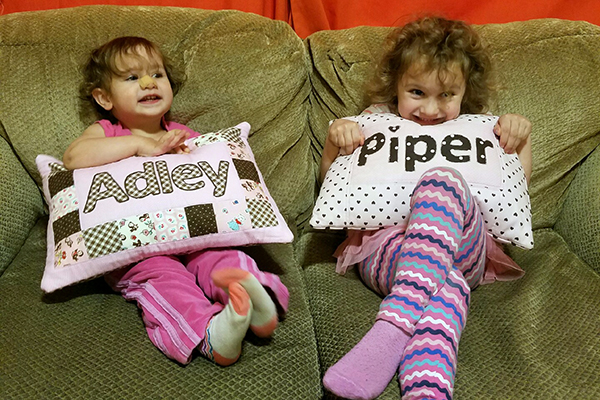
And here is sweet Adley and Piper with their special pillows. Mama commented on last week’s post that Adley still likes Piper’s pillow better. So now she has two to sleep with. Guess I’ll need to make another one for Piper!
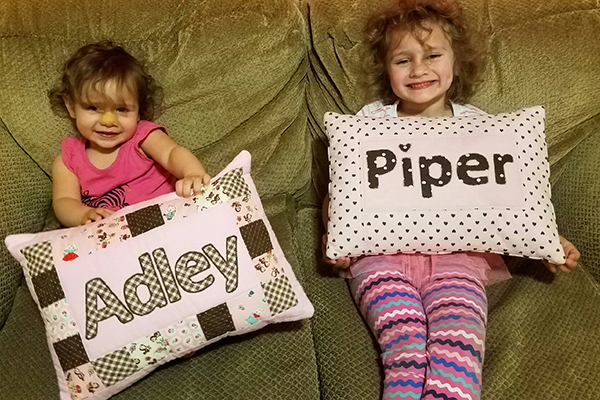
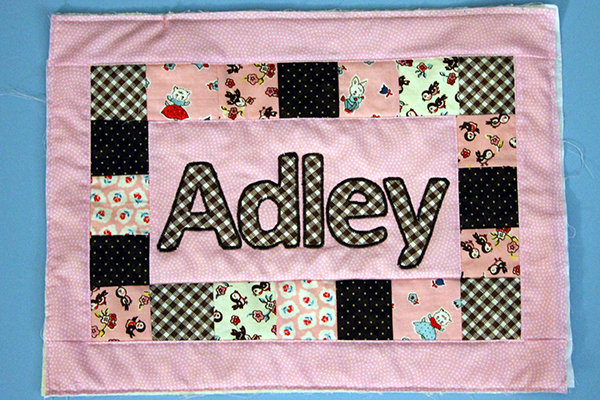
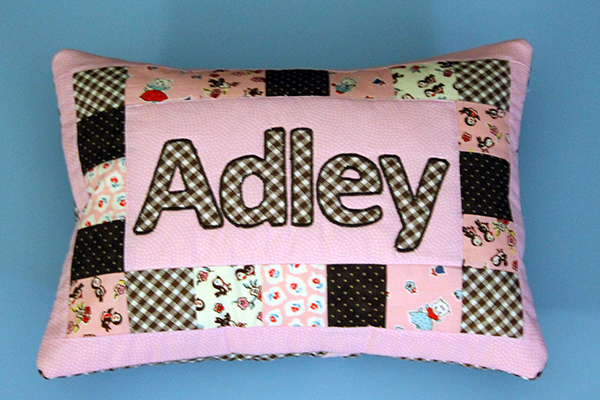
I made Adley’s Name Pillow with fabric left from the quilt I made for her last year.
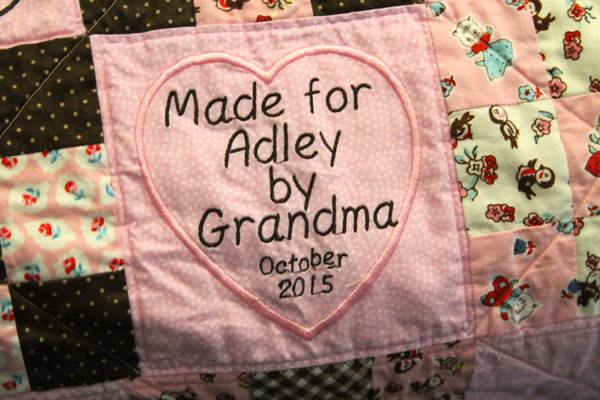
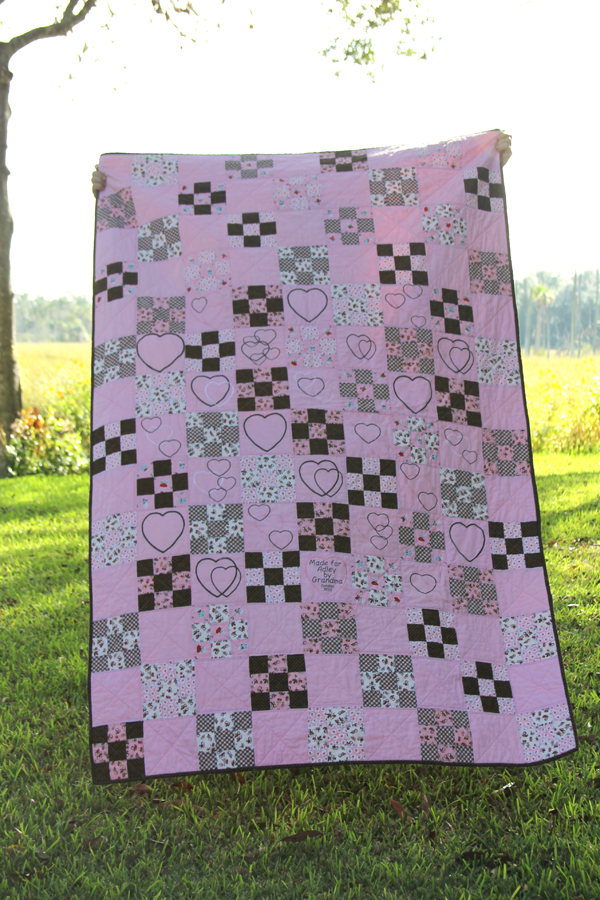
Adley’s Heart and 9-patch Quilt
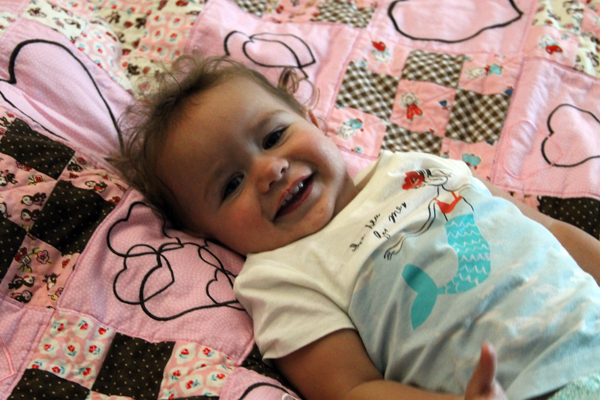
I have plenty of little bits left!
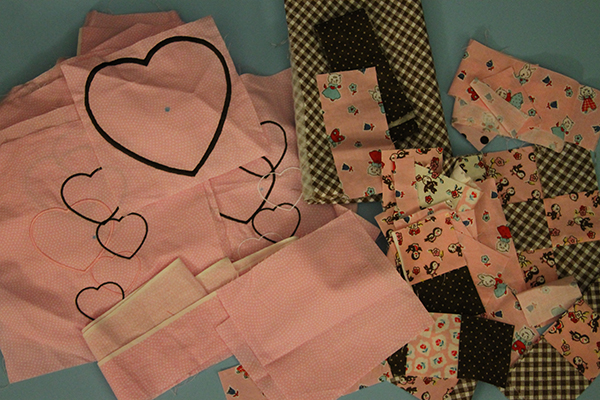
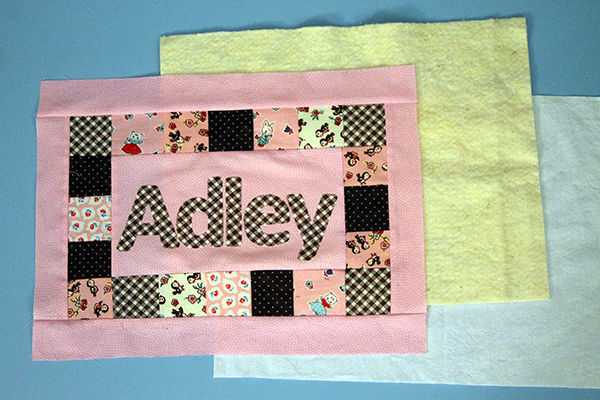
You will also need fleece or batting, muslin, and “Heat n Bond Lite”.
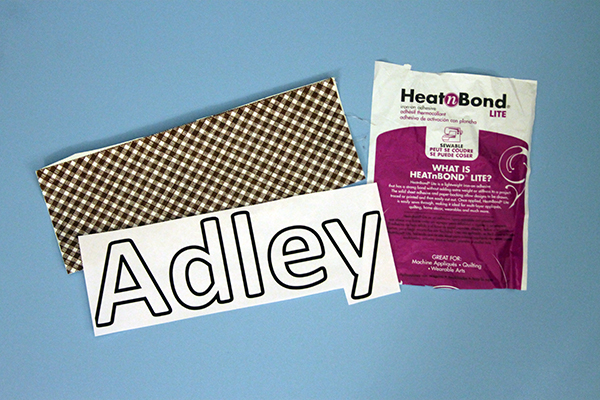
I created the letters in Illustrator but you could also do it in Word. I used the font Calibri because it is sans serif and has rounded corners. I cut the letters from fabric I had already bonded with “Heat ‘n Bond lite”, an iron-on adhesive that you can get at Wal-Mart or any fabric stores. Follow the instructions. (They are really easy)
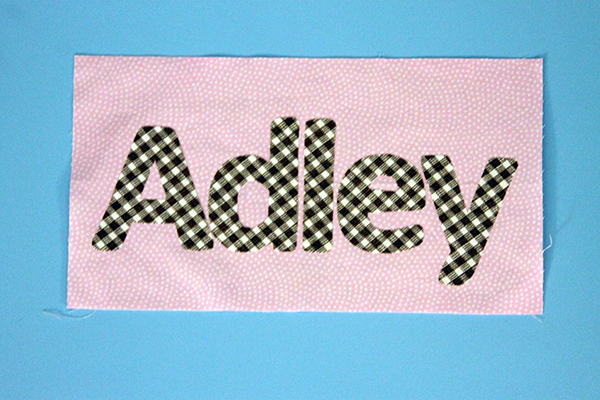
I then placed the letters and pressed them on to the 6″ x 11″ background fabric. Make sure you leave at least a 1/4″ space around the piece to allow for the seam allowance.
I had several strips of 2 1/2″ fabric so that was my next border. It can be any size you choose. You’ll just have to adjust the last border to make the entire piece 13″ x 17″.
Stitch top and bottom strips to name panel with ¼” seams, press.
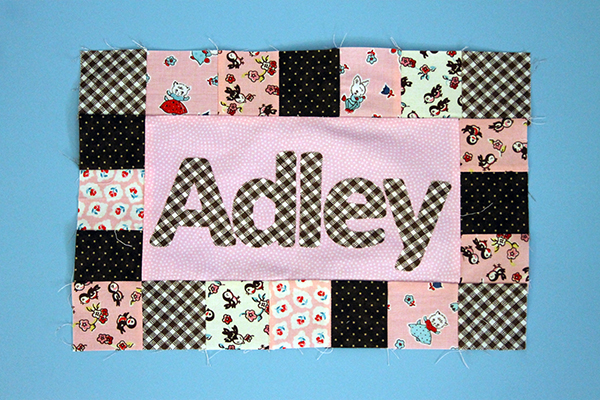
Then I added side strips and top and bottom strips to make the piece 13″ x 17″. (Don’t forget to add a 1/4″ seam allowance!)
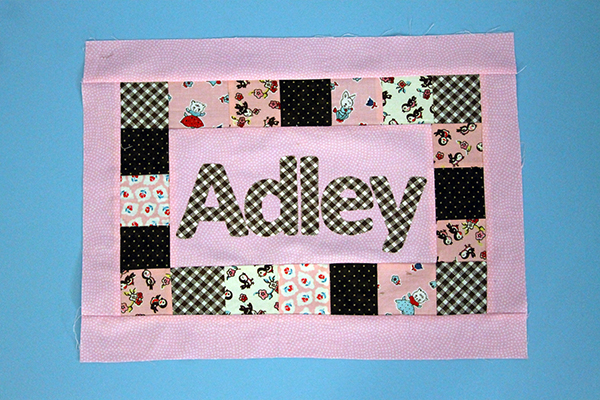
Cut the fleece or batting and muslin 13” x 17”, and made a “quilt sandwich”—muslin on bottom, fleece or batting, then the right side of fabric up, pinned together.
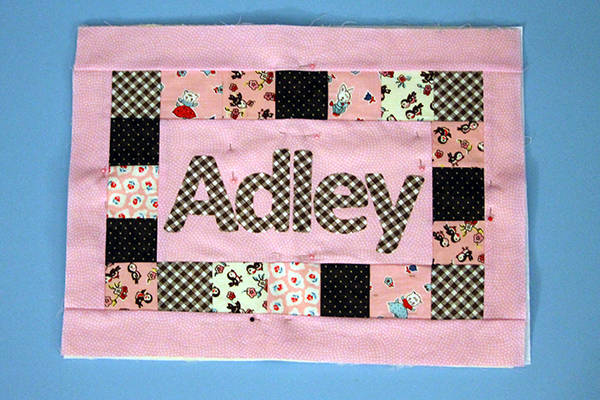
Next machine quilt around the inside of the middle panel with 1/8” top stitching, then around the outside, then around the strips. Applique the letters.
Cut two 12″ x 13” pieces of fabric, muslin, and fleece or batting for back. Layer them into a “quilt sandwich”. Finish one long side on each piece by pressing under ½” then turning under another ¾” and stitching.
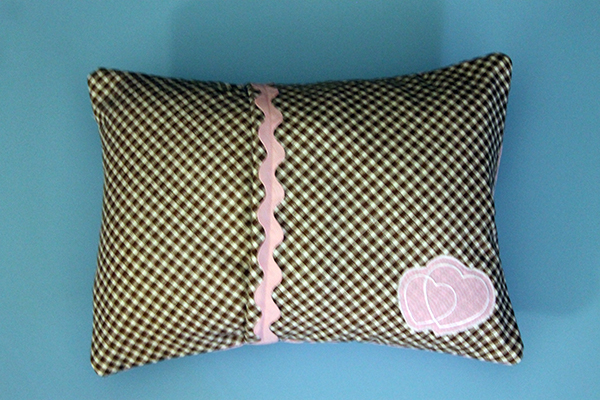
I like to add a little love and dazzle to my pillows so there’s usually a heart and some fun rick rack on the back!
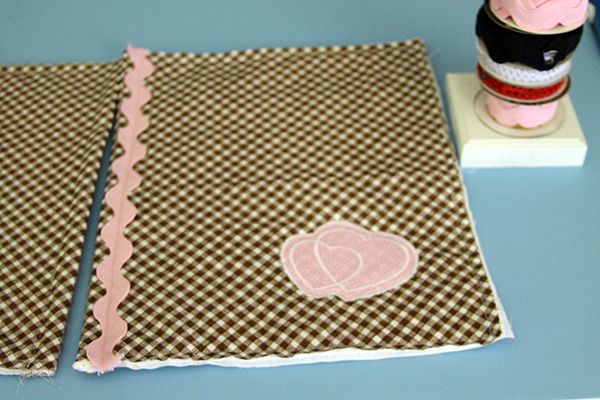
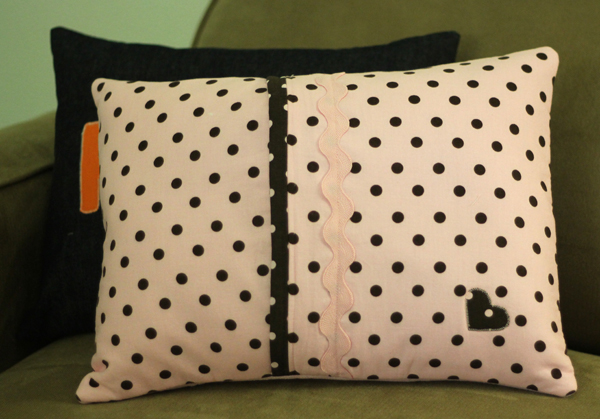
Here’s the back of Piper’s Pillow
Layer the backs and stitch with 1/2″ seam on the outside edges.
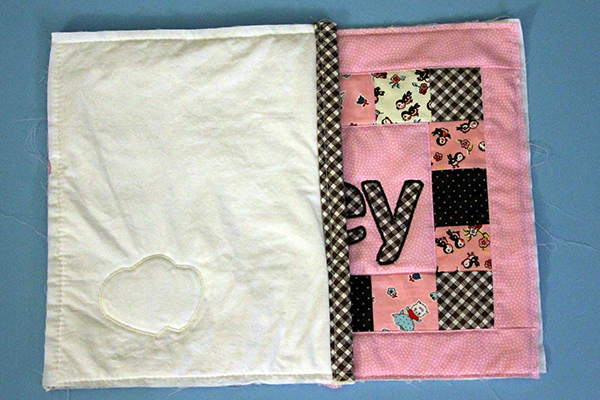
If you add anything to the back, put that side down first.
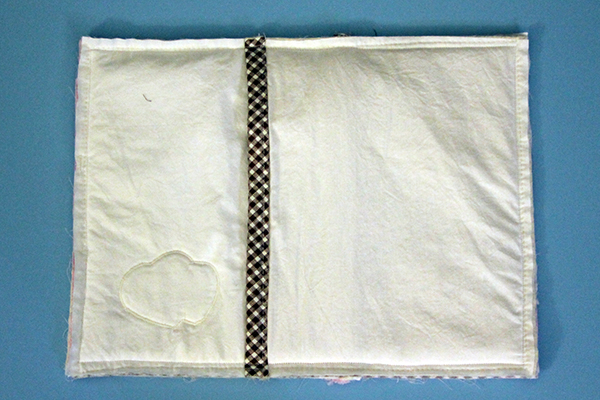
Trim corners, turn right side out, poke those corners out with a chopstick or something else pointy.
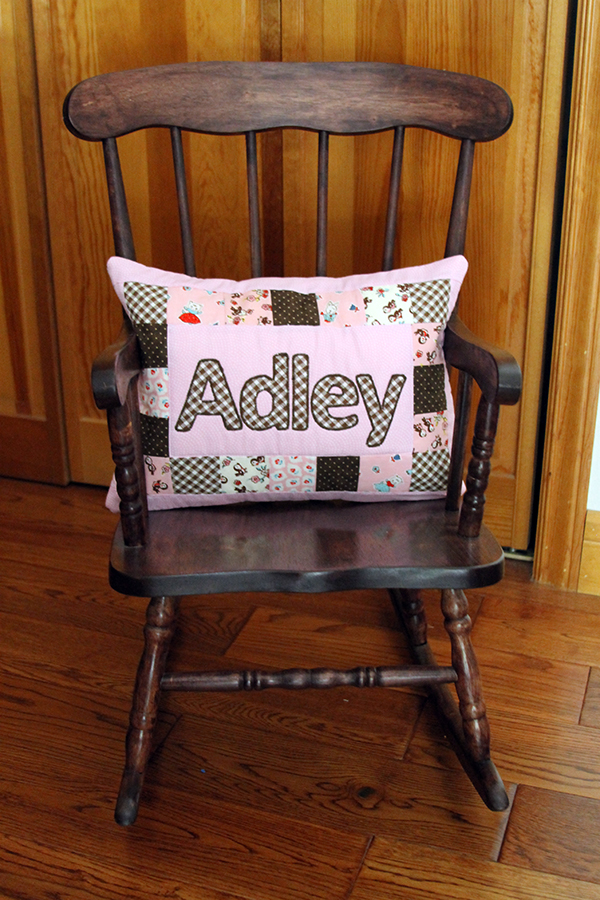
Done!
Isn’t this cute?
But not as cute as these two!
I still need to make pillows for Courtney and Justin. So I’m hoping to get those finished in the next few months and I’ll post about them here!
Discover more from
Subscribe to get the latest posts sent to your email.



It looks easy to do, but I love that Grandma makes them best! I have to send to the picture that Piper took of the Grandma goodies.
Looking forward to seeing the pic!