Quilt as you Go — My Calendar Quilt
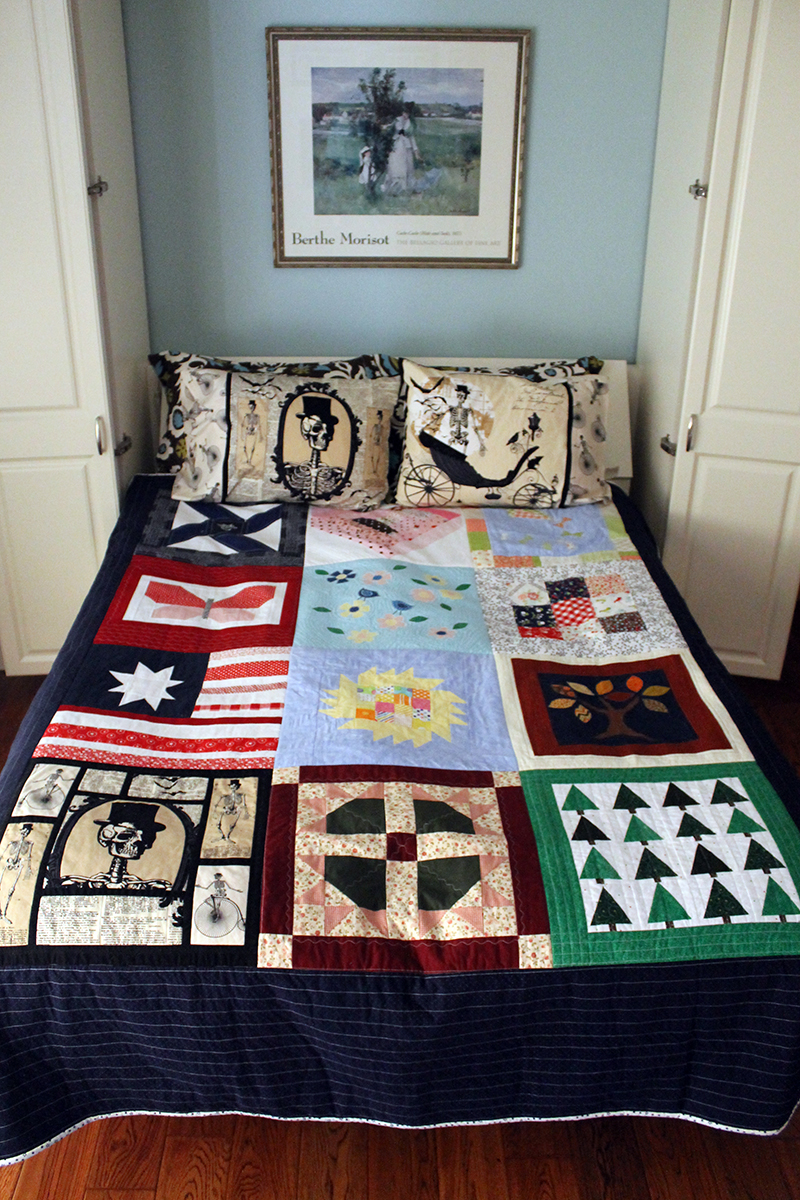
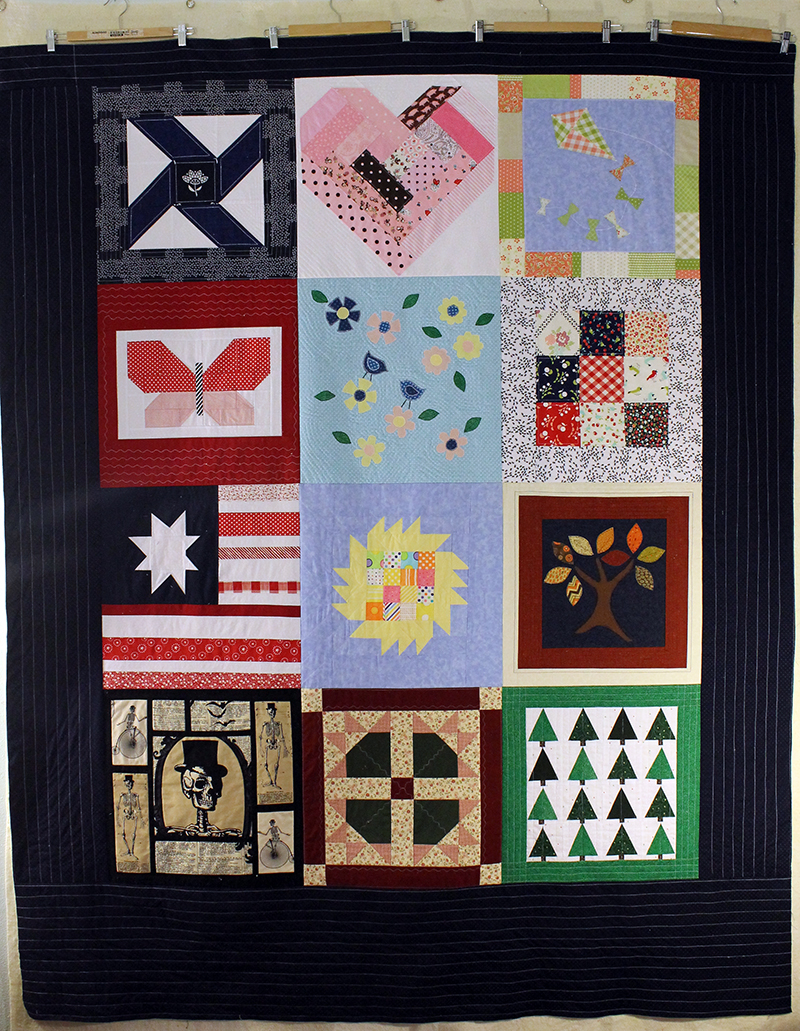
I finally finished the Quilt as you Go Quilt–Block of the Month Quilt.
Even with a couple grandkids here helping me out.
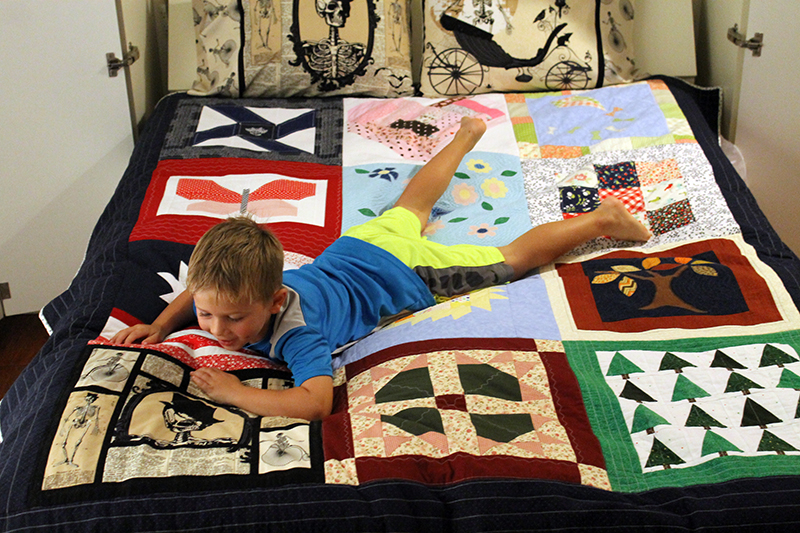
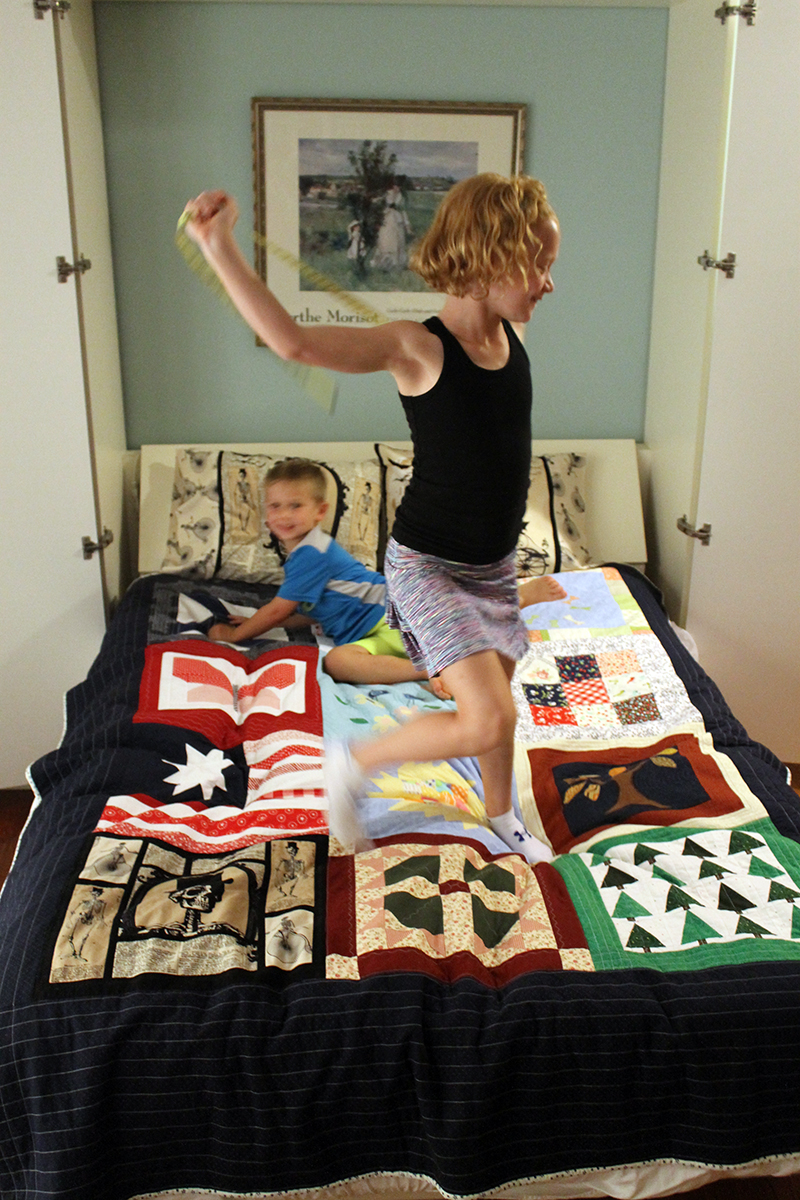
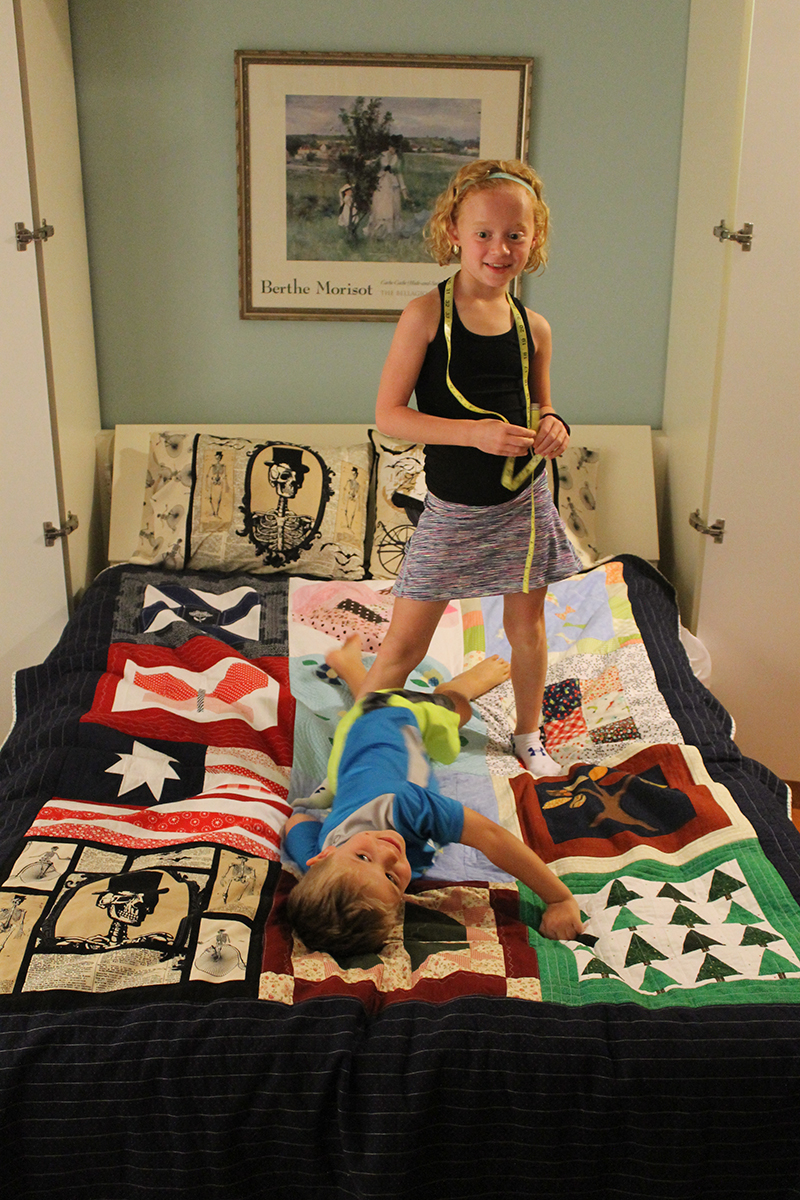
Yeah they are a bit of a distraction.
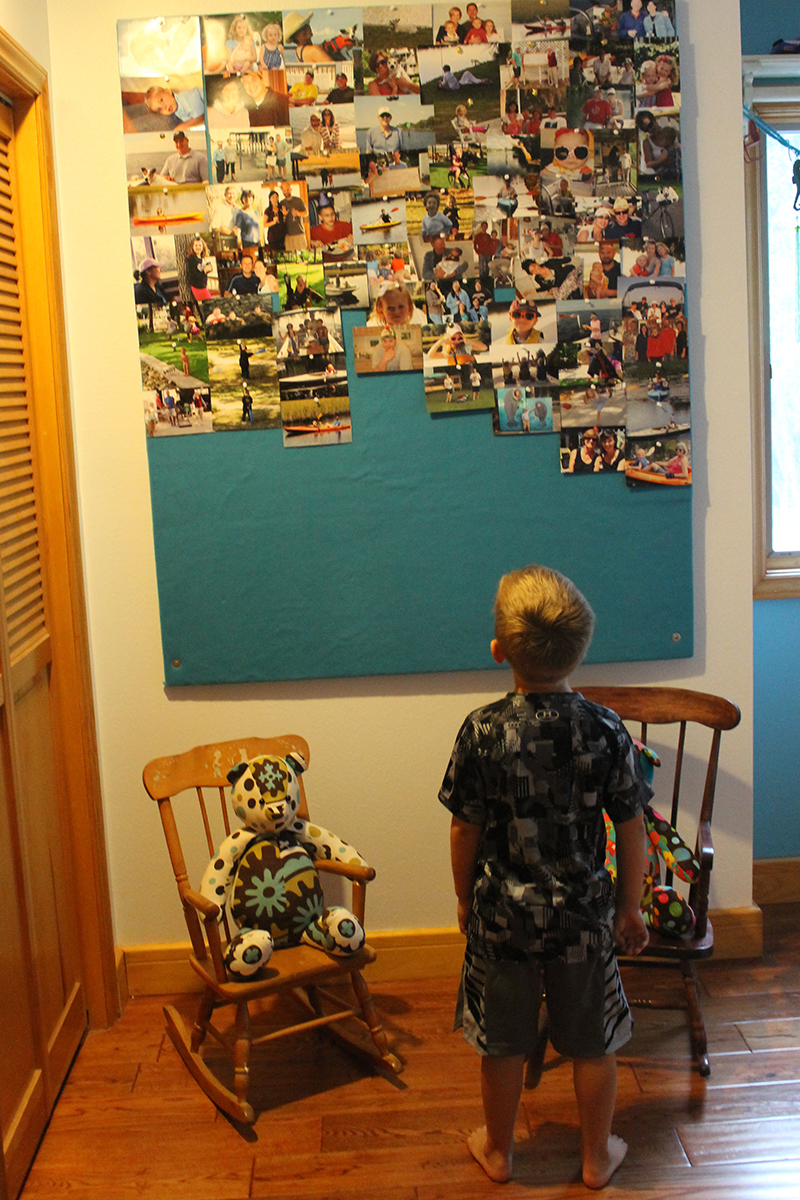
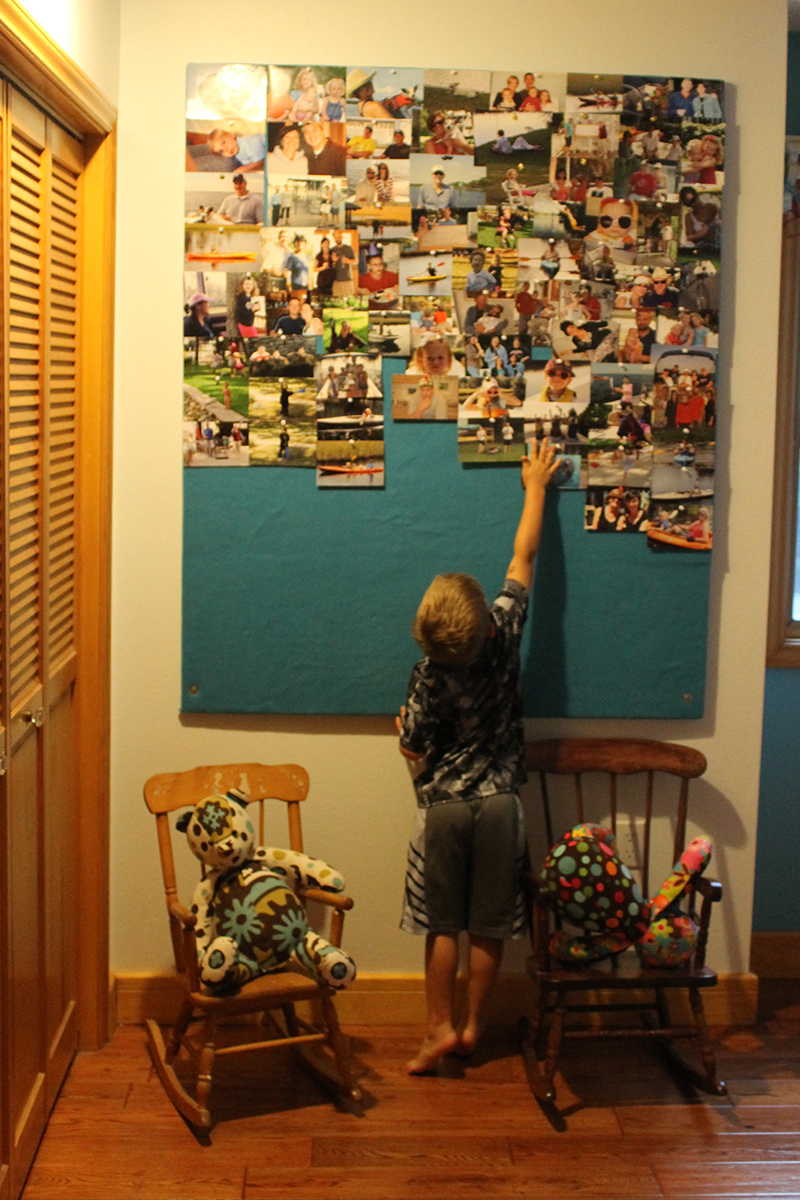
Jack discovered the photo board that I made and updated with pics of him.
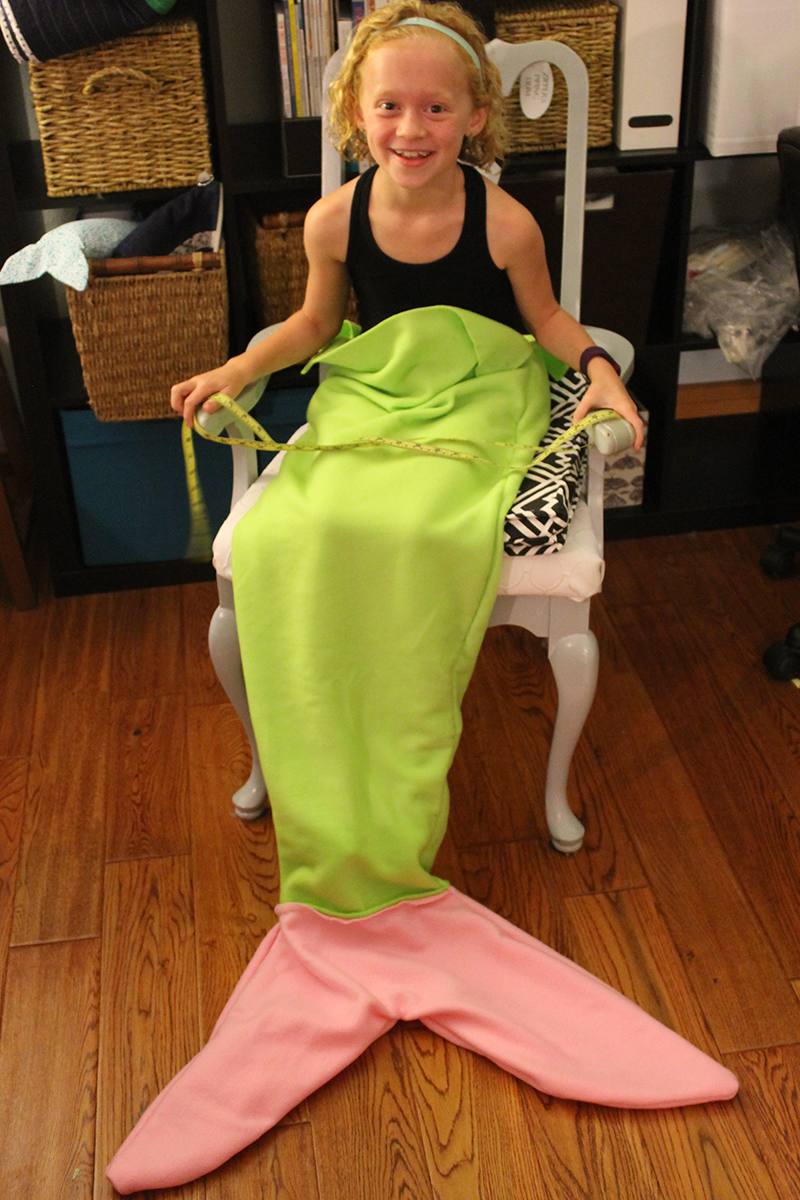
Kendall held still long enough for me to start designing the mermaid tail.
We also had to go on a boat ride to make sure the monkeys on Monkey Island had survived Hurricane Hermine.
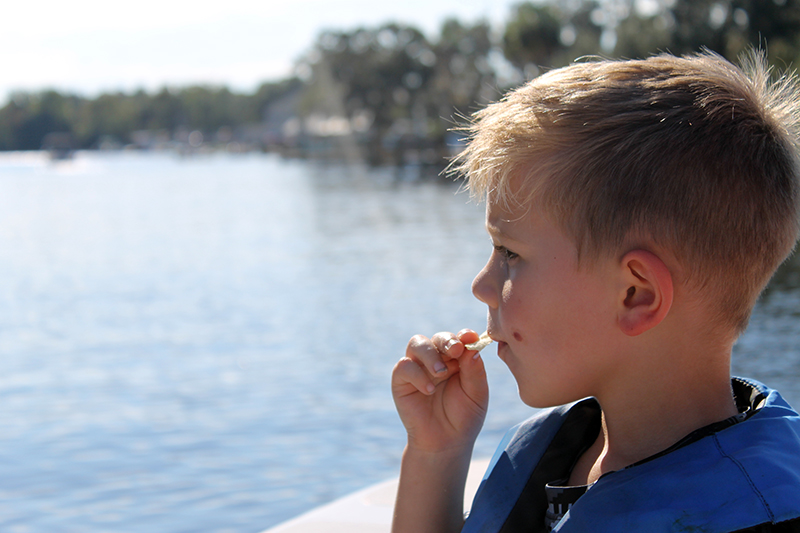
(They were fine. Even eating bananas as we cruised by)
And back to the quilt.
Last month I finished piecing the quilt together.
But I didn’t have enough fabric for the back.
Ordered 2 1/2 yards of Tula Pink Free Fall from Fabric.com. It’s 108″ wide and that was just enough for this full-size quilt.

Ive been following the QAYG method from the blog Shiny Happy World for all of the blocks and continued for the rest of the steps.
In the past I have always “spray” basted but it can really be a sticky mess. Since the batting was already on each block and I didn’t have to worry about that extra layer, I pin basted this time. So much easier, no mess, and the quilt didn’t move around at all as I quilted it.
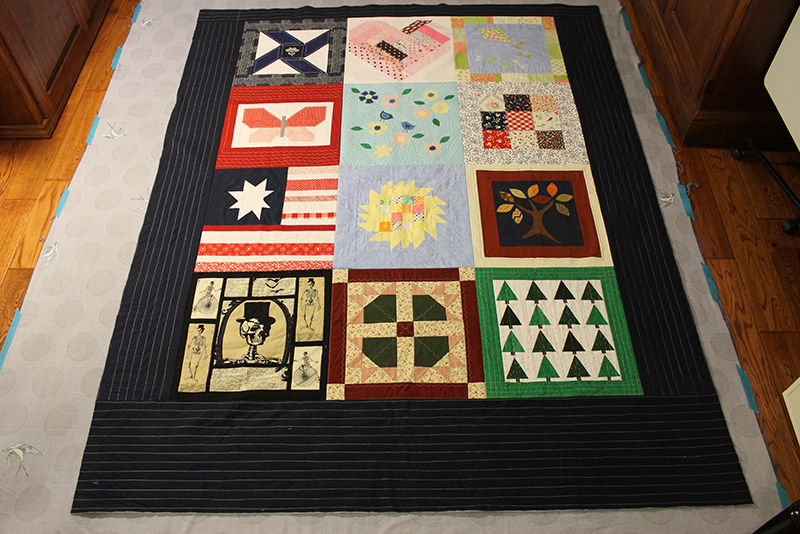
This quilt barely fit on my sewing room/office floor!
I quilted around each block plus did some cross-hatching on the corners then trimmed.
I went to the local quilt shop for the binding fabric because I wanted to make sure the fabric was white with a small blue print but that didn’t appear to be a very popular color combo. The only thing they had was this patriotic piece. Which turned out great.
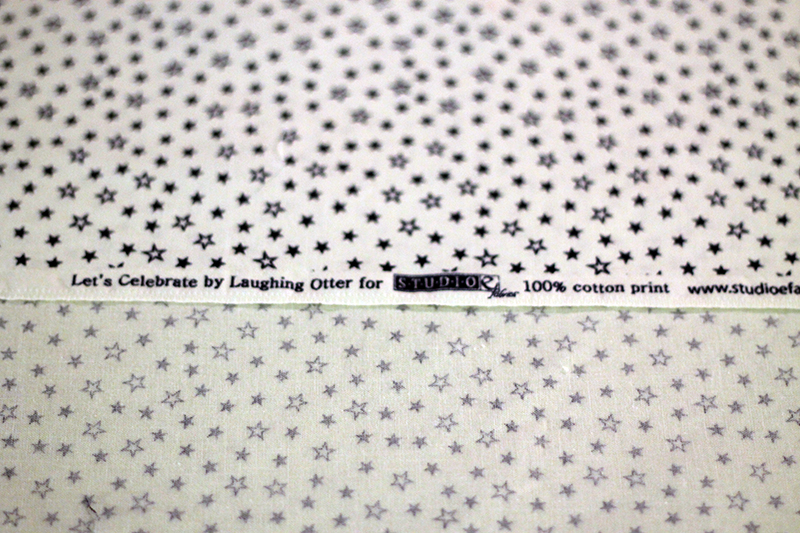
I bought a yard and cut it all up for the binding. I have extra but will most likely use it for another project.
Binding is easy. Again, I’m following the tutorial from Shiny Happy World for binding. Cut 2 1/4″ strips then stitch them together on an angle. Next fold it wrong sides together and iron.
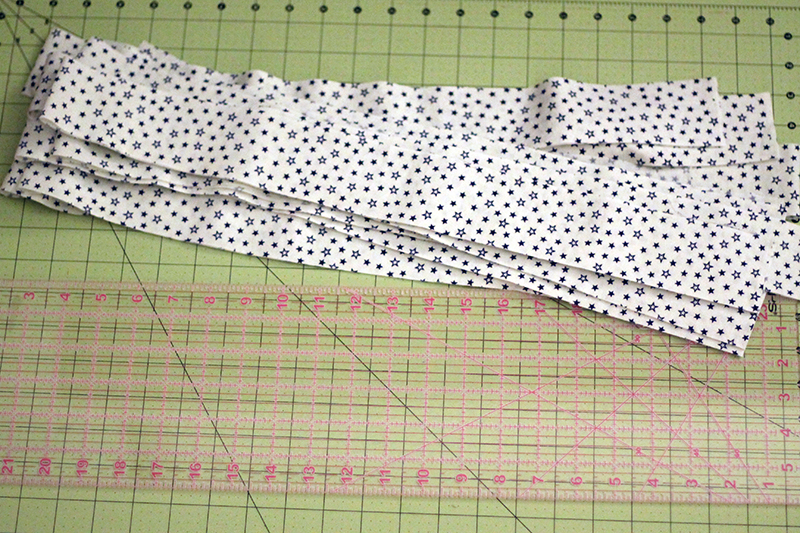
Yes binding is easy. And boring.
So boring.
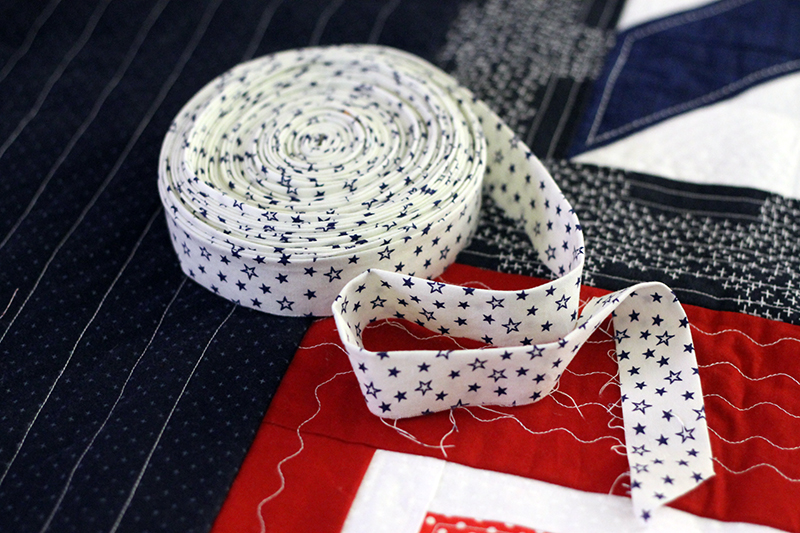
But having a fun or matching binding really adds a lot to a quilt. So I do it rather than buying ready-made binding.
I’ve followed different tutorials and pins for adding binding. Some start from the front of the quilt and fold over to the back. Others do the opposite. But they always machine-stitch both front and back.
The Shiny Happy World video says to stitch the binding on the front, fold over to the back,
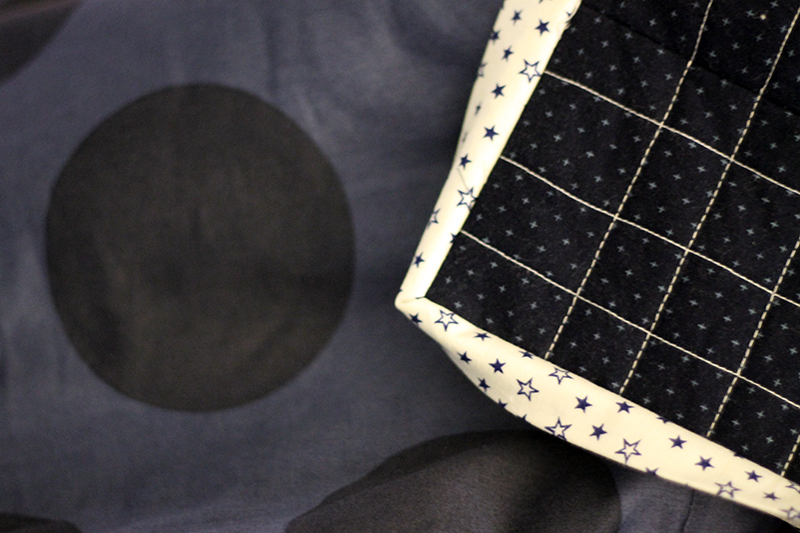
and hand-stitch.
You know how much I like hand-stitching!
But I did it!
And I have to say, it did look much neater. Even though it took me several evenings to get it done. Hopefully it will stay attached just like machine-stitching.
Now I need to jump back a couple steps.
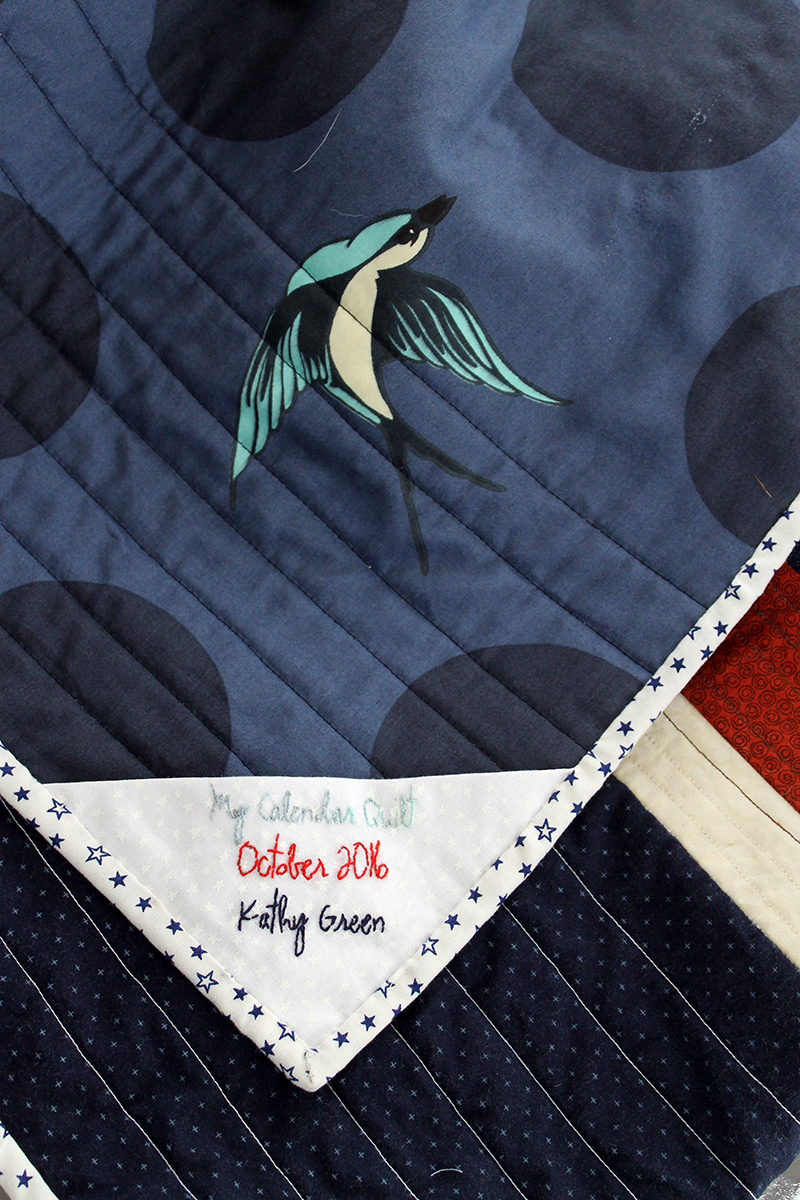
First, I forgot to add a label. I would not have even realized that I had missed that step if I hadn’t been wasting time on pinterest and there was a pin. Just for me. With how to make a label from Sleepy Owl Studio.
So I quickly whipped up a label using my mad embroidery skills.
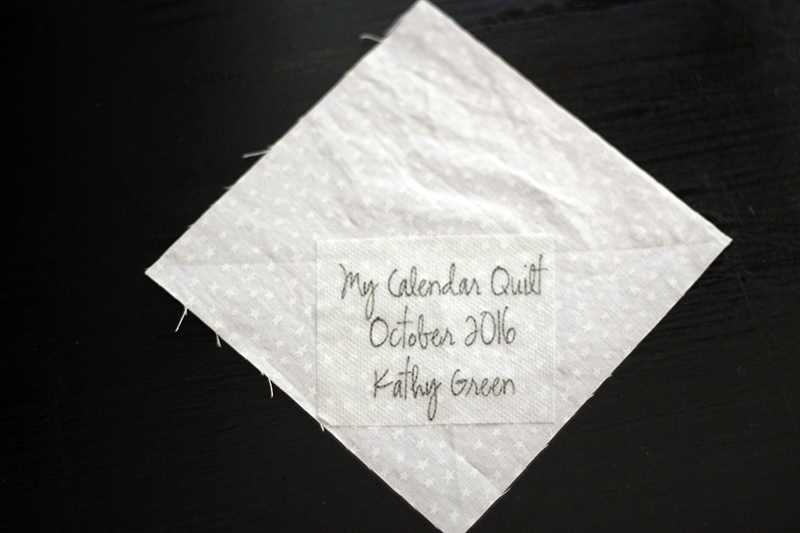
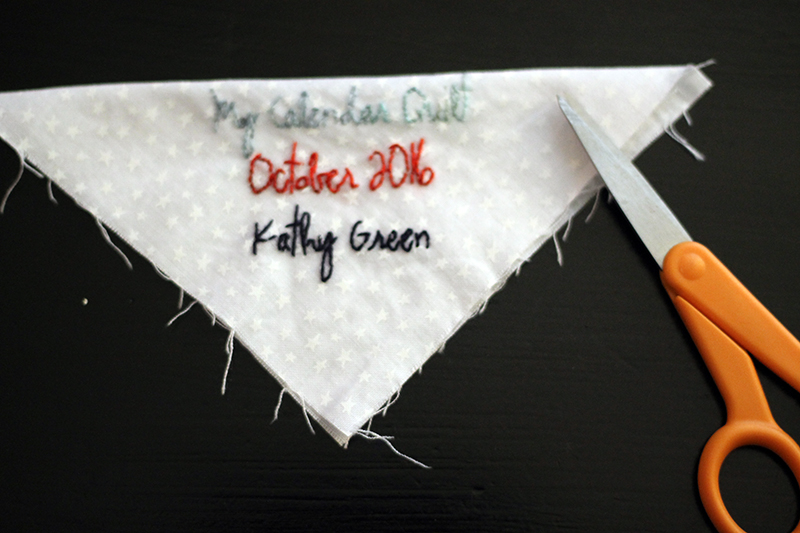
Should have used a darker color for the first line. But I can read it!
I had already machine-stitched the binding on the front but I then realized that the backing was really unraveling. All fabric will fray a little along the edges but this was a lot. So I stuck that label in a corner, did an overcast stitch around the entire quilt and then trimmed all the loose threads away. It was an extra step but it looked much better. I will probably overcast the edges before adding the binding on all my quilts in the future.
Then I hand-stitched. With a ladder stitch which is practically invisible.
And done!
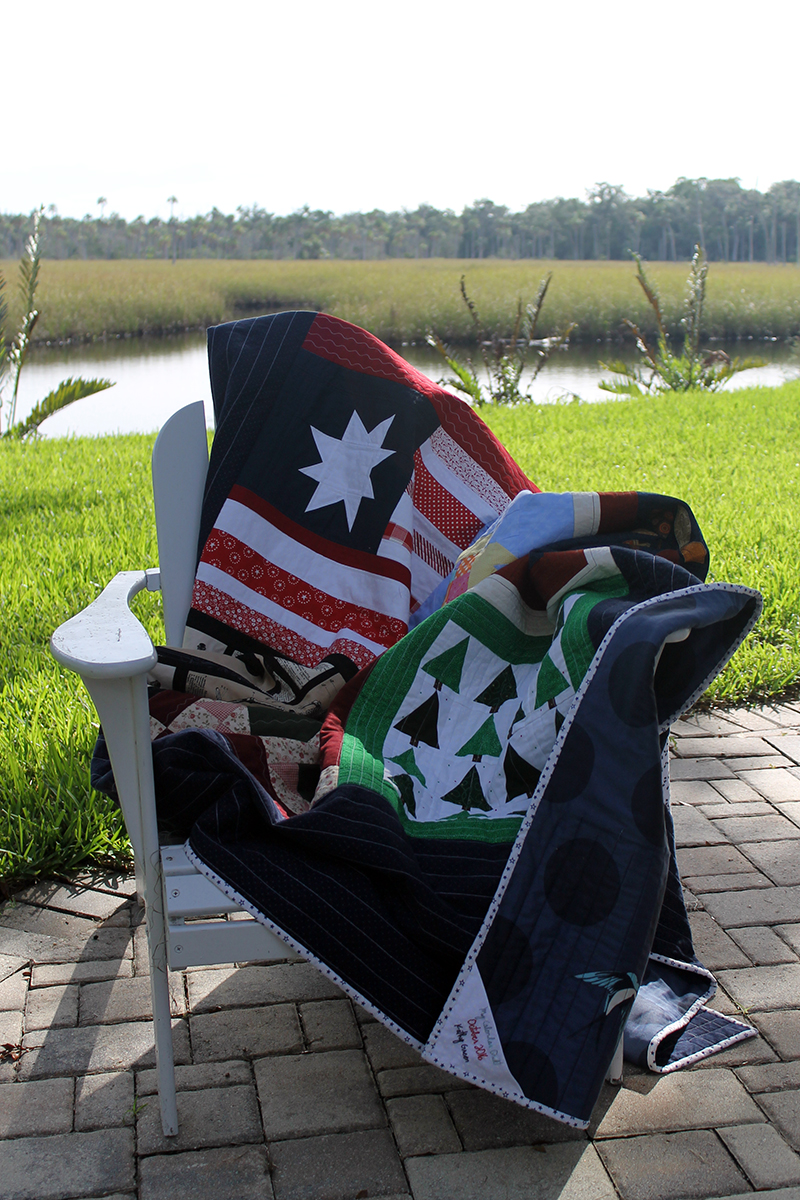
I feel almost a sense of freedom. This quilt isn’t hanging over me waiting, waiting, waiting, for me to finish it.
And now I can START ANOTHER ONE!
Discover more from
Subscribe to get the latest posts sent to your email.

Looks really great! The grandkids are adorable and growing.
Thanks Terry, Kendall and Jack are really really cute and really really busy! Still picking up kid stuff!
So cool. I really like the fabric on the back.
Thanks Jes. It turned out much better than I thought with all of the different conflicting colors. I like it a lot!