Potholders
This project was supposed to be my main priority when I finally setup my new sewing machine. I cook and bake. A LOT. Potholders are pretty important to me. But. I am easily distracted and made many other hand crafted items first.
And besides, I still had all those reindeer potholders I could use!
But finally, I can put my holiday potholders away!
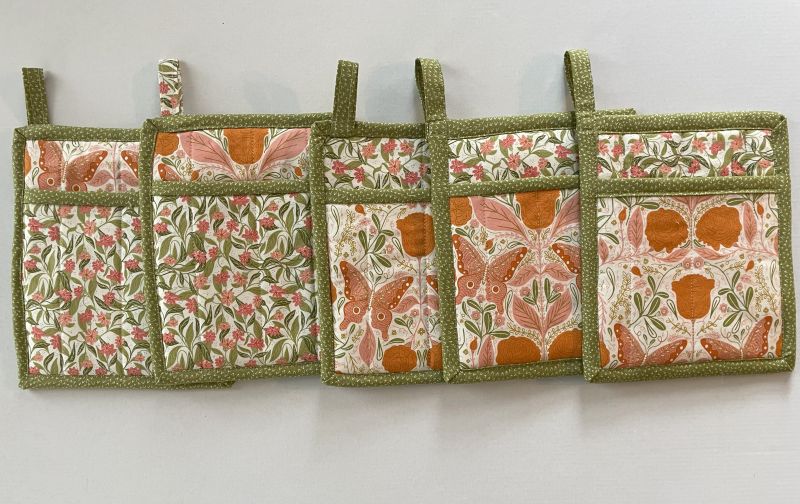
The new pieces are SO pretty. They really brighten up my little kitchen in DC.
My kitchen is small but I am able to make lots of delicious dinners and amazing desserts. Not a lot of storage but I am making it work!
I have made many potholders over the years. For so many reasons: They get stained or burnt; I change the color scheme in my kitchen; I think I need holiday themed versions; Or I just feel like making new potholders!
I have also made many posts about potholders. Some even include instructions and I go back and use them. Thought I’d try some of them and see which I like best!
One thing they all have in common is insul-brite*. Insul-bright is like batting but it is heat-resistant. (NOT heat-proof!)
I use TWO layers of insul-brite in my potholders because it protects better. I do not want my precious fingers to get burnt! I have tried one layer alone and have tried one layer coupled with one layer of batting. Nope. Not good enough. (And I must add I have an Ove-glove for my cast iron skillet)
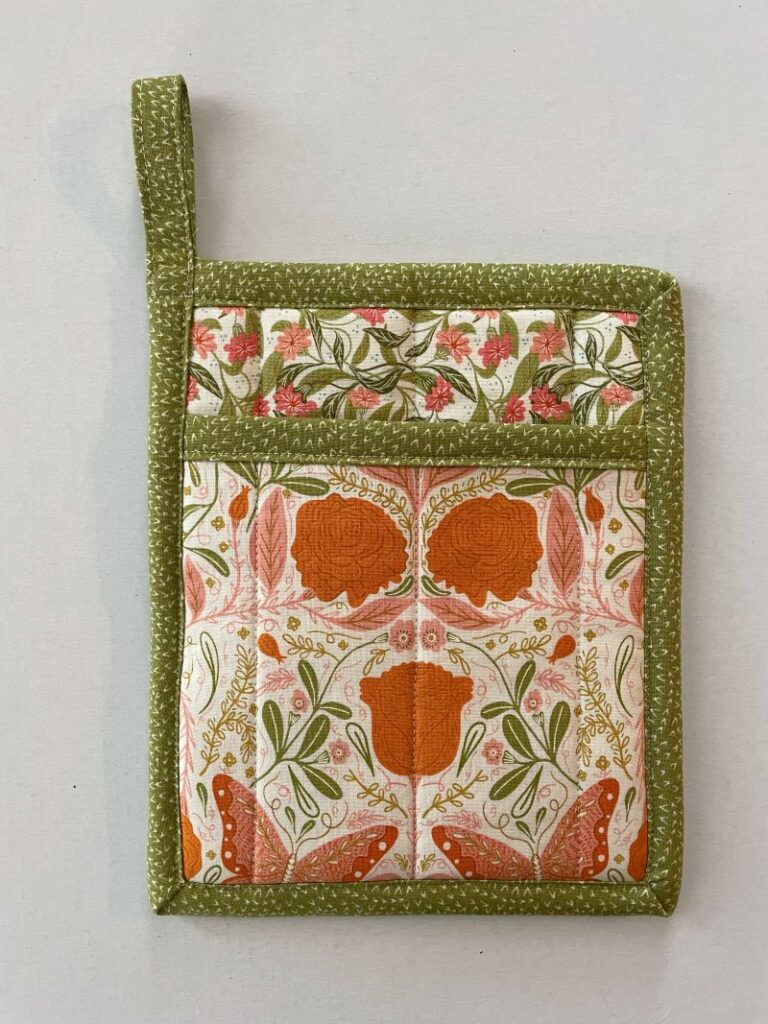
I put a pocket on the front with one layer of insul-brite. It protects the back of my hand somewhat. Kind of like a glove.
For detailed instructions on making potholders with mitered corners you can go to these posts:
DIY Potholder with a Hanging Loop — Another Version
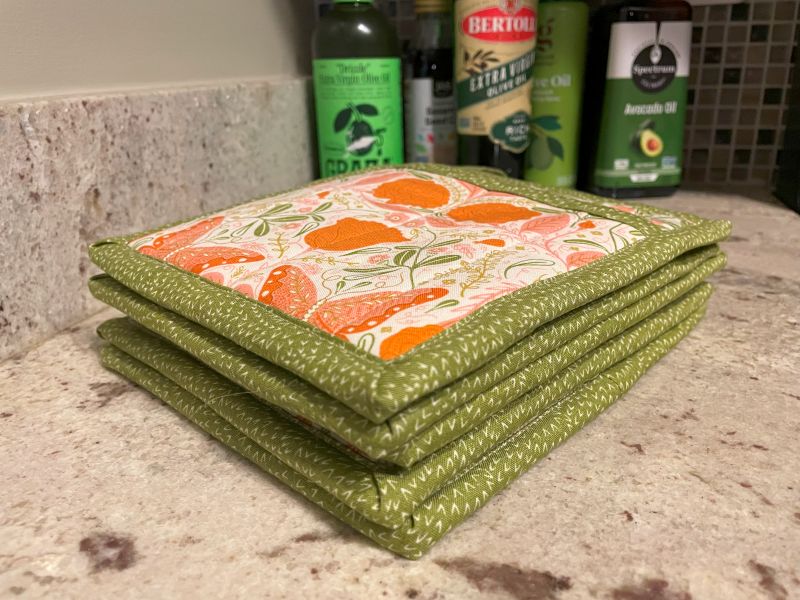
For this project the fabric is “Woodland Wonder” by Gingiber for Moda. I like to mix and match at least three coordinating fabrics and usually keep the binding the same fabric for all the pieces. Kind of makes them look like a set.
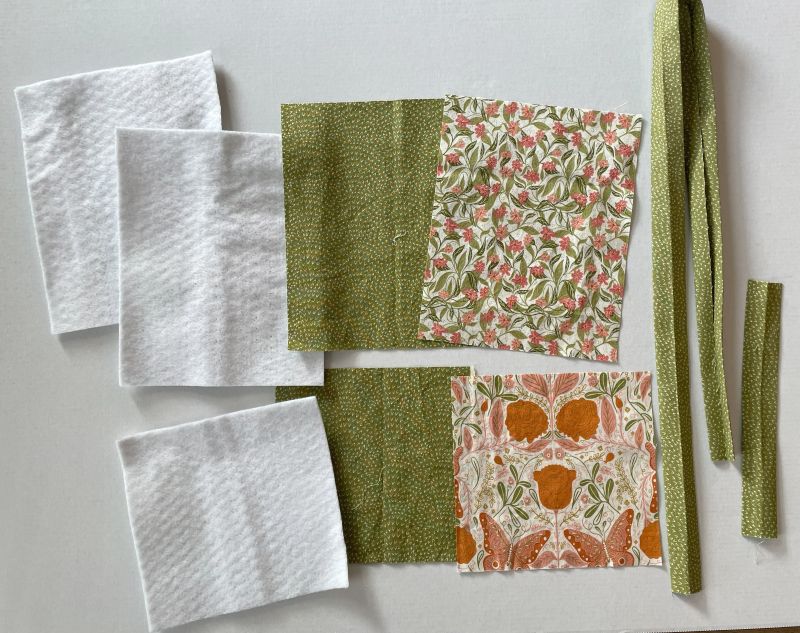
All of the potholder instructions call for the same pieces. For each potholder you will need…..
Front and back: two 8″ x 6 1/2″ pieces of cotton fabric and two insul-brite 8″ x 6 1/2″ pieces
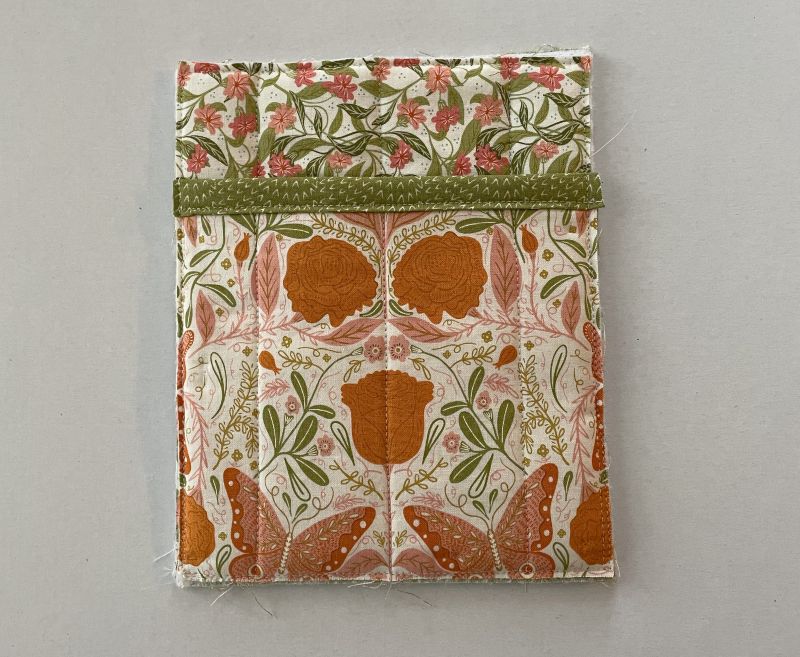
Pocket: two 6″ x 6 1/2″ pieces and one 6″ x 6 1/2″ piece of insul-brite.
Binding: one either 2 1/2″ or 2 1/4″ wide x approximately 40″ cotton fabric. I tried both widths while making these. I did not cut the binding on the bias because these potholders have no curves.
This is what all the potholders have in common…..
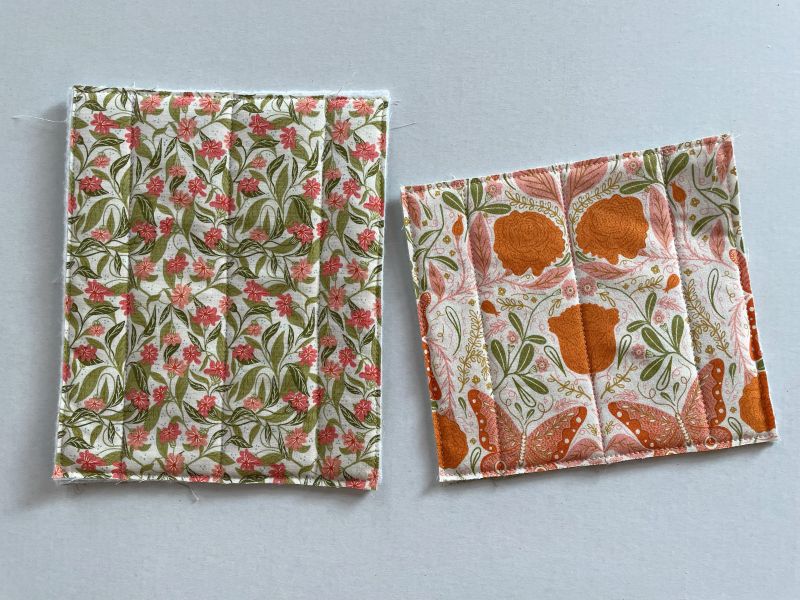
Start out by gluing the insul-brite to the front and back. I use a Elmer’s glue stick.
Quilt the potholder pieces—However you would like to quilt them! I then do a stitch close to all the edges.
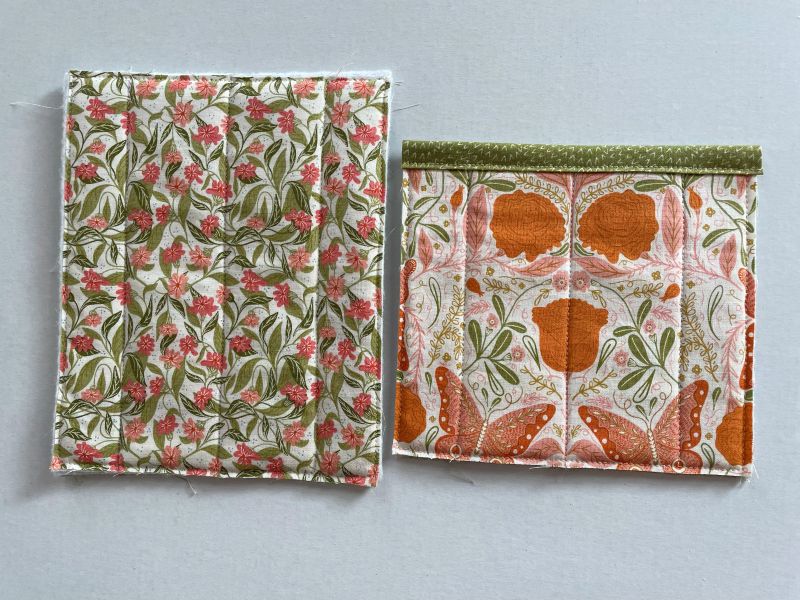
Add binding to the top of the pocket. Just like you would a quilt. Stitch.
Sew the pocket onto the main piece.
And now this is where you will need to refer to the links to my tutorials. DIY Pretty Potholders and DIY Potholder with a Hanging Loop — Another Version
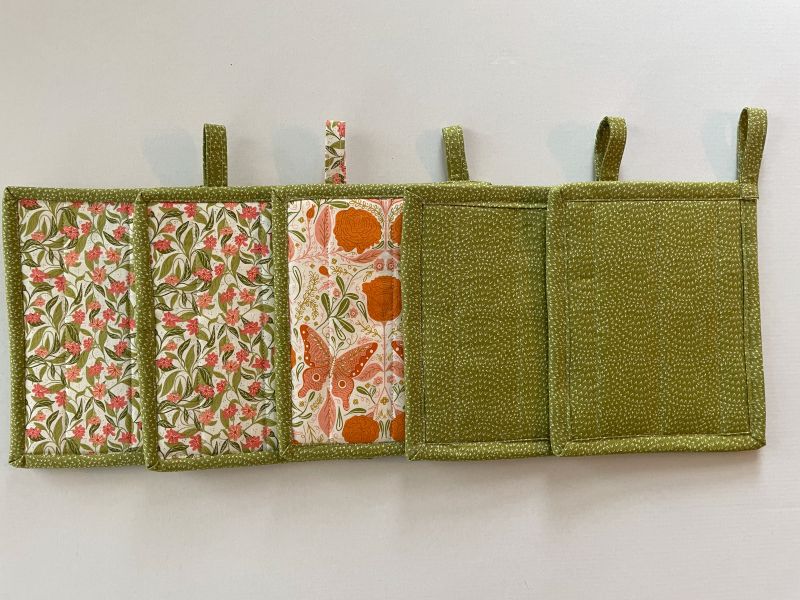
For the first two potholders, I stitched the binding to the back of the potholder and then brought it to the front.
I found the easiest way to join the binding (for me) was to overlap 1/2″ and then join it with a 1/4″ seam.
For the third potholder, I stitched the binding on the front and brought to the back.
And for the last two, I used an entirely different method with two different widths of binding. 2 1/2″ and 2 1/4″.
You can get my directions here: DIY Potholder with Hanging Loop.
This method uses faux mitered corners and you can learn more about it from Sew4Home.com. Their’s is a great tutorial although the potholders are not the same size as mine. Nor do they have pockets. But, anyhow, that’s how I made the last two potholders.
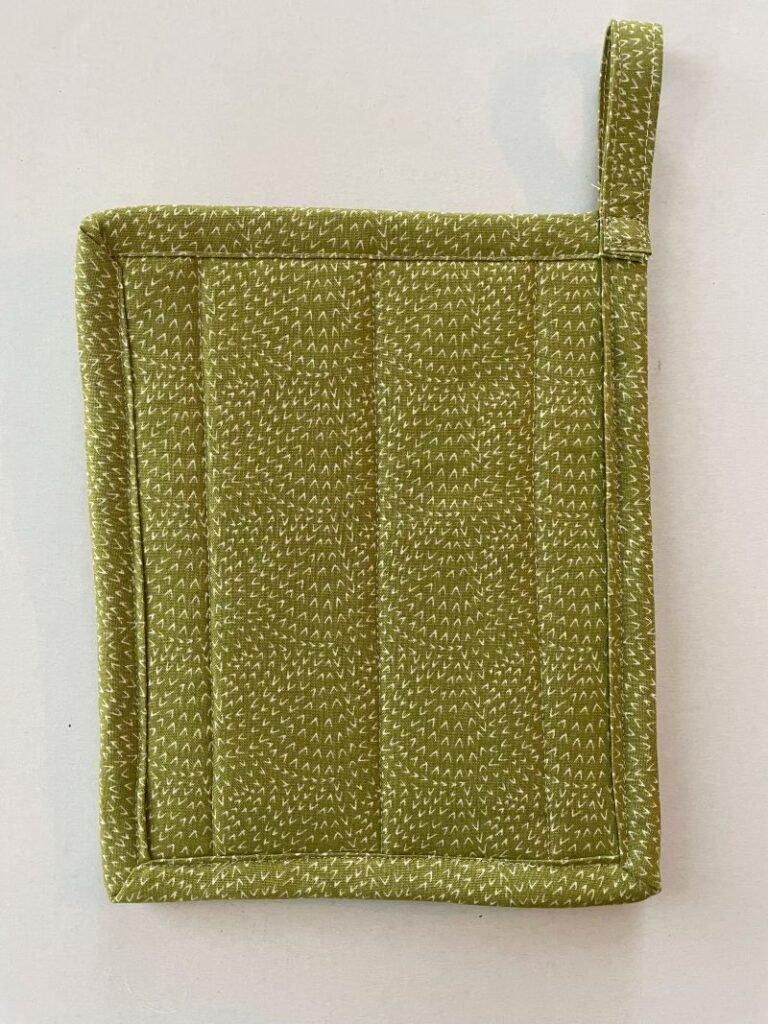
And all of the potholders:
And which one did I like best?
The faux metered corners with the 2 1/4″ binding.
I think the smaller binding was better. And I liked that the hanging loop was just part of the binding.
I am having my kitchen remodeled in North Dakota. I’ll probably NEED to make new potholders to go with my new range and cabinets! Perhaps when I do I’ll remember to take pics of each step and write up a new tutorial with a PDF so it can be downloaded.
But I had planned on doing that with this post and forgot to take the step by step photos. Like I said, I’m easily distracted!
* By the way, I am an Amazon associate and might make a commission if you buy this linked products!
Discover more from
Subscribe to get the latest posts sent to your email.


Comments
Potholders — No Comments
HTML tags allowed in your comment: <a href="" title=""> <abbr title=""> <acronym title=""> <b> <blockquote cite=""> <cite> <code> <del datetime=""> <em> <i> <q cite=""> <s> <strike> <strong>