Outdoor Furniture Update
I’ve been planning to update my outdoor furniture that’s in our screen room for about two years. And FINALLY did it!

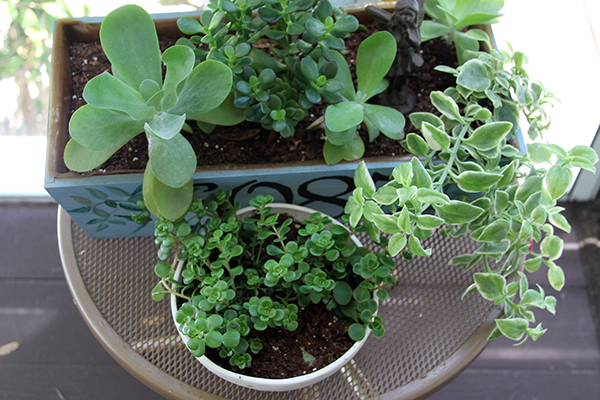
And here’s some succulents just because I think they look great!
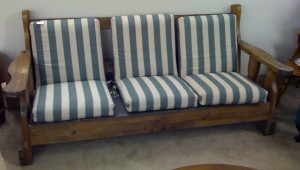
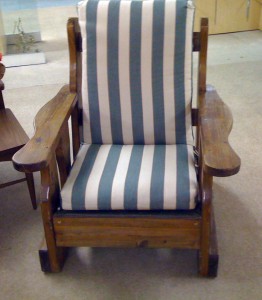
I bought this old furniture back in 2011 at one of our local thrift stores. Really UGLY 1980s stuff along with awful outdoor cushions. The cushions got thrown into large garbage bags in the garage for storage.
With many hours of work, lots of paint, yards of fabric, I turned that ugly furniture into this…
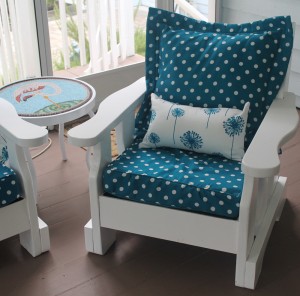
But the Florida heat and humidity had taken its toll on those cushions and it was time for another update.
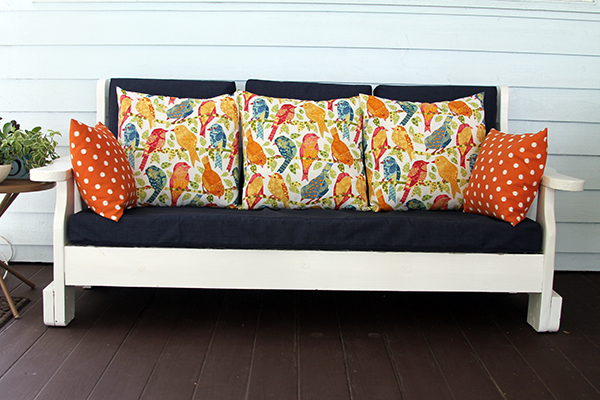
And here’s what the room looks like now!
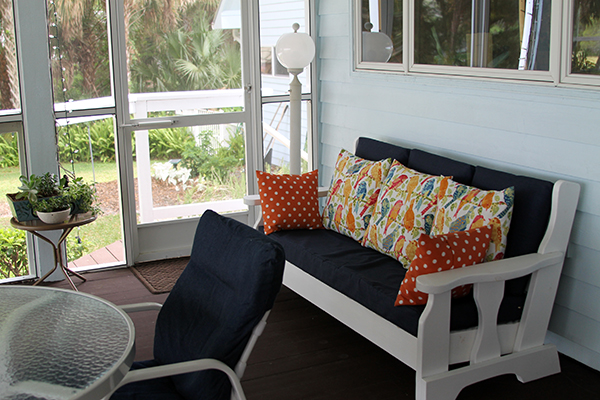
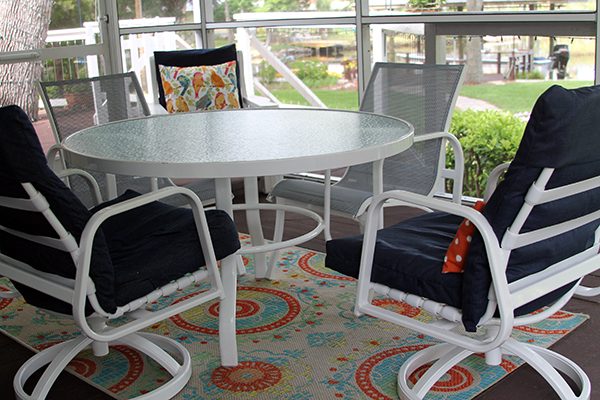
What a difference!
Not only have I updated the cushions and pillows, Terry took the spindles off of the deck and replaced them with vertical wire posts where necessary and we moved out a few pieces of furniture so we could have an even better view.
The pillows had kind of gotten smushed down a bit from the many years of use. I had used them for the back of the couch but they weren’t big enough for that anymore so I pulled those old patio cushions out of the garage. Took the nasty covering off, made cases for them with muslin then put on the new fabric and used them for the back of the couch and chair.
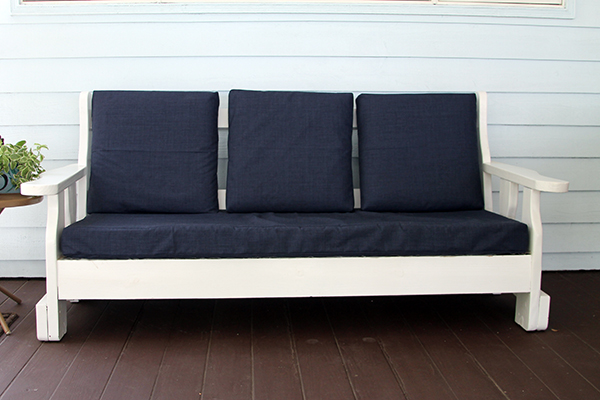
You would never know where those back cushions came from!
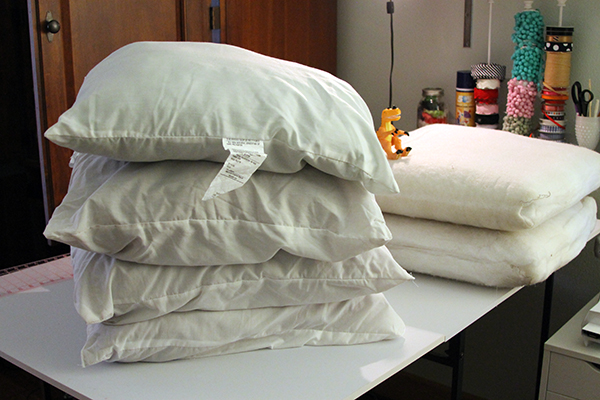
Here’s the pillows and a couple of the cushions before the update.
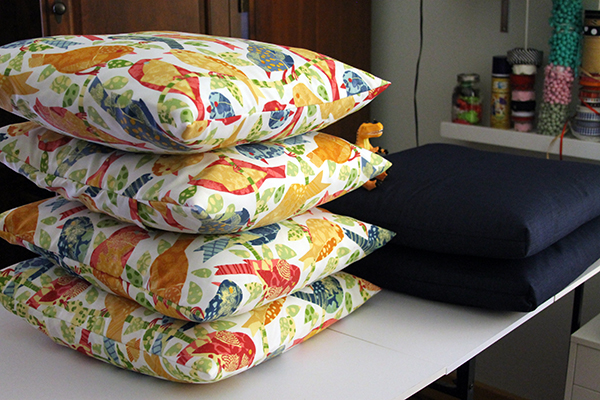
So much better!
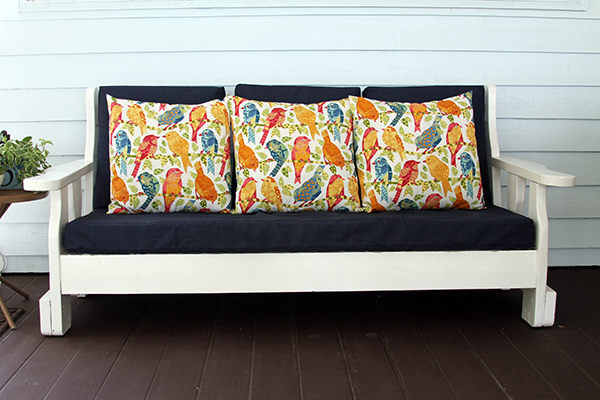
New Pillows and Cushions
I’m not going to go into a lot of detail on making these pillows and cushions since I’ve already covered that here in the past. So I’ll send you over to one of my older posts for the instructions for the easy-peasy pillows.
I bought the pillow forms back in 2011 at Fabric.com and they are still available.
24″ x 24″ Indoor/Outdoor Poly Fill Pillow Form
While once upon a time they were 24″ x 24″, now they are more like 21″ x 21″.
Here’s how I figured what size of fabric to cut:
Add 1″ onto the 21″ for 1/2″ seam allowances on the top and bottom.
So the height is 22″.
For the width, I’ll need 21″ to cover the front then another 21″ for the back. For the envelope-style back coverage, add an additional 1/3 of the back — 7″. Then add 2″ for hemming the edges. For a grand total of 51″
(Front + Back + 1/3 back + 1″ hem on each edge.)
So I need a piece of fabric 22″ x 51″.
Now I’m just going to throw in maybe a tiny bit of confusion. This fabric was 54″ wide. I have to admit that I just cut the selvages off and went with a wider envelope back coverage. (Or I could have just made the hems a little bigger.) My point is, that the formula I use works but you can tweak it many different ways. That’s the beauty of making things yourself. Change it up and experiment!
Another disclaimer here, I bought all of the original fabric the first time I made this deck set from Fabric.com and returned to them again for this update. I don’t get any payment from Fabric.com or anyone else. I’m a totally unpaid blogger. (Not that I intended to be that way, but that’s how it is!) I buy from Fabric.com because it’s easier than shopping at a store. The shipments come quickly. I can usually wait for a sale. There is a wide selection. And all of my orders that I’ve EVER made in the past five years are recorded in my account. I think that’s amazing.
Okay, on with the pillows…..
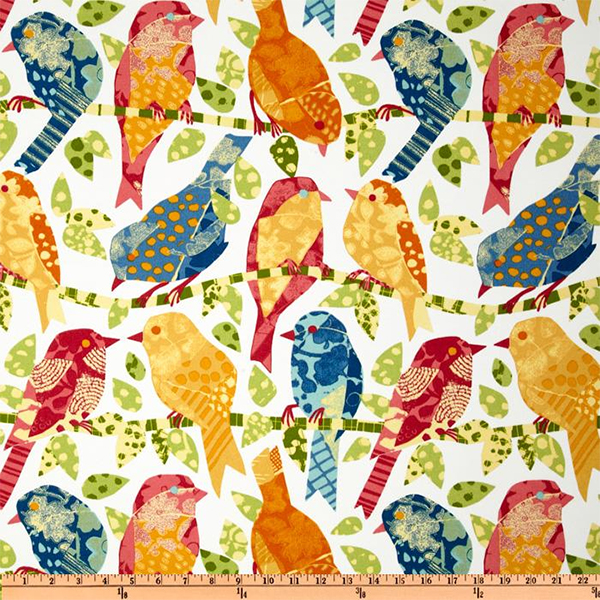
The fabric for the bird pillows is
Richloom Indoor/Outdoor Ash Hill Garden
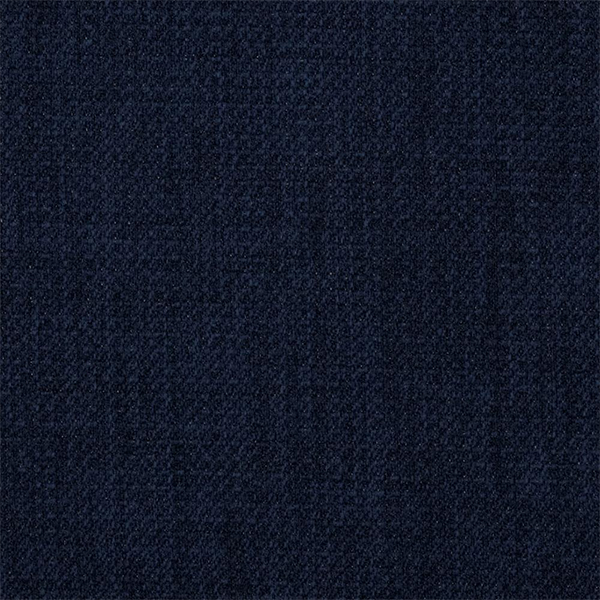
and the cushions are
Richloom Solarium Outdoor Rave Indigo
The orange fabric with white dots was an indoor/outdoor fabric made by Premier Prints but it is no longer available at Fabric.com.
The cushions are 24″ x 24″. And I used my formula to figure the size of fabric. (Who says kids don’t need algebra!)
Add 1″ onto the 24″ for 1/2″ seam allowances on the top and bottom.
So the height is 25″.
For the width, I’ll need 24″ to cover the front then another 24″ for the back. For the envelope-style back coverage, add an additional 1/3 of the back — 8″. Then add 2″ for hemming the edges. For a grand total of 58″
(Front + Back + 1/3 back + 1″ hem on each edge.)
So I need a piece of fabric 25″ x 58″. Once again, I cheated a bit. This fabric, although listed at 54″ wide, was really 58 1/2″ wide. So I cut off the frayed edges and went with that width.
I made the cushions exactly like I did the pillows. EXCEPT…., I boxed the corners 2″. And I’m going to send you to this tutorial on my other website to explain boxing the corners!
I double-stitched all of the seams and finished all of the raw edges with a zig-zag stitch.
I also made the large seat cushion for the couch and the small seat cushion for the chair. The large one has a zipper and the small one has Velcro for the closures. Every time I make seat cushions I say NEVER AGAIN. Getting those corners just right is very difficult and NOT FUN. If you do want to make your own seat cushions, I’m sending you over to DesignSponge for those instructions. This may or may not be where I learned to make them. Actually I think I learned how to do it from a book! Yes, way before blogs and Pinterest, I knew how to read!
We have an under-used seating area outside of our bedroom that I’ll be updating this year, too. I’ve already moved my flamingo table and planter over there. I plan on using the same blue fabric for the cushions but going with a flamingo print for the pillows.
How cute is this?
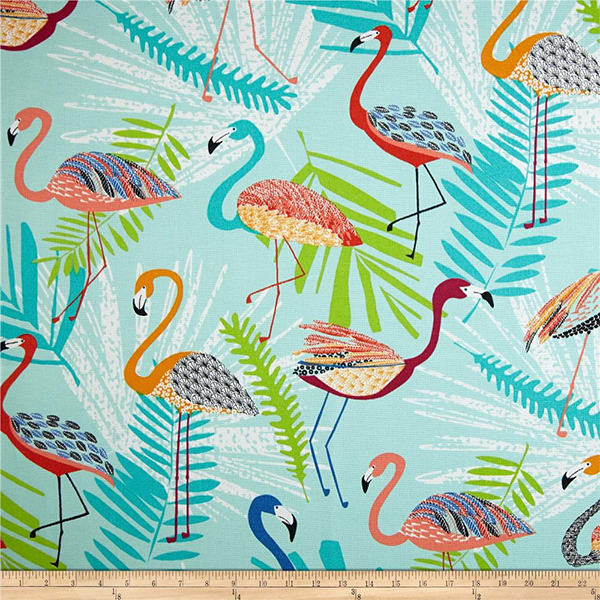
Richloom Indoor/Outdoor Flamingo Capri
Just have to wait for it to go on sale!
Discover more from
Subscribe to get the latest posts sent to your email.

Comments
Outdoor Furniture Update — No Comments
HTML tags allowed in your comment: <a href="" title=""> <abbr title=""> <acronym title=""> <b> <blockquote cite=""> <cite> <code> <del datetime=""> <em> <i> <q cite=""> <s> <strike> <strong>