Negative Space Quilt — Upsized!
You might recall that I posted about this Negative Space Quilt designed by Angela Waters last month. I made it into a wall hanging for my daughter. It’s still at my house–won’t be going to visit her until the end of September.
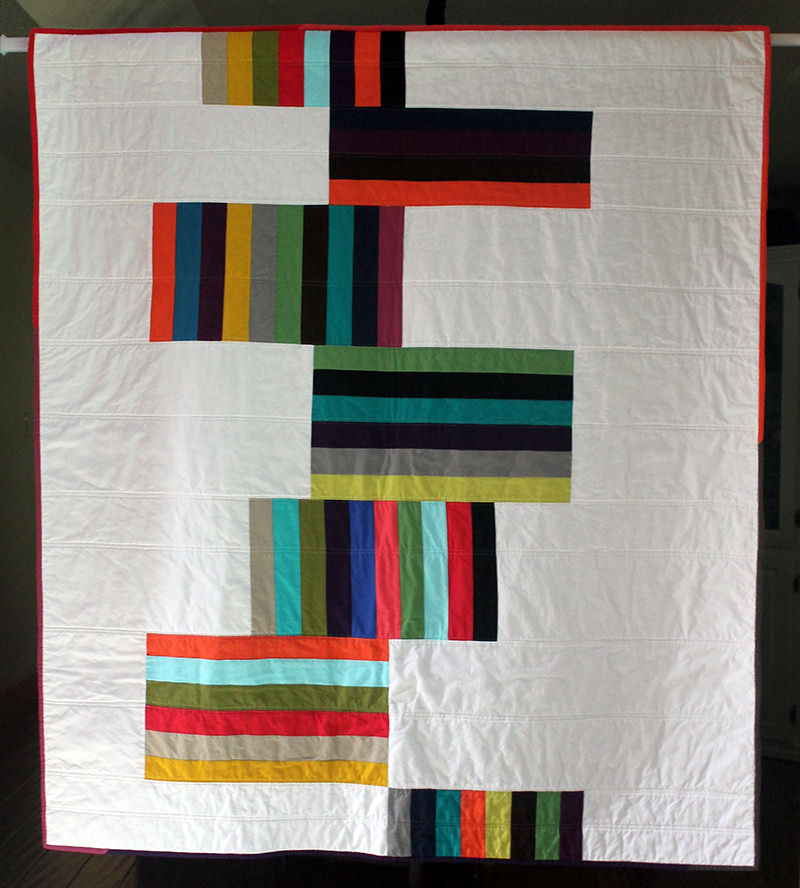
The quilt kit included one jelly roll and the background fabric. I probably had over half of the roll left when I finished this quilt. I liked the design so much that I decided to make a second one–for me!
It started out as a lap quilt on my design wall.

But I still had several strips left and decided to make the quilt a little bigger. It quickly outgrew the design wall and moved onto the grandkids’ bedroom floor.
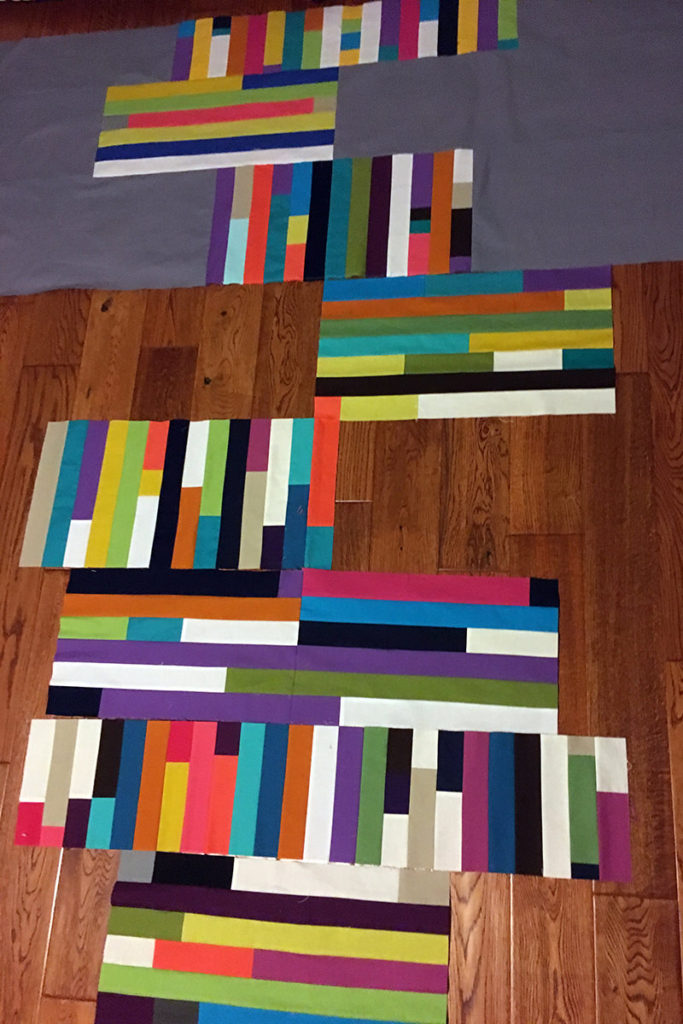
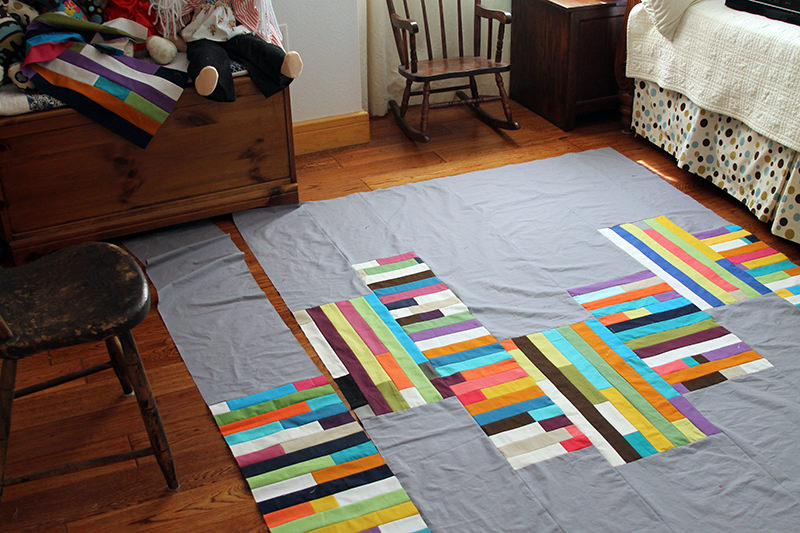
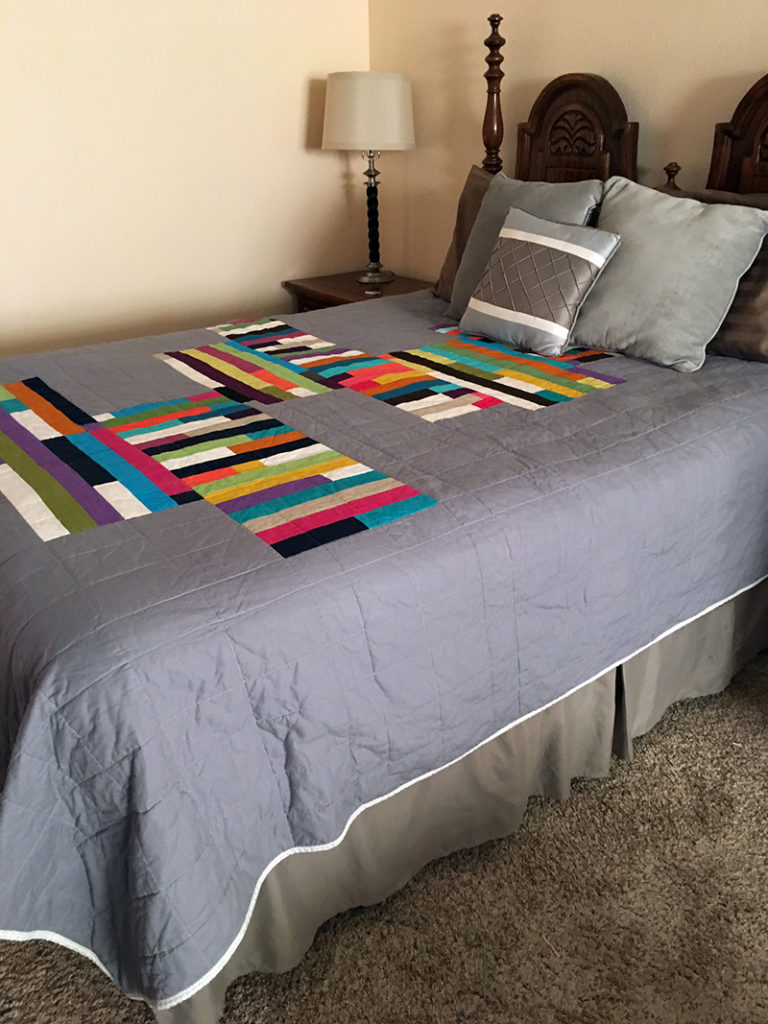
And then I pulled some solid color fat quarters out and cut them up into jelly roll size strips. Voila! Queen-sized! Which is just what I needed for the bed in the North Dakota family’s guest suite.
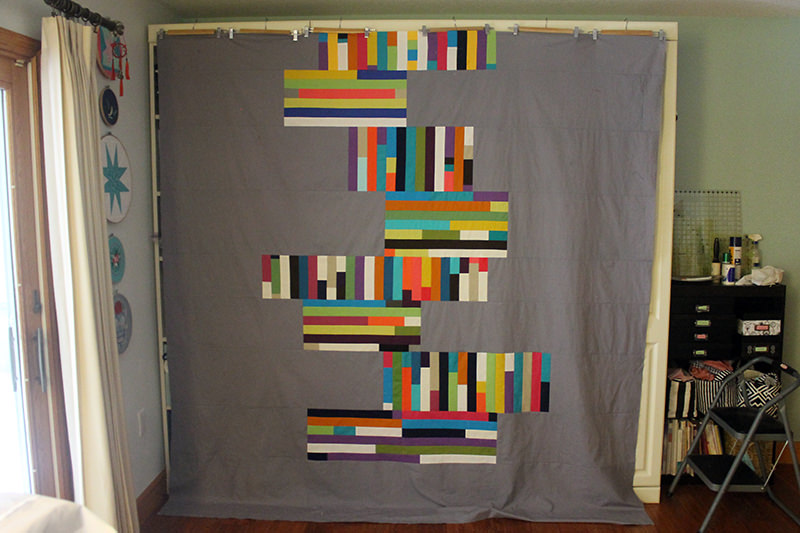
I kept all the color strips in the area that would cover the top of the bed. I couldn’t remember whether the mattress on that bed was a extra deep and I really wanted the quilt to go a little beyond the dust ruffle so I added a 15″ drop.
MISTAKES WERE MADE
After the quilt top is finished, all the layers have to be basted. As far as I know, there are only two ways to baste. Either with safety pins or with a spray adhesive.
The safety pin method is definitely the cheaper way to go. The pins just need purchased once and can be reused for every quilt. The backing has to be taped to the floor, the batting is put on top and smoothed out and then the quilt top is added. Next you must crawl around on the floor and do the pinning. Which is very hard on the knees–I don’t care how old you are! And the pins never seem to keep it secure enough. (Especially if using minky for the backing.)
The spray adhesive method requires a can of temporary spray glue. I like 505 Temporary Spray Adhesive for Fabric. (The stuff is pricey but worth it!). This can also be done on the floor. Pretty much the same way but rather than safety pins, you apply a spray adhesive to each layer. Which should not be done indoors. First because of the vapor, plus the over spray goes everywhere! And things can get very sticky! (Yes, I have done the spraying indoors and then had to wipe down every surface!)
Then I read about the method that Christa Quilts uses. You just need a big wall to hang all the layers on. I thumbtack the backing on my garage wall, spray, add the batting, smooth it out, spray, add the quilt top. Gravity helps out with this method.
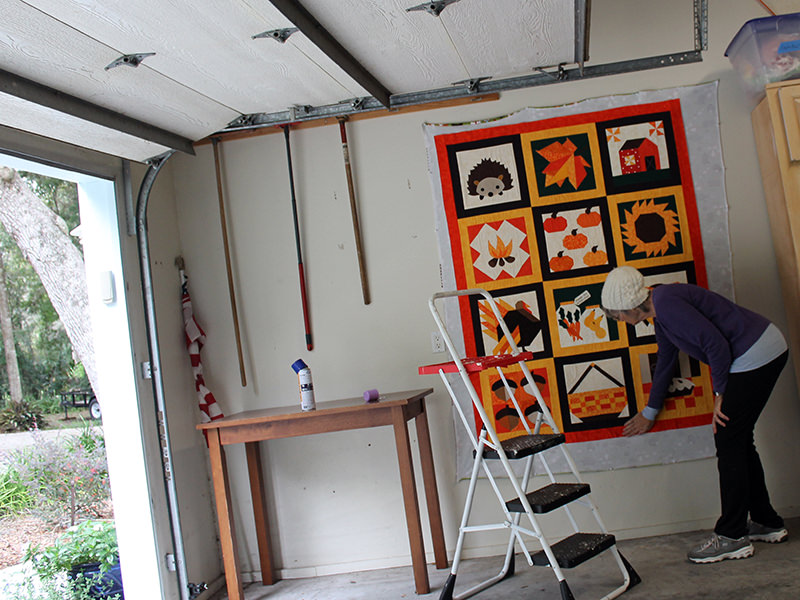
But–you have to have a wall, right? And I didn’t have a blank wall in the garage that was big enough for this quilt.
Christa Quilts also has a tutorial for spray basting on tables. I like trying new things so I said, why not? I drug two folding table outside and set them up.
I laid the backing down and went in to get the basting spray, came back out and leaves were all over the fabric. Okay. I moved everything into the garage. Sprayed. Struggled. Got frustrated. Finally got all the layers together. Took everything inside to my sewing table and discovered that the backing was wrinkled. Had to completely take the quilt sandwich apart and put back together. At this point, the glue wasn’t holding quite as well so I did some pin basting. Then I pressed. Pressed. Pressed.
Anyhow, the table basting method was a total failure for me. But. I will try it again. Because it really should work. With some patience. (Or maybe I won’t make any more queen-sized quilts.)
Back to the quilt….
I was on a deadline because I was going to North Dakota the next week. I gave myself four days to get it finished so the amount of quilting I did would have to depend on how much I got done on each day. And I only had about three hours a day to sew. (only–how many people get that much time to do a hobby everyday?)
First day, I did horizontal quilting. Used my walking foot and stitched in all the “ditches” between each panel. Then I went back and divided each section up and did more straight line quilting. I was able to quilt enough to make sure that no section was wider than 6 inches apart.
Next day, I quilted vertically. Again having no sections wider than six inches.
The third day I trimmed and made the binding. Gotta say. It’s really hard to trim a queen-sized quilt. It kept getting smaller and I was a bit concerned about it being large enough to cover the queen-sized bed it was destined for.
And on the final day, I added the binding. I usually hand stitch the binding but knew that wasn’t going to get done before my deadline so I machine-stitched it. Something I didn’t know until recently is that if you machine stitch the binding, you are supposed to put the binding on the back and then wrap to the front of the quilt. I saw this on two different blogs in the same week! So it must be true! I tried it and it worked really well.
Then the quilt was washed, dried, photographed, and packed in a really big suitcase. (I didn’t get to pack much clothes since it took up so much room.)
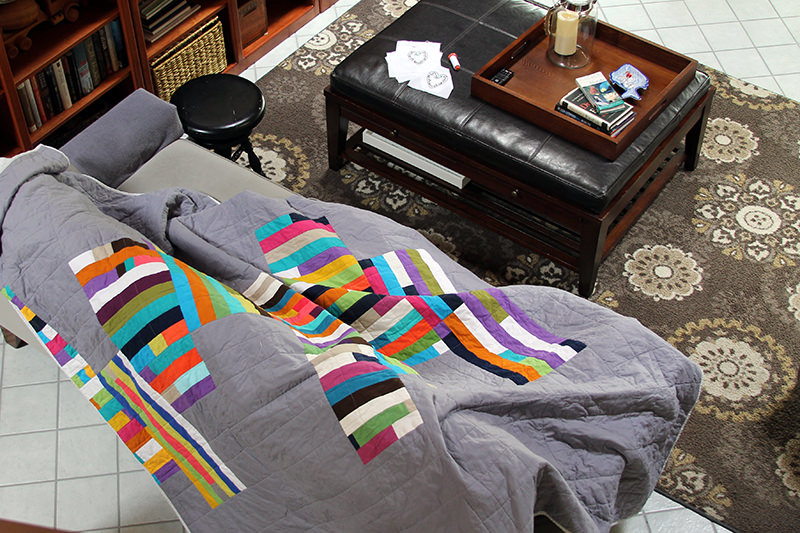
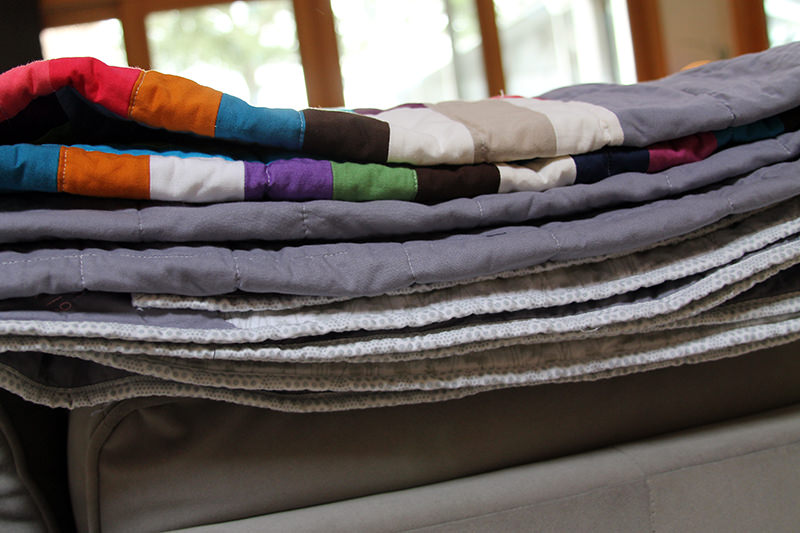
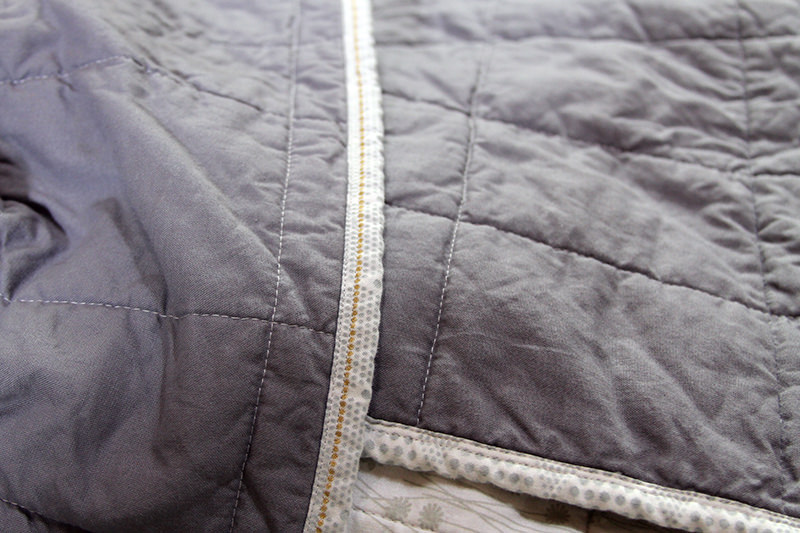
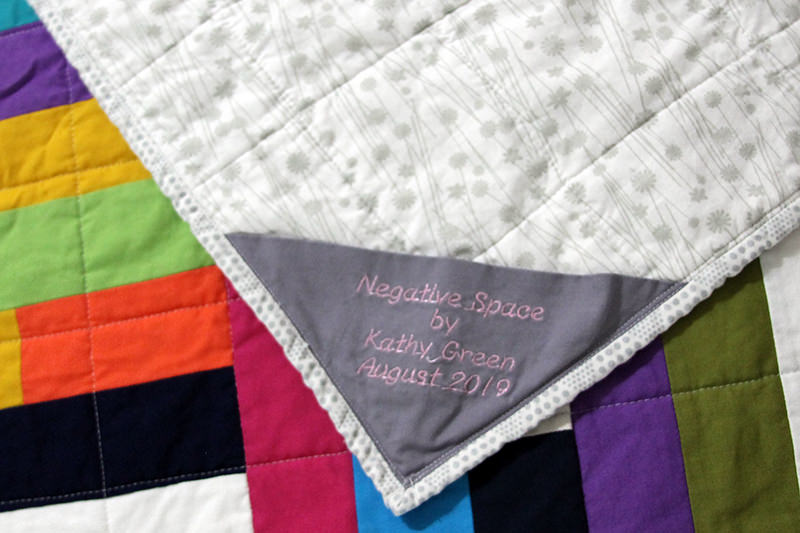
I was a bit worried that I had trimmed it down too small. But it was perfect! (Well as perfect as a hand-made quilt can be!)
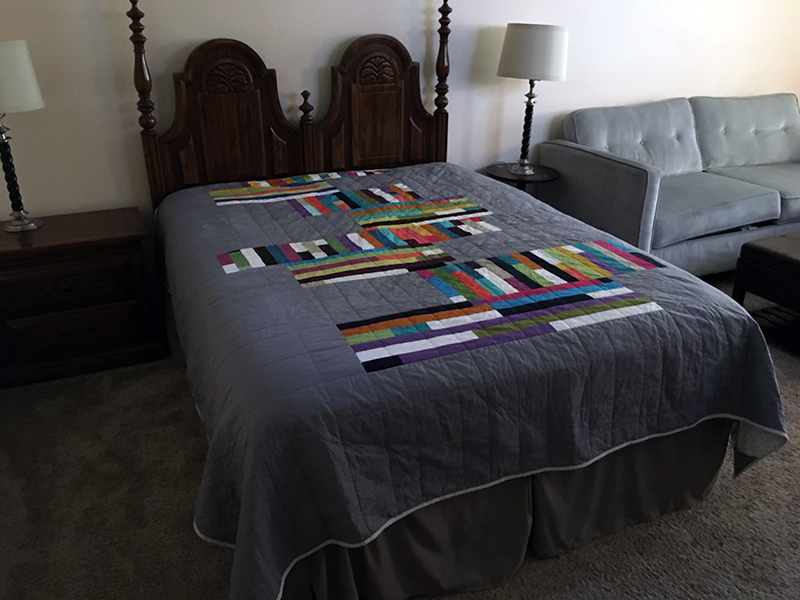
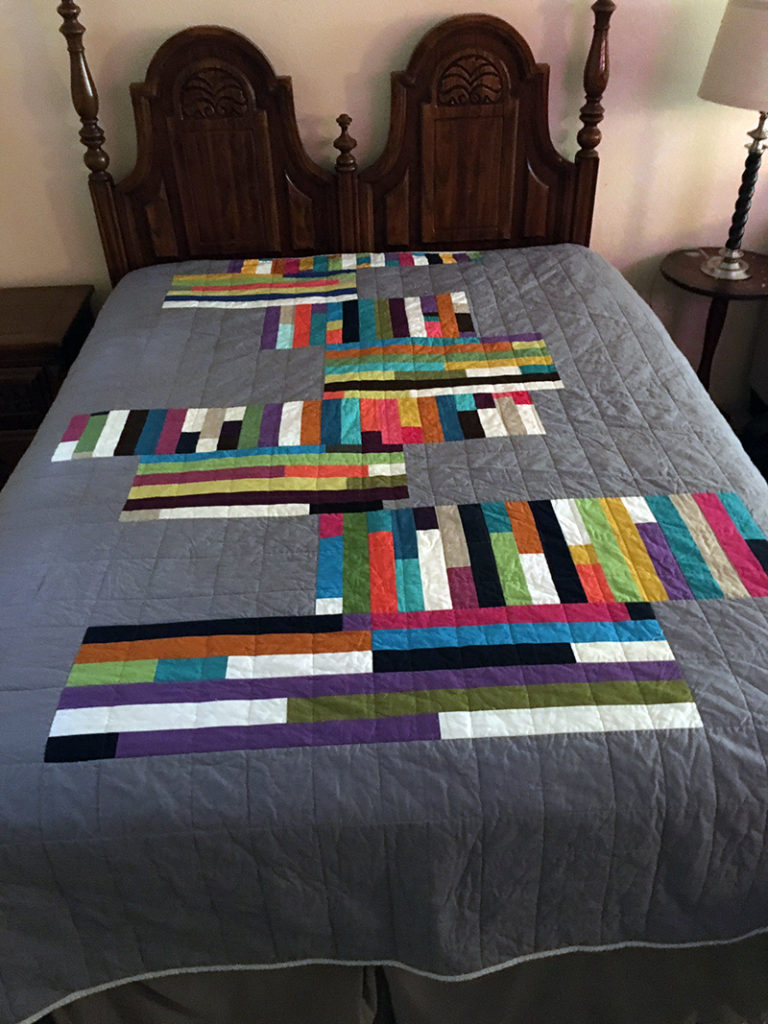
Incidentally, we bought this ugly bedroom suite several years very inexpensively with the intention of up-scaling it with some upholstery and chalk paint. But instead, I spend all my time on my visits playing with the grandkids rather than DIYing!
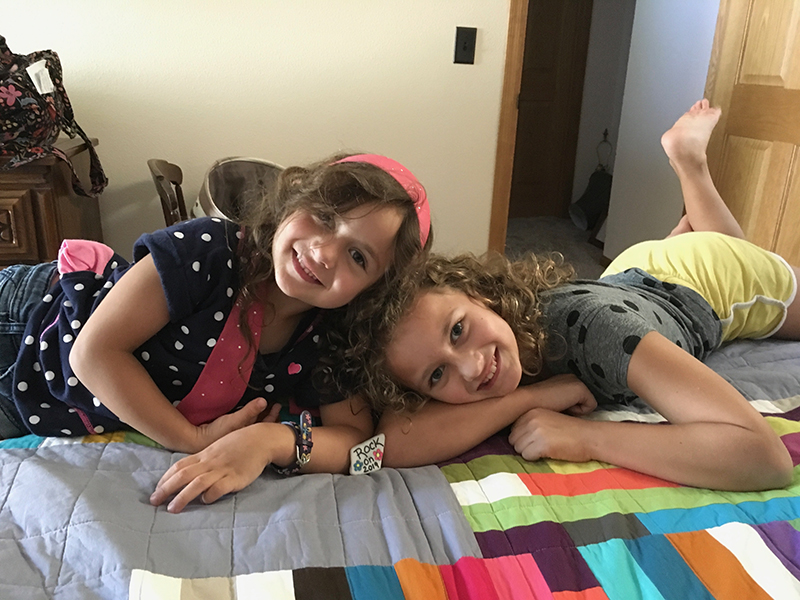
But I will be making some matching pillow shams and dust ruffle!
Next trip!
Discover more from
Subscribe to get the latest posts sent to your email.

I LOVE the new quilt! We better get started on the paint for the bedroom set!
I agree! We need get that bedroom set updated! Some paint, upholstery, new pillow shams, matching dust ruffle! Next time!