Let’s Label It!
So how was your last unofficial weekend of Summer? Terry and I had planned to volunteer. We’d be parking trucks and trailers that needed spaces because of all the visitors that would be descending on Old Homosassa to fish and scallop. This is a big fund raiser for the Old Homosassa Learning Center. Unfortunately for the learning center, the weather was ugly and scared the tourists away. Fortunately for me, I had a three day weekend to do some organizing!
I’ve been attempting to get my “Creative Cave” organized over the last year. (Has it been that long since we moved all of the Ikea furniture out of Terry’s office into mine?)
Hey, I don’t make snap decisions about anything–and that includes my office. I like to study things and live in a spot for awhile before I do anything permanent.
But…..maybe….I’ve worked in there with this furniture arrangement long enough to get my stuff together.
I’ve got all my fabrics, projects, sewing tools and craft items sorted into bins, totes, baskets, cups, jars, saucers, carts, and boxes. Which is good because a lot of it is out in the open and I can see exactly what I want to use.
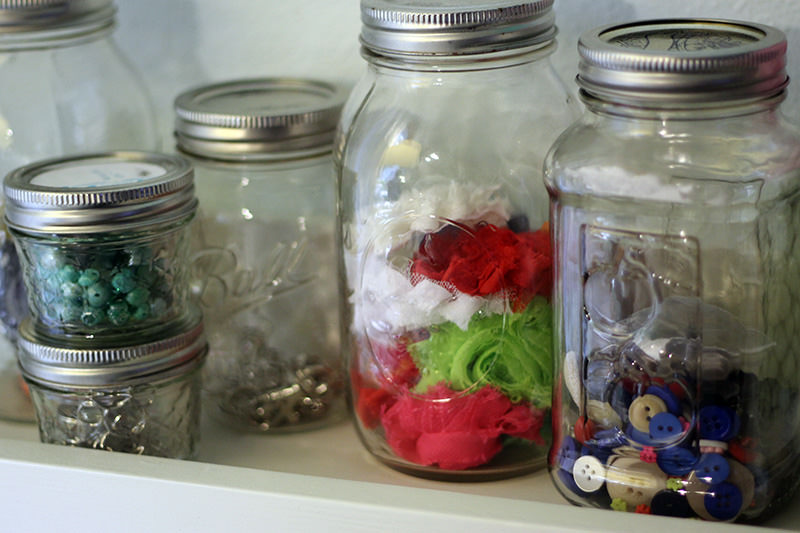
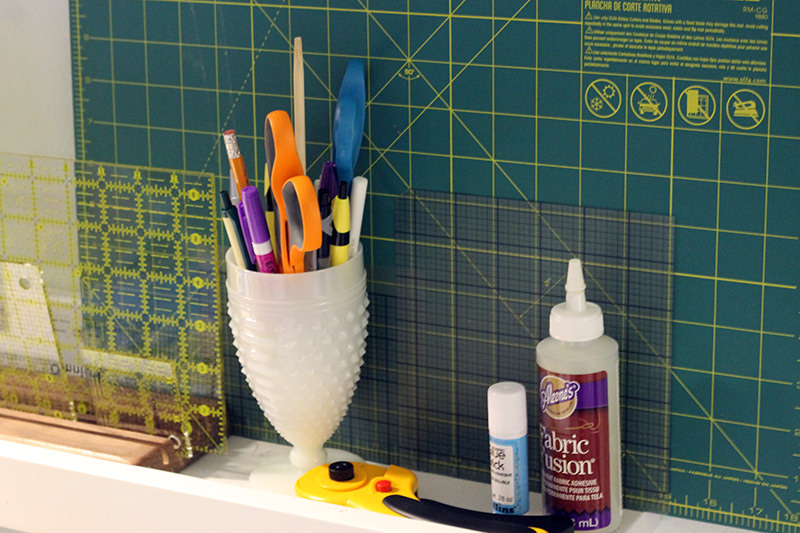
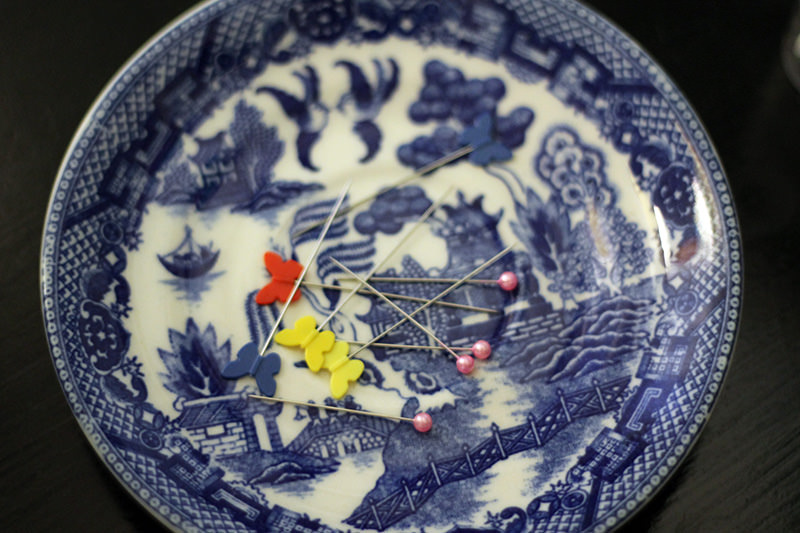
But I’ve also got a lot of baskets and boxes and totes that are closed. And I have to pull them out and look in them every so often. Just to see what I can see.
So I needed a labeling system. Most recently I just used my label maker and stuck labels on the cloth storage boxes. Not only was that unattractive, it wasn’t long before they started peeling off. Bummer.
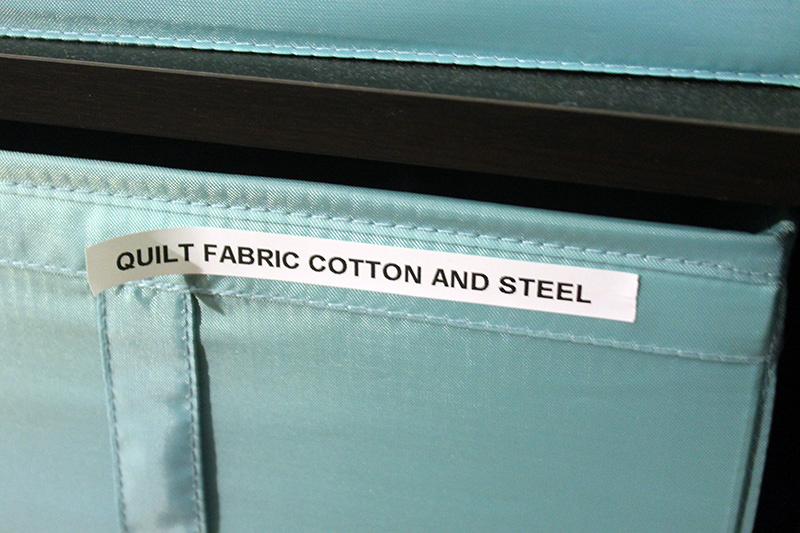
It’s important that it looks good. Mostly because I want to live in pretty. But also because my creative cave is right inside the front door and everyone that walks through there can see it. It was originally the formal living room then it morphed into a music room/guest bedroom/office. Then a few years ago that all changed. Now it’s my office–along with my sewing corner– and there’s plenty of storage. (I have allowed Terry a wee corner for his laptop and files, too!)
While I was in ND and riding for all those hours, I had plenty of time to do pinterest searches and I found several ideas on labeling baskets. Most of them were very clever but I decided this one would work the best for me.
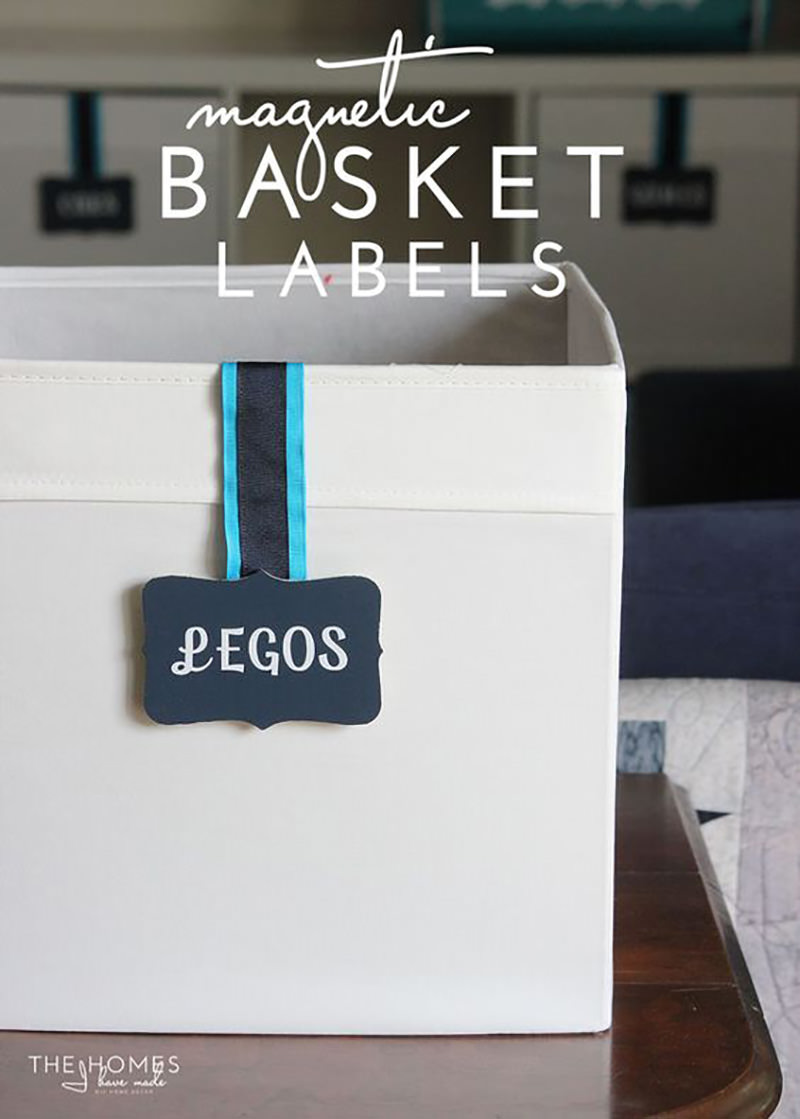
Megan Duesterhaus at the blog “The Homes I Have Made” makes her labels with ribbons, magnets, and chalk board labels. It’s a pretty cool idea and can easily be changed out if the labels need to be updated.
What I really liked was that I just joined the Renaissance Ribbon Club and had received my first shipment. (Okay, just want to say that I am NOT an affiliate of Renaissance Ribbon Club)
The ribbons are beautiful–I received a yard each of 5 different ribbons.
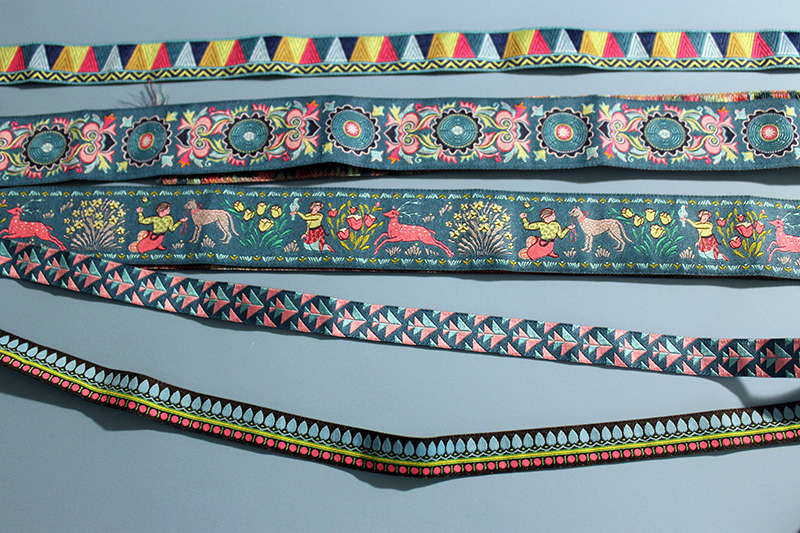 Two of the ribbons are 1 1/2″ width and the other three are all less than 1″ wide. The cost is $25/month which sounds high but high quality ribbons like these are very pricey. At Fabric.com 1 1/2″ ribbons are about $7.00 a yard. Another reason for me to join the club was when I try to buy the ribbons through Renaissance Ribbon, I have to get a 15 yard roll. I don’t think I could ever use 15 yards of one ribbon!
Anyhow, I’ve justified staying in the ribbon club as long as I can find a way to use them every month!
This set of ribbons was perfect because it’s the exact colors that I’ve been using in my office. So I decided to use the three thinner ribbons to mark the boxes.
I bought magnets at Amazon.
They are really little!
Megan sewed the magnets into the ribbons so her small kids wouldn’t be tempted to swallow them. I’m not too worried about magnet ingestion happening at my house. I don’t allow anyone under 3 in my sewing area just because of the pins that might be on the floor. The older grandkids won’t be tempted to eat magnets because they aren’t in a snack bag plus they are usually in the cave sewing or creating or knocking pins on the floor!
So I didn’t sew the ribbons. I cut a 12″ length of ribbon. Hot glued the magnets on the ends and folded the ribbon over that. More hot glue. (make sure you glue down the side of the magnets so they’ll stick to one another!)
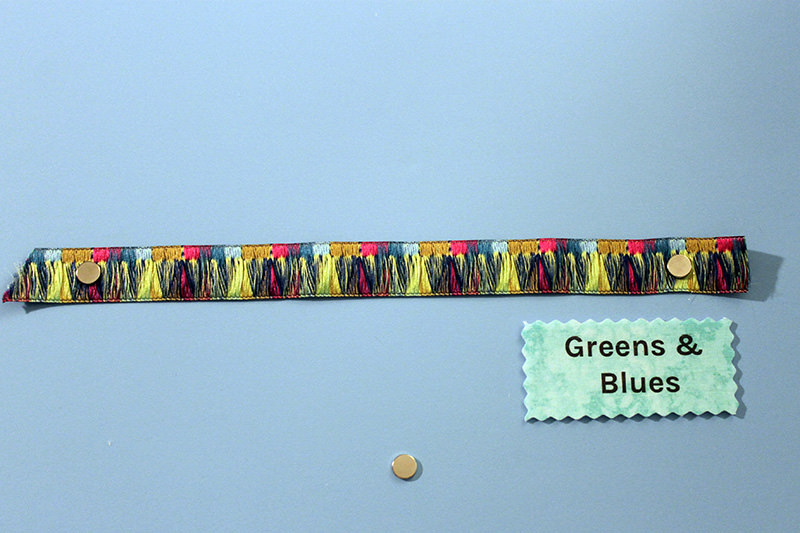
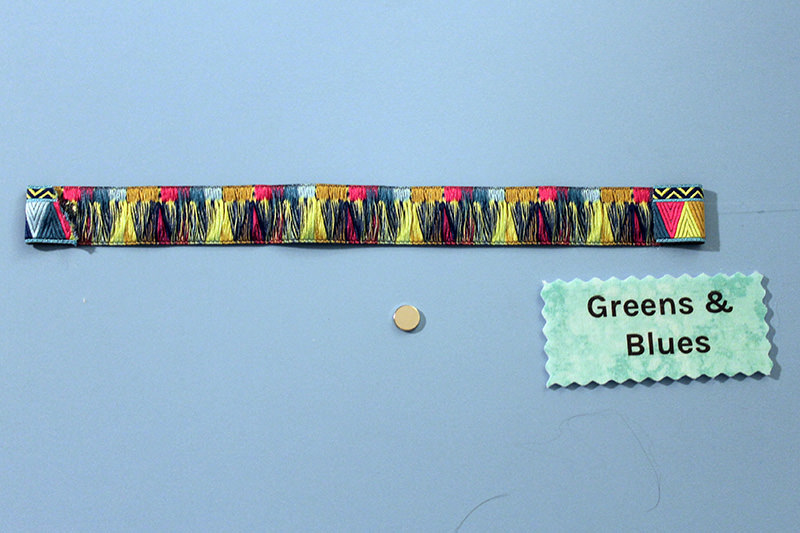
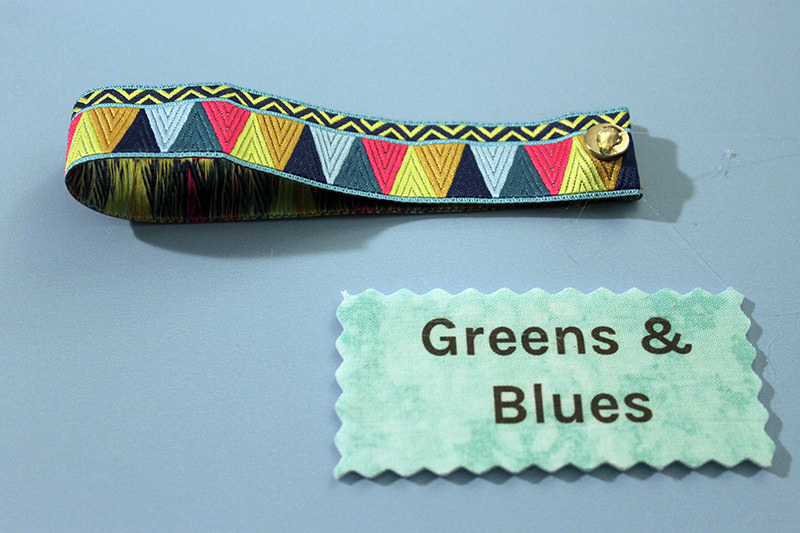
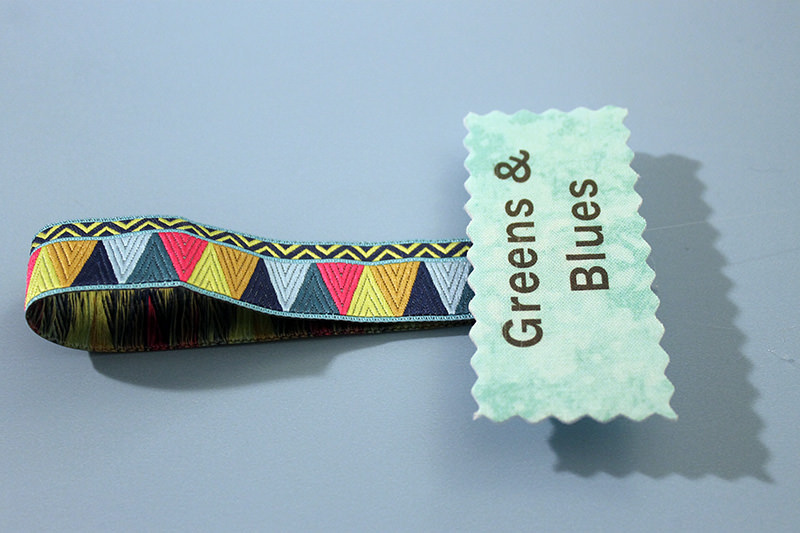
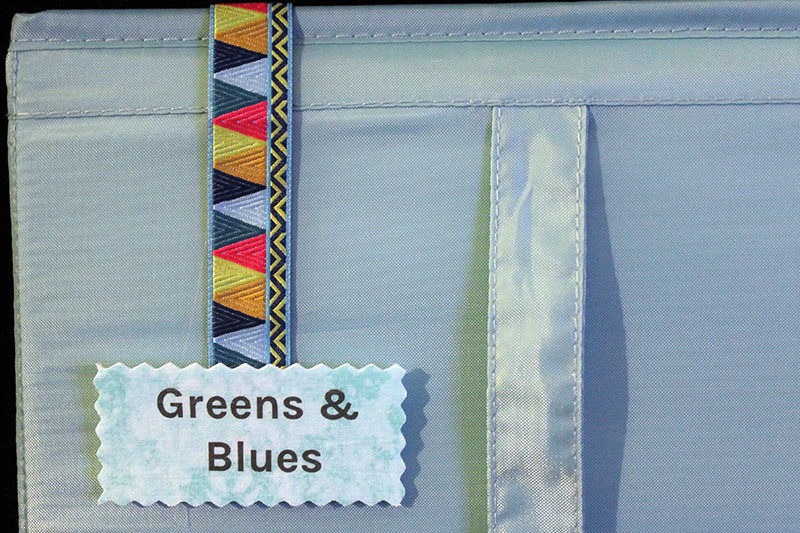
Easy Peasy!
The labels were a bit of a challenge. I wanted to use fabric but knew it had to be very stiff. I had some Peltex 71 that is just about like cardboard. I cut it to 8 1/2″ x 11″. It’s fusible on one side so I ironed it onto a piece of Kona pink cotton cut the same size. I made labels in Adobe Illustrator and printed it onto the fabric. I thought the Peltex would just make the fabric like card stock. Didn’t quite work. The ink smeared quite a bit and some of the words were smushed. I was able to save six of the labels.
Then I tried it again using freezer paper with a different color of fabric. I’ve printed on fabric many times using this method. Just cut the freezer paper and fabric to letter size. Iron the shiny side of the freezer paper to the wrong side of the fabric. Cut it to letter size and then print! No problem-o.
I ironed the Peltex 71 on after the printing process.
Trimmed the labels with my pinking rotary blade from Olfa that I bought last Christmas for a project and never used it. Love the edges!
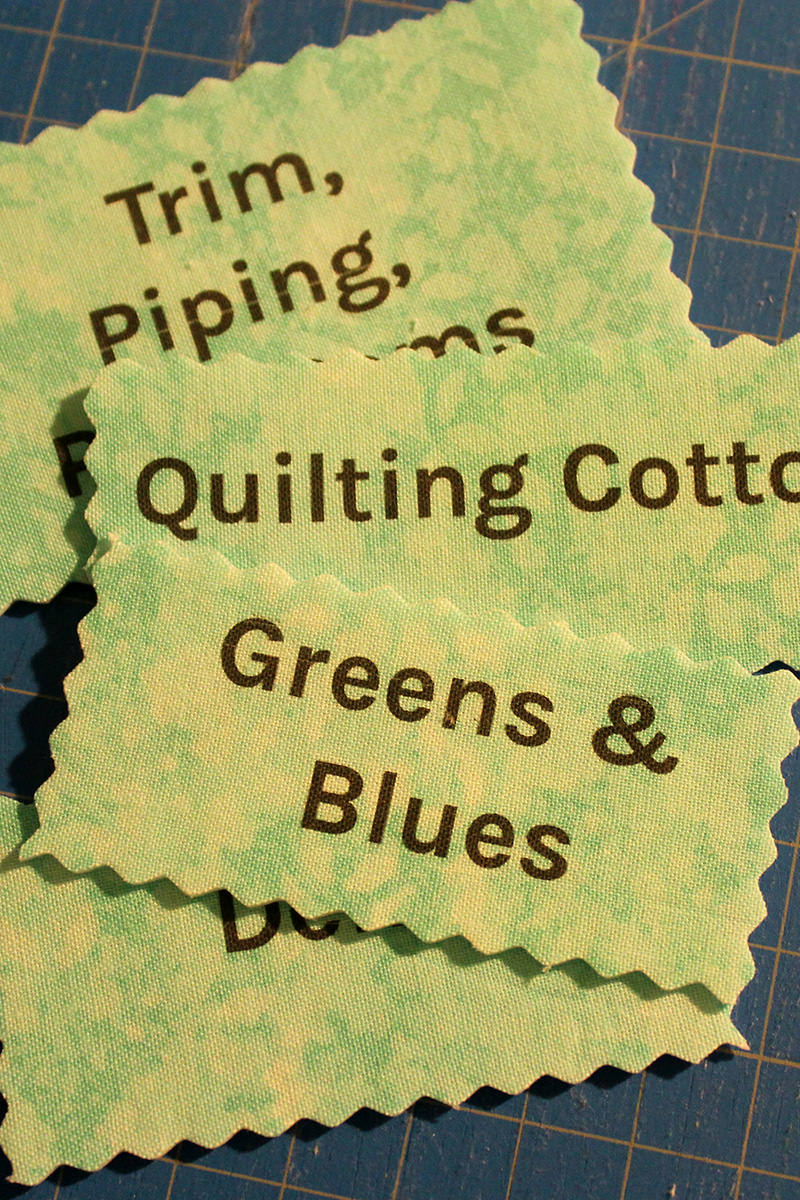
If necessary, I can change the labels out since they are just held on with magnets.
My magnets weren’t strong enough to work on the wicker baskets and leather totes so I punched a hole in those labels and tied them to the handles.
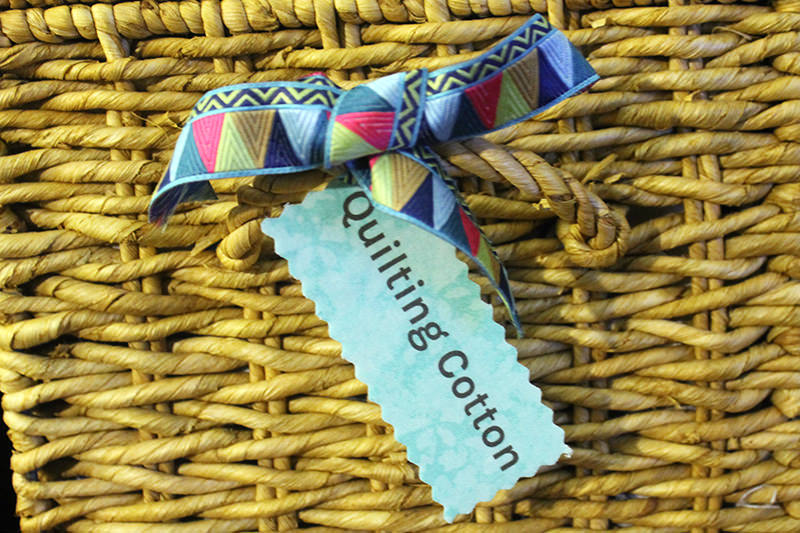
For the boxes that have “card holders”. I just printed new labels on cardstock.
I ordered chalk board markers and stickers and that’s how I labeled everything else!

Wow! This is a really grainy snap! My office is really dark and trying to get a large shot isn’t easy. And those shelves still look a little cluttered but I know where everything is! The baskets with no tags are empty so I still plenty of storage space!
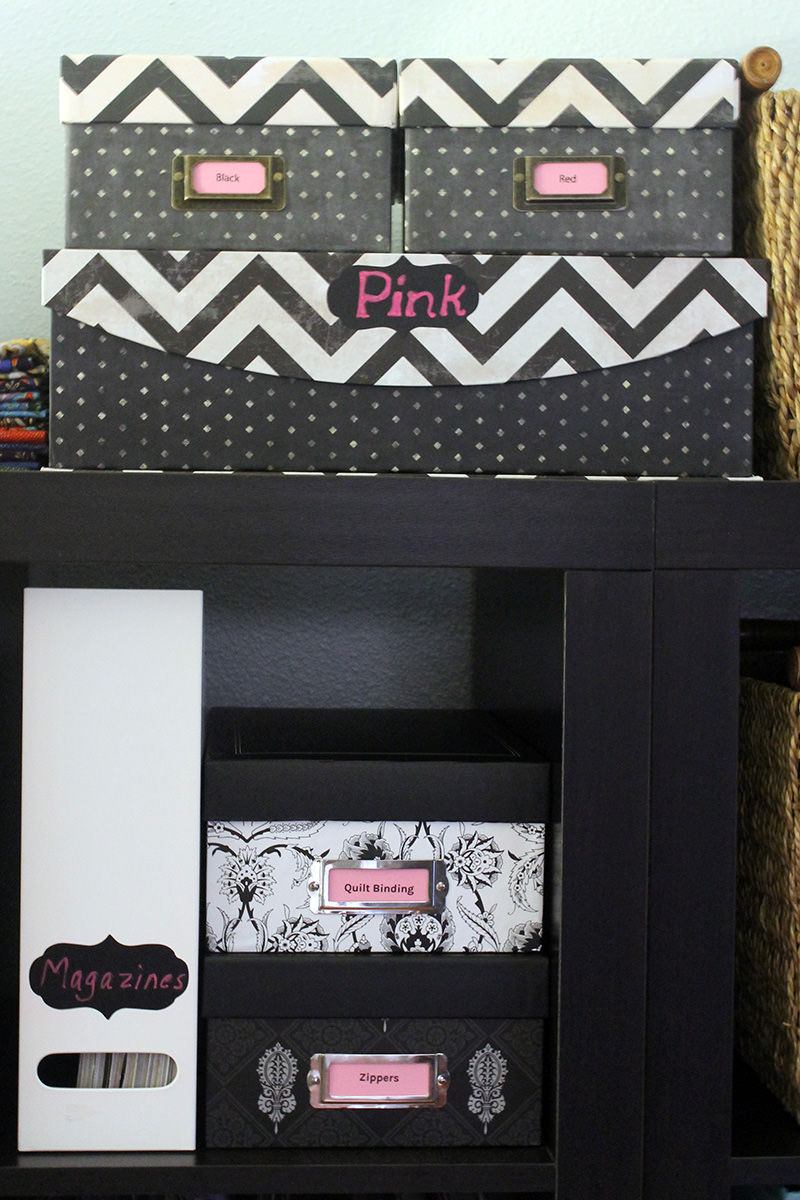
My hand writing is awful. Think I need to find someone with caligraphy skills to reletter the chalk board labels!
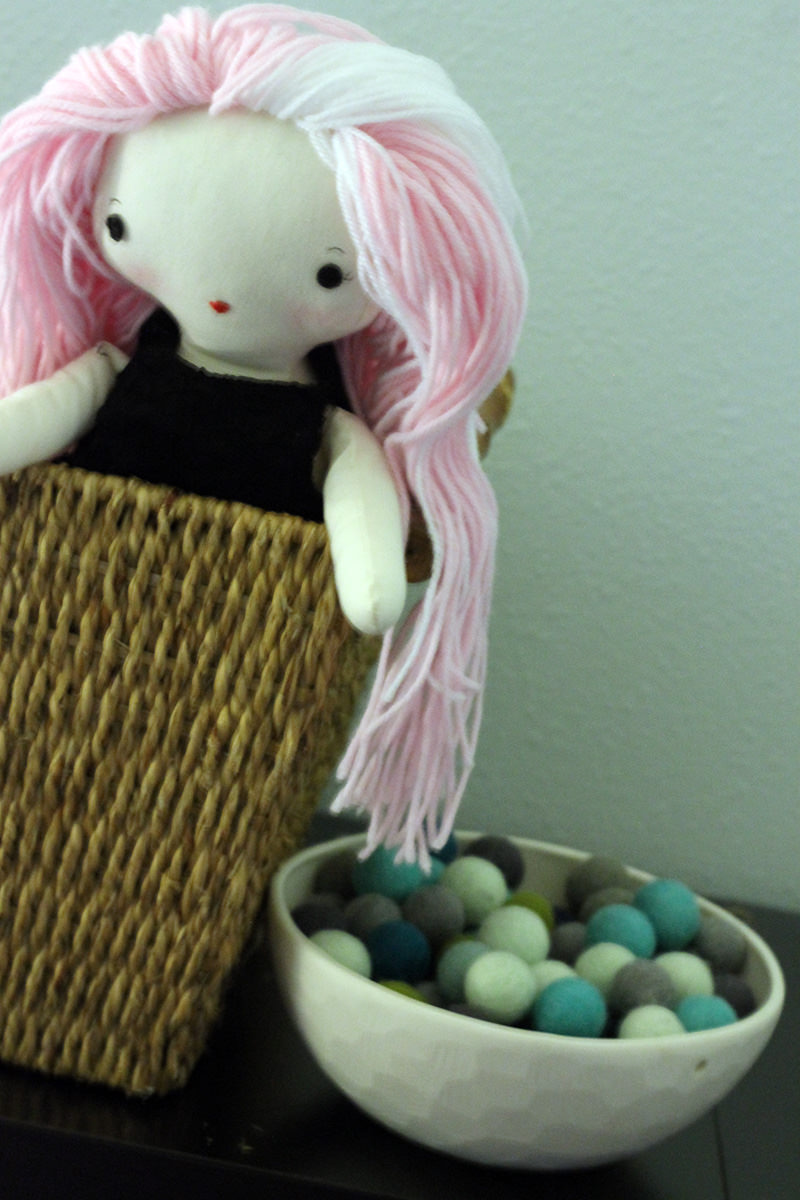
This basket is full of finished projects that need homes. Poor Rocker Doll was abandoned and waits for her person to come back and claim her! I can’t bring myself to actually use those felt balls. I just like looking at the bowl of little bits of lovely.
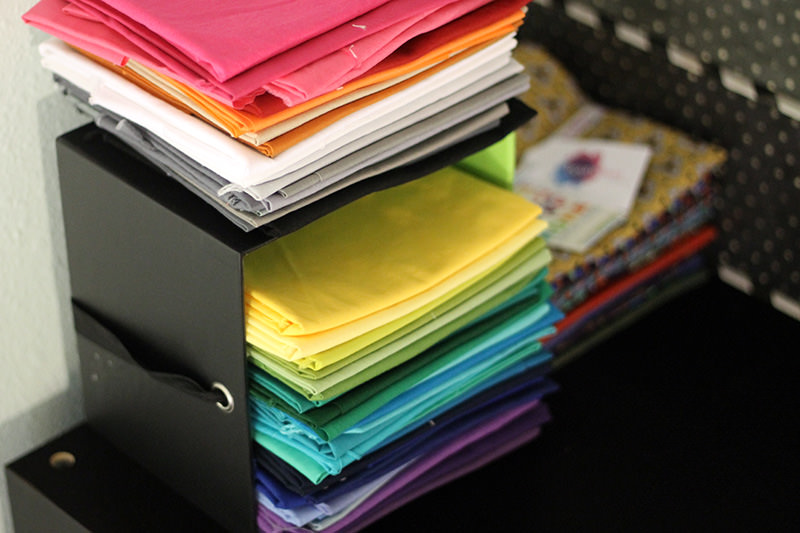
I had these in a box with a lid and it made me crazy sorting through them all looking for the perfect color. Now they are at eye level. Perfect.
So, this will work for now.
Happy to report that I used all three of the ribbons that were under 1″ wide. And I have plans to use the 1 1/2″ wide ribbons for some other projects.
So I can stay in the club for another month!
Yippee!
Discover more from
Subscribe to get the latest posts sent to your email.



Comments
Let’s Label It! — No Comments
HTML tags allowed in your comment: <a href="" title=""> <abbr title=""> <acronym title=""> <b> <blockquote cite=""> <cite> <code> <del datetime=""> <em> <i> <q cite=""> <s> <strike> <strong>