Kid’s Artist Pouch

Piper started kindergarten last week and I was lucky enough to visit her in North Dakota and be part of her big step.
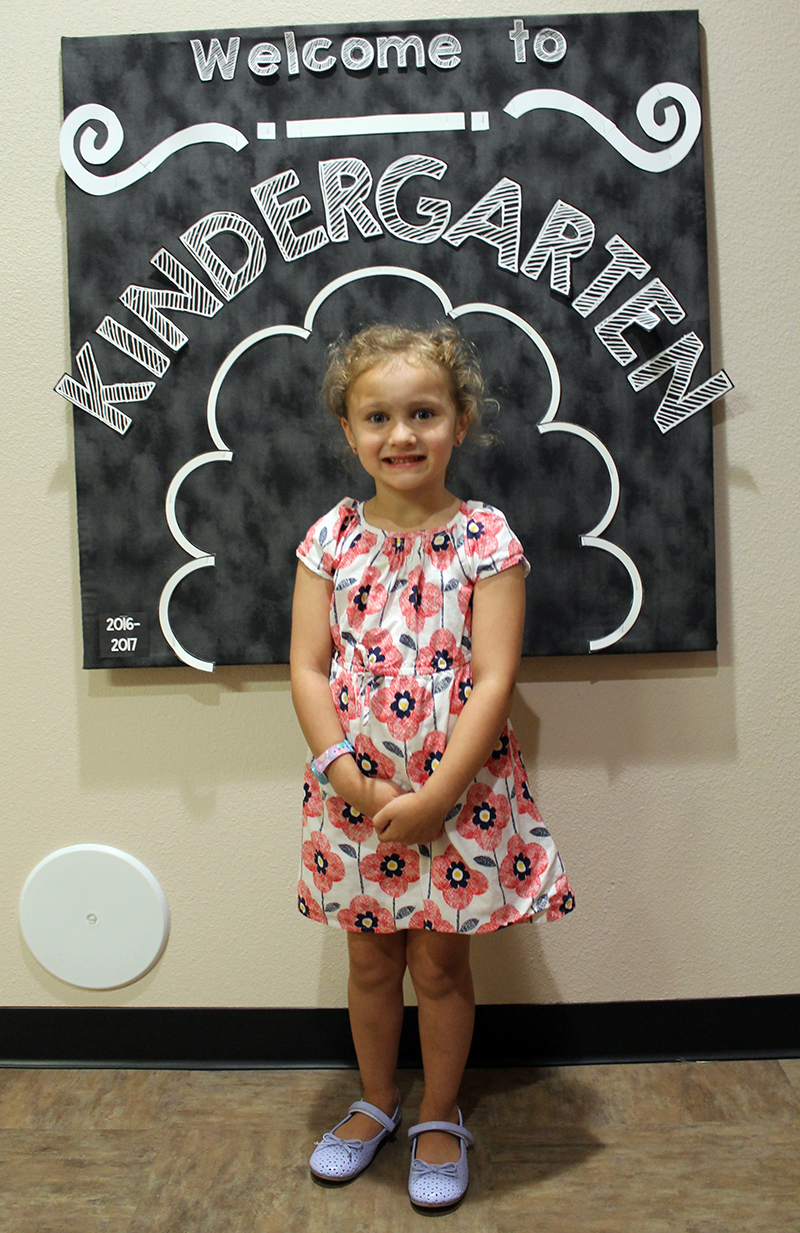 I wanted to bring her a special gift, of course. When she was visiting me in Florida back in June, she spent most of her indoor time drawing. I found many of her sketches hidden throughout the house after she left. Just stuck in cabinets, under a bed, in some drawers. Quite the little artist!
Here’s a drawing that she made to welcome me last week.
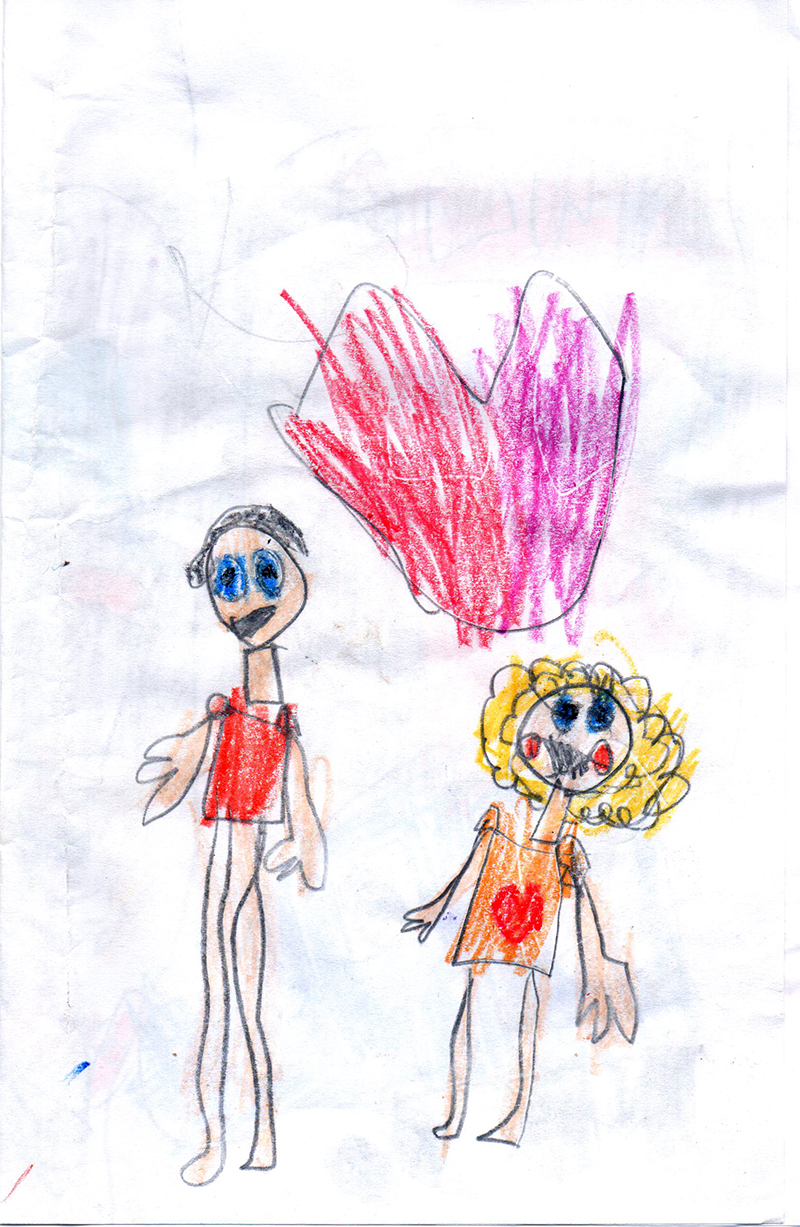
That’s me on the left (of course you knew that from the gray hair) I was very happy to see how thin I am and that I’m trendy with my very short dress!
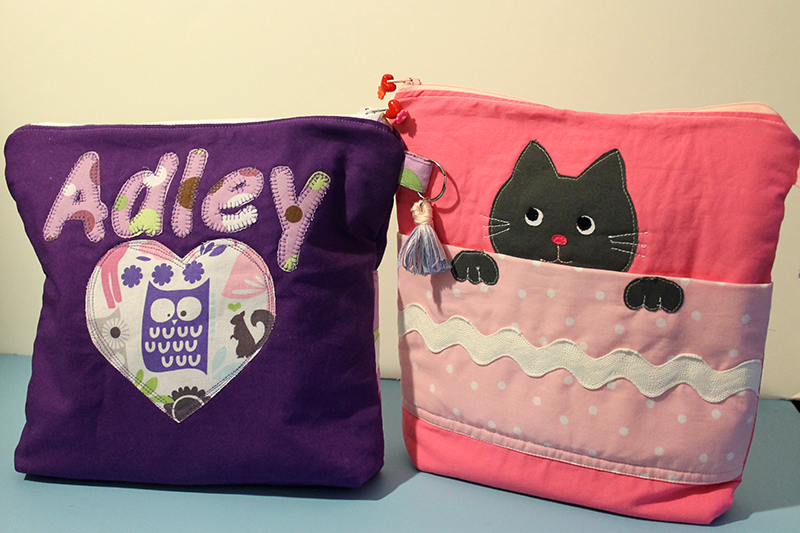
To celebrate her artistic gifts I made her a pouch that she can carry anywhere and whip out her drawing supplies whenever inspiration hits her.
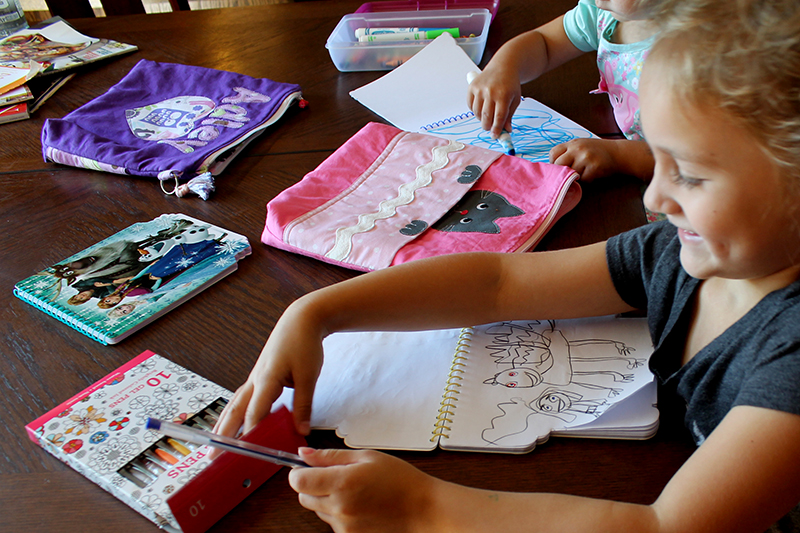
And of course, I had to make one for Adley the Queen.
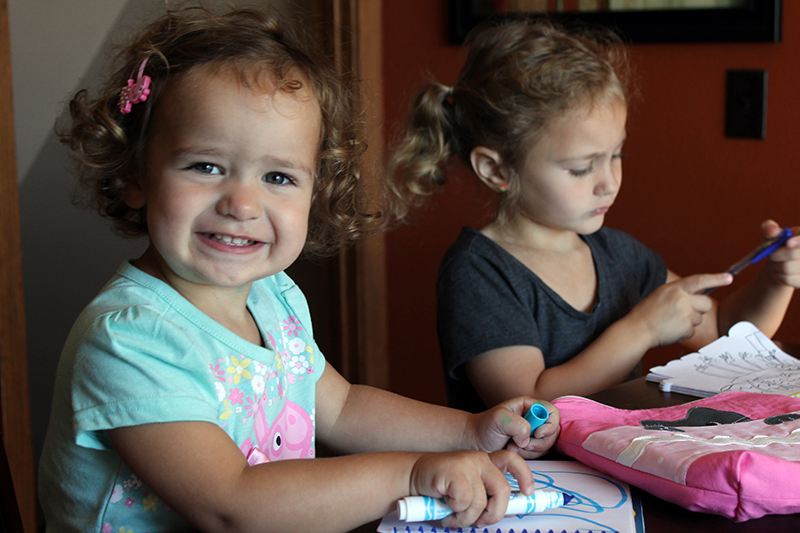
I did not make one for Riley, the oldest ND grandchild, since he’s 15. Probably would not like crayons and markers to start out school. (But he did appreciate the gas money I gave him instead!)


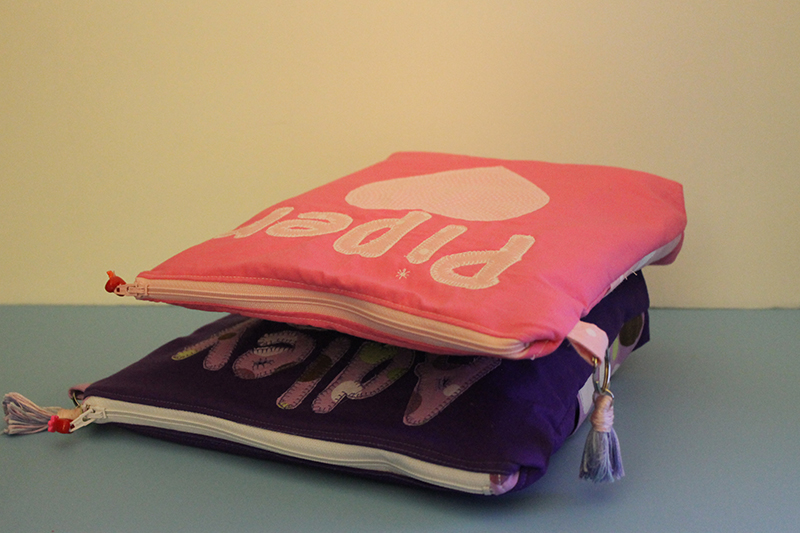

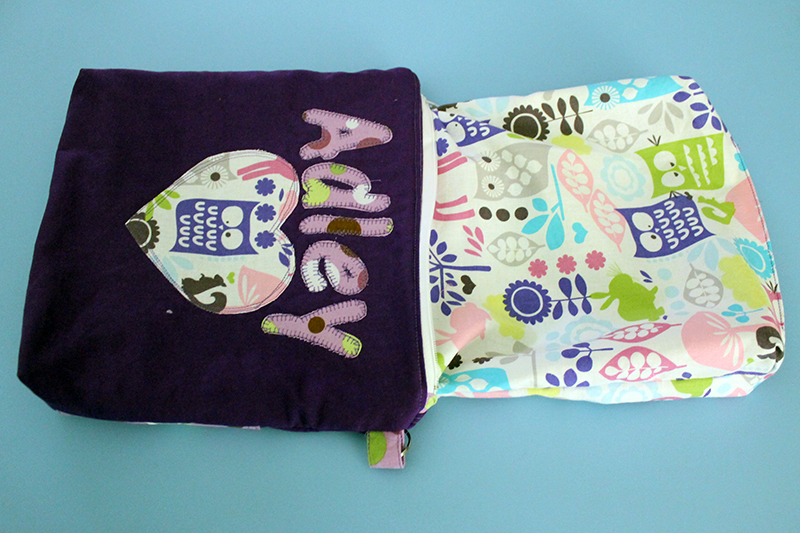
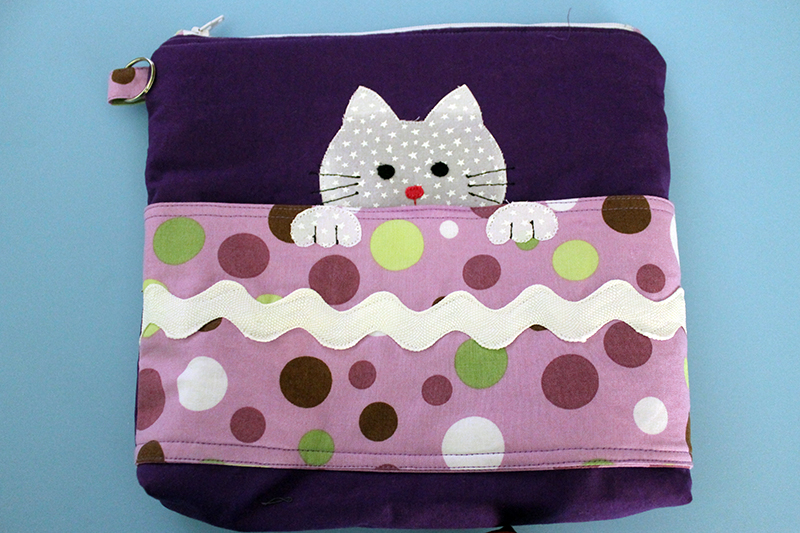
This pouch has a pocket on the front with a kitty, boxed corners for the bottom, name and a heart on the back.
I did not include the pattern for the appliques. Because I can’t find them.
A few weeks ago I completely ripped apart my office/sewing room to make the room more suited to what I need. I’ve moved under-used furniture from other rooms in and dragged out bulky pieces that I didn’t need. Then I left for North Dakota. I wish I could say that I stored these pieces in a really safe place but I suspect I put them in the trash can in my cleaning frenzy.
But you can recreate these. I sort of pulled them out of several images plus did some hand sketching. I use kid’s coloring books, story books, greeting cards, pinterest, and clip art sites for inspiration.
In addition, I am again using the basic pattern from Purl Soho. After looking at numerous sewing sites, this method is not unique to Purl Soho but I like it because the instructions are very clear.
Tutorial
This pouch has a pocket on one side, boxed corners for the bottom, name and heart on the back.
Supplies:
I used three quilting fabrics, Fabric A can be a fat quarter.
Fabric B and C are 1/3 of a yard each–more for fussy cutting.
1/3 yard batting
9″ zipper
5″ x 11 1/2″ piece of interfacing for the pocket
Heat ‘n Bond Lite for the appliques
O-ring
11 1/2″ piece of rick rack
bits and pieces of fabric for kitty applique
Zipper
Fabric A, cut two 2 1/2” x 1” for zipper tabs
Press under 1/4” on each end.
Fold over ends of zipper tab.
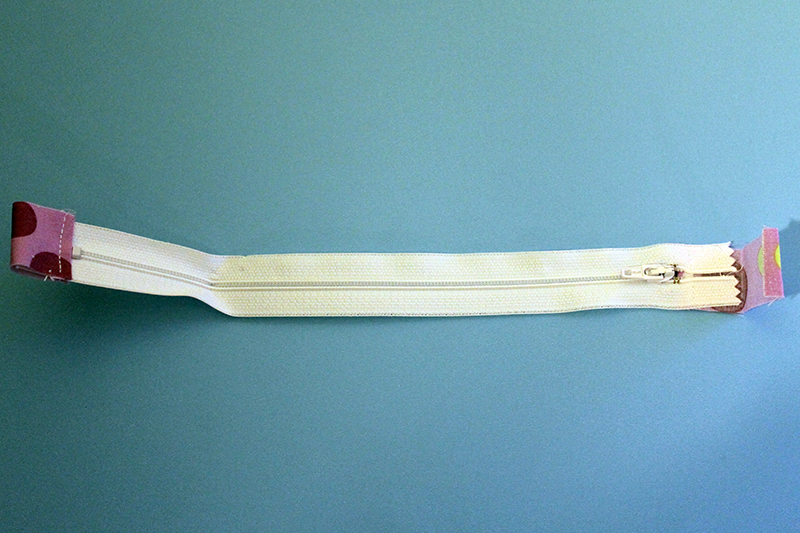
Stitch
Zipper is now 11” wide.
O-Ring Tab
Cut 2 1/2” x 2” piece from Fabric A.
Fold wrong sides together and stitch long side.
Turn right sides out. Press
Top stitch both sides.
Fold through O-ring and baste the loose end.
Cut
Cut 2 pieces of Fabric B 11 1/2″ wide x 10 3/4″ for the exterior
Cut 2 pieces of Fabric C 11 1/2” x 10 3/4” for the lining.
Appliques on Back
Make the name applique and heart using Fabric A and C and Heat n’ Bond Lite following the instructions.
Center the heart and put the point 3” from the bottom. Build the name around the heart keeping it 1″ from top.
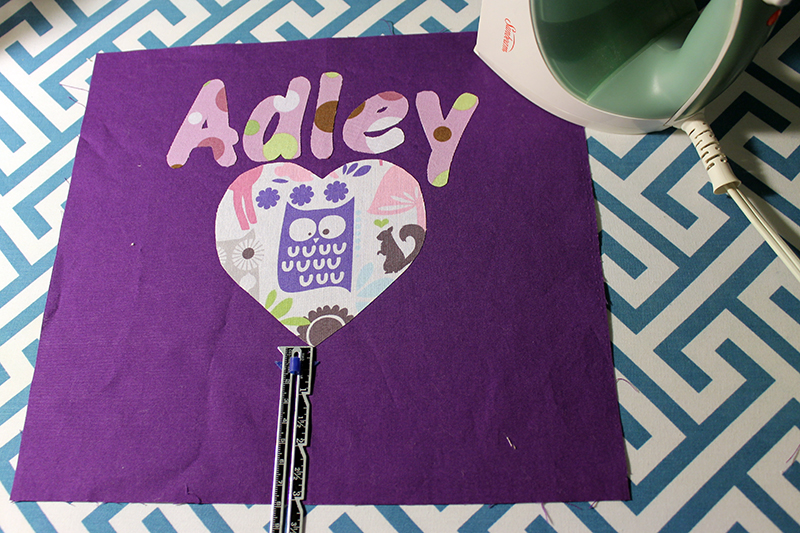
Press appliques onto fabric.
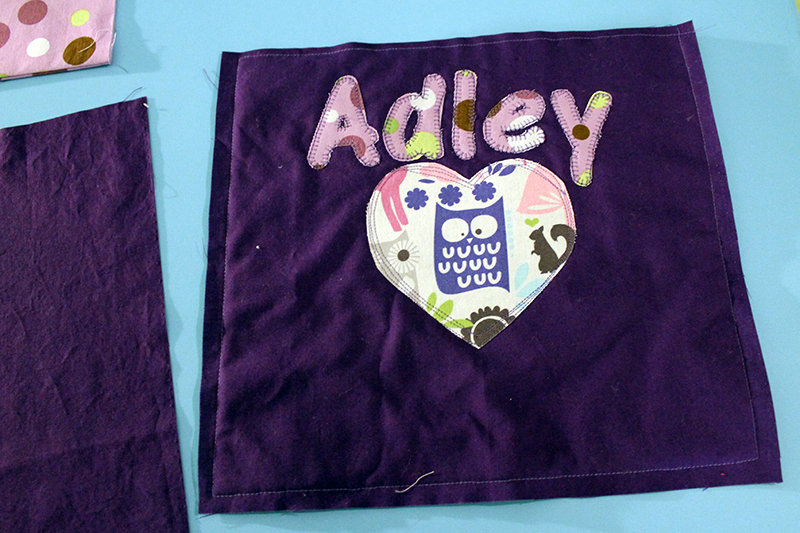
Cut two pieces of batting 11 1/2″ x 10 3/4″.
Stitch one piece of the batting on the wrong side of the back, 3/8″ from the edge. Trim.
Stitch around each applique using whatever stitch you choose. I did three rows of regular stitches around the edge of the heart and a blanket stitch around the name.
Front
Cut one piece of Fabric B 10” x 11 1/2”
cut a piece of interfacing 5” x 11 1/2” and place on the wrong side of one end of the pocket piece. Stitch along three sides with 1/4″ seam allowance.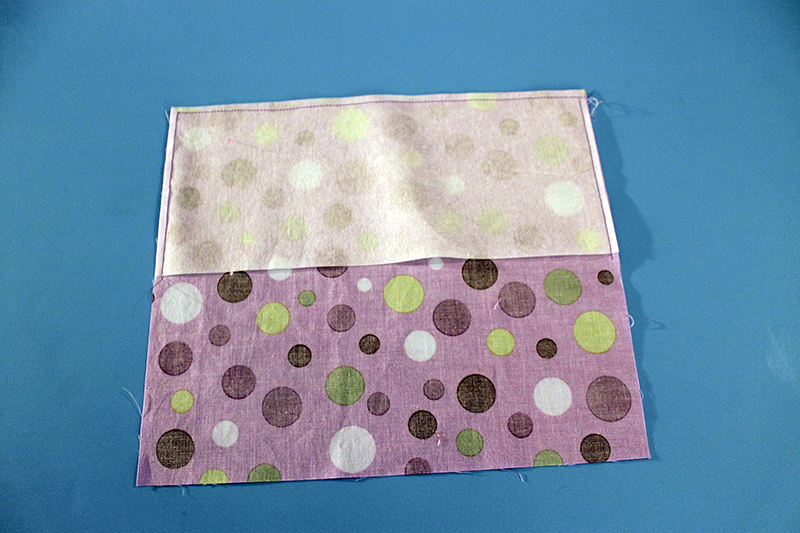
Fold wrong sides together.
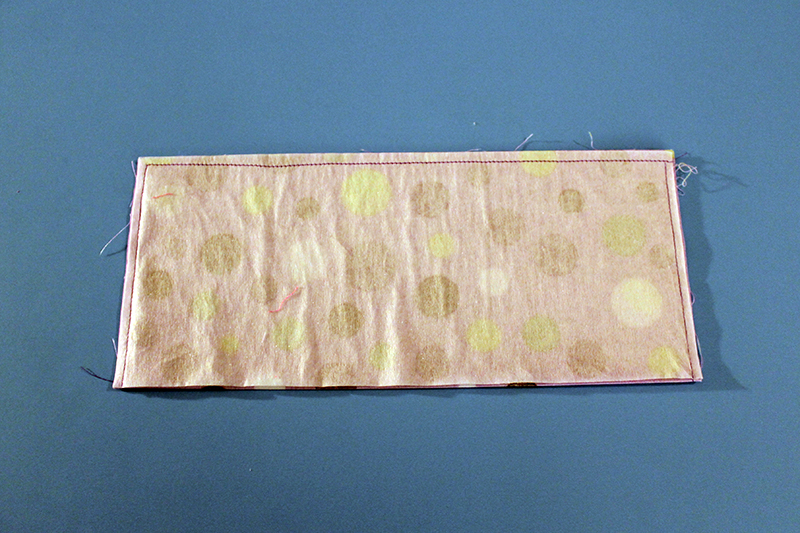
Stitch one long side using 1/4” seam allowance.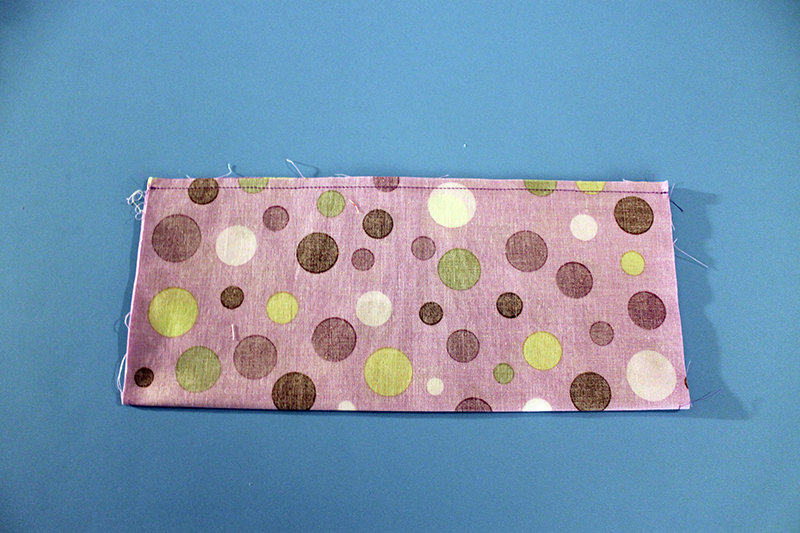
Turn right side out and press.Top Stitch close to one edge and then 1/4” away from edge.
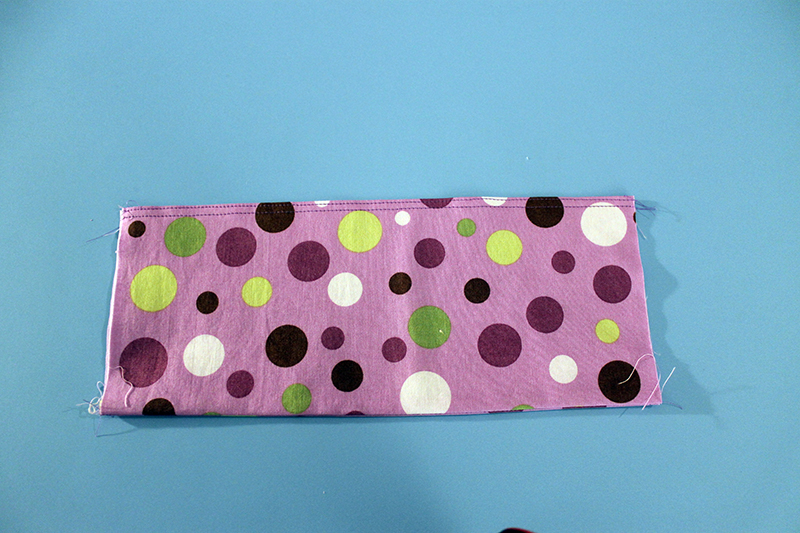
Add rick rack 2″ from bottom.
Add kitty paw applique on top of pocket and stitch details.
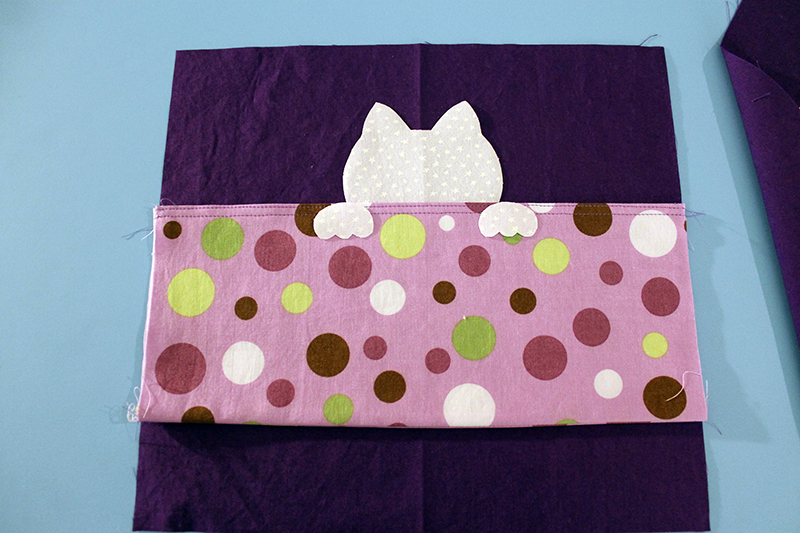
Here I’m deciding how much of the kitty head I wanted sticking out. I don’t have the rick rack on the pocket yet.
I pressed the kitty applique on the front piece next. The kitty ear is 1 1/2″ from the top. The eyes and nose on this kitty are also appliques.
Add the batting on the wrong side, stitching 3/8″ from each side then trim. Stitch around each applique. The whiskers and mouth are machine stitched but could also be hand-embroidered.
Put the top of the O-ring tab 1/2″ below the top edge.
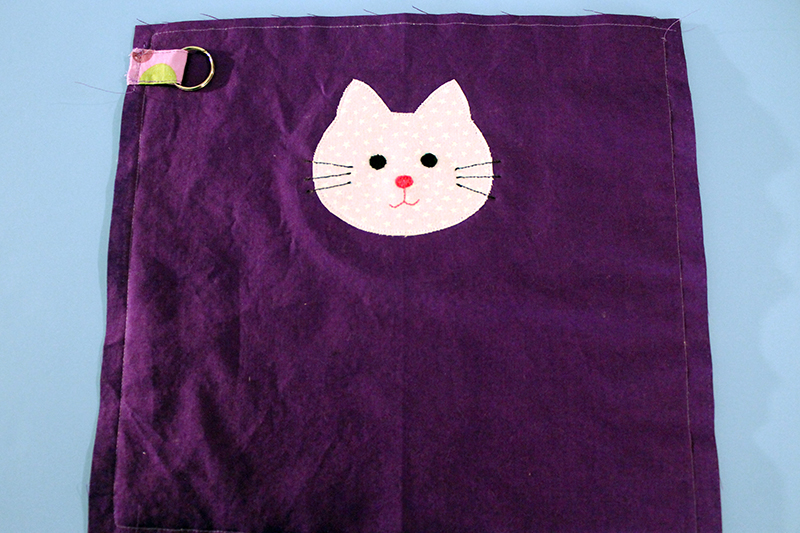
Put the bottom of pocket 2” from bottom. Stitch both sides 1/4″ from the sides and close to the bottom. Stitch again 1/4″ from the bottom.
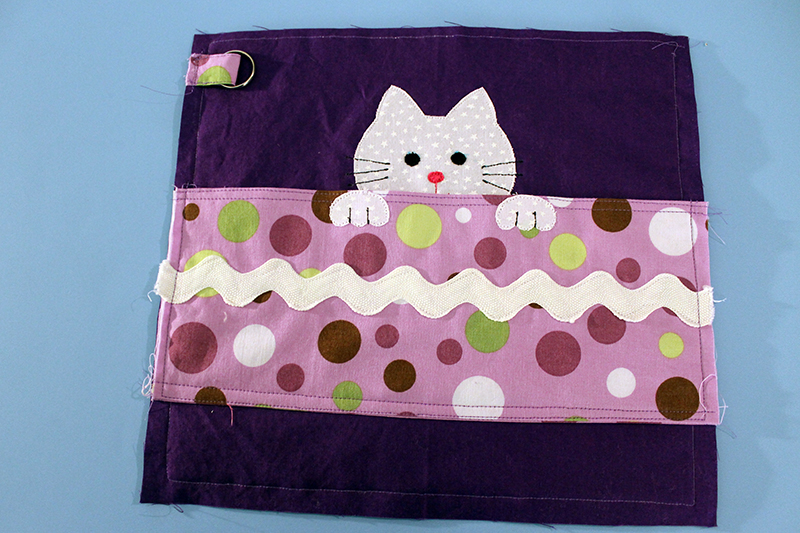
Center the wrong side of the zipper on the right side of the back piece.
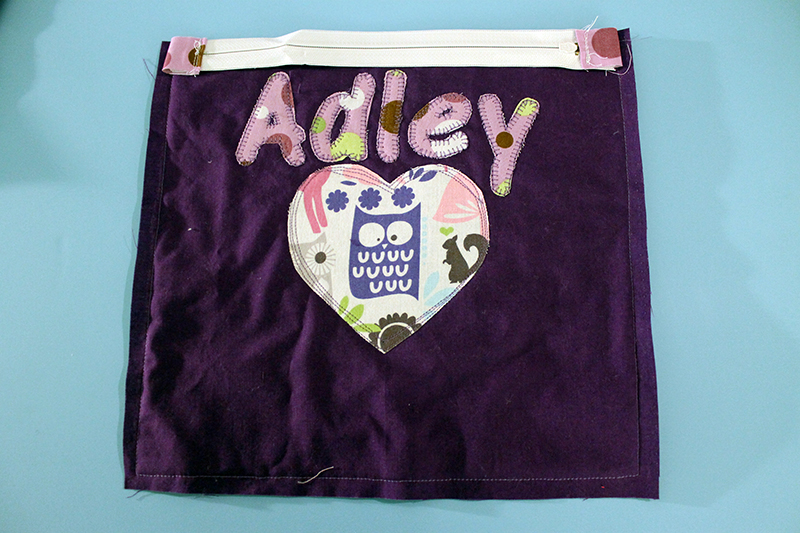
Pin one of the pieces of the lining on the zipper. Right side down.
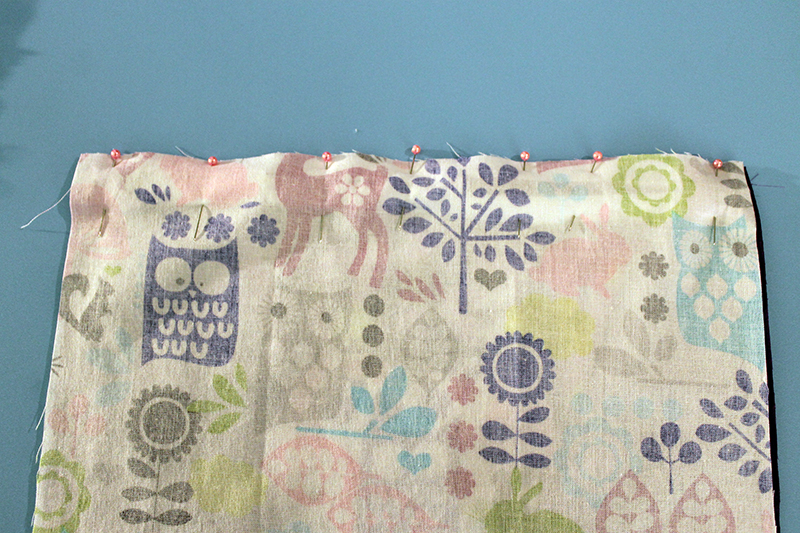
Stitch close to the zipper with a zipper foot, moving the zipper pull to keep it away from the sewing machine foot. Turn right side out, press, and top stitch.
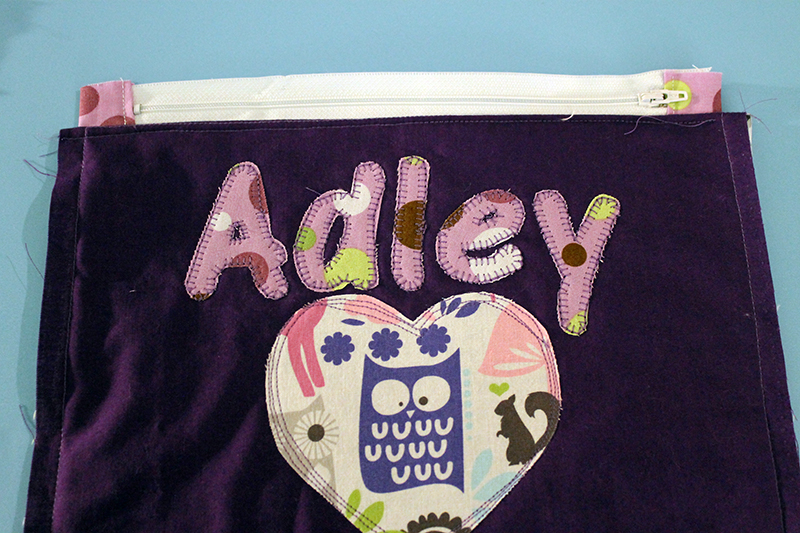
Do the same with the other side.
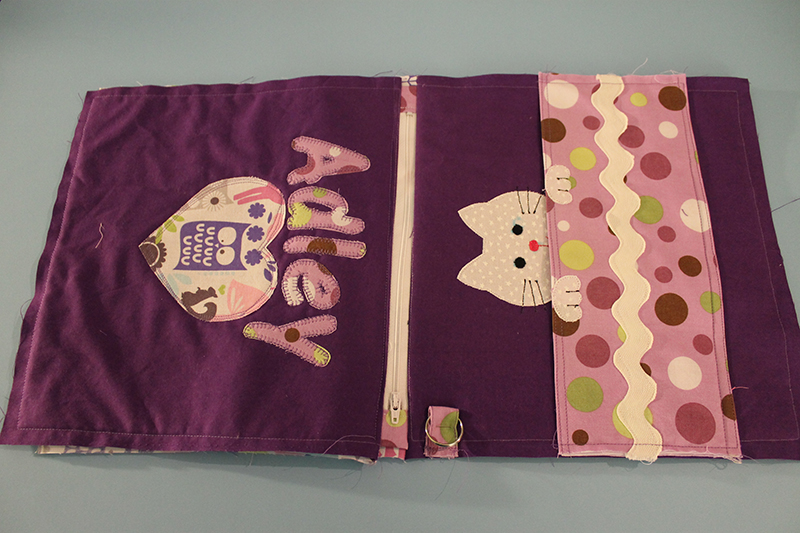
Open the zipper. Stitch the exterior sides together of the pouch with a 1/2″ seam allowance. (Make sure the O-ring is out of the way of the seam) Box the corners 2″
Stitch the interior sides together of the pouch with a 1/2″ seam allowance, leaving a 4″ opening. Box the corners 2″.
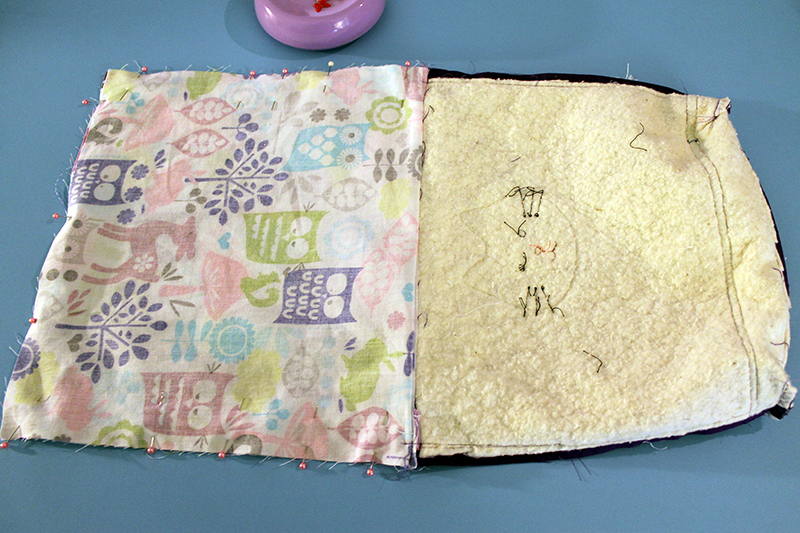
Turn right sides out and stitch the opening closed.

Done!
And Adorable!
Any questions? Send me an email!
Discover more from
Subscribe to get the latest posts sent to your email.

Thanks again Grandma, they LOVE them!
It’s fun making things for Piper and Adley because they are so appreciative. Piper is always quick to bring out all the softies I’ve made her everytime I visit!