Just Hopping Along!
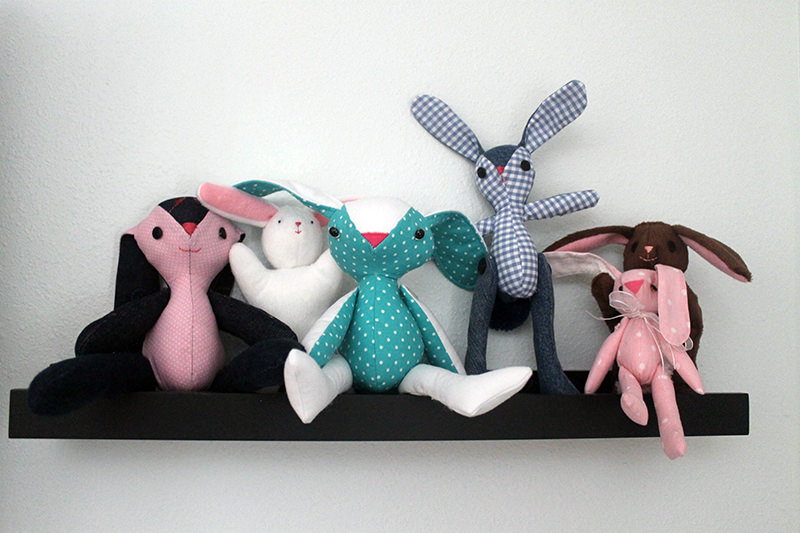
I’m continuing on my softie journey with more rabbits!
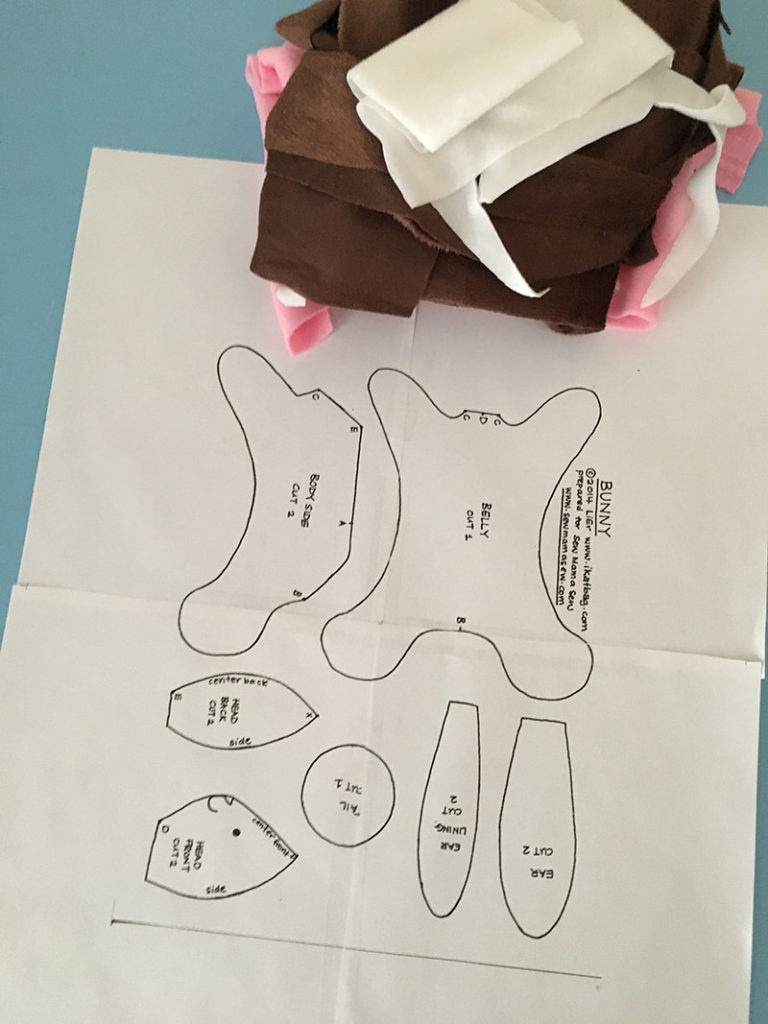
This time I used a Spring Bunny Tutorial I found on SewMamaSew.com by Lorraine from ikat bag Updated on February 28, 2020, SewMamaSew.com is no longer “live”. You may be able to contact Lorraine at ikat bag to get the pattern.
It was so cute! How could I resist?
I followed the directions pretty closely. She recommended a stretchy fabric so I went with minky. (You may already know that I think minky is of the devil. So soft. It slips. It moves. It slides. But so pretty. Had to have been created by Satan.)
I have been using the word fiddly a lot lately. It’s not a word used often in my neighborhood. I probably saw it on one of the many doll blogs that I’ve been reading that uses colour rather than color and it just wormed it’s way into my brain. It’s the perfect term for describing working on these small creatures. Fiddly–difficult to do because the parts involved are small.
Putting the head onto the body was OH MMMM GEE FIDDLY!
But I did it. After numerous tries and a lot of pins and puncturing my fingers a few times.
The tutorial called for poly pellets and poly fill to stuff the bunny but I didn’t have any of the pellets so I just overstuffed her with poly fill.
One good thing I gotta say about Minky–it hides my Frankenstein stitches well!
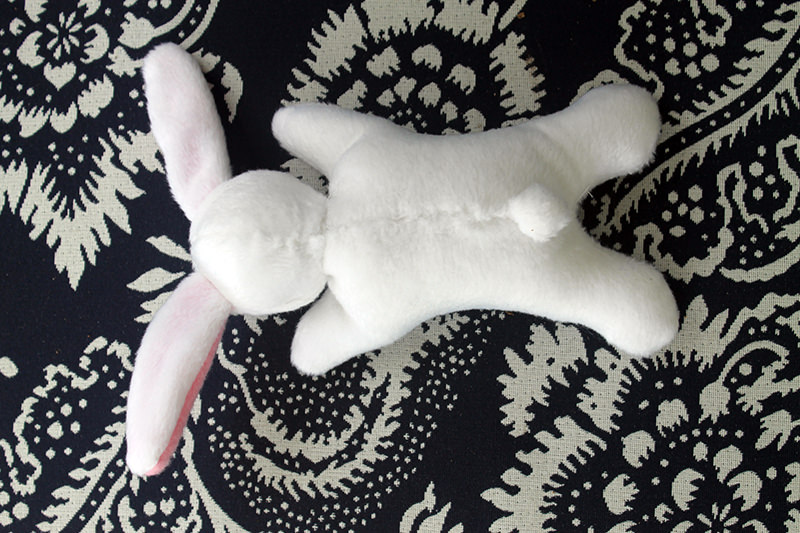
Introducing sweet Mandi.
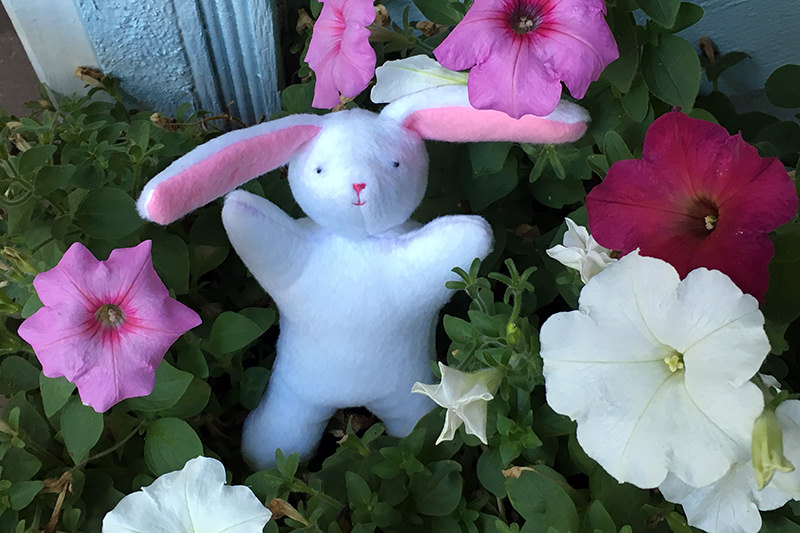
I make at least two creatures from each pattern but I like to change them up. On the last post, I made the bunnies smaller but there was no way I could make this one any smaller. Beyond FIDDLEY! So I made the second bunny a little larger.
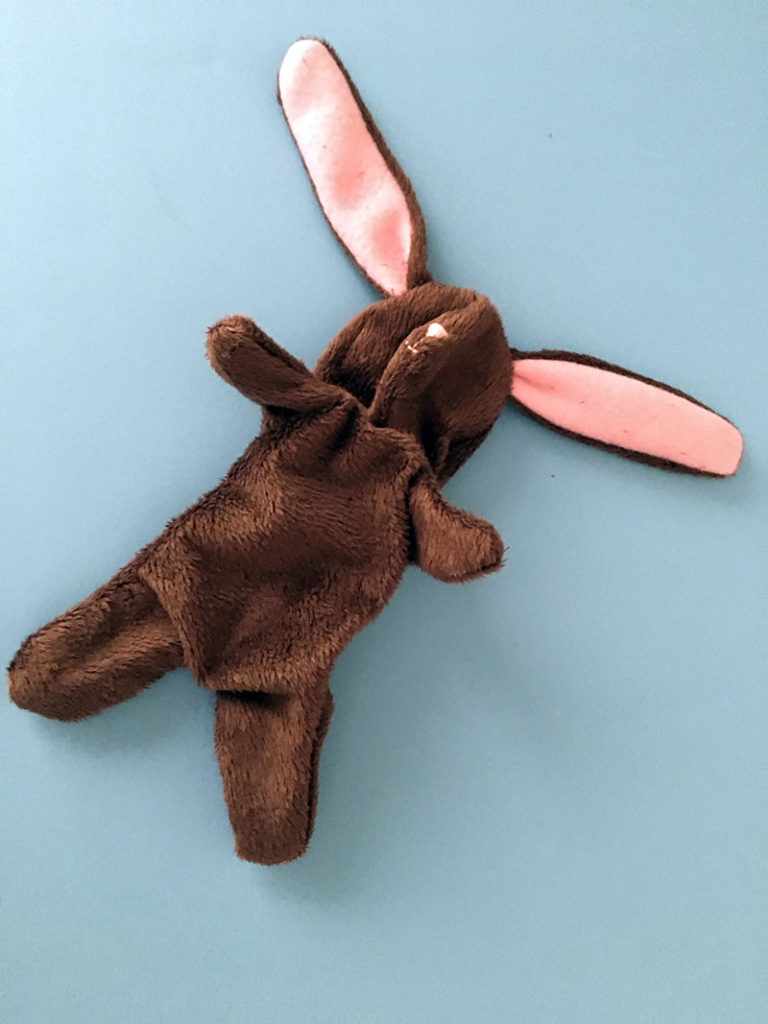
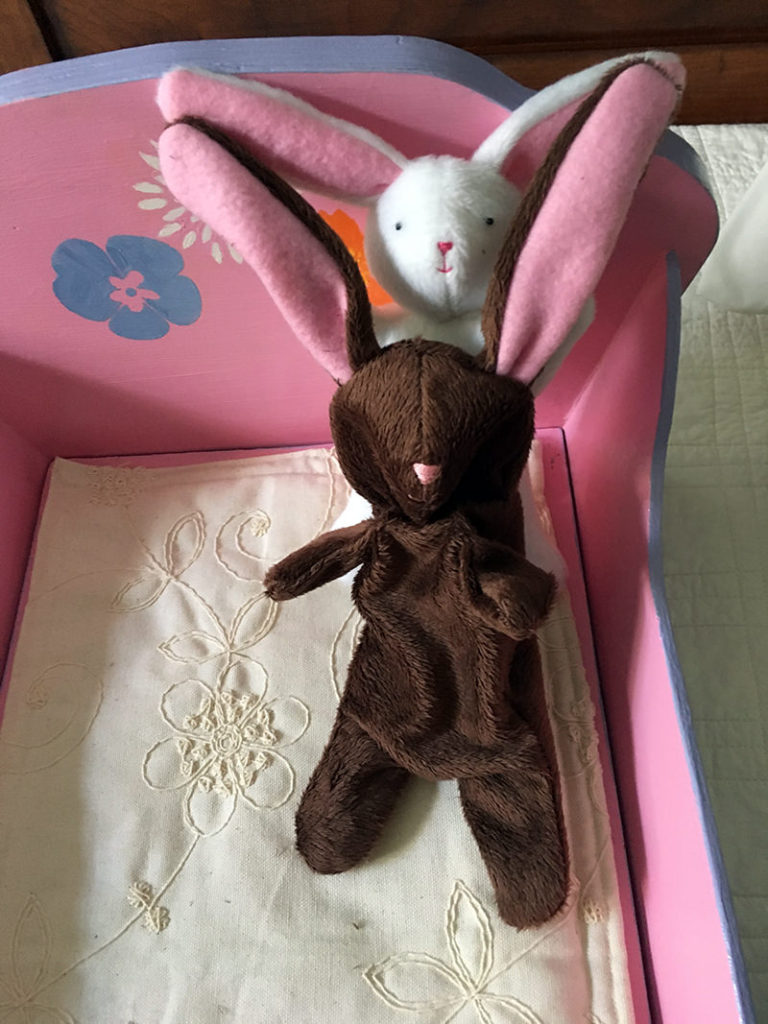
By the time I was ready to stuff, the poly pellets had arrived. As soon as I opened the bag, despite my best efforts, those little bits pellets scattered. Yikes! To keep them contained I poured them into a water bottle that had a wide mouth plus lid and added them to the bunny with a funnel.
If I’d only thought to take a picture!
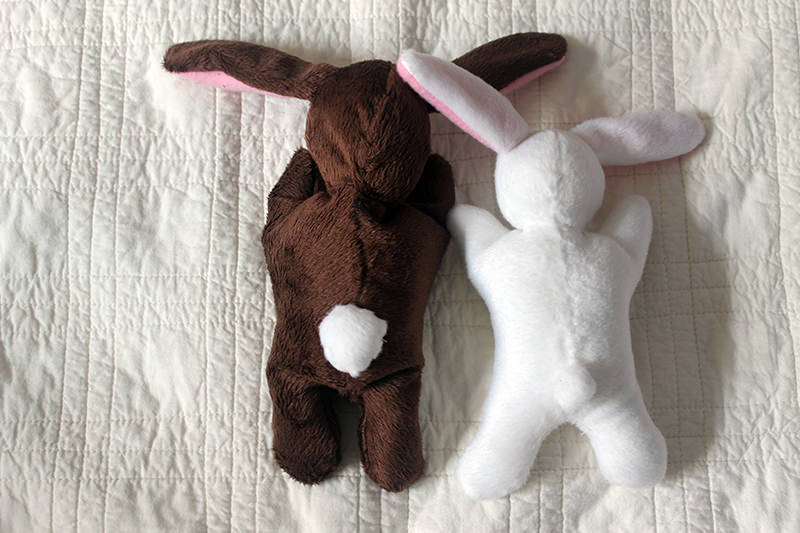
This guy turned out quite plump. Since I used the poly pellets, his little arms and legs could actually bend. And I chose to use buttons for the eyes rather than French knots. But…..those crazy button eyes were a bit too large for his face. Between the vacant eyes and his weirdly embroidered smile he looks strangely bonkers. I named him George.

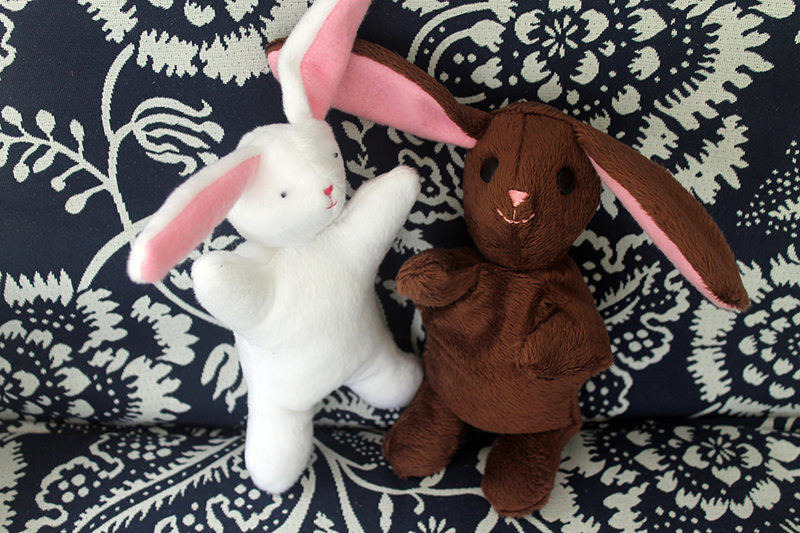
George and Rocker Doll got along quite well. Because she’s a rock star and very open to everyone and everything. Cool. Rock on.
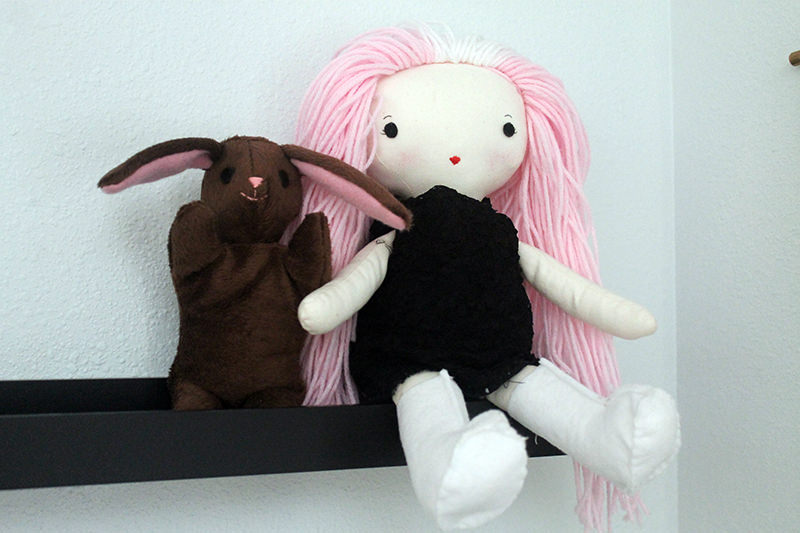
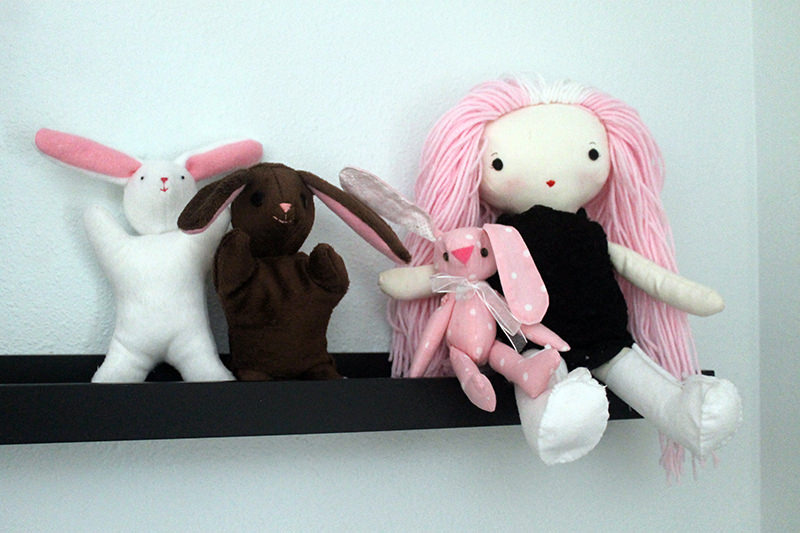
So I’m on day 8 of my #the100dayproject. And if you have been following along on Instagram, you know that I’ve moved on from rabbits. Because I fell down the “rabbit hole”. I have a book that I bought just for this project and it called for “English glass eyes” for the softies. And I spent many hours figuring out exactly how those “English glass eyes” would be sewn in. In the photos I don’t see a hole in the wires. I’m asking the universe. And google. I did lots of google questions. No answers. Do I spend the money to buy those shiny “English glass eyes” or just use buttons?
Like I said “down the rabbit hole”. I ordered the “English glass eyes”. But moved onto Mermaids until they arrive. Cause I already created a pattern for these lovely ladies of the deep and I’d like to perfect it!
Next week…..
Discover more from
Subscribe to get the latest posts sent to your email.

Adorable! I love all your bunny names and the cute pictures too 🙂
Thank you Abbie, sewing the softies and taking the photos have been a lot of fun. Somewhat of a departure from my usual quilts and totes.