Homemade Facemasks
Have you heard about the drive to make facemasks? I had my doubts. (still do) I had read a few articles and have seen bits on TV that the only facemask that works is the medical grade C95 masks. And even those not put on correctly provided little protection.
Then earlier this week I had one of our Sew Cool! Workshop members contact me about making facemasks. She sent me an email including this information:
There are care centers in Citrus County that actually have NO masks! I have had requests from the midwest, east coast and locally from one simple post i put on fb asking if it was TRUE if medical facilites are truly out of masks! Ive been an ER and cancer care nurse for 40 years and couldn’t believe what i was hearing.
You can click here to get the CDC’s Strategies for Optimizing the Supply of Facemasks.
I copied this paragraph from the above link regarding the use of homemade masks:
HCP use of homemade masks:
In settings where facemasks are not available, HCP might use homemade masks (e.g., bandana, scarf) for care of patients with COVID-19 as a last resort. However, homemade masks are not considered PPE, since their capability to protect HCP is unknown. Caution should be exercised when considering this option. Homemade masks should ideally be used in combination with a face shield that covers the entire front (that extends to the chin or below) and sides of the face.
I checked with another friend that is a nurse and she said to make them. If nothing else, it would keep people from touching their face! She added that I needed to put craft wire along the top so the mask could be put snugly against the nose plus add another fabric in the middle to provide extra protection.. Oh yeah, she said to wear glasses with the facemask so virus droplets would not go in the eyes. (Yeck!)
Then I watched Youtube videos and read tutorials. There seems to be two basic styles. One with pleats and one that is shaped sort of like a bra cup. I decided to make the pleated style. Because it looked easier.
A couple precautions.
Make sure you prewash your fabric in HOT water before making the facemask. Otherwise it will shrink.
You want to use two different colors of fabric so the person wearing the mask knows which side touches the face and which is exposed to the outside. (You would definitely not want to use the wrong side if you took the piece off and put it back on.)
Something I found confusing was that every tutorial, pattern, and video I looked at used a different size.
For all three of the following masks I used quilting cotton for the exterior and interior plus I put fusible mid-weight interfacing on the wrong side of the exterior piece.
The first mask I made called for craft wire. I had floral wire so that’s what I used. It seemed kind of flimsy so I twisted two pieces together and inserted in the seam allowance along the top of the mask. The wire immediately went through the fabric. So I did some twisting and was able to secure it without it poking out. The instructions called for the very thin elastic so I used beading cord elastic. Unfortunately, the length that the pattern called for the ear loops was WAY TOO LONG. I tied a knot in the elastic so it would fit my head for this kodak moment.
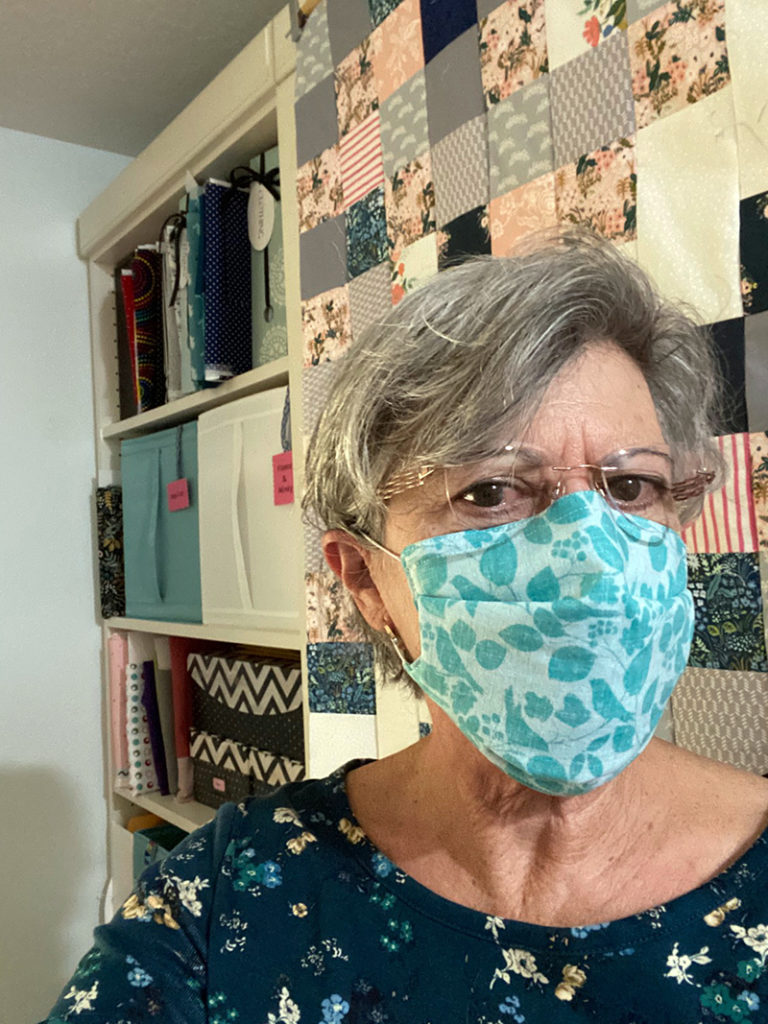
Then I cut them off the elastic and replaced it with quilt binding. I didn’t like tying the mask on. Maybe if someone else did it for me it wouldn’t be as cumbersome.
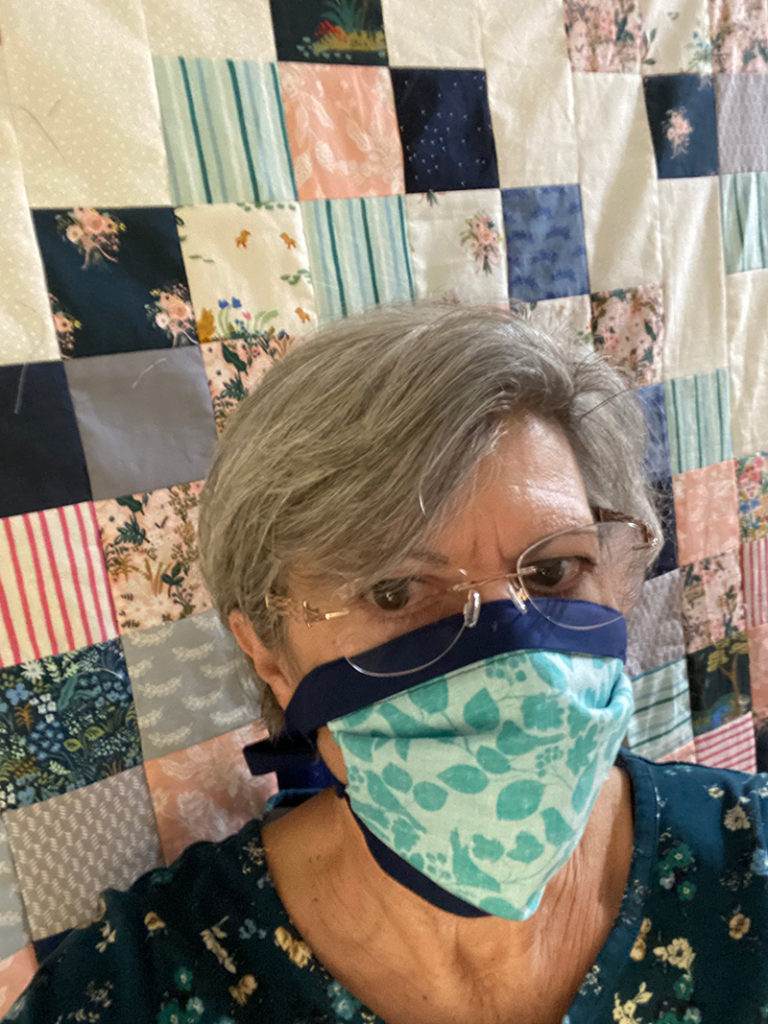
The next mask I tried wasn’t quite wide enough. Or perhaps the elastic was too short! I used 1/4″ elastic for ear loops on this one. Rather than the craft wire, I used a pipe cleaner. Made a little tube for it to nest in. I then put the mask through a hot washing machine cycle and threw into the dryer. Just to see how the pipe cleaner turned out. It was fine. The 1/4″ elastic was very uncomfortable and for some reason, I just couldn’t breath!
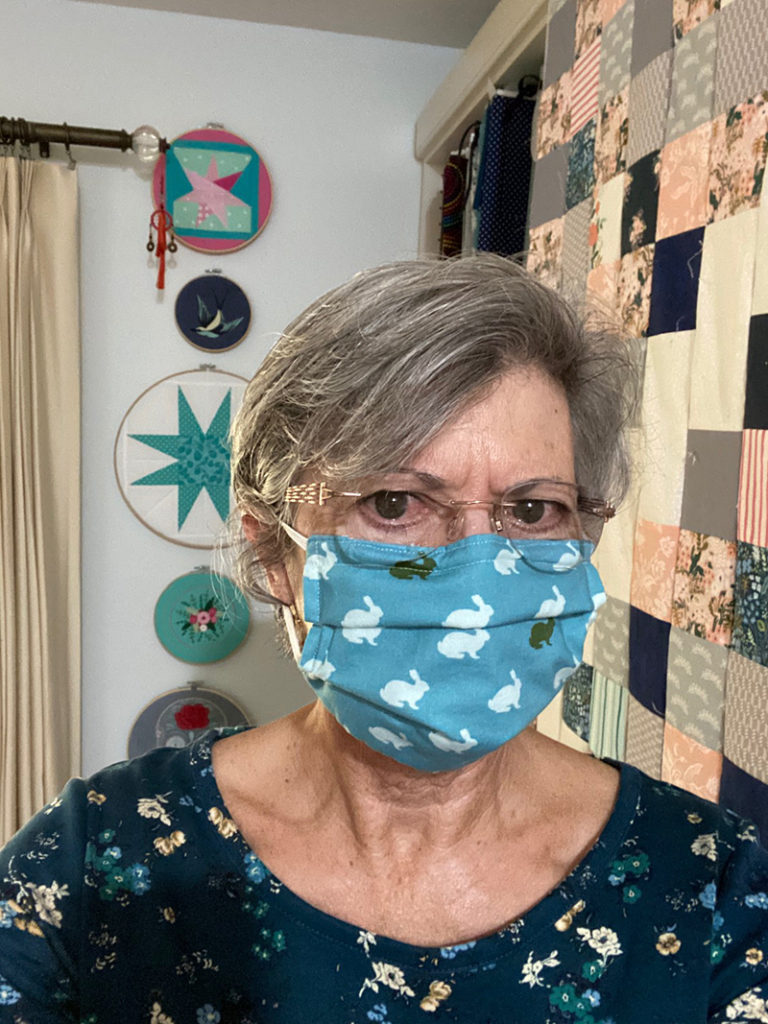
Next up was this easy version by Jenny Doan of Missouri Star. She does not use metal in her tutorial. But this can be easily added. I had the opening for turning on the top. Turned right side out, stitched about 1/2″ from the top edge.
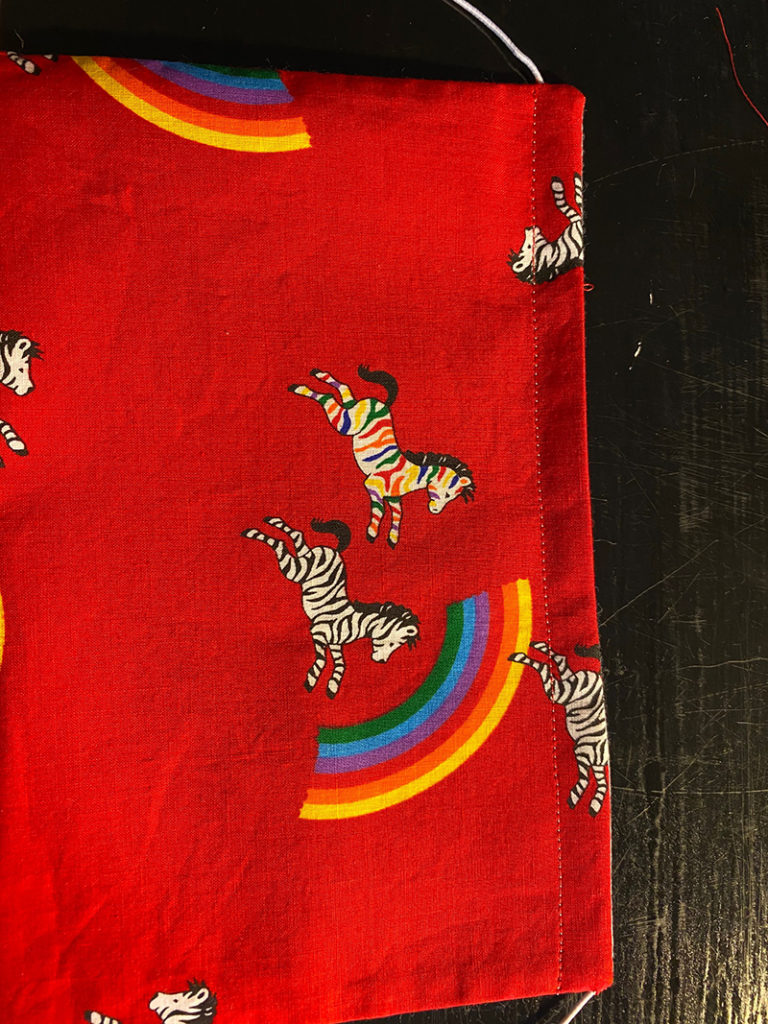
Cut the pipe cleaner to fit the top.
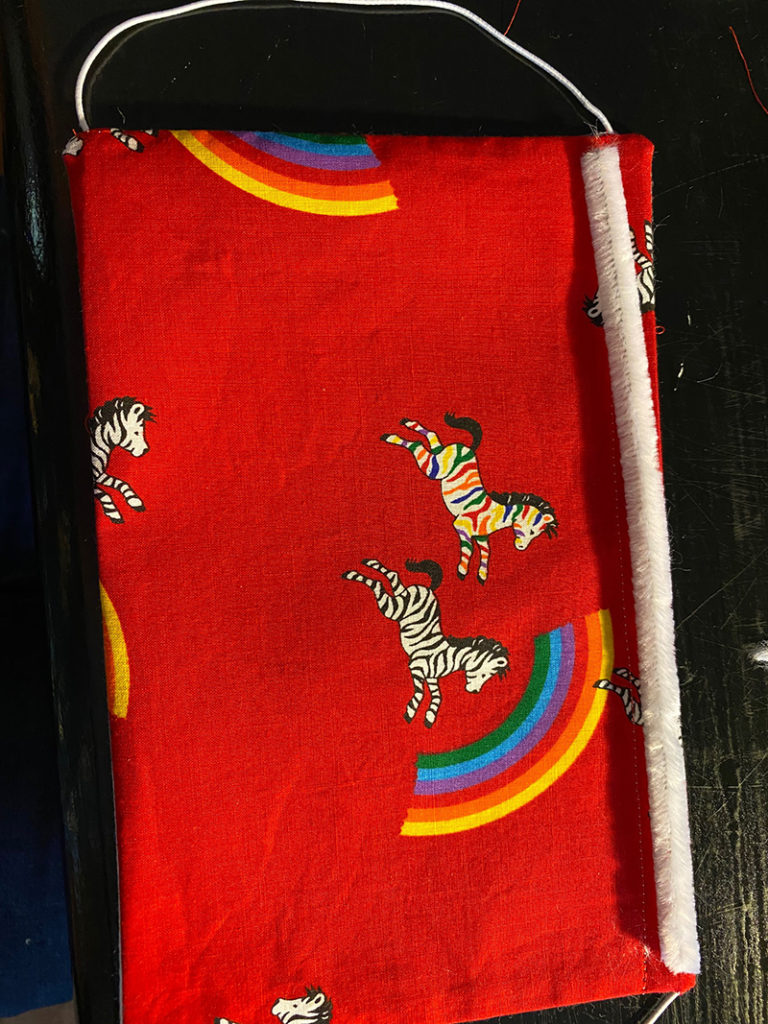
And put the pipe cleaner through the opening.
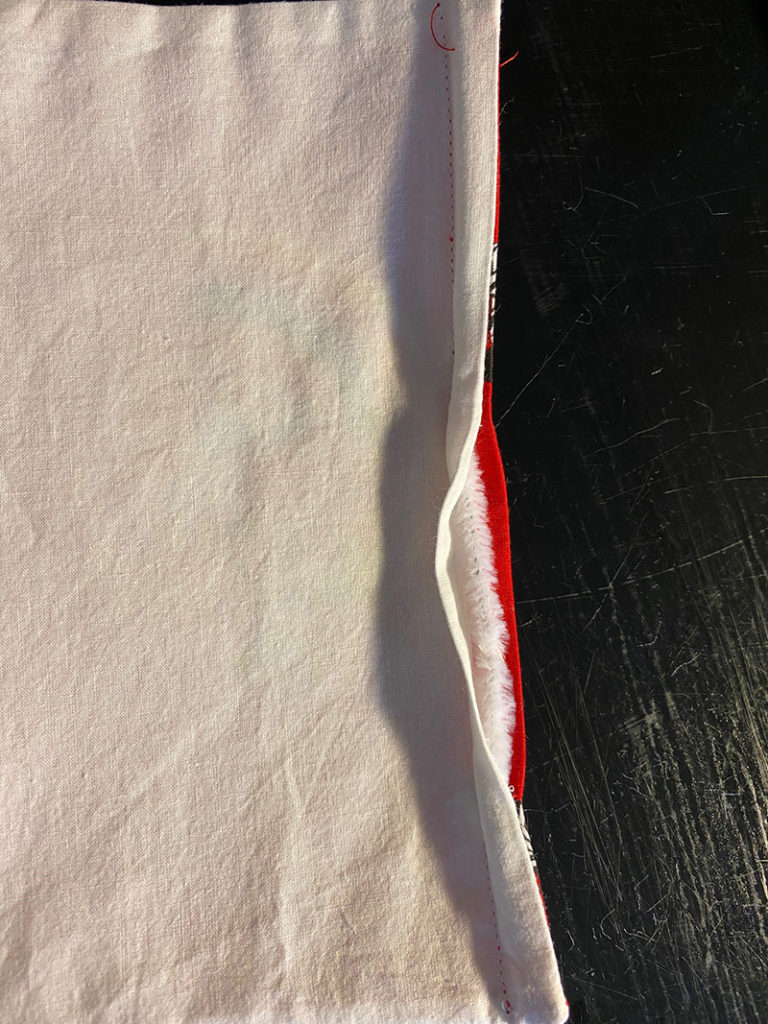
Then I just top stitched the opening shut.
And here is mask number 3!
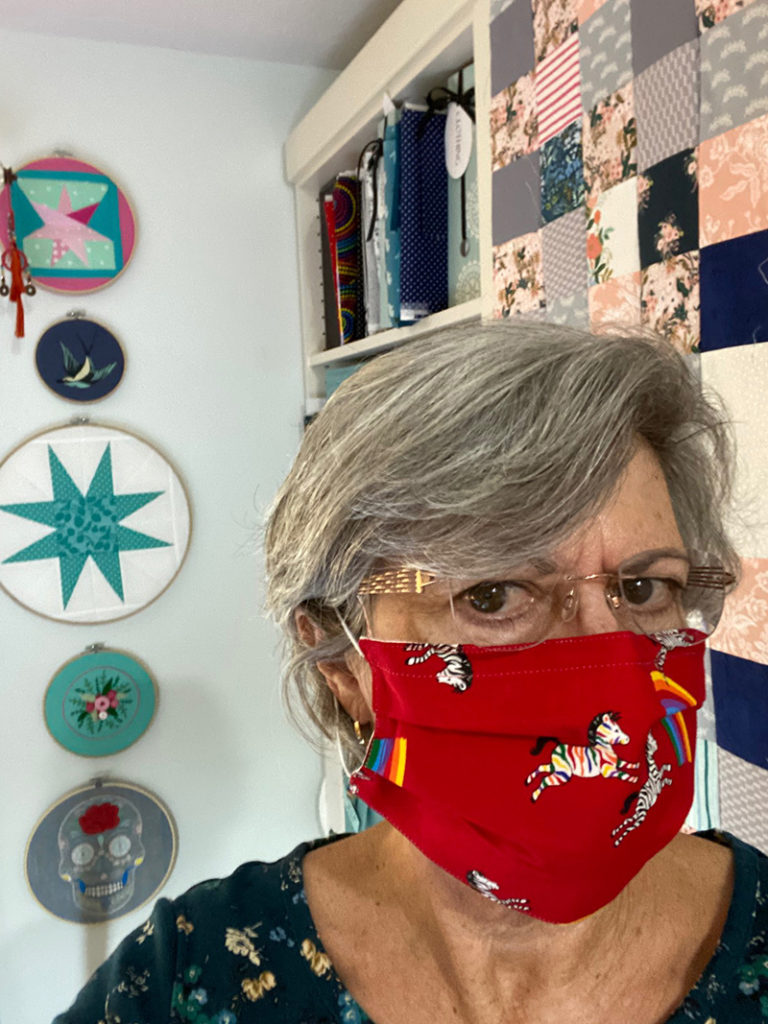
I didn’t have as much trouble breathing through this mask. Perhaps because I used a lighter cotton for the interior. But it was still uncomfortable.
This is my personal opinion. I don’t think these will work in the medical environment. They would need sterilized after every use. I’m guessing with hot water and bleach. I don’t think the elastic would last very long. Nor the thread.
They might be useful out in the world for non-medical uses. Such as for a cashier. That should also stay 6 feet away.
Or. In our new normal. They could become fashion statements. Matching facemasks for every outfit. Worn over the real C95 or surgical mask! (Did anyone other than medical personnel know what a C95 was two weeks ago?)
Back to quilting next week!
Discover more from
Subscribe to get the latest posts sent to your email.

Comments
Homemade Facemasks — No Comments
HTML tags allowed in your comment: <a href="" title=""> <abbr title=""> <acronym title=""> <b> <blockquote cite=""> <cite> <code> <del datetime=""> <em> <i> <q cite=""> <s> <strike> <strong>