Hexie Tablerunner
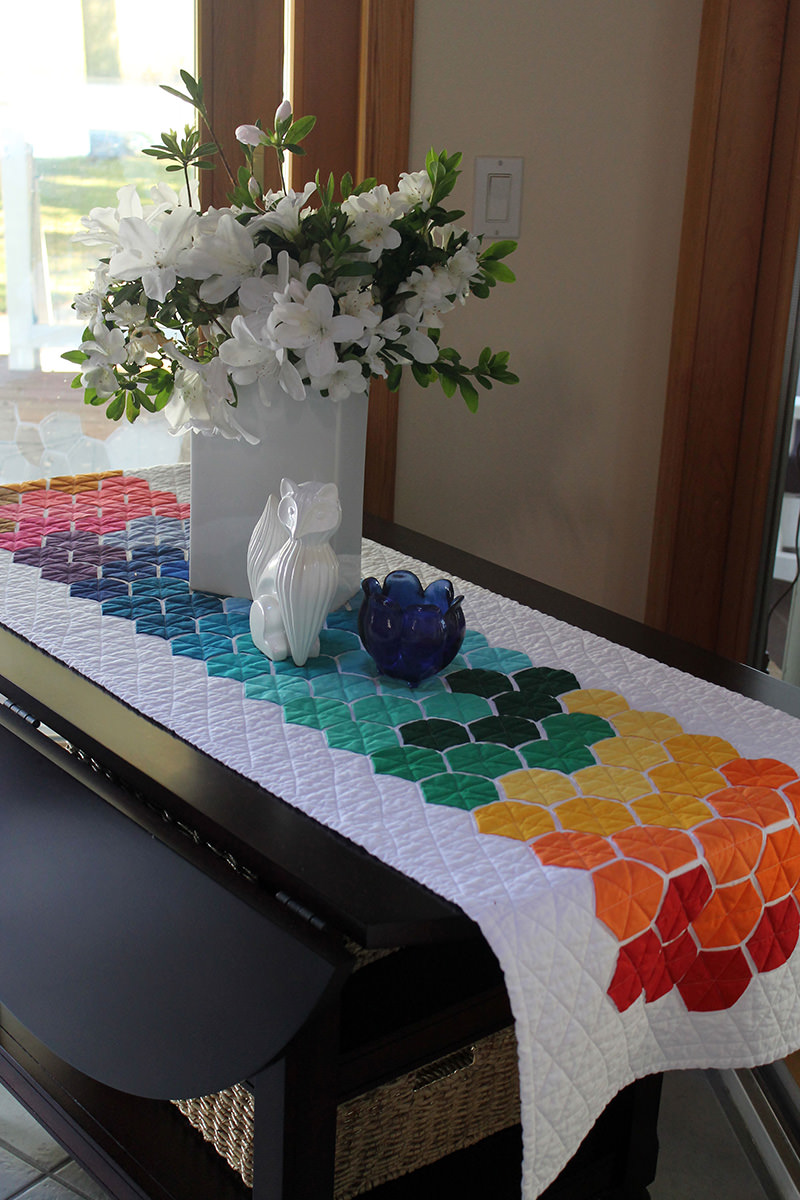
My sewing time has mostly been dedicated to the Splendid Sampler but after Christmas and I had taken all the prettiness down and stored it away, I thought I needed some brightness in my life. I’ve been wanting to make something with hexies and came across several table runners on pinterest that I liked.
Also, because of the many many different fabrics and prints and colors I used for the Splendid Sampler, I wanted nice SOLID colors! Bright. But solid!
I’ve read a lot of tutorials about making hexies and Nicole Daksiewicz’s is by far the easiest. She has a video on her blog, Modern Handcrafts plus is featured on Steller with an an easy step by by step tutorial.
These hexies are 1 1/2″ which is the size of each side. They actually measure 3″ across. You can download a template for 5 different sizes at Love Patchwork and Quilting and then print them on cardstock.
This is basically how easy it is to make hexies…..
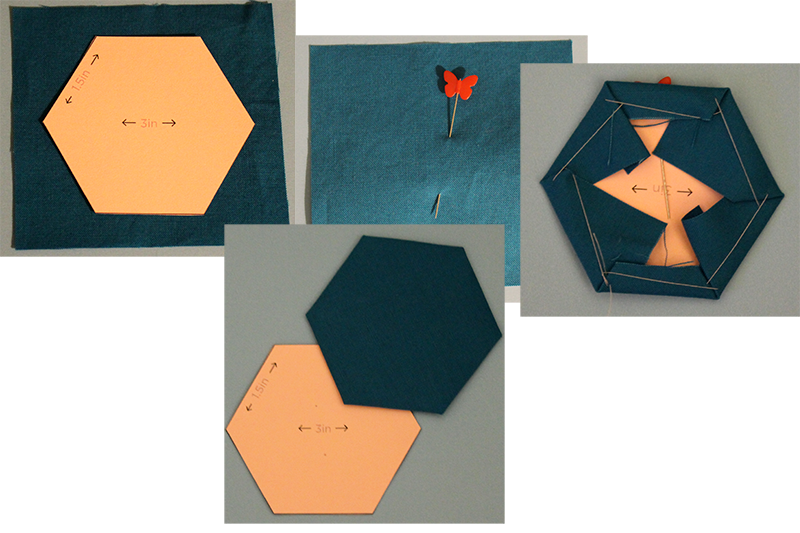
I had a bundle of Kona Cotton Summer Colors from Robert Kaufman and another bunch of Riley Blake Crayola Solids Fat Quarters. I cut a strip 3 1/2″ wide from each piece, cut those into 3 1/2″ squares, and started basting!
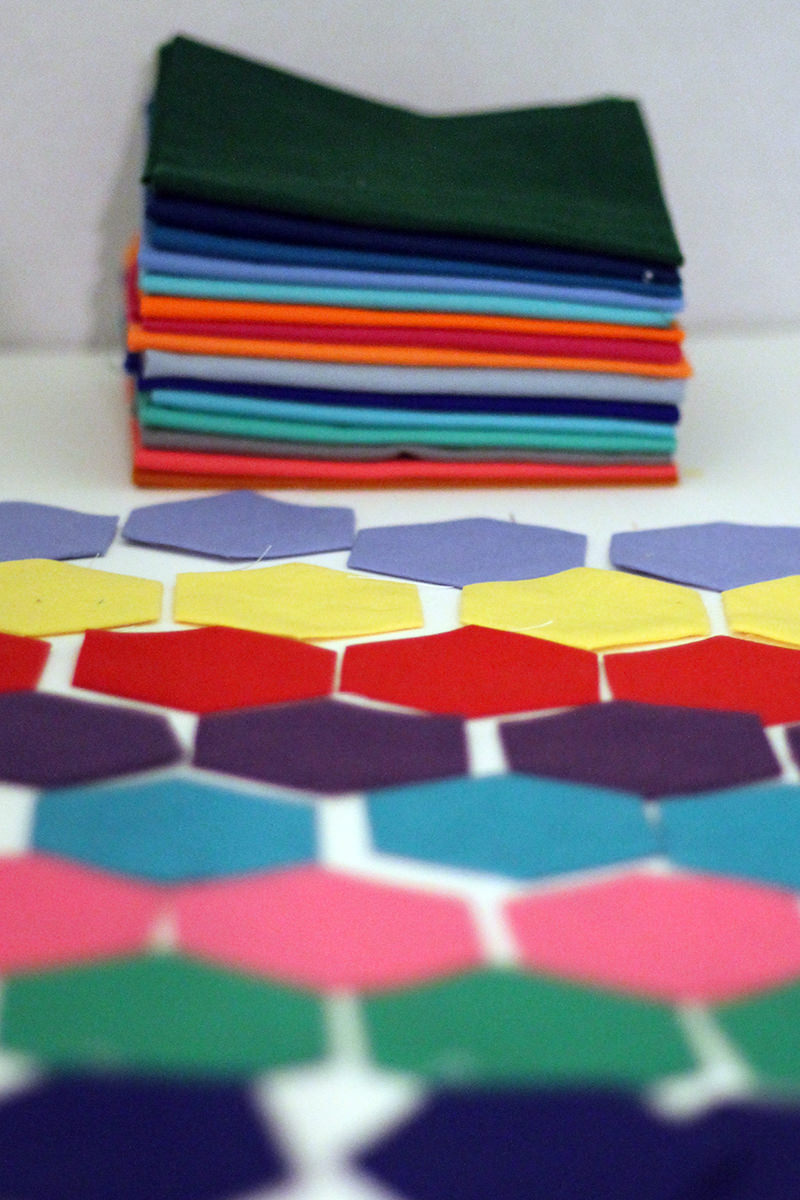
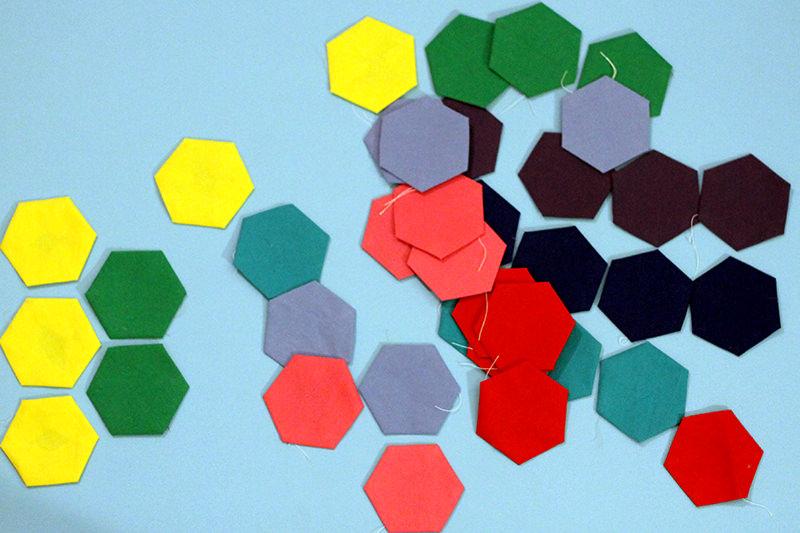
I just sat in front of the TV and whipped these little babies out. Press when you have the basting done then just pull out the template and reuse! I made over 100 of them!
I cut out a 70″ x 21″ piece of white Kona cotton for the background. .
 I marked the center and started laying out the hexies from there. When I was happy with the design I pulled all the basting thread out and used Aileen’s Fabric glue and put all the hexies in place–1/4″ from each other.
At this point, I really wished I had a bigger cutting table. Mine is 60″ long by 36″ wide. But then I started thinking of the practical aspects of a larger table. Where would I keep it? How much larger do I need? Do I want one big enough to make a queen-sized quilt? King-sized? Where do I stop? So my practical side just extended my current table with my ironing board.
A couple of notes on the basting thread and gluing. First, next time I make hexies, I won’t pull the basting thread out. It’s not going to show since it’s on the side that’s glued down. That’ll save a bit of time.
Second, be careful with the glue. If you use too much, it will soak through the fabric or squeeze out of the sides and it does not wash out. If it goes through, that spot will be there FOREVER. Also, put paper under the table runner so the glue wouldn’t seep through to the cutting table.

Just need enough to hold the hexie to the fabric while quilting.
I let the glue dry overnight. I used a neutral fabric for the backing so I can flip the table runner over if I get tired of the bright hexies. Then I made a “quilt sandwich” with the hexies on top, batting in the middle and the backing on the bottom and pin basted.
I marked lines with a washable fabric marker–mostly so the quilting would be straight on the white sections.
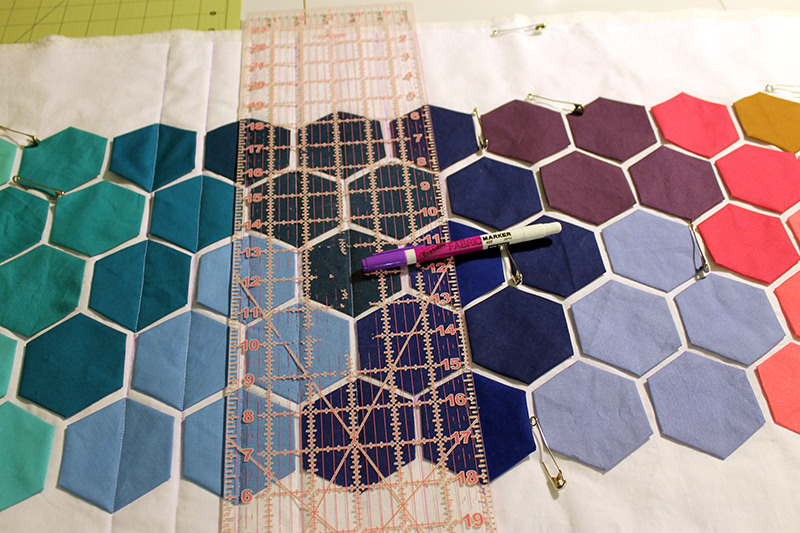
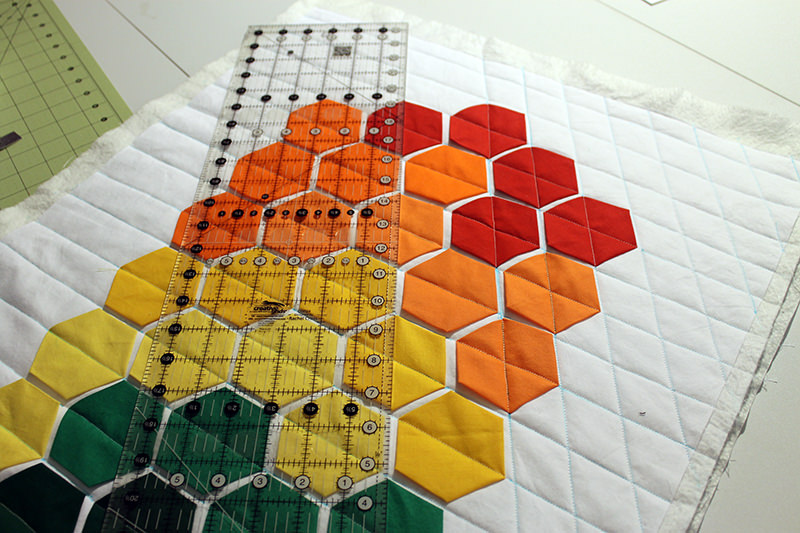
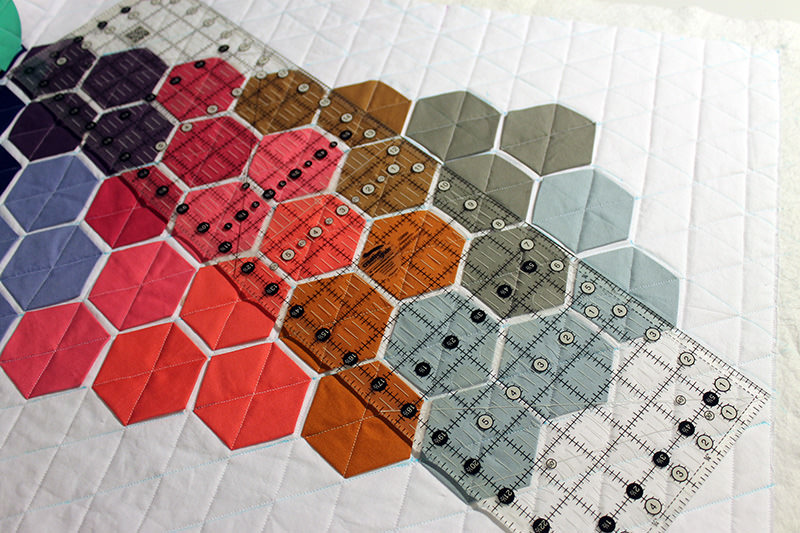
When I was marking for that last step, I realized that it was probably better to make sure the lines met in the middle of the hexies. So I turned the guide light on on my sewing machine and finished the runner like that!
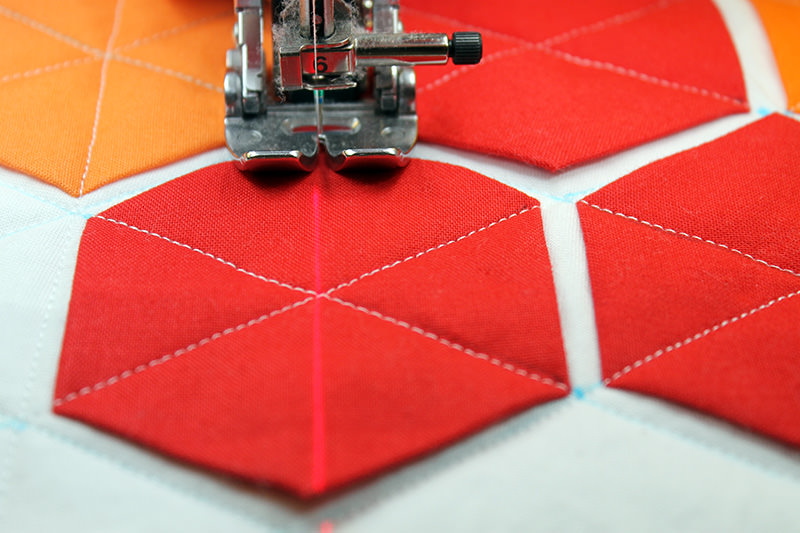
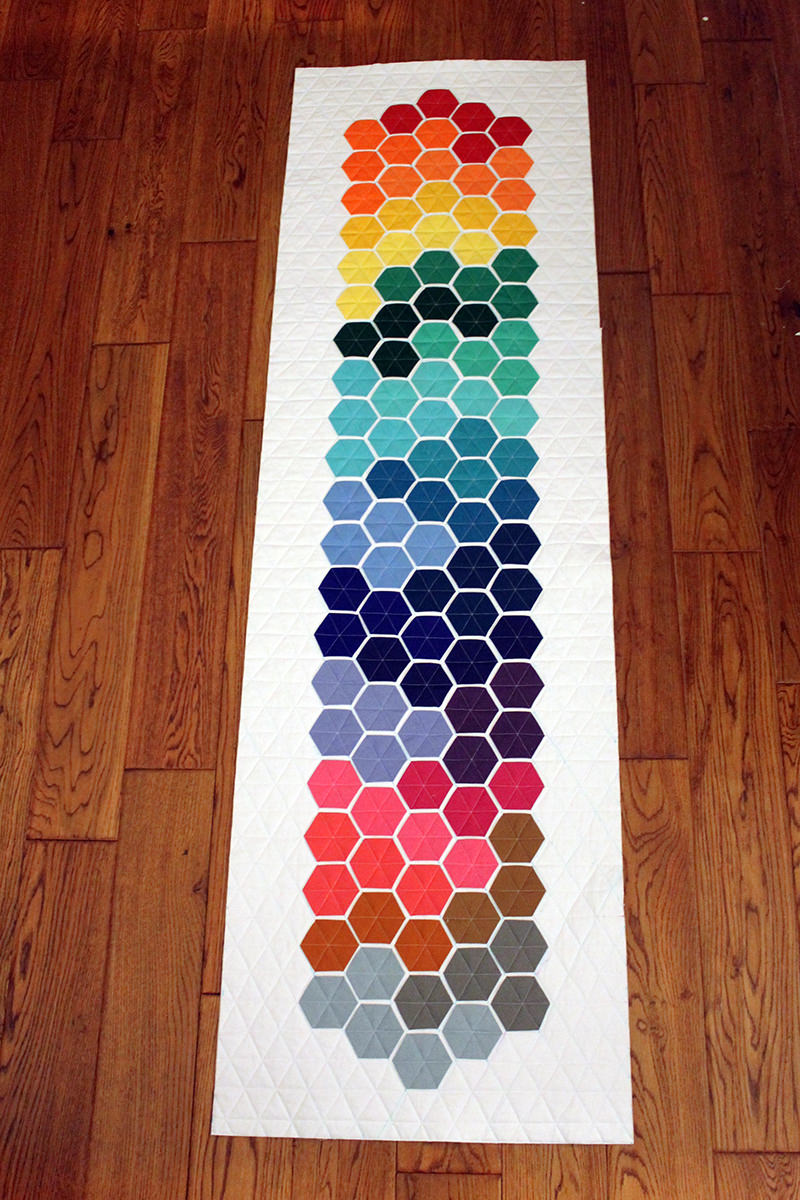
Quilted, trimmed and ready for binding!
I made a white binding so not to distract from all the pretty hexies and followed the binding tutorial from Beech Tree Lane Handmade.

I bought these clips last year on sale at Craftsy and finally got to use them!
Finished!

When I turned the dining room into a music room, we moved the table into the family room. Kind of weird but on the rare occasion when it’s too hot or too cold to eat in the screened room or we have too many to dine at the kitchen island, the table has come in handy.

I love the colors and brightness! Every time I look at that corner, it makes me happy!
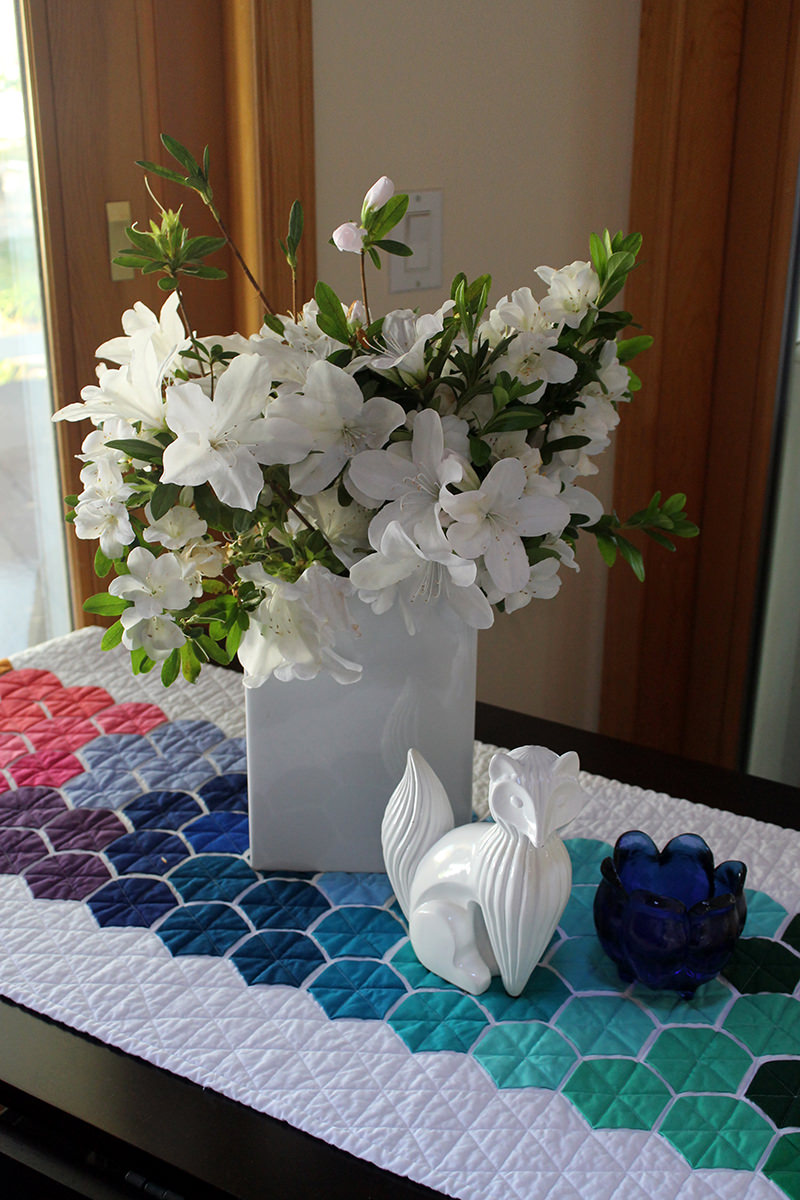
Those are azaleas from my front flower bed.
But if I get tired of the brightness, over to neutral!
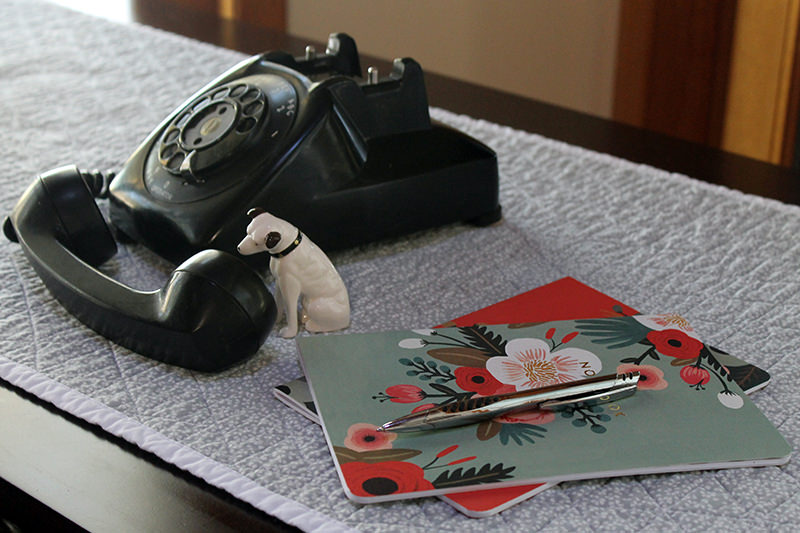
(Probably never going to happen!)
Discover more from
Subscribe to get the latest posts sent to your email.

Comments
Hexie Tablerunner — No Comments
HTML tags allowed in your comment: <a href="" title=""> <abbr title=""> <acronym title=""> <b> <blockquote cite=""> <cite> <code> <del datetime=""> <em> <i> <q cite=""> <s> <strike> <strong>