Have a Witchy Halloween, Week 3
This is it! Costume done!
Just to refresh your memory, I’ve been making a witch costume for a fabulous “Witch and Warlock” themed Halloween party.
I got most of the hat finished last week. This week I finished the entire outfit!
I am basing the costume on tutorials and patterns from Sew4Home.com. They have amazing ideas and they are free! Yippee!
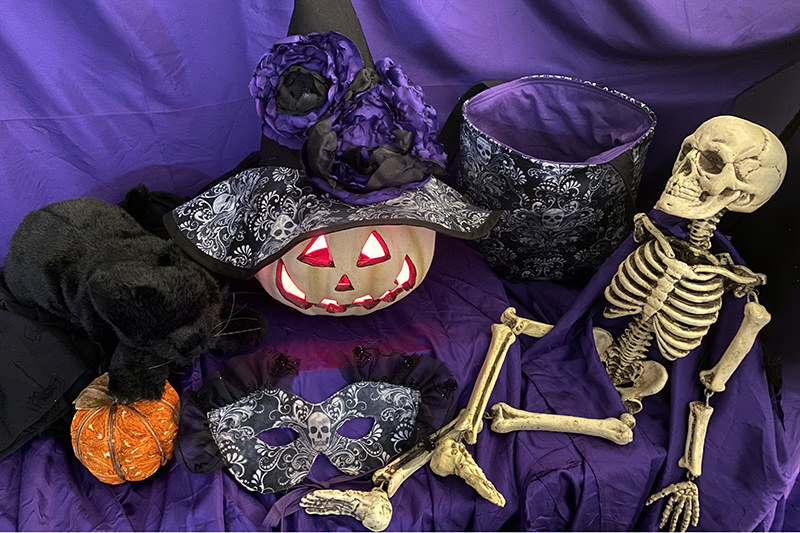
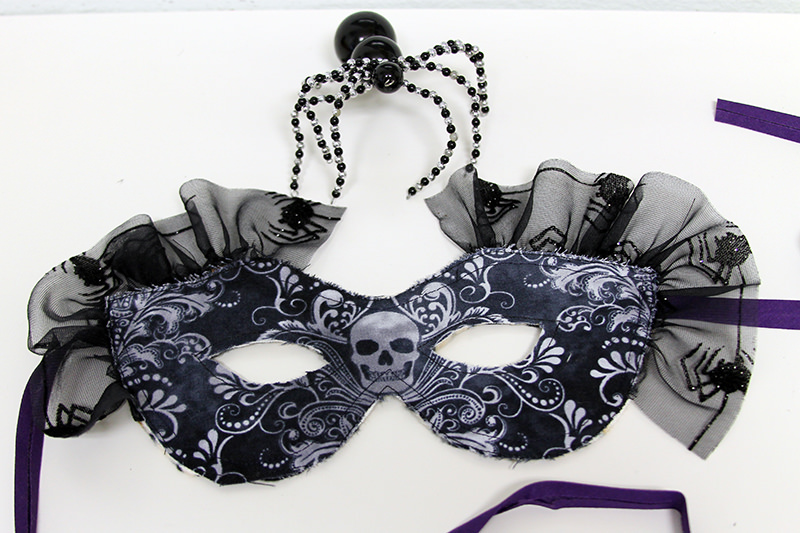
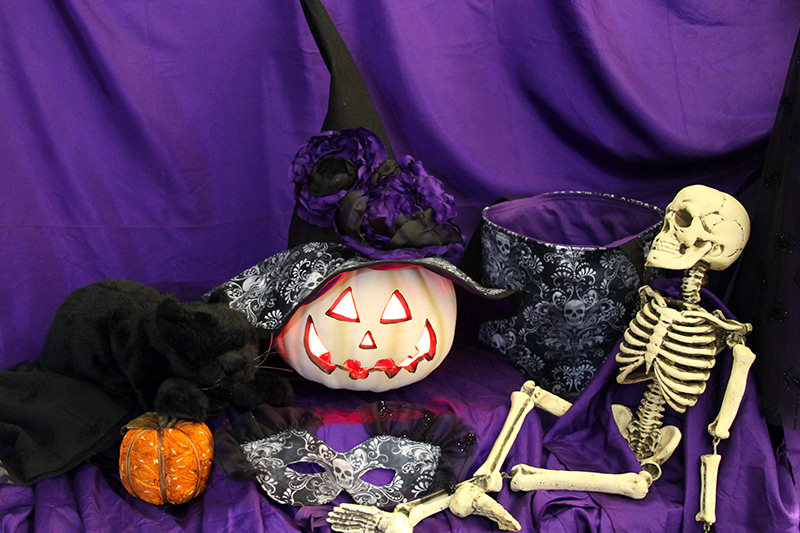
I ordered this really fun skeleton damask from Fabric.com for my witch and had to wait for it to arrive. So worth the wait. I LOVE IT!
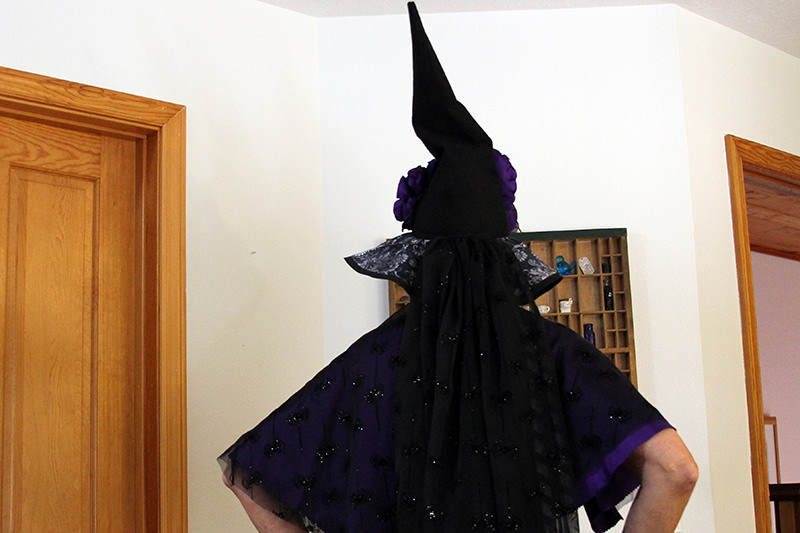
The Dead Roses Witch Hat really wasn’t difficult. You just have to have lots of patience. I left off last week with putting the floral wire around the brim. I said I was dubious that I would be able to get the wire into the pointy part. And I was right. Although the instructions call for leaving two “channels” for the wire to be inserted, after trying to figure out how to get to the channels and getting my trusty ripper out, the channels were no longer accessible. When putting the pointy section to the brim, the channels were in the turned up portion. I could have taken it completely apart and run the wires through, but I decided that the interfacing provided enough support and the pointy part was good enough. If I make this again, note to self, put the wire in before attaching the cap.
Next step was adding the dead roses. The roses were kind of thick and heavy. I thought about using a hot glue gun to attach them but thought they might melt. After all, I did use heat to wilt the rose petals. So I very carefully hand stitched them on the front of the hat. I used a BIG needle and upholstery thread.
Then there was the veil for the back. I had this really cool spiderweb netting from back when I had an annual Halloween party that was part of the decor.
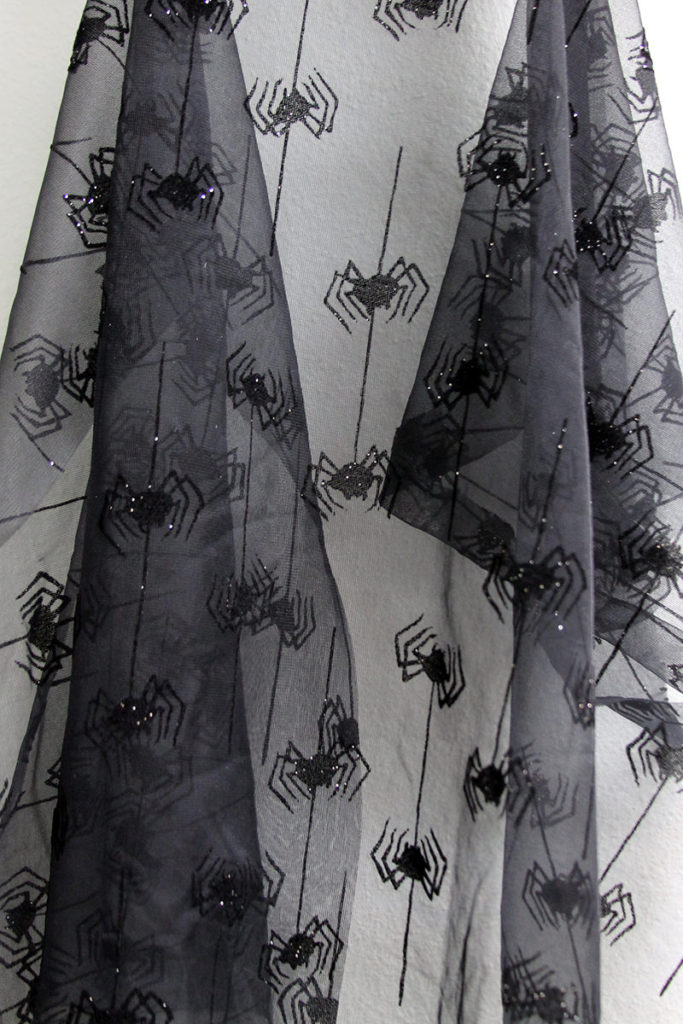
I just guessed at the length, gathered and stitched onto the back of the hat.
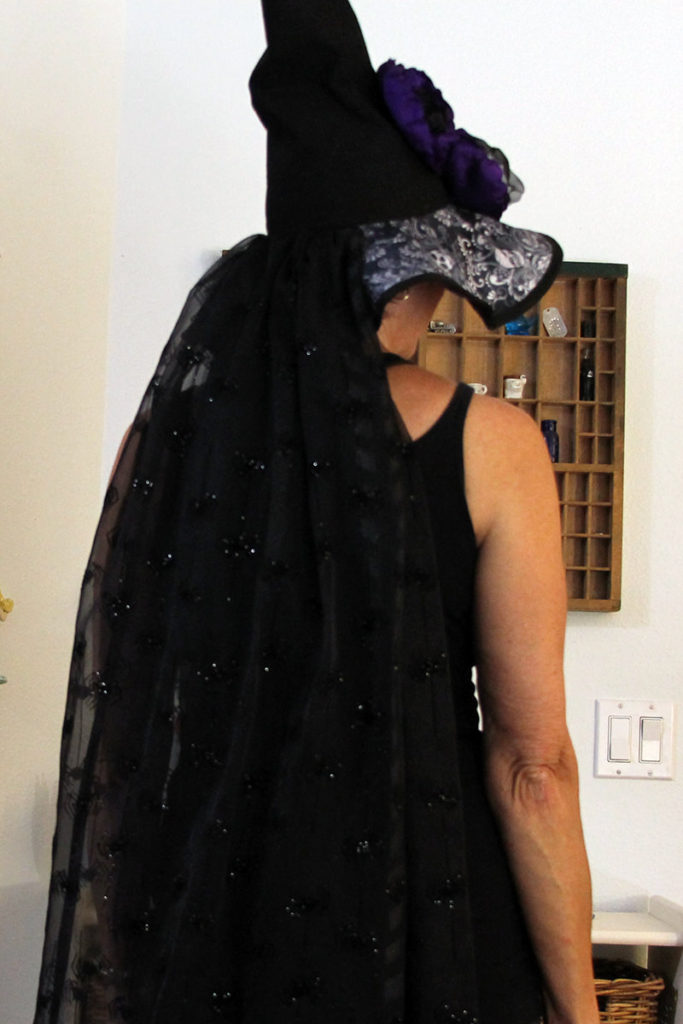
Hat done!
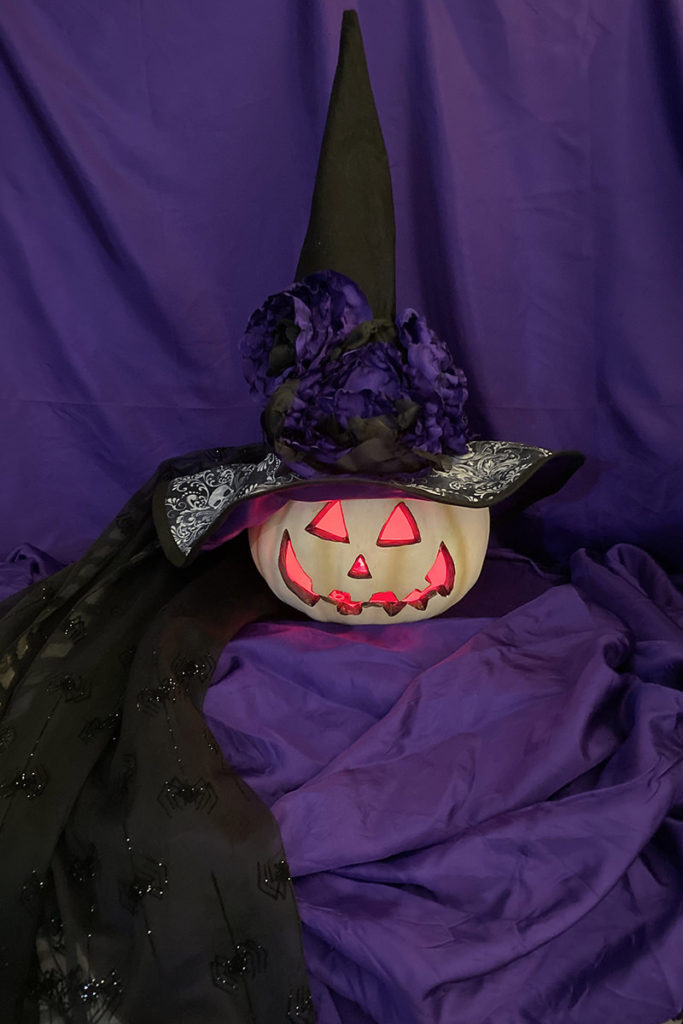
Next up was the capelet. I was inspired by the Sew4Home.com capelet but patchwork wasn’t the look that I was going for. I didn’t follow the tutorial other than cutting the exterior and the lining to the same size as the instructions called for. I used the spiderweb netting and purple lining fabric and made my ties for the neck out of black quilting cotton rather than buying velvet ribbon.
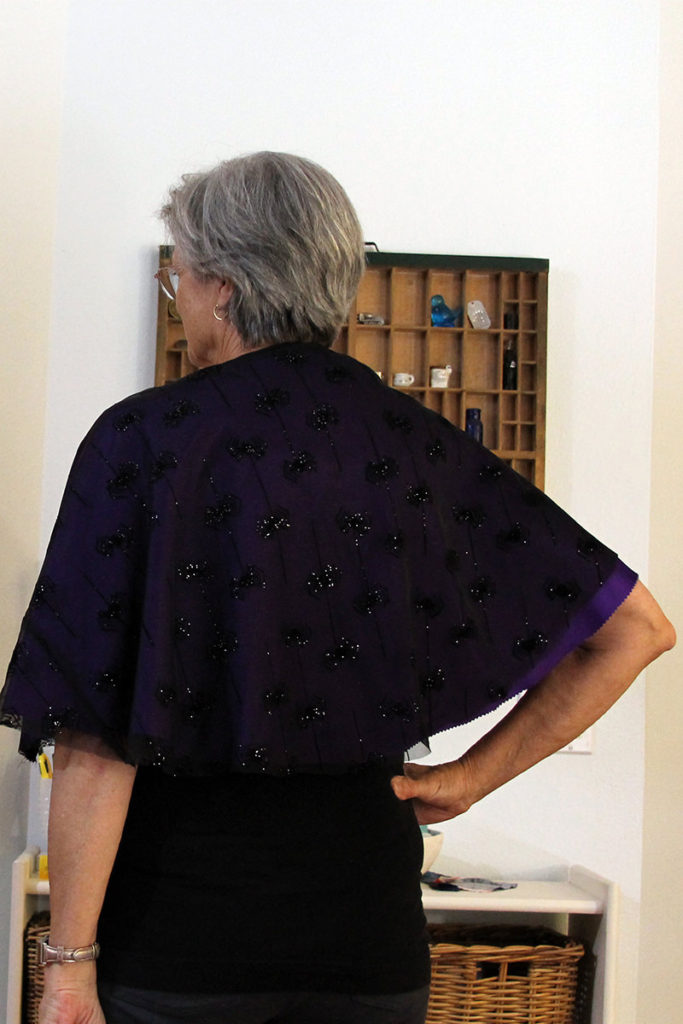
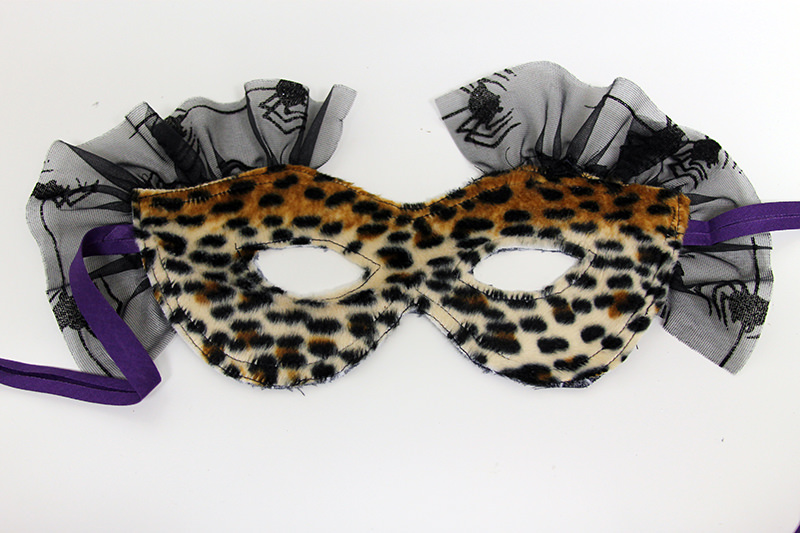
Then the mask. This was easy peasy. Once again, I didn’t have velvet ribbon for the tie and didn’t think it was worth the 40 minute trip to Joanne’s to get it. I used purple double fold bias tape. I also didn’t have wired ribbon so I just cut some of the spiderweb netting and gathered it.

I used faux fur on the back of the mask because I wanted to have something soft against my face and didn’t have the black fleece that the pattern called for. And if the Halloween party’s theme is ever exotic animals, I’ve got that covered!
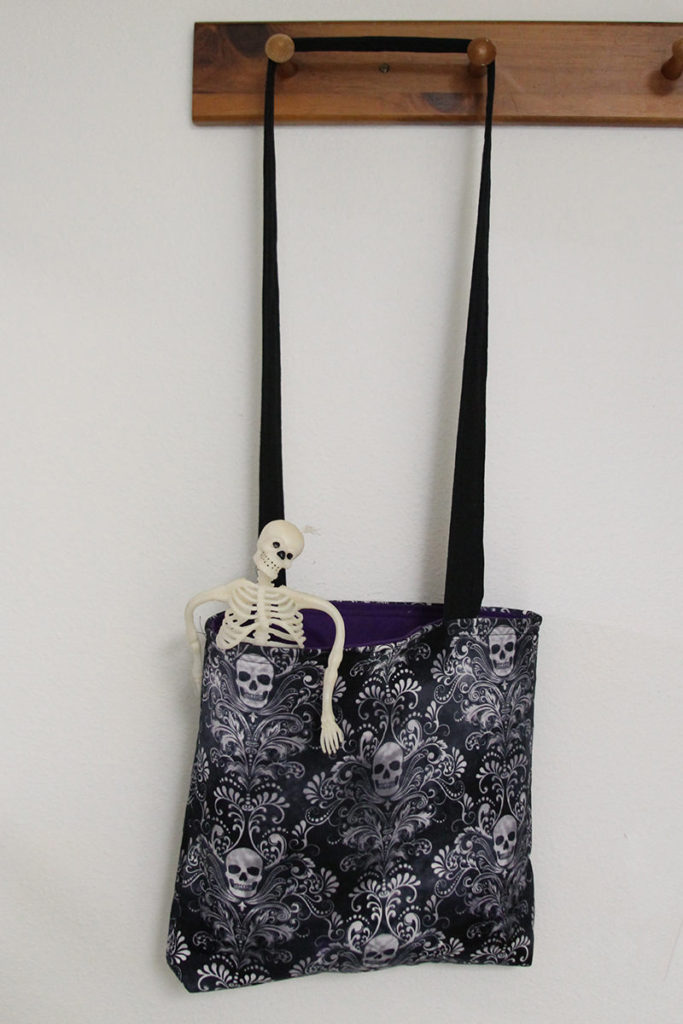
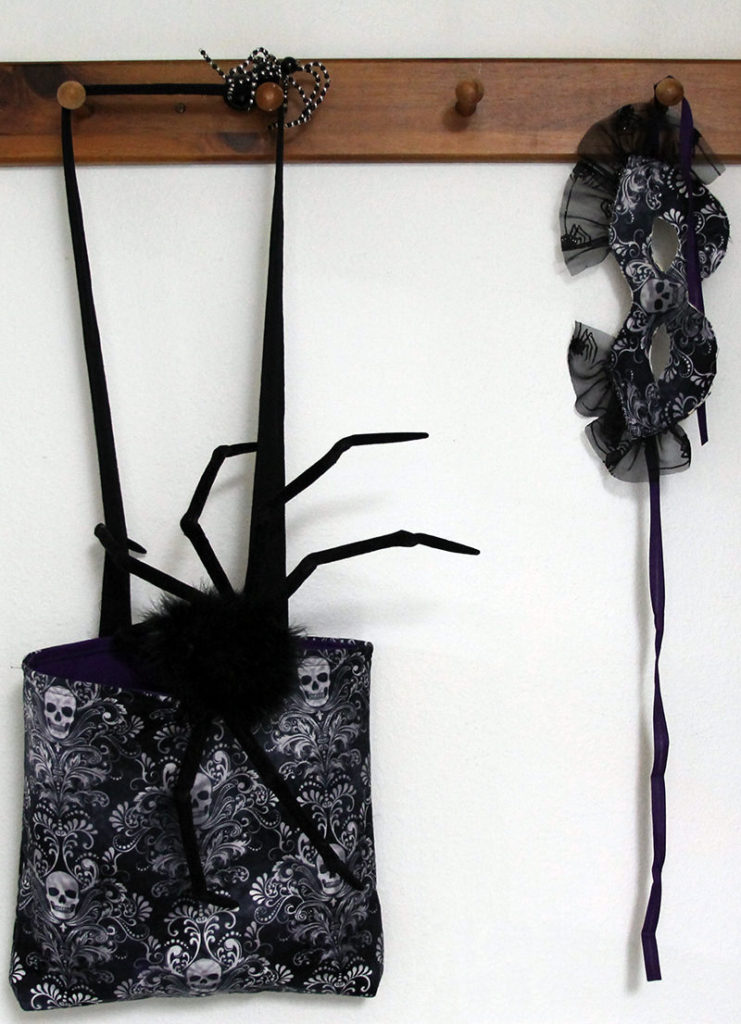
Then, because I have plenty of that skeleton damask left and I needed to carry my glasses, phone and some treats, I made a “boo bag” . I have a tutorial for a boo bag and intended to follow that but I fussy cut the fabric the wrong way! Duh! So I just threw together a lined tote with a cross body strap based on what I had cut.
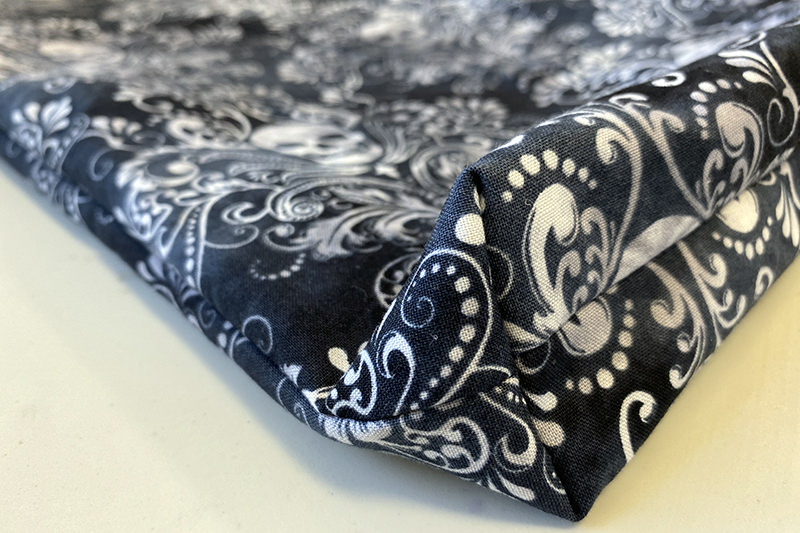
I boxed the corners. Maybe I’ll write up a tutorial one of these days about this bag!
Now I need to throw together a Warlock outfit for my husband! I’ve a couple days to get it finished. Next week, I’ll show you the entire finished outfit!
Discover more from
Subscribe to get the latest posts sent to your email.

Comments
Have a Witchy Halloween, Week 3 — No Comments
HTML tags allowed in your comment: <a href="" title=""> <abbr title=""> <acronym title=""> <b> <blockquote cite=""> <cite> <code> <del datetime=""> <em> <i> <q cite=""> <s> <strike> <strong>