
Halloween Projects Final for 2025
Several weeks ago, I told myself I would be done with all the spooky projects on October 1st. No more work on Halloween items even if they were half finished. There’s always next year! Right?
And today is already October 2nd! Halloween! Thanksgiving! Christmas! The “ber” months are flying by.
Here are my final Halloween projects ….
I went out to Pinterest and found some free patterns and tutorials. Some spooky, one just Fall-like. Plus I remade a pattern I purchased in 2021.
I needed more wool blend felt for some Halloween projects plus other ideas that I’m working on. It is fun to work with–it doesn’t fray! It’s very forgiving! It’s has a nice feel. It is not usually available in craft or fabric stores so I buy it online. I forgot where I had purchased it in the past so this time bought it from a shop that I follow on Instagram, Benzie Design. The pieces arrived within a week. I also bought some matching DMC floss and 12 wt thread.
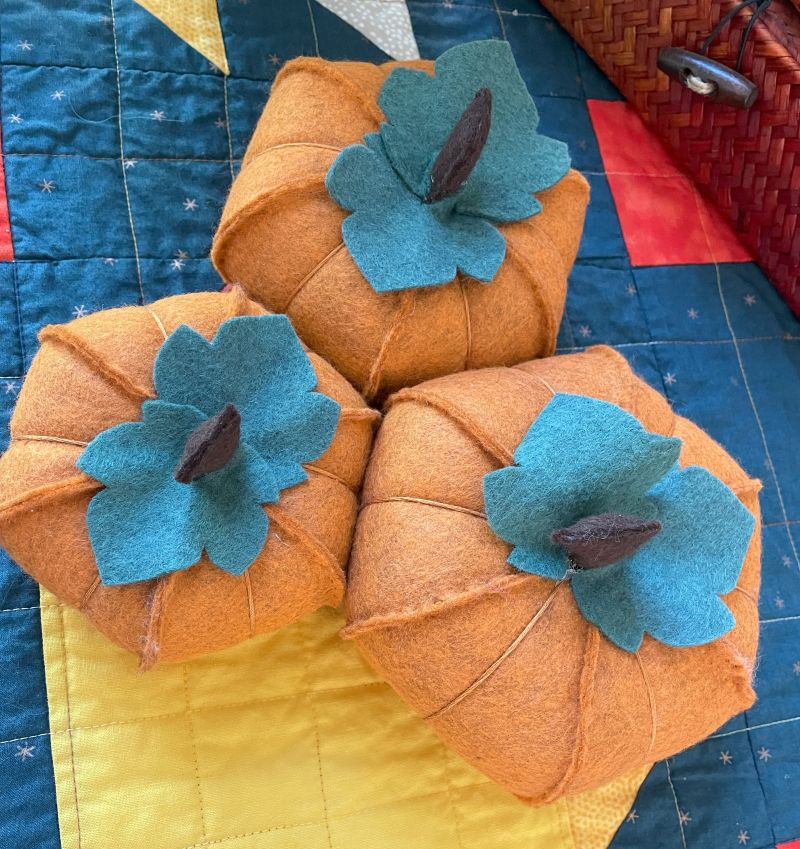
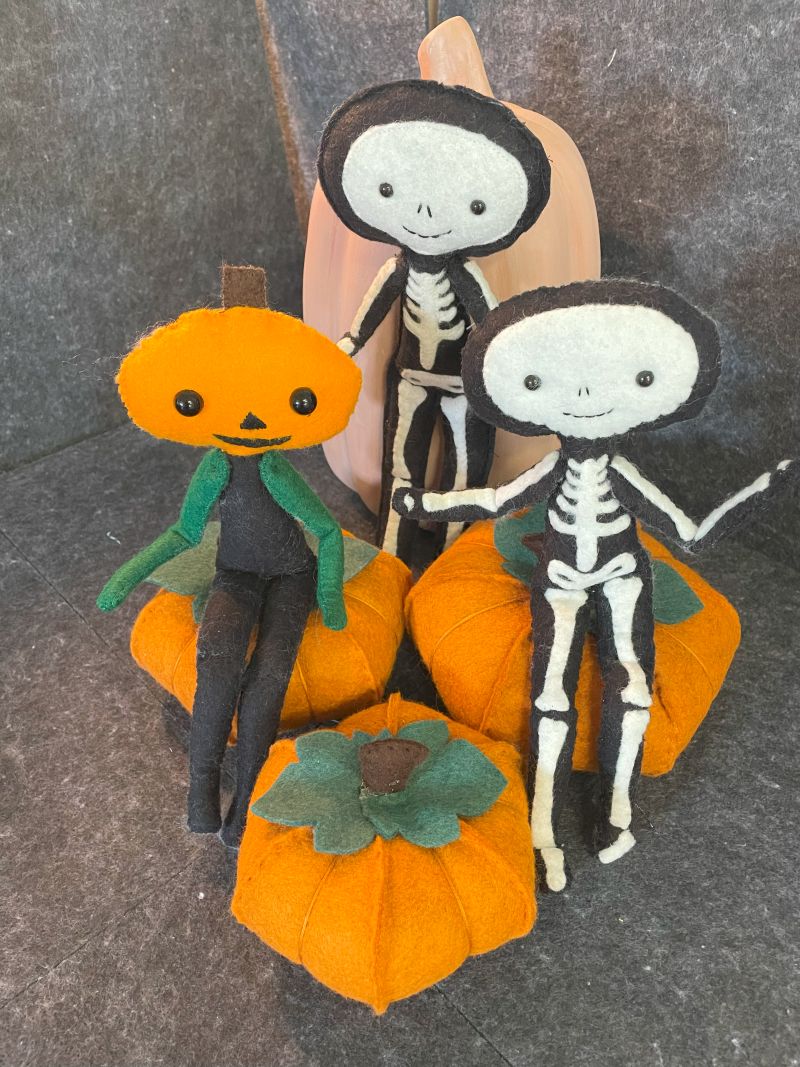
First up, I made these pumpkins from a free pattern by The Yellow Birdhouse. Not really for Halloween. This is a Autumn project.
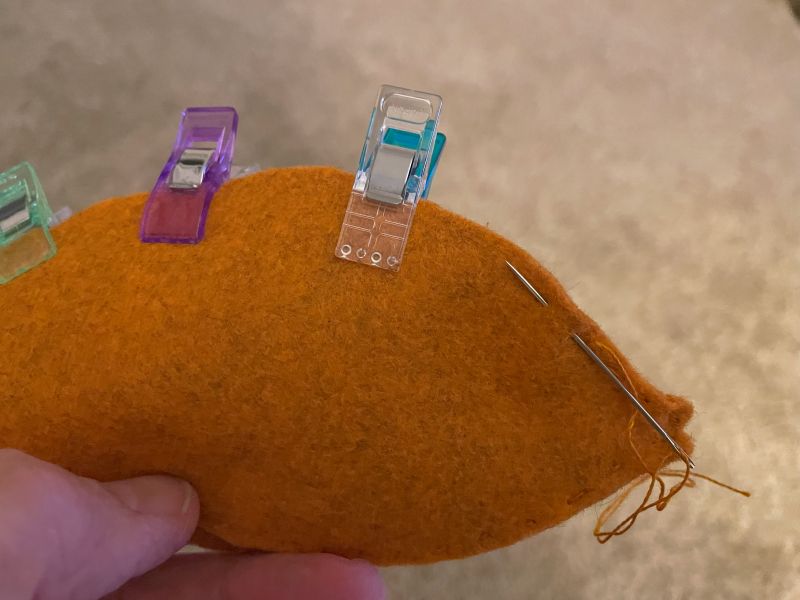
I used the matching 12 wt thread to hand stitch the sections together with a running stitch. This thread is thicker than the typical 50 wt which I typically use. I liked it. Probably need to buy more!
I found it was much easier to get the sections to match by clipping them together with wonder clips.
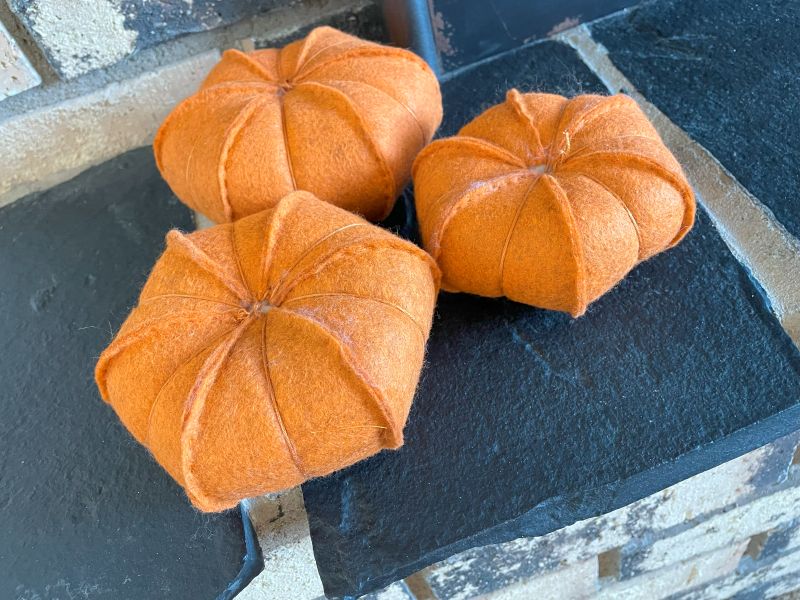
Here are the bottoms before hot gluing a circle of felt on to cover the closing.
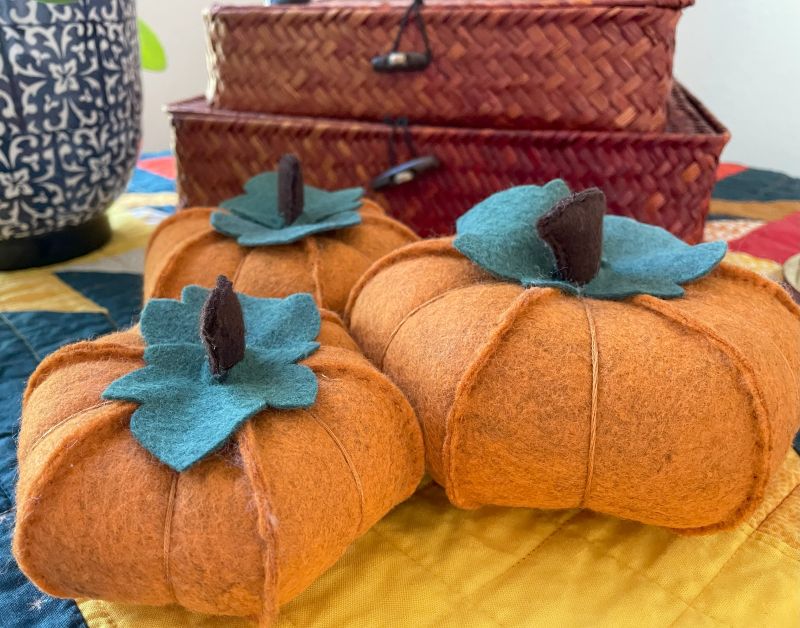
I used the matching DMC floss to add the extra segments. All 6 strands. I added two leaves to the top of each pumpkin.
I considered making several more in different sizes to fill up a small basket. This is a simple patterns and I started out with one in full size, another at 90%, and a third at 80%. Then I decided I was getting very bored with making pumpkins! Time to move on! No basket of pumpkins this year!
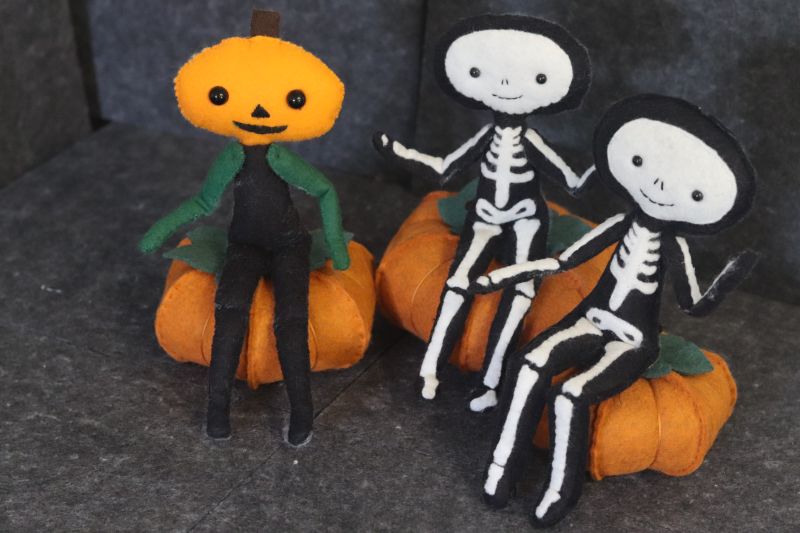
I bought this pattern for a skeleton from Delilah Iris Designs in 2021 and made some for a hostess gift for a friend’s Halloween party.
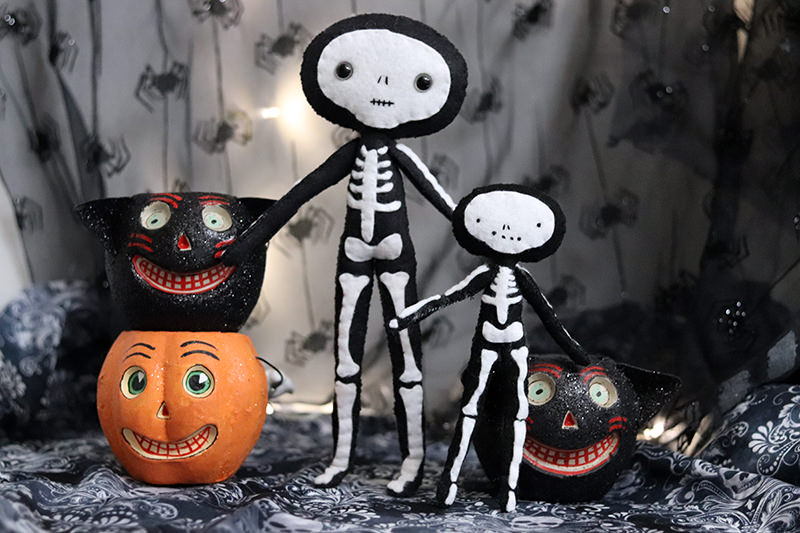
Making the sizes that come with the pattern was VERY fiddly. I enlarged them a bit this time. Since they are entirely handstitched, they take quite some time to complete. Pipe cleaners are stitched inside the body so they can bend. I made two for me–I turned one into Master Jack O Lantern. Then a second skeleton for grandson Arthur. He was pretty excited when he saw the first one I made.
One more felt project for this week….
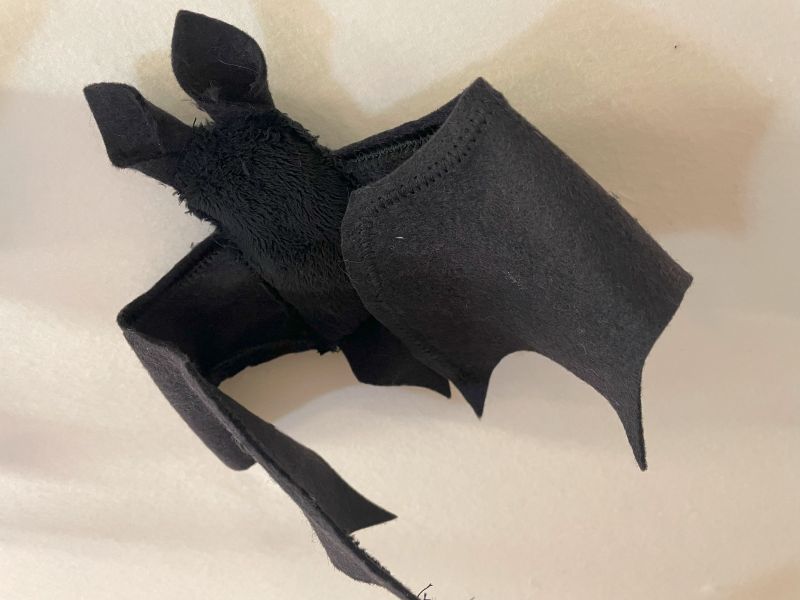
These bats! SO AMAZING! Thanks to pipe cleaners they are poseable.
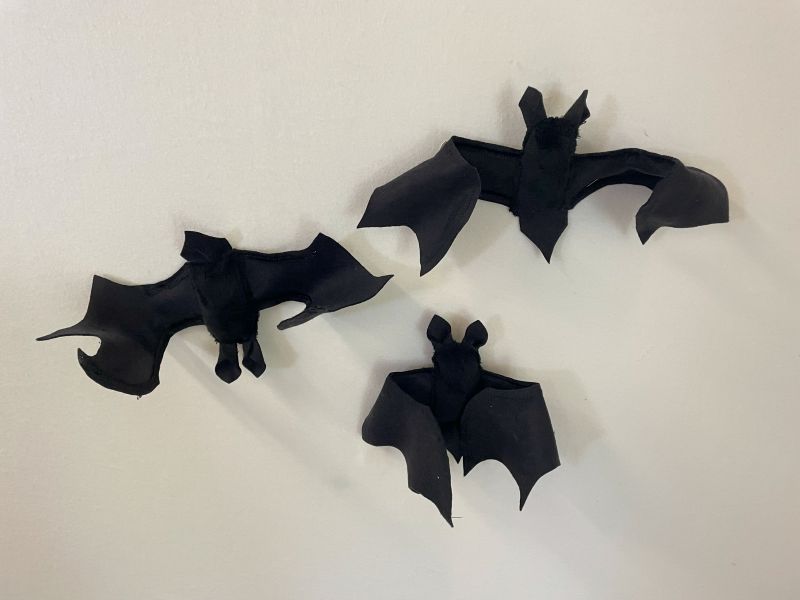
They come from the Bernina website, Weallsew.com, Spooky Halloween Bat Tutorial. There are a lot of fun (and free) tutorials there. These weren’t too difficult. I didn’t heed their warning about hand turning the wheel slowly to stitch over the pipe cleaners. I bent one needle and broke another! Whoops! I didn’t use the shaggy minky since I had this smooth black minky left from last year’s Halloween quilt. Always good to dive into my stash! Other than the needle incidents, the bats were relatively easy. And worth the needles!
One more and it is not felt……
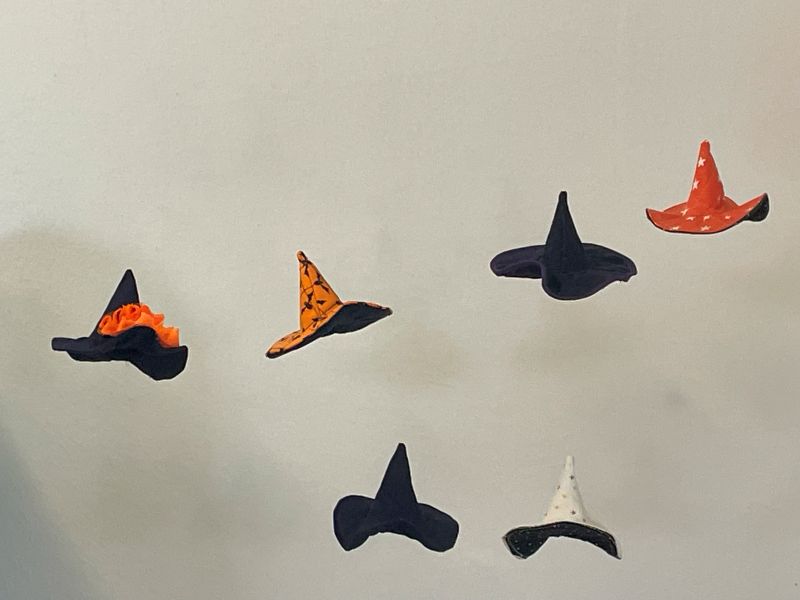
These little witch hats. Absolutely adorable.
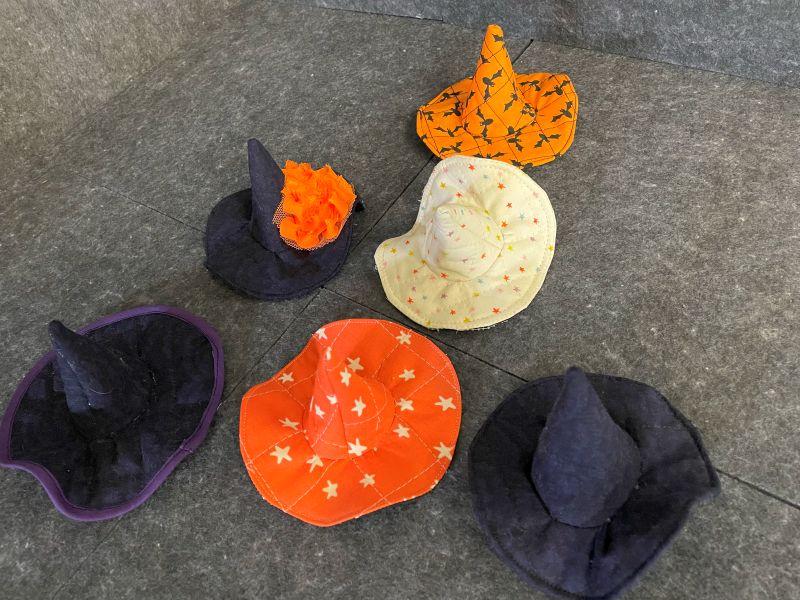
Saw the pattern a few years ago in one of Art Gallery’s Look Books. Finally made them. Cute. But I really had a hard time making them–not as easy as the pattern claims.
Mostly because they are SMALL. First the fabric is quilted, then the pieces are cut out. Just two–the brim and the crown. Then the hat is made the same way for the exterior and lining–I had a really difficult time attaching the pointy part onto the brim. I kept getting puckers. (Hate puckers in my hats!–even little witchy ones!) The hats are sewn together around the brim–leaving a hole for turning. Turned right side out, stitch opening closed. These hats were taking up way too much of my sewing time–but I couldn’t quit! I didn’t want them to defeat me! The last two I made I hand basted the crown to the brim, then machine stitched them.
Anyhow.
Here they are. Very cute. I added some flair to a few. (Just to cover up my mistakes!)
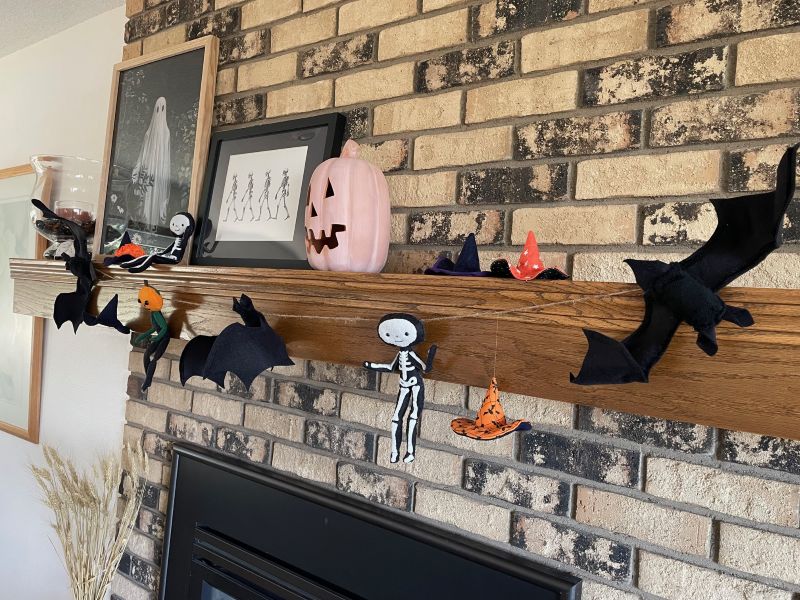
Then I pulled this twine out, measured a piece big enough to cover the front of the fireplace mantel. And attached some of the spooky pieces. I had planned to add a few ghosts and pumpkins but I put this garland together on September 30th—my deadline is here!
The garland doesn’t hang down very far because I thought it might be a little too tempting to Athena!
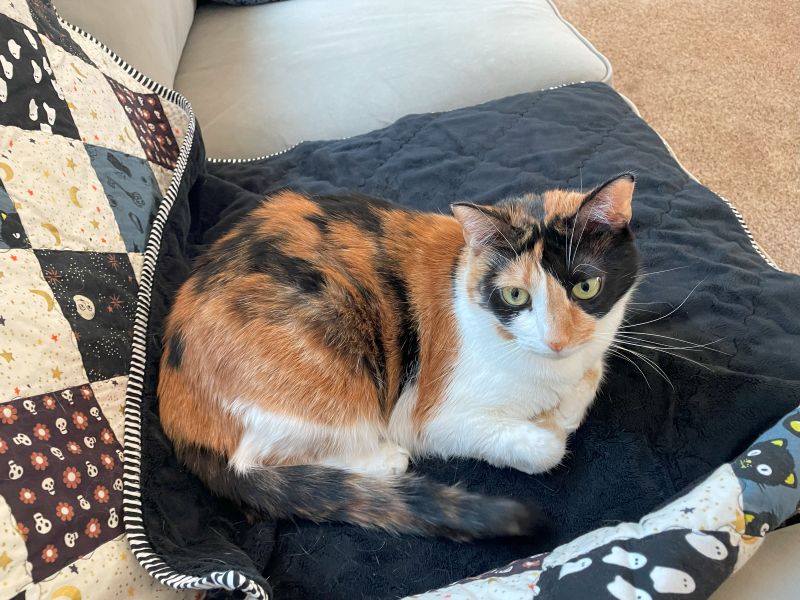
By the way, here’s last years quilt “Spooky Mabel” with Athena in her fall colored fur coat!
I spent most of the month of August finishing up totes and bags that were not finished in years past.
Now last month, September, I have been working on projects for Halloween.
October will be a month of change. We will be headed to our apartment in DC by November so need to get ready for that move. I have some furniture I need to finish updating plus two quilts that I would like to get a little further along on. And then I have to decide what to take and store all the outdoor stuff away. There might not be many sewing posts this month!I
But once moved to our winter home, I’ll be back at it!
Discover more from
Subscribe to get the latest posts sent to your email.
Comments
Halloween Projects Final for 2025 — No Comments
HTML tags allowed in your comment: <a href="" title=""> <abbr title=""> <acronym title=""> <b> <blockquote cite=""> <cite> <code> <del datetime=""> <em> <i> <q cite=""> <s> <strike> <strong>