Fun Tea Towels
I’ve been traveling!
Went on a “girl trip” last week to visit an old friend in Tennesee.

We all worked for the same company but not in the same locations or at the same time!
And I made a new friend!

Of course, I wanted to take a handmade hostess gift but I waited to start on it the day before we left. I really wasn’t procrastinating, I was working on another sewing project that just wouldn’t cooperate. Finally got it done and started on a set of tea towels.
This is a very fun friend so I used some of my very fun fabrics from Cotton & Steel’s Black and White along with the Bluebird collection and Moda toweling. I keep the toweling in my stash because it’s so quick and easy to make hostess gifts. Both long sides are already finished!
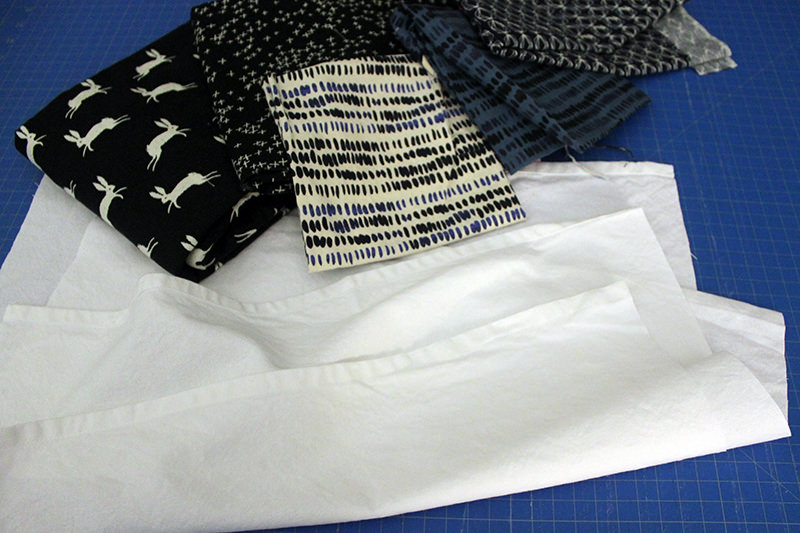
When I make tea towels or anything that will be washed and dried, I always pre-wash and dry for shrinkage before I put it in storage. The toweling is about 16″ wide after shrinkage.
I cut strips of fabric 1″ wider than the toweling so I would have 1/2″ seams on each side. After I started putting the strips on I thought…..and why didn’t I cut this 1/2″ wider and use 1/4″ seams? Habit, I guess! So the sides are all 1/2″ seams but when I stitched the strips together I used 1/4″ seams. Confused? I am quite often.
These tea towels are finished on the back and front–pretty on both sides!
For each towel cut:
20 ½” length of Moda toweling
For the bottom:
1 strip of print A, 17” x 4 1/2”
1 strip print B, 17” x 6 1/2”
For the top:
1 strip print C, 17” x 2 1/2”
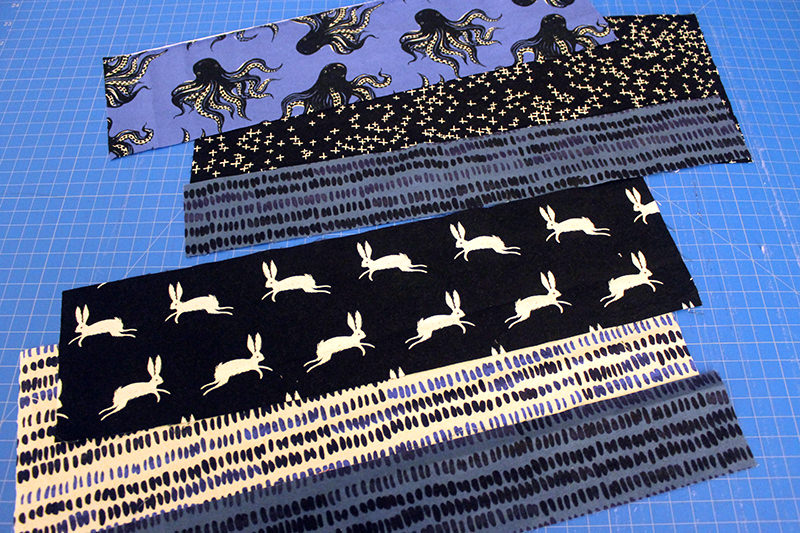
Let’s sew!
Pin strip A to strip B. Right sides together. Sew with 1/4″ seams.
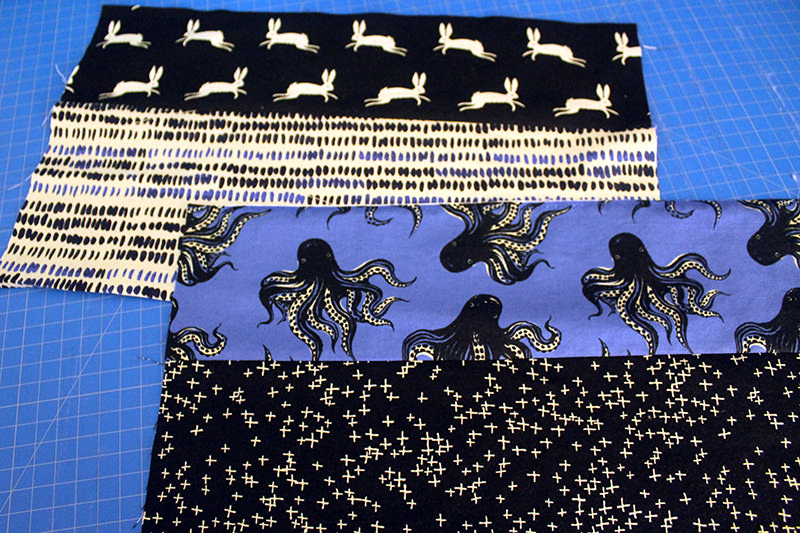
Press seams open and press 1/2″ under on the bottom. Make sure you have any one-directional prints going the right way!
Center strip on towel fabric–right sides together. The strip should be ½” wider on each side than the towel. Stitch, press seam towards the strip. Do the same with strip C on the other end of the towel.
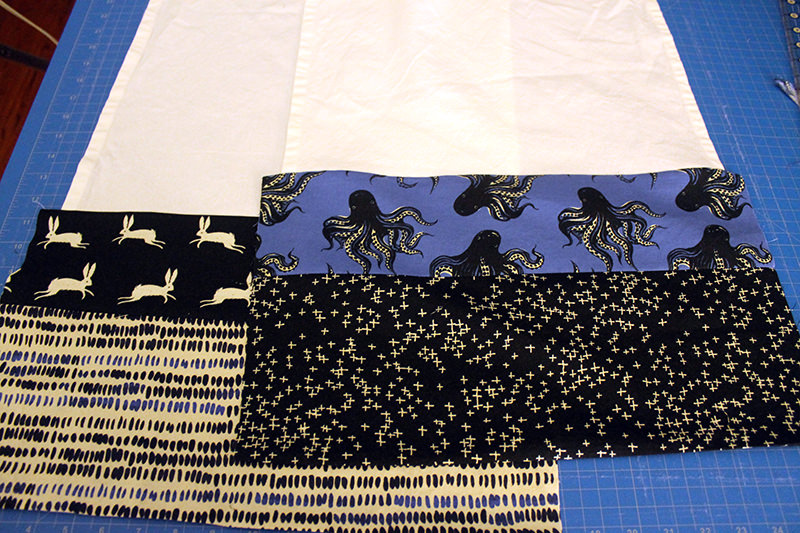
Fold color strip right sides together up to meet seam on towel. The ½ “ pressed edge will meet the seam. Make sure the seams on the color strip line up.
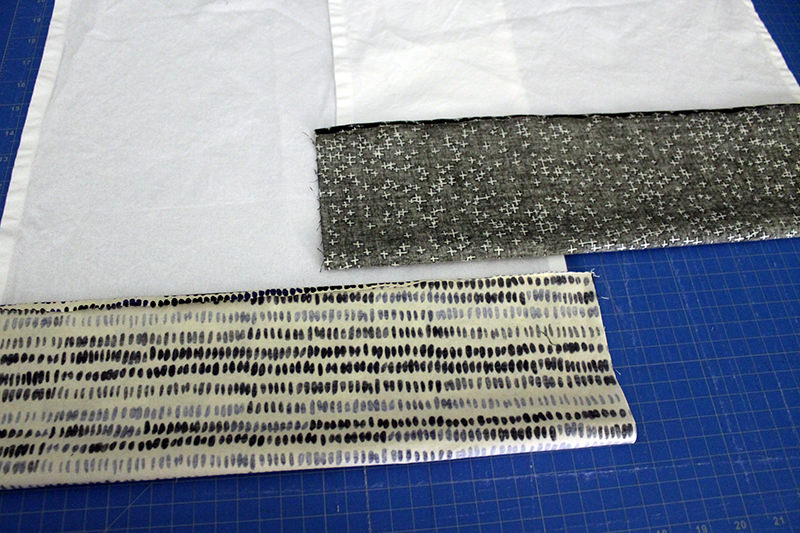
Sew ½ “ seams along edges making sure not to catch in the towel sides. Trim sides.
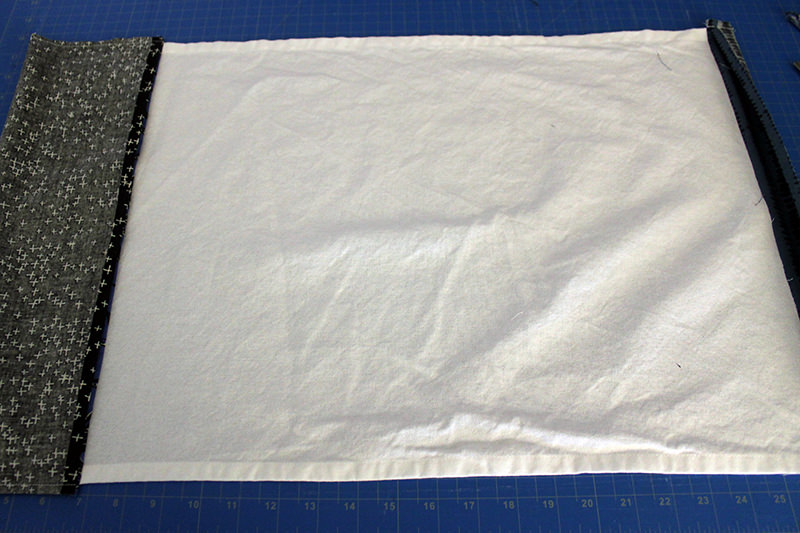
Turn strip right side out. Pressed edge of color strip should be on seam of towel.
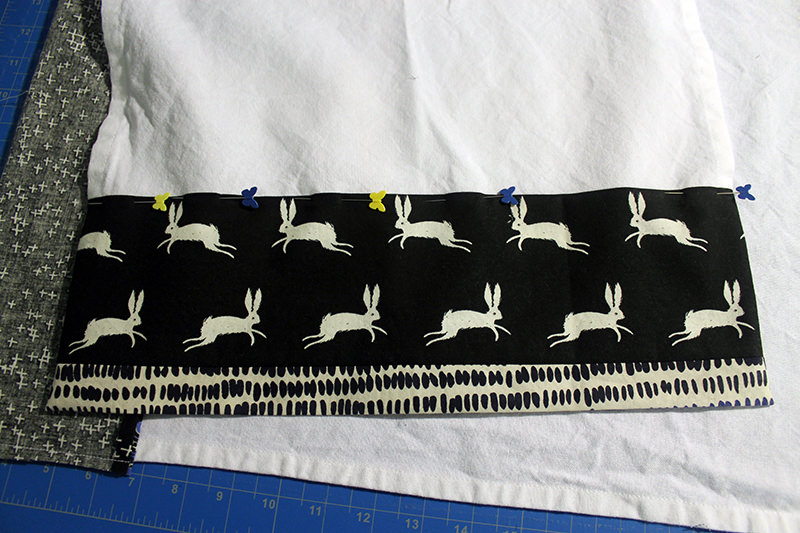
Stitch edge on the right side. I used a blanket stitch for a little flair on the top edge and a regular stitch on the bottom edge.
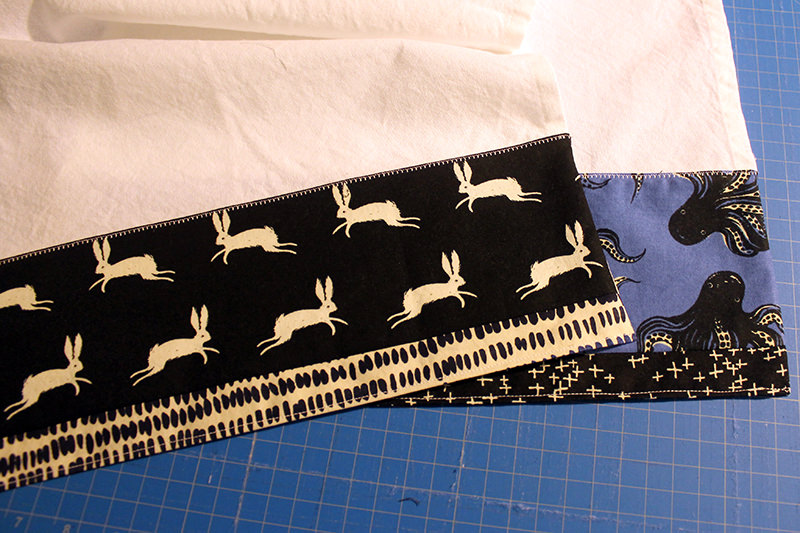
I get my applique shapes from many sources. Even coloring books! This is a tea cup and coffee mug. I use Heat ‘n Bond Lite for my appliques. I centered the shapes and put them 1 1/2″ above the top of the color strip and used a blanket stitch around the edges.


Easy-Peasy!
Discover more from
Subscribe to get the latest posts sent to your email.

I am not sure I understand this. I love the way they look tho! so here is what I think you are saying….
1.sew strips together, press seam allowance open.
2.Fold bottom strip in half width wise and press.
3.It goes on the towel with the wrong side out, sew side seams being careful not to catch towel in this seam.
4. turn this bottom edge right side out, making sure towel stays all the way down.
5. slide it on like a sock on your foot and then stitch down?
Rosamunda, I just saw your comment. Sorry I didn’t respond quicker! If you follow the photos, it’s pretty easy. I’m just going to refer to the bottom strip. Sew the color strips together. Take the top of the color strip and sew to the bottom of the towel–right sides together. Take the bottom of the color strip and bring it up to the seam you just sewed on the front of the towel. The color strip should be 1/2″ bigger than the towel on each side. The wrong side of the color strip will be out. Sew along the color strip sides. Then turn the color strip right side out. The back of the color strip should line up with the bottom of the back of the towel. Pin to this seam. Stitch along the very top of the color strip. I know, my words sound confusing but please refer to the photos, that should help. Kathy
One last question “Fold color strip right sides together up to meet seam on towel.”
You are referring to the hem of the towel right?