French Seams and a Giveaway!
GIVEAWAY CLOSED!
It’s September 1st! Not too long until the first day of Autumn and then it’s Halloween, and WHAM, Christmas is breathing down your neck. Totally not ready for any of that!
In honor of nothing in particular, I’ve decided to have another “Giveaway”. Maybe I’ll do this every six months. Maybe I won’t.
For the next five Tuesdays, I’ll be posting a tutorial about a different tote. Then at the end of the series, I’ll have the giveway. The randomly chosen winner will get their choice of one of the bags that I’ve written about in the series. No big rules for this giveway because I’m doing it, not working with another blog.
All you have to do is enter a comment. Including today, you can comment once on each of the six Tuesday posts. You can comment anything you would like to say. But be nice. (I have the power of the trash can and will use it!) So you have six chances to win. Actually, since this blog is relatively new and I have few readers, if you comment on any of the Tuesday posts you have a really good chance of winning!
Today I’m writing about French Seams. (Tutorial to follow after this bit of meandering.) Next week I’ll tell you how to make the easy-peasy tote. It’s REALLY EASY and anyone can make it.
Every Tuesday the tote will be a bit more difficult. The final tutorial on October 6th will be a bag with pockets and lining. It will be very very nice. (That’s the one you will probably want to win.)
I’m very excited about the giveaway. Hope you win!
French Seams
I don’t have a serger and don’t plan to get one. Of course, I didn’t plan on getting a new BabyLoc sewing machine either. And there it is. But, until a serger machine shows up on my sewing table, if I don’t line the totes that I create, I make French Seams. Because I hate unfinished seams. They eventually unravel and look like doo-doo. And they can actually fray and make a hole in the project. Plus little threads end up coming out and get mixed in with my stuff. Hate that!
French Seams are easy but I found them a little confusing when I first discovered the concept. So I’m doing this little tutorial with lovely pictures so you’ll be ready to make all the totes that I’ll be giving you directions for over the next five weeks and you can refer back to these photos if necessary.
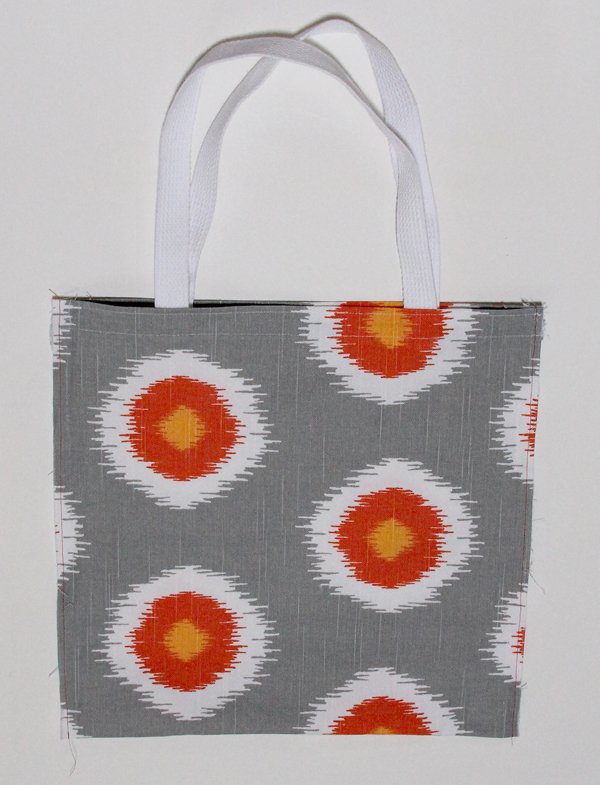
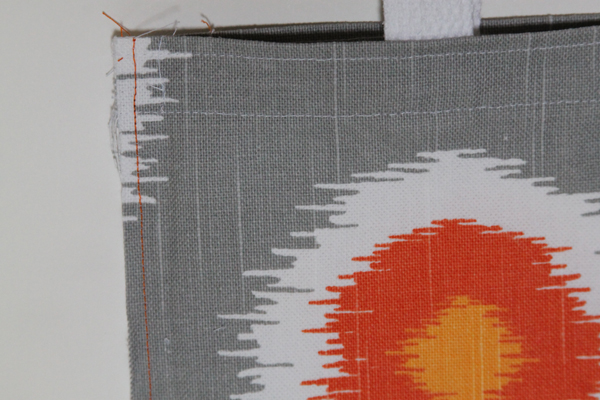
- Take the two pieces of fabric and put wrong sides together. The right sides will be on the outside. If you do a lot of sewing, this just seems wrong. Stick with me. It will make sense.
- Sew 1/4″ seams. Press the seams to one side.
3. Turn the project inside out. Wrong sides are now on the outside. Poke the corners out with something like a chop stick. Press the seams so they are nice and crisp.
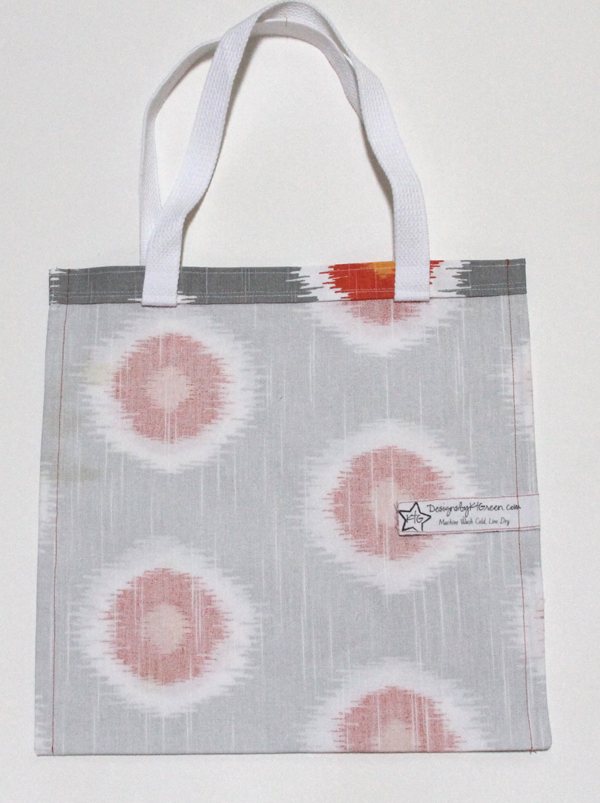
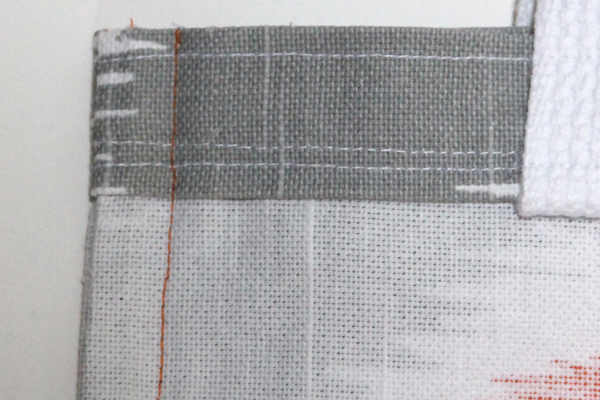
4. Sew 1/2″ seams.
5. Turn right side out. Poke corners out. Press. Done!
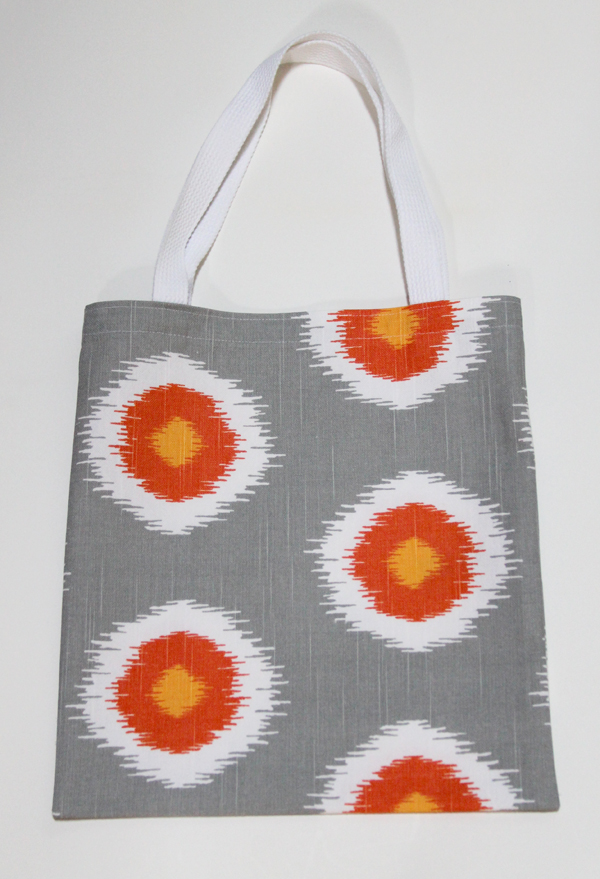
This is also the easy-peasy tote that I’ll be writing about next Tuesday! So simple! So handy to have around!
Discover more from
Subscribe to get the latest posts sent to your email.


I love your easy directions and even though I don’t always comment I read your blog to see what projects you are busy with and to see Maggie too!
Terry
Thanks for reading Terry. Maggie thanks you, too!