Fall Into a Quilt-A-Long
Finished!
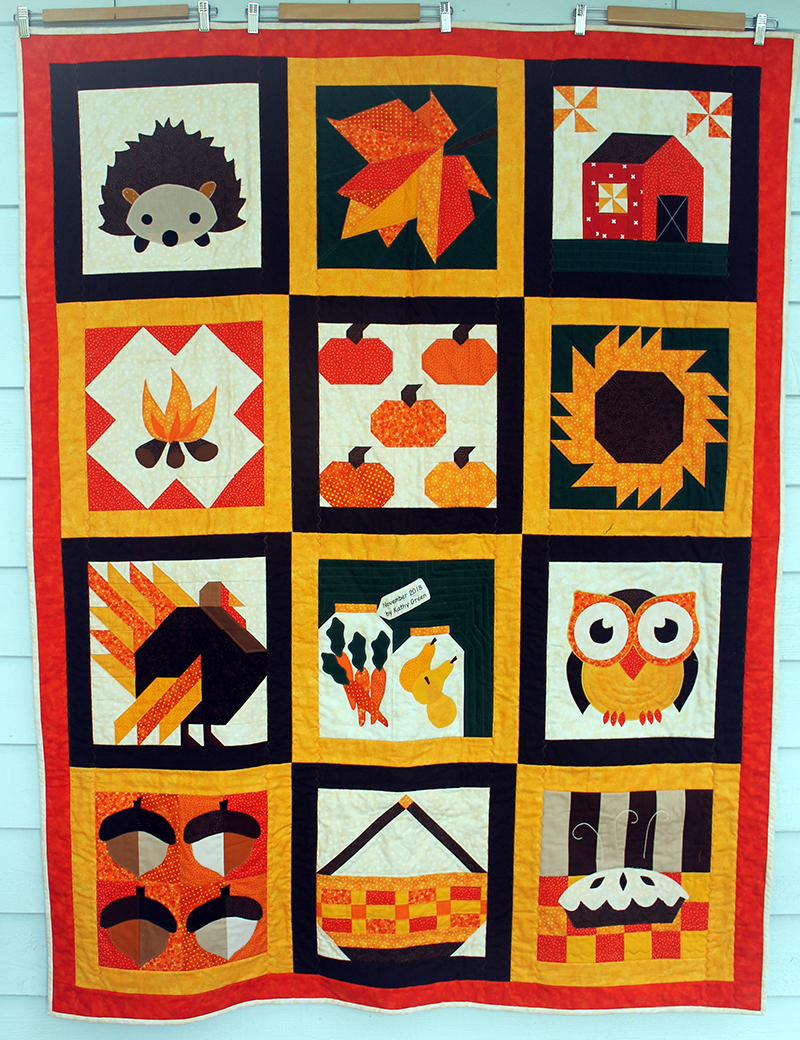
Yeah!
I love the backing!
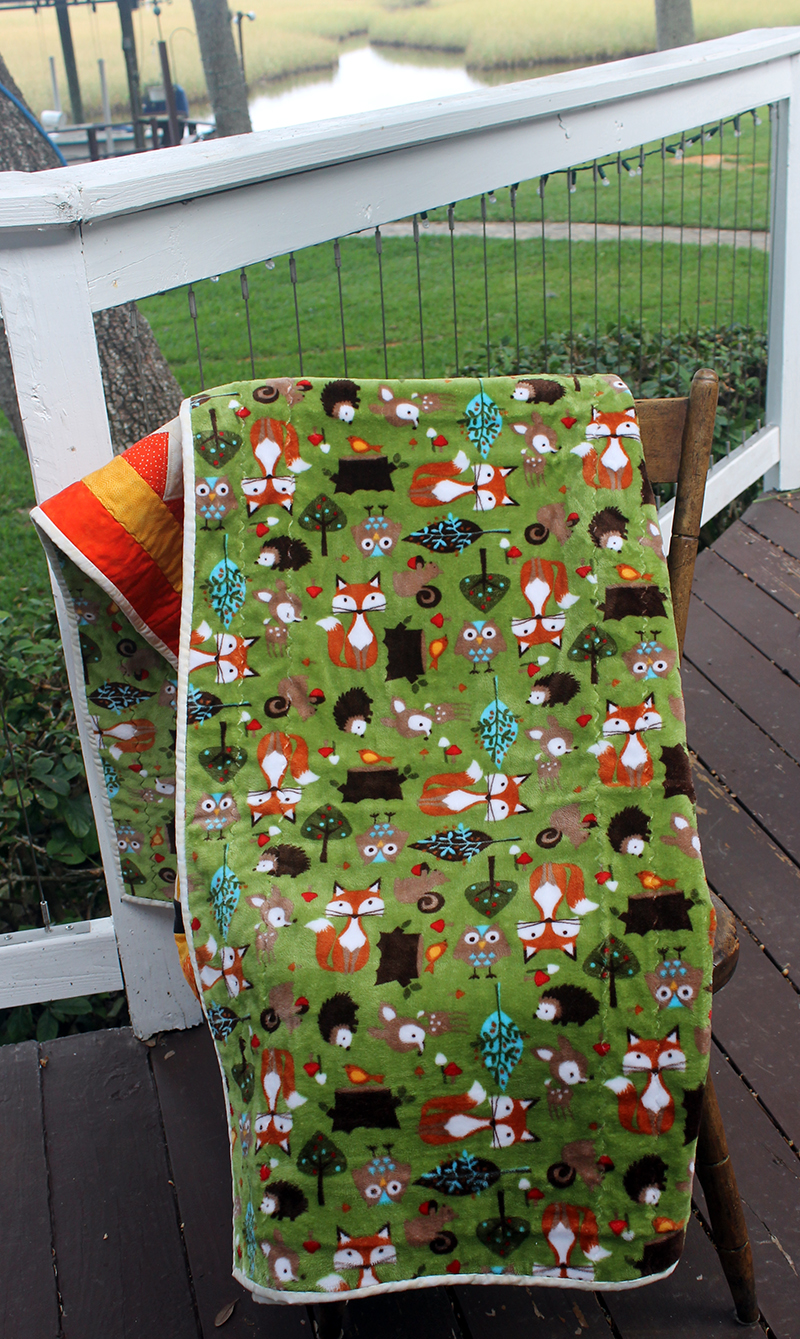
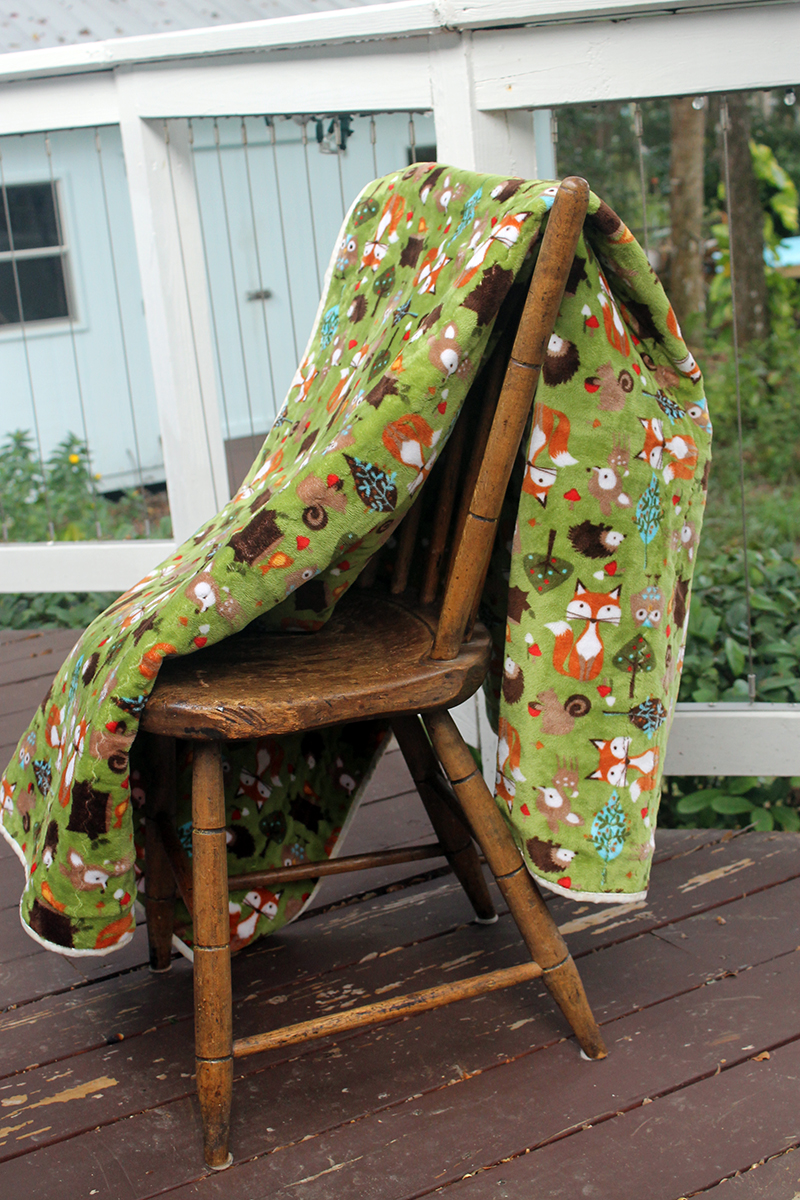
I love the whole quilt!
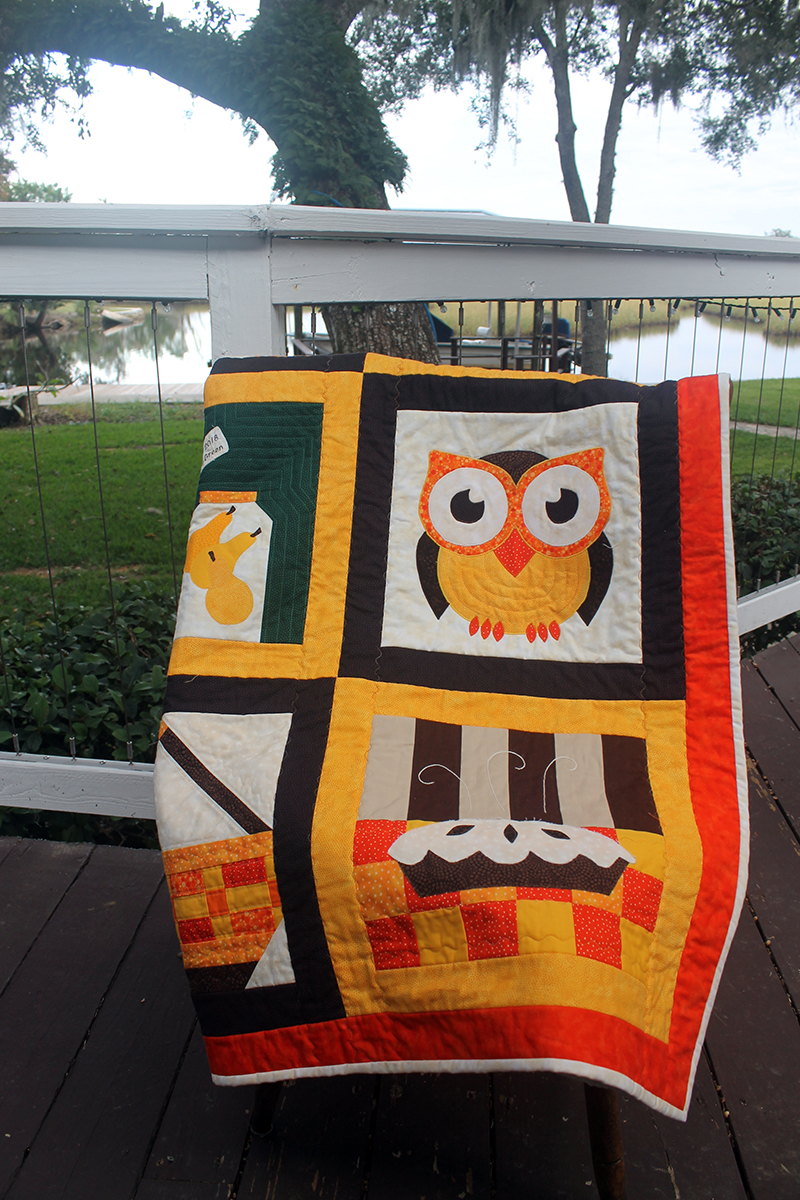
So pretty! So bright!
Something I have learned from this QAL. I usually do each block in a “quilt as you go” method. Finish the block, attach the batting and then do any applique or quilting necessary. Which means at the end I have to do the same with the framing and borders–attach the batting to the fabric and then attach it to the blocks. Not difficult, but in the future, I think I will wait until all of the blocks are released and then attach the frames, etc, and then add the batting and applique and quilt.
Anyhow, I learn so much from every QAL that I do. The designers are very quick to help out.
Now some details on the quilt.
I almost always use a temporary spray adhesive for basting my quilts. Once upon a time I taped everything to the floor in a guest bedroom and sprayed. What a mess. Plus crawling around on the floor was a bit painful for my knees!
Thanks to Christa at Christa Quilts I no longer have to punish my poor knees nor have sticky residue everywhere. I took her brilliant idea of spraying the quilt parts outside into my garage.
Sheryl might have a she-shed, but I have my own Gggggirl Garage. I would love to move all my sewing and other crafty stuff out there. But I live in Florida. It gets HOT! And then it gets cold in those few weeks of the year we actually have Winter. So I only do mosaics out there or occasionally sand and paint furniture.
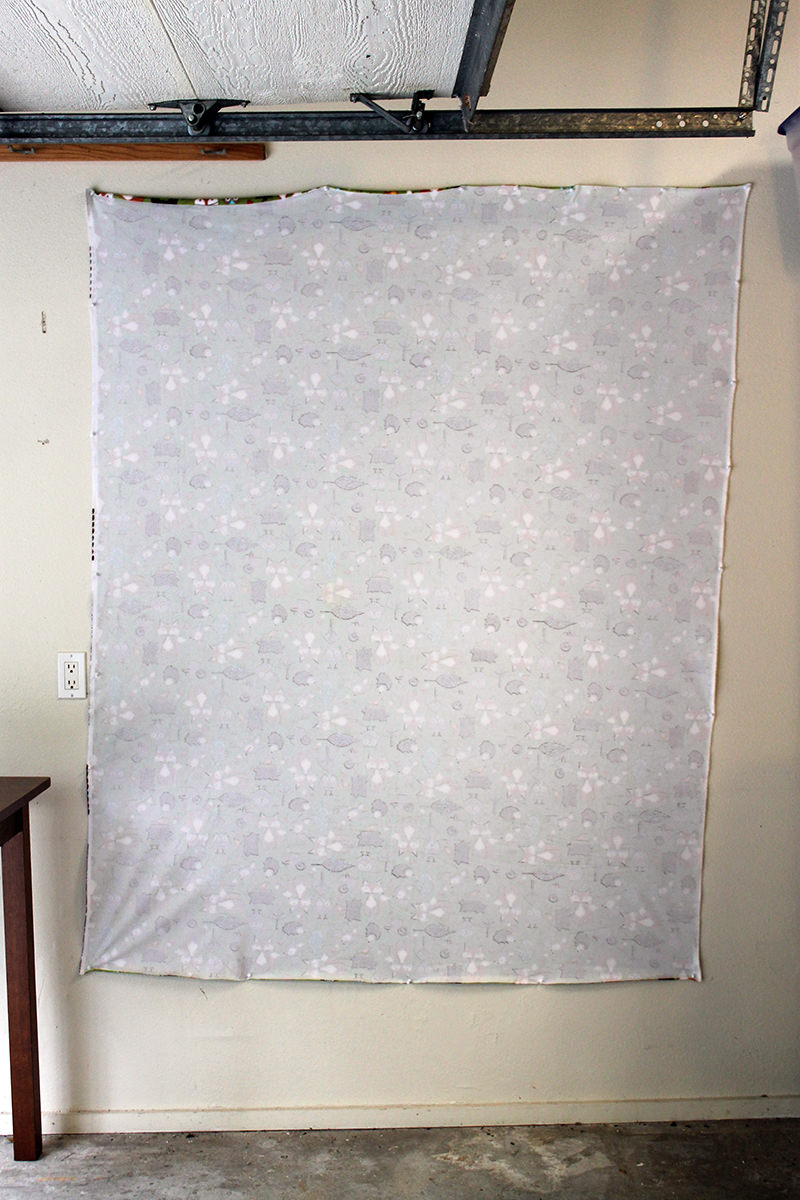
I now pin the backing on a wall in my garage and do all the spraying. OMG! So much easier! Here’s the backing thumb tacked on the wall.
Here I am after spraying the backing with the adhesive and putting the quilt top on. 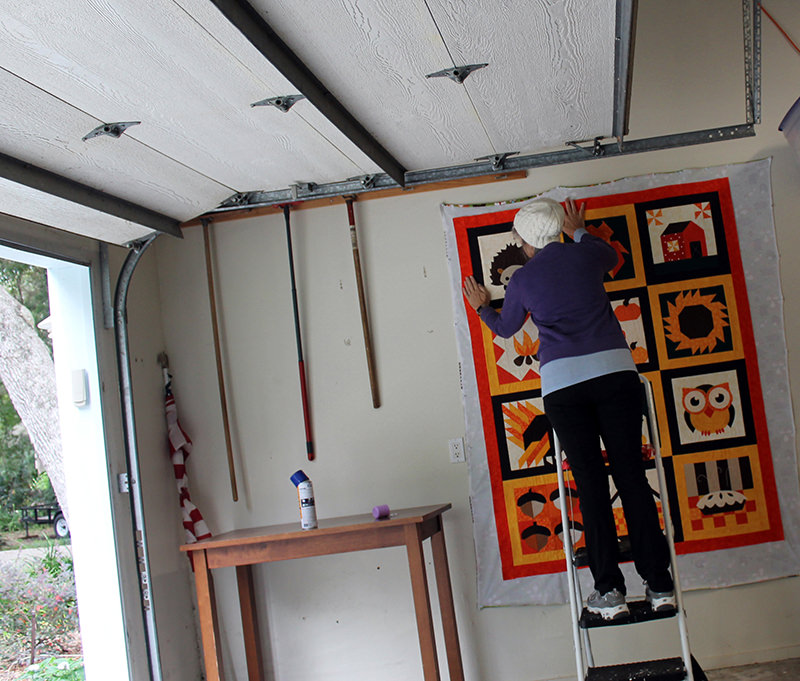
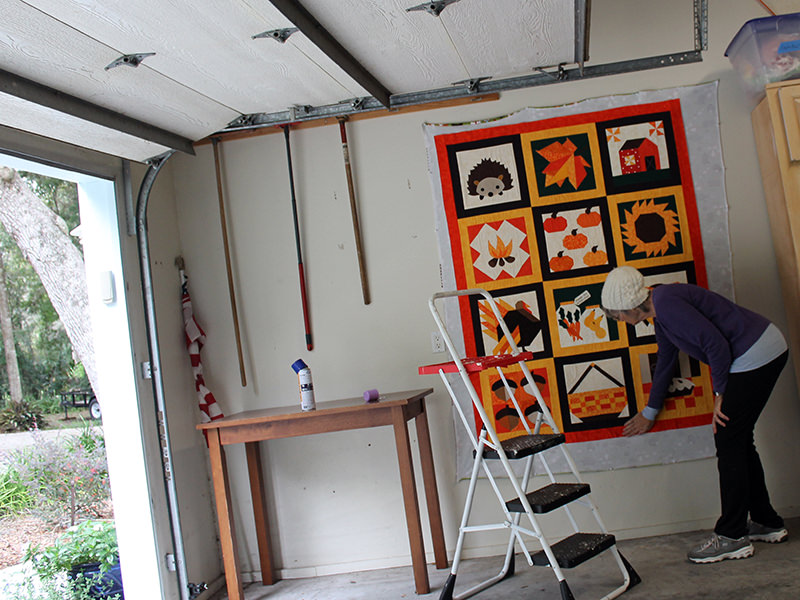
Done! Ready to take it off of the wall and to my sewing room! 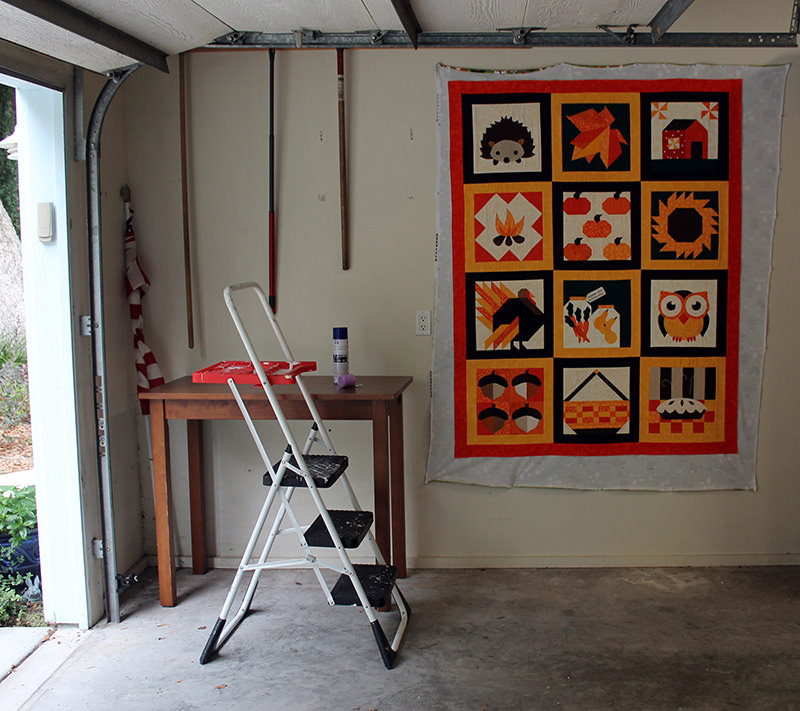
Then I press it and start quilting! Actually, most of the quilting is already done in the Quilt as you Go Method. Now I’m just making sure the backing stays attached! I used a variegated orange thread for the top and a thread that matched the backing in the bobbin.
And the last step is the binding. Binding is easy. I just cut 2 1/2″ strips by the width of the fabric and stitch them together with a 45 degree angle. But joining the quilt binding has always been a bit stressful for me. I now use this method from QuiltFabrication.com. Relatively easy. And works pretty well. But I still approach joining the binding with trepidation!
So the binding is on and looks super and it would be easy-peasy to just stitch in the ditch and have it finished.
But…..
I only do that if I’m in a huge hurry. (Like a Christmas gift quilt that needs to be delivered in two hours!)
It just never turns out nice. I machine stitch small projects like the potholders and hot pads because they will only last a few years. But a quilt should last FOREVER!
So I hand stitch the back of the binding down with an invisible stitch. Looks good but it takes a loooong time. (That’s what Netflix is for!)
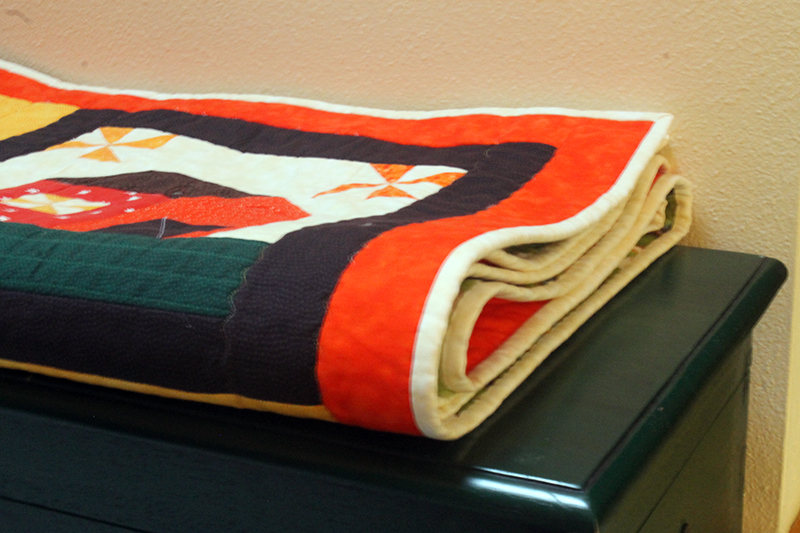
Done!
This quilt is headed to North Dakota in a few weeks to keep my son and daughter-in-law warm while during their long cold winter!
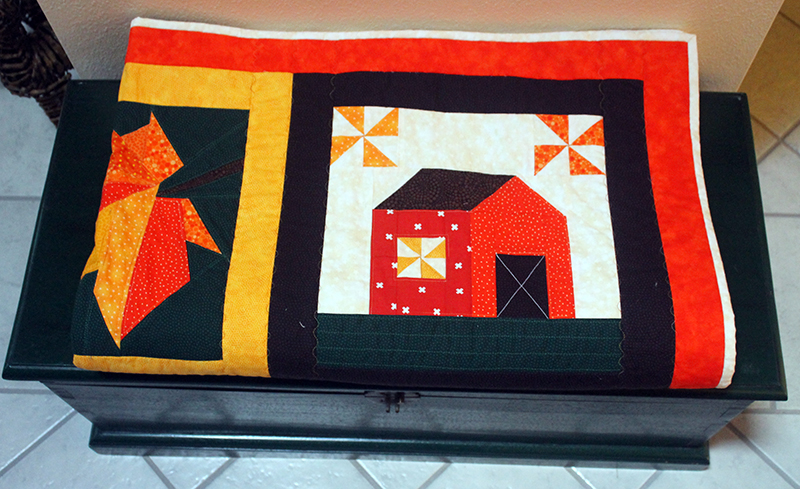
On to the next quilt!
Discover more from
Subscribe to get the latest posts sent to your email.

I am SO EXCITED. We all fight over the Christmas quilt.
I love this quilt! I’m busy doing 2 quits for my sons. I’ve procrastinated all summer now working my buns off, lol
Merry Chrstmas !!!
Deb, I don’t know how you find the time to quilt! With all those lucky adorable babies and toddlers you care for! (That one that starts with an A is of course the more adorable!) Glad you liked the garage spraying idea! It makes that step SO easy for me! I always pull my Jeep out first. Don’t need to have my hands sticking to the door handle!
I’m also going to use your idea of putting up in the garage to spray.
and I meant to type Deb in last comment
Deb
geesch, fixed reply box
How awesome! I’m so excited for you on your finish Kathy! You Fall quilt is beautiful and I love the backing fabric too. What a special gift.
Thank you for sharing the spray basting tips and info. Layering quilt tops on the floor is something I do not look forward to doing. Also it was fun seeing you “in action” in your Girl Garage!
Thank you so much for your comments! I sent the first BOM, “I Wish you a Merry-Quilt-A-Long” to Lauri and Alan for last year’s Christmas gift and they are getting the “Fall Into a QAL” for this year’s gift. I loved making this quilt and am really looking forward to making the next one.