Easy Peasy Pouch — Upscaled!
Here’s another version of the easy peasy pouch.
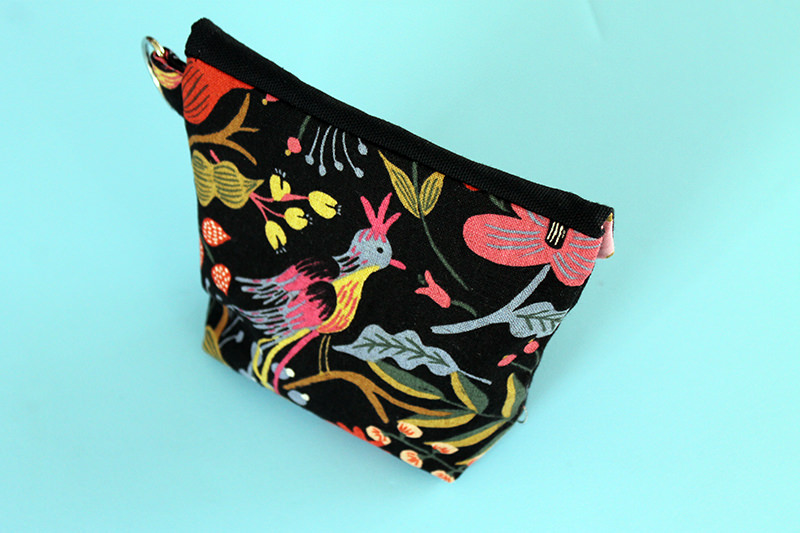
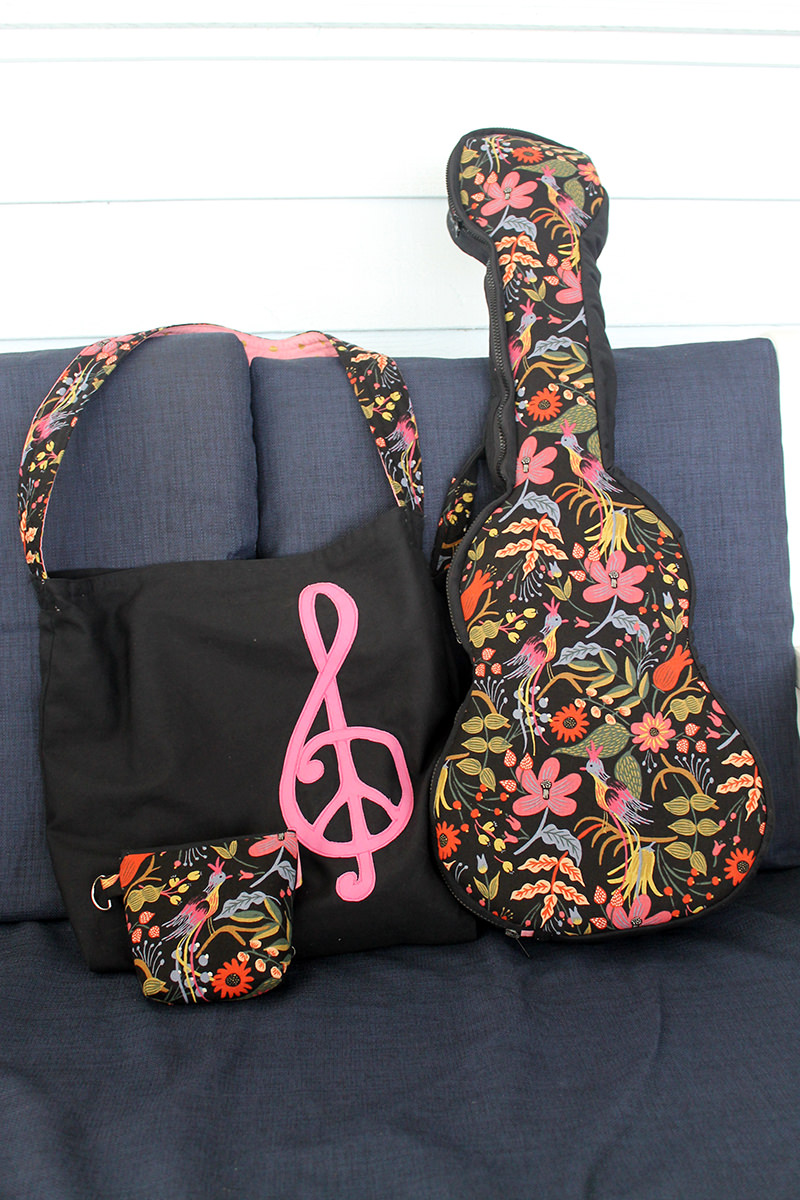
This is basically the same pouch as I posted last week but I’ve changed up the flap a little and used my Cotton & Steel fabrics. Now my music accessories match!
I’m using this pouch to hold my snark, capo, and picks for my music bag. All alien words unless you play an acoustic instrument which I started doing about 5 years ago.
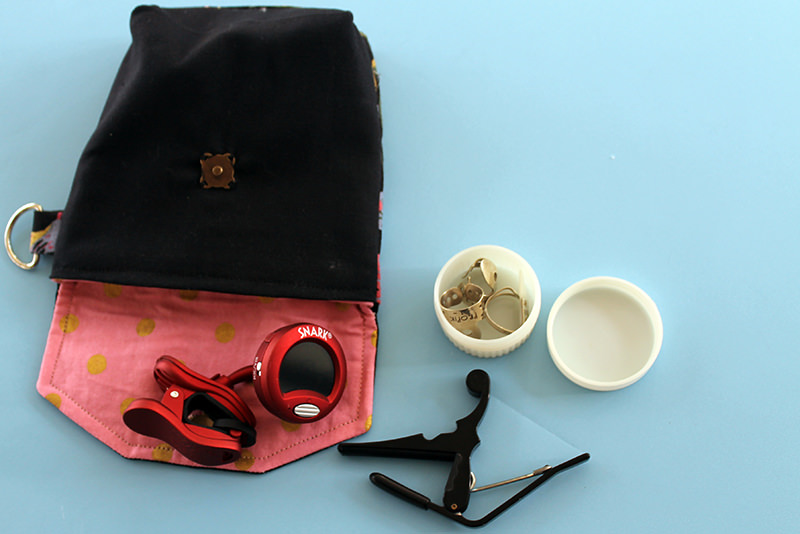
I keep my picks in a little traveling cosmetic container.
Let me explain…..A snark is the tuner. Makes it very easy to make sure your strings are in tune.
When I first started taking banjo lessons, I thought my instructor was making a joke when he told me about the capo. What???? Then I started seeing them used on guitars on TV. Only then did I believe him–I can be a bit cynical. A capo very simply changes the chord you are playing in without learning new positions. I understand REALLY GOOD musicians do not need a capo. That would NOT be me!
Then, of course, there are three picks for three-finger style banjo playing–like bluegrass.
Anyhow….
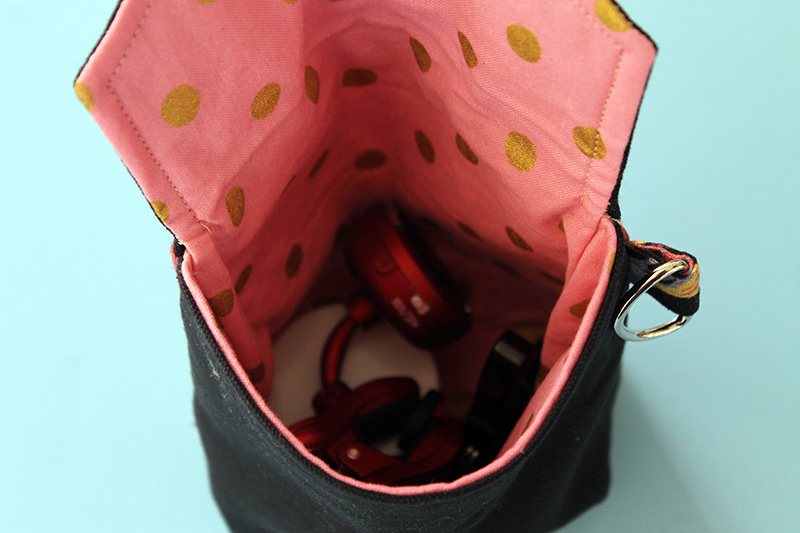
Again, this pouch is 6″ wide x 5″ tall and lined. The bottom is boxed so you can more that just flat items in it. I’m using a sew-in magnetic clasp and a D-ring so I can hook it into my handy music tote.
Easy Peasy Boxed and Lined Pouch
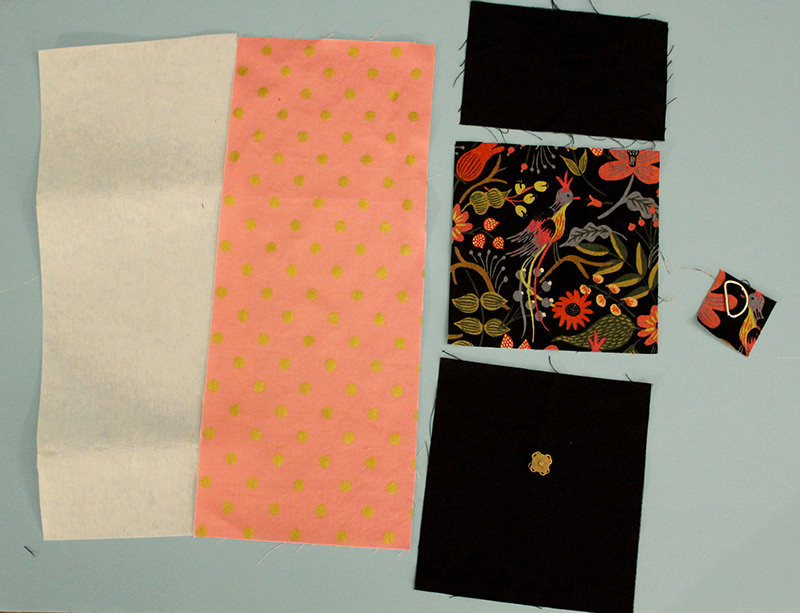
I’m using three fabrics so I’m calling them A, B, and lining! There’s also fusible interfacing, a d-ring, and a magnetic clasp.
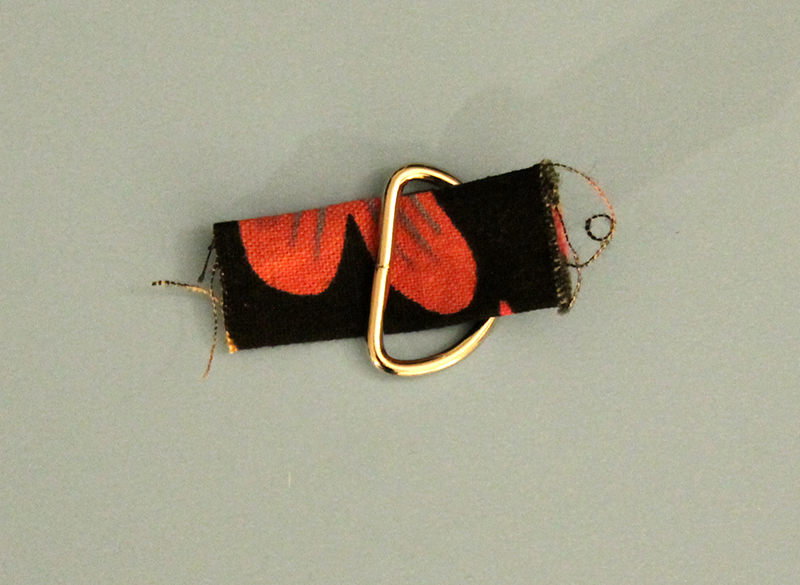
D-Ring Holder
Cut 2″ square piece of A fabric and fold right sides together.
Stitch the long side with 1/4″ seam.
Turn right sides out and slide through D-ring.
Exterior and Lining
Exterior
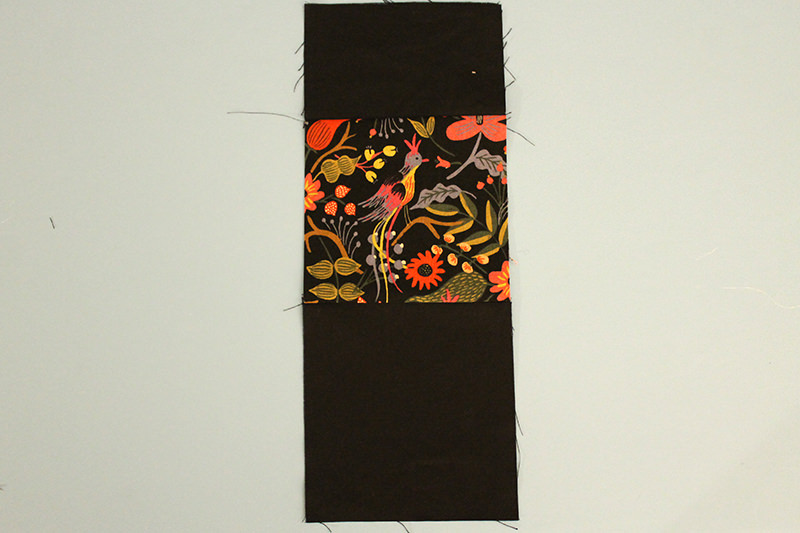
Cut 6 1/2″ x 6 1/2″ of A fabric (that’s the fabric with print)
Cut 3 3/4″ x 6 1/2″ and 6 3/4″ x 6 1/2″ of B fabric (that’s the black fabric)
Sew the 3 fabrics together with 1/4″ seams. The 3 3/4″ x 6 1/2″ B fabric goes on top, the A fabric, then the 6 3/4″ x 6 1/2″ of B fabric. I’ll now refer to this as the exterior fabric.
If you are using one directional fabric, make sure it is going in the correct direction!
Press under 1/2″ on the bottom.
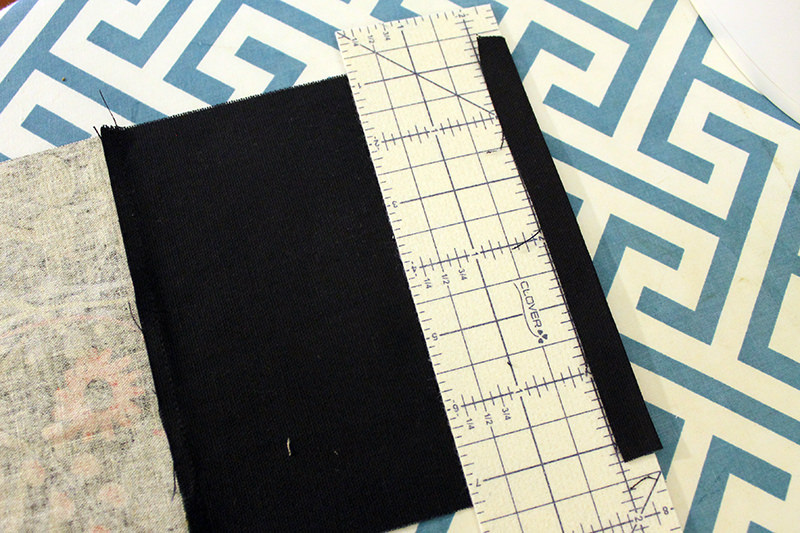
Take exterior and fold up from bottom, right sides together, 6″. This should be on the seam.
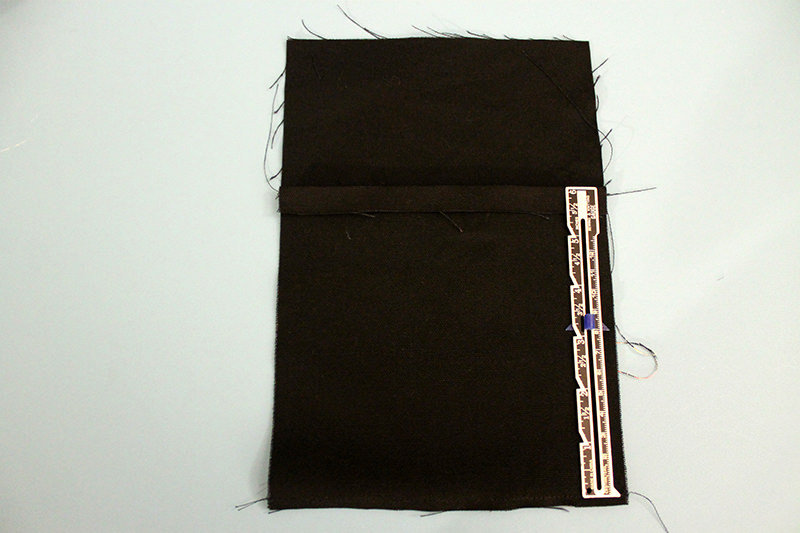
Tuck the D-ring in between the right sides of fabric, just below fold.
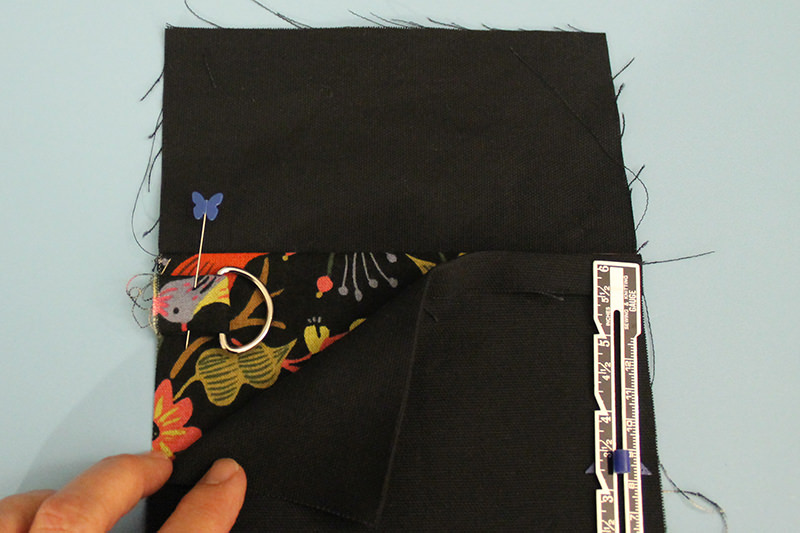
Stitch 1/4″ from each folded side.
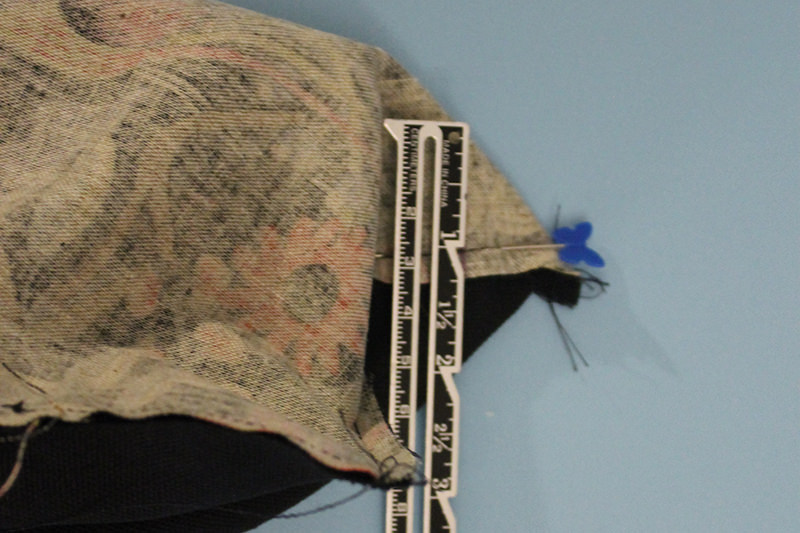
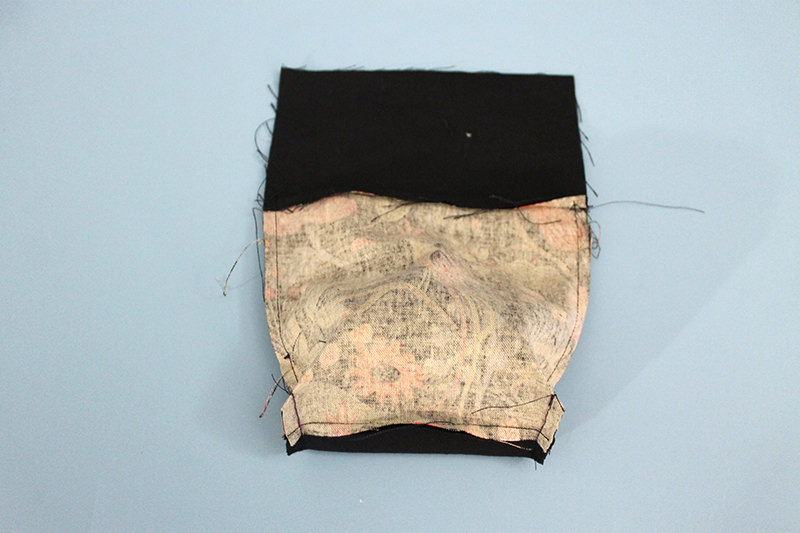
Box corners so each side is 2″.
Lining
Cut 16″ x 6 1/2″ piece of lining fabric.
Press under 1/2″ on the bottom.
Take lining fabric and fold up from bottom, right sides together, 6″.
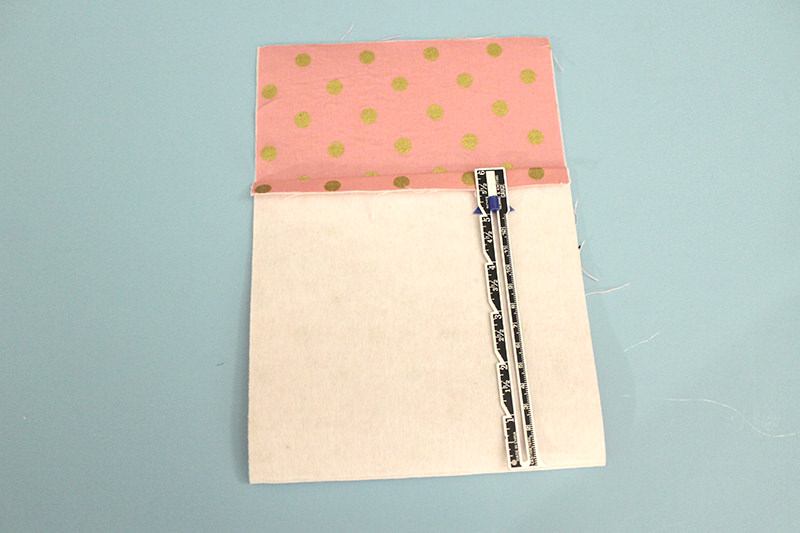
Stitch 1/4″ from each folded side.
Box corners so each side is 2″
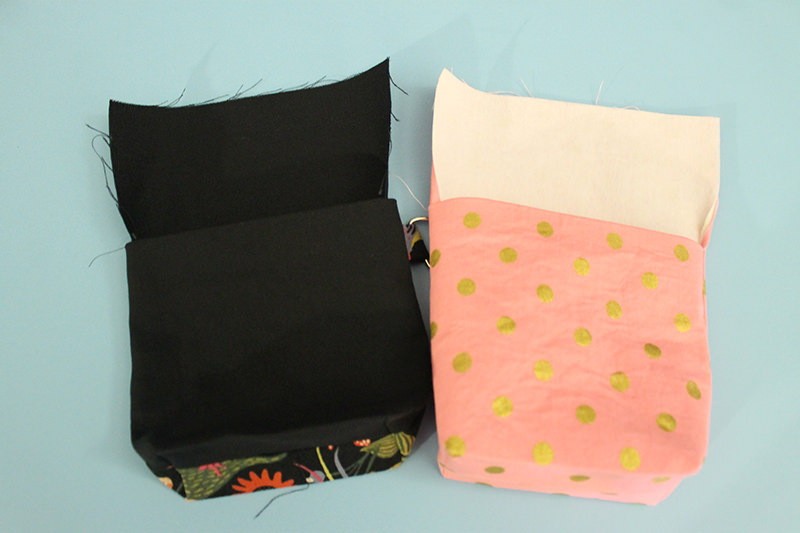
Bring them together
Put exterior and lining together with folded hem meeting. The right sides of the flaps are together. Make sure the folded hems match exactly.
To make the angles, I measured in 2″ on the top and 1″ on the side. Then cut on the lines.
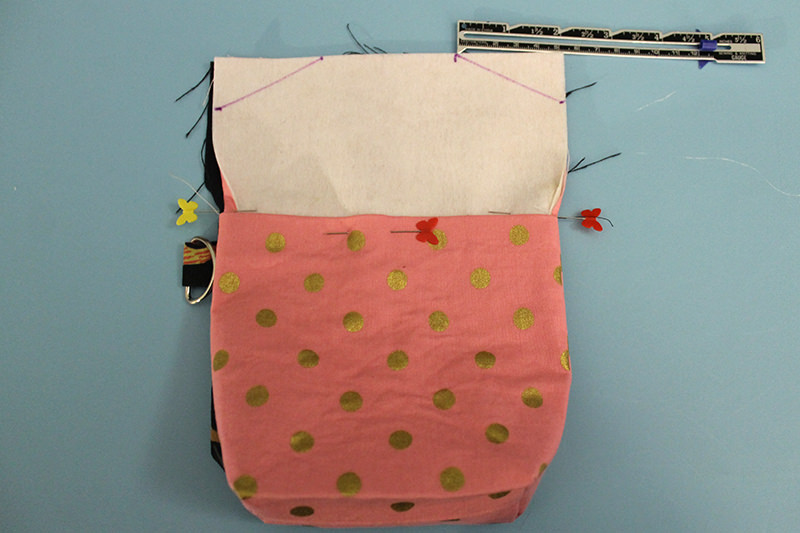
Stitch around flap–only around the flap!
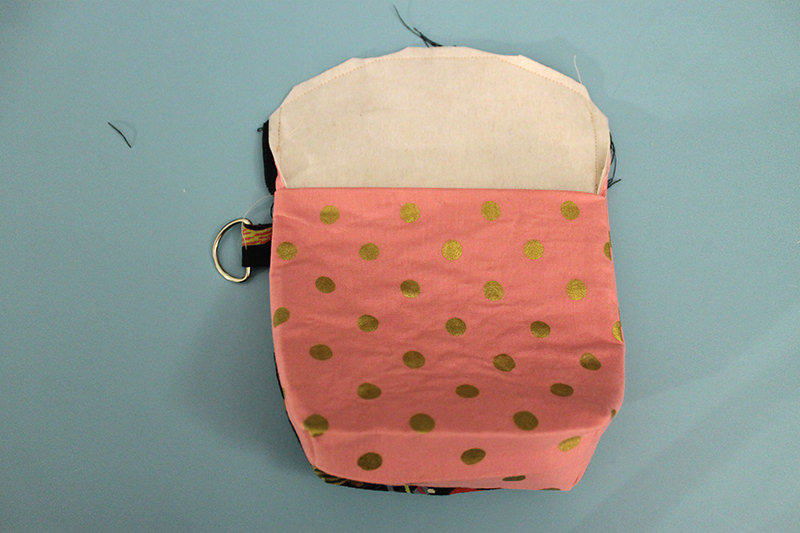
Turn the flaps right side out. Exterior right side out. Poke the corners out on the flap.
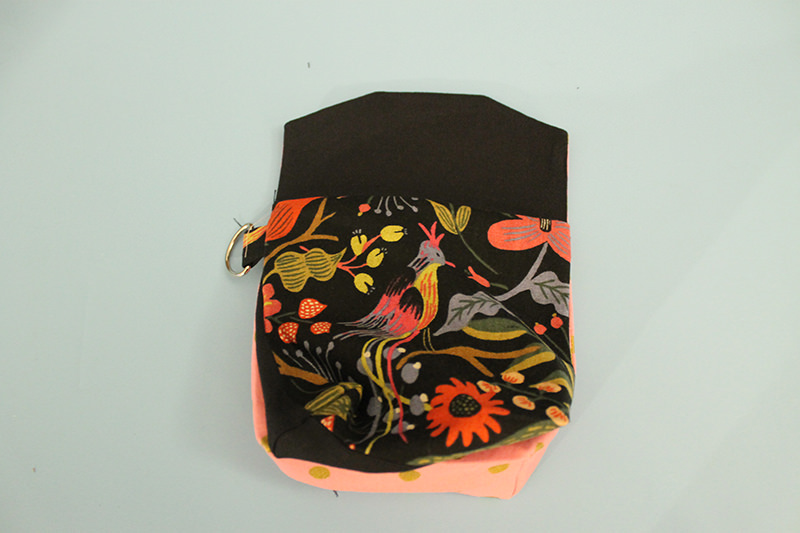
Turn the lining so the wrong side is on the outside.
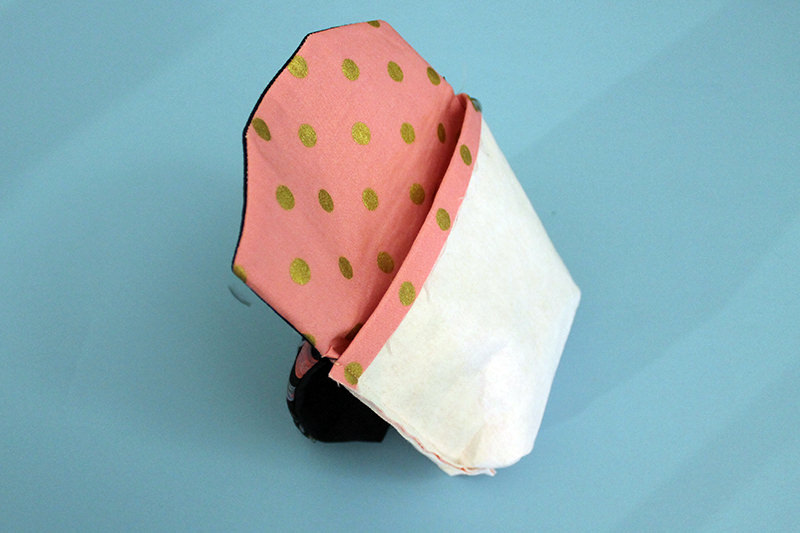
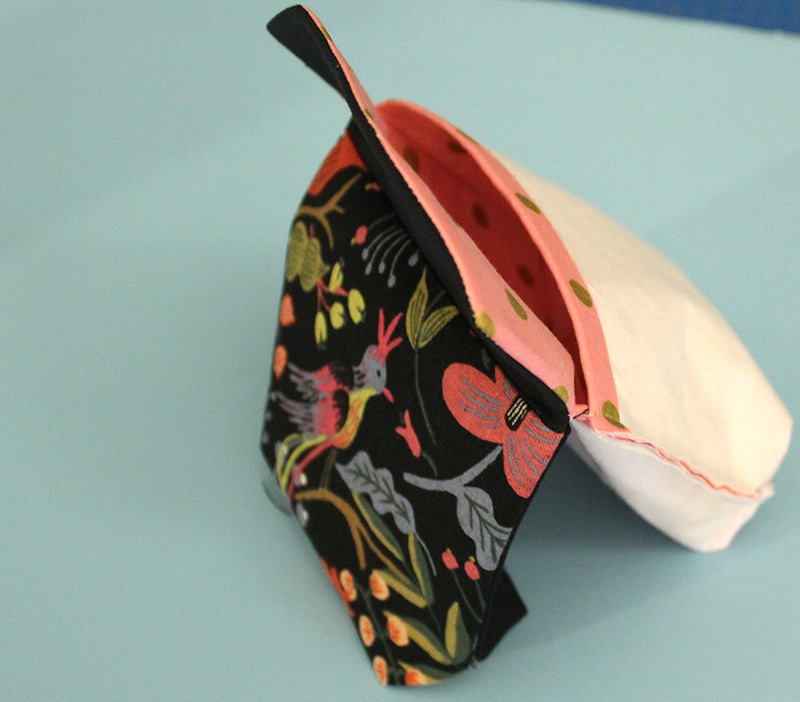
Tuck the lining into the exterior piece. The wrong sides will be together.
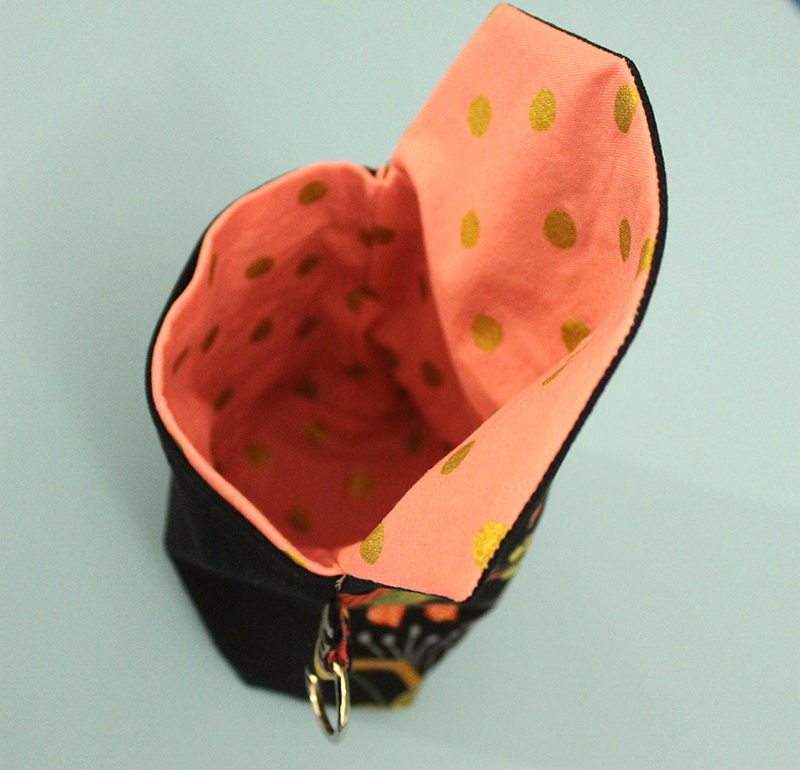
Pin the folded hems together.
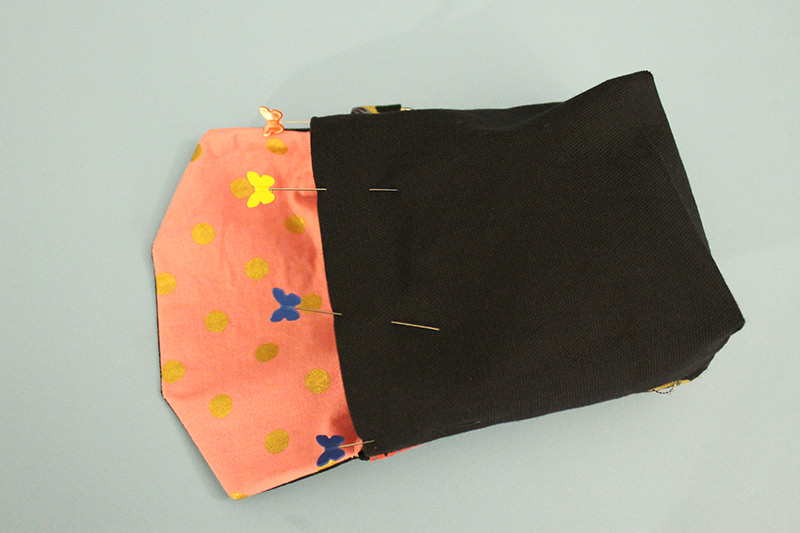
Stitch folded hems together. This is a small area to sew and I find it easier to stitch from the inside.
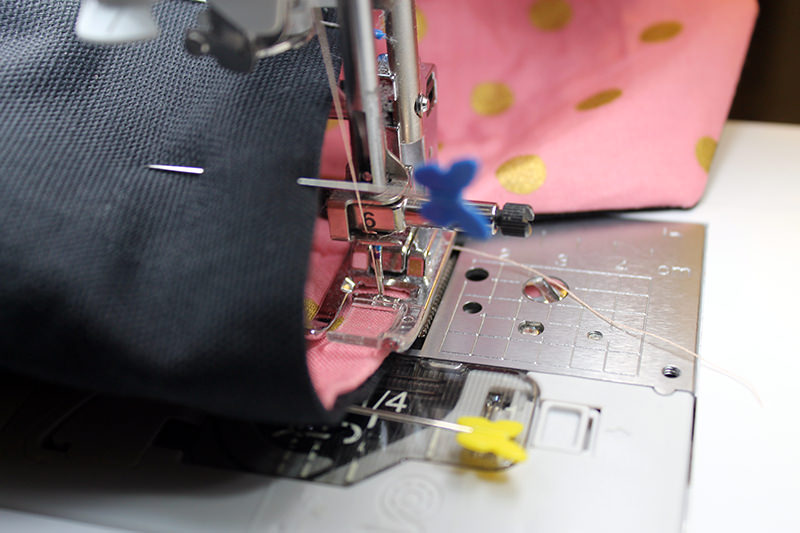
Top stitch around the flap.
Center the magnetic clasp and hand stitch onto the pouch inside of the flap and the matching side on the exterior.
That’s it!
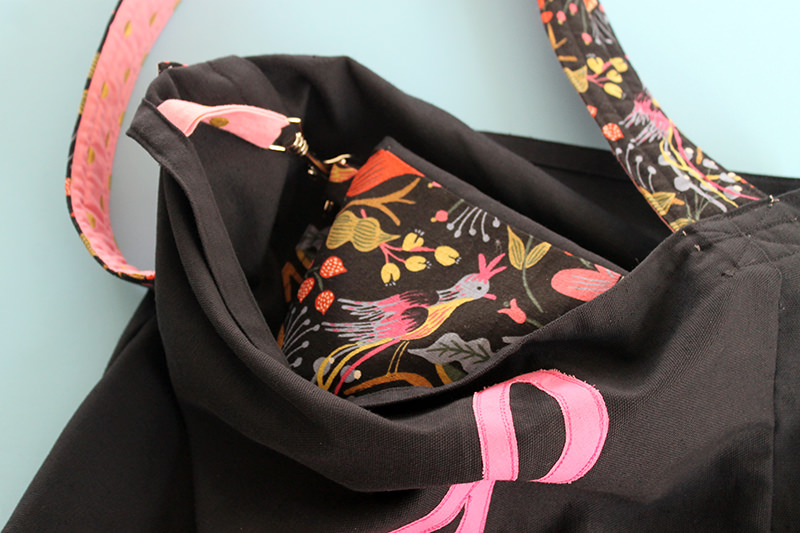
That’s what the d-ring is for!
And I’m ready to go to my next jam!
Discover more from
Subscribe to get the latest posts sent to your email.

Comments
Easy Peasy Pouch — Upscaled! — No Comments
HTML tags allowed in your comment: <a href="" title=""> <abbr title=""> <acronym title=""> <b> <blockquote cite=""> <cite> <code> <del datetime=""> <em> <i> <q cite=""> <s> <strike> <strong>