Easy Peasy Pouch
While I think that this is an easy peasy project now, it wasn’t easy peasy for me to figure out how to make it work. I actually made three of these before I got all the bugs worked out.
Here’s the last two. (the first one is in the trash!)
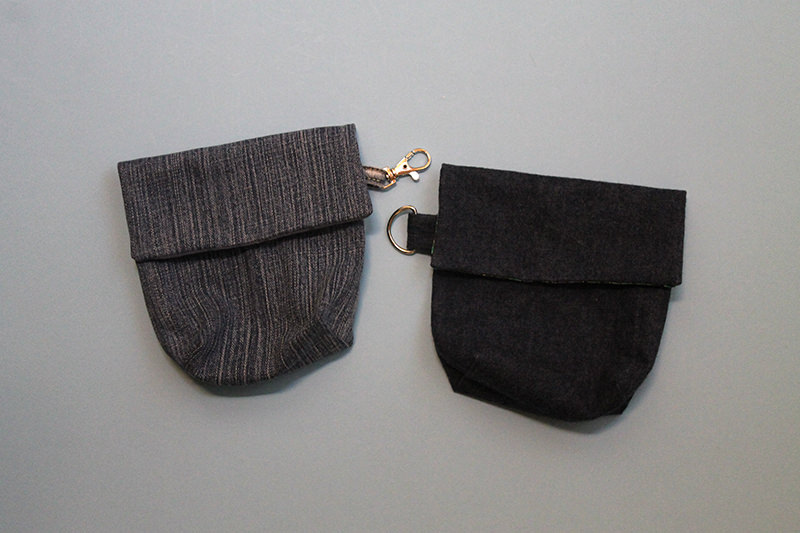
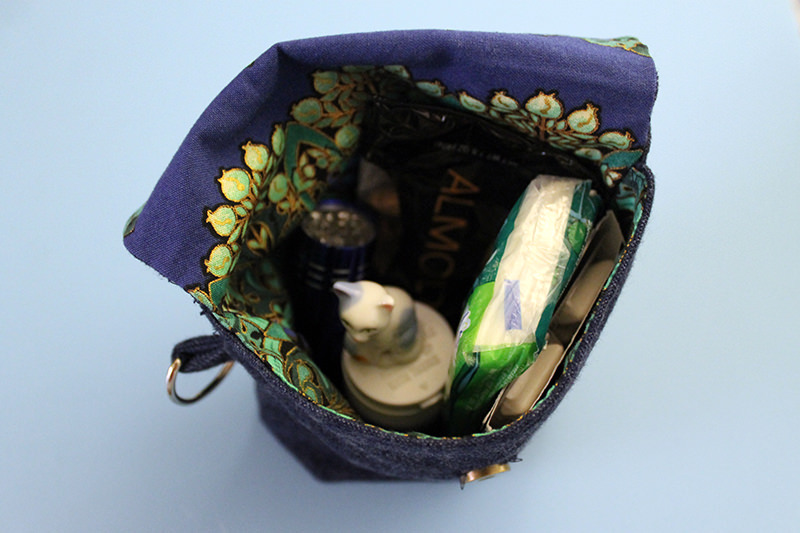
Wee, but it holds a lot!
The pouch is 6″ wide x 5 1/2″ tall and lined. The bottom is boxed so you can put more that just flat items in it. I’m using a sew-in magnetic clasp. I used a D-ring on one of the pouches and a cute little hook on the other.
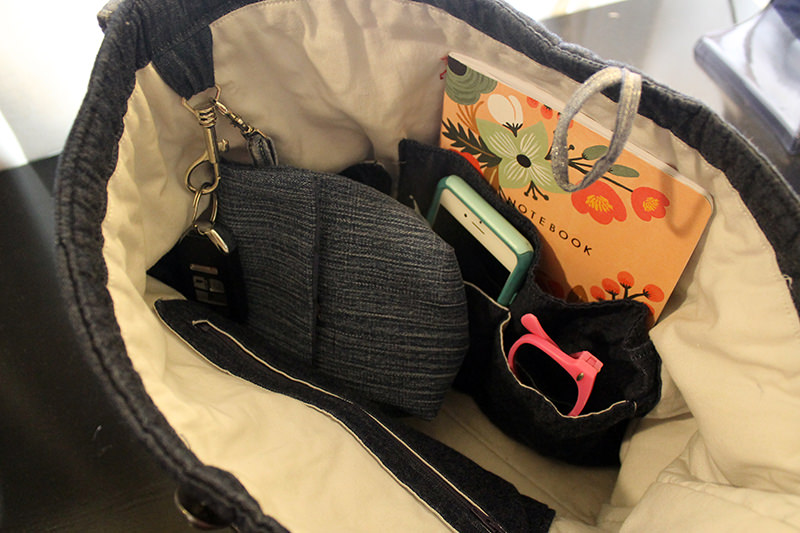
The bags I make usually have either a d-ring or a hook inside. So the pouches do too!
I actually bought these clasps more than a year ago and had a perfect little wallet that I was planning to use them for. Never did it. Now can’t find the pattern. Duh! I probably ought to put a post-it note on these types of purchases so I know why I bought them.
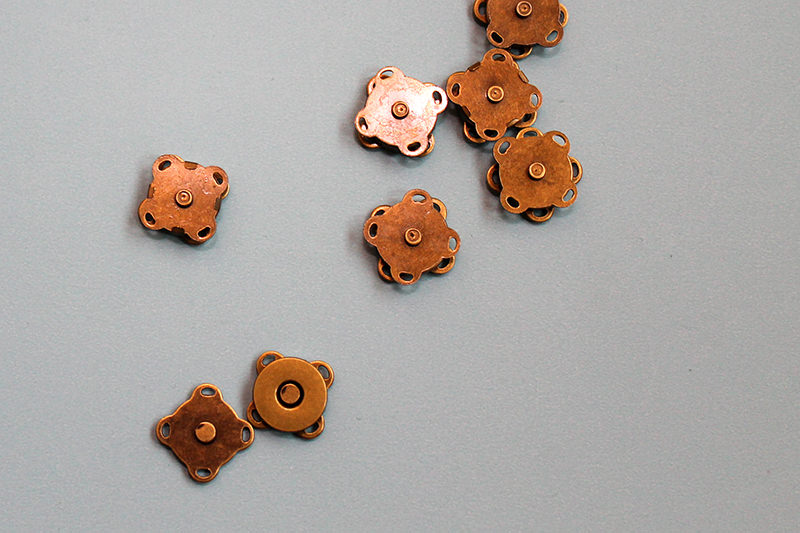
Anyhow, I got these at Amazon. WINOMO 10 Sets of 15mm Sew In Magnetic Bag Clasps for Sewing (Bronze)
Easy Peasy Boxed and Lined Pouch
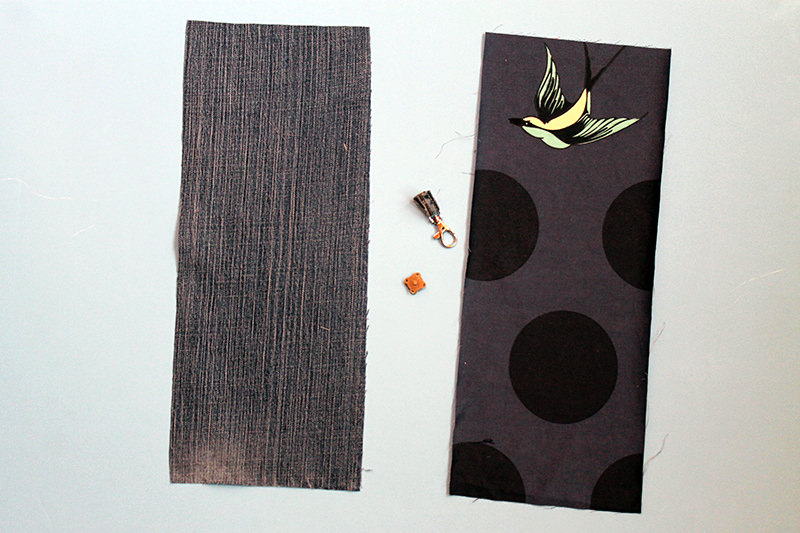
This is the fabric for the second pouch. I fussy cut the lining fabric so the bird would show under the flap.
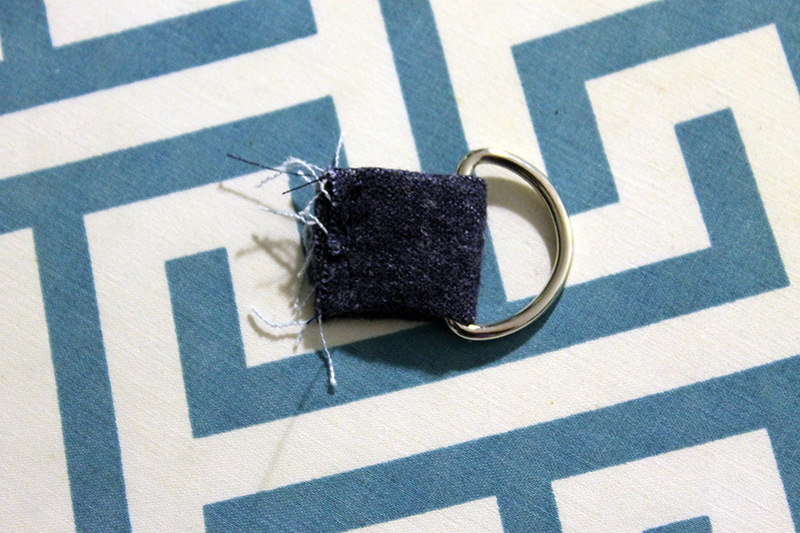
D-Ring Holder
Cut 2″ square piece of exterior fabric and fold right sides together.
Stitch the long side with 1/4″ seam.
Turn right sides out and slide through D bracket
Exterior and Lining
Cut 16″ x 6 1/2″ of both fabrics
I used denim for the exterior of both pouches I made. If you use cotton or any light weight fabric for both exterior and lining, use fusible interfacing on the lining. Just to add a little bit of stability!
Press under 1/2″ on the bottom to the wrong side of both the exterior and lining fabrics.

Exterior
Take exterior and fold up from bottom, right sides together, 6″.
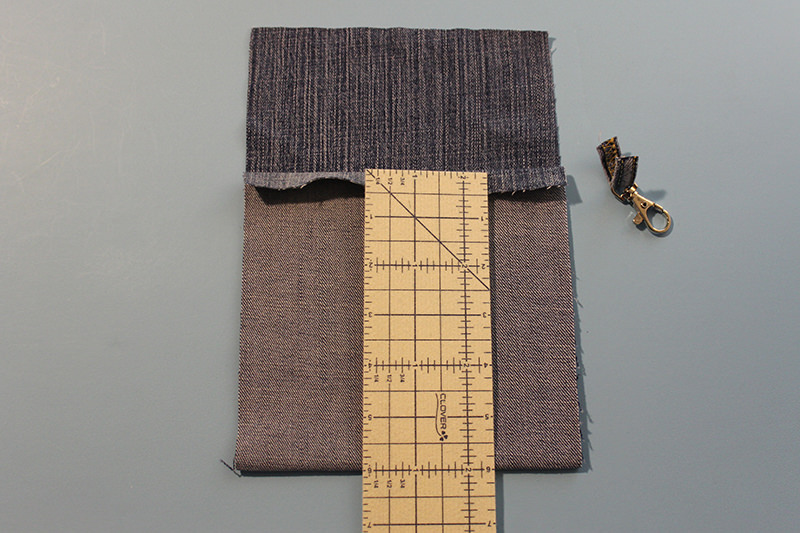
Tuck the D-ring or clasp in between the right sides of fabric, just below the fold.
Stitch 1/4″ from each folded side.
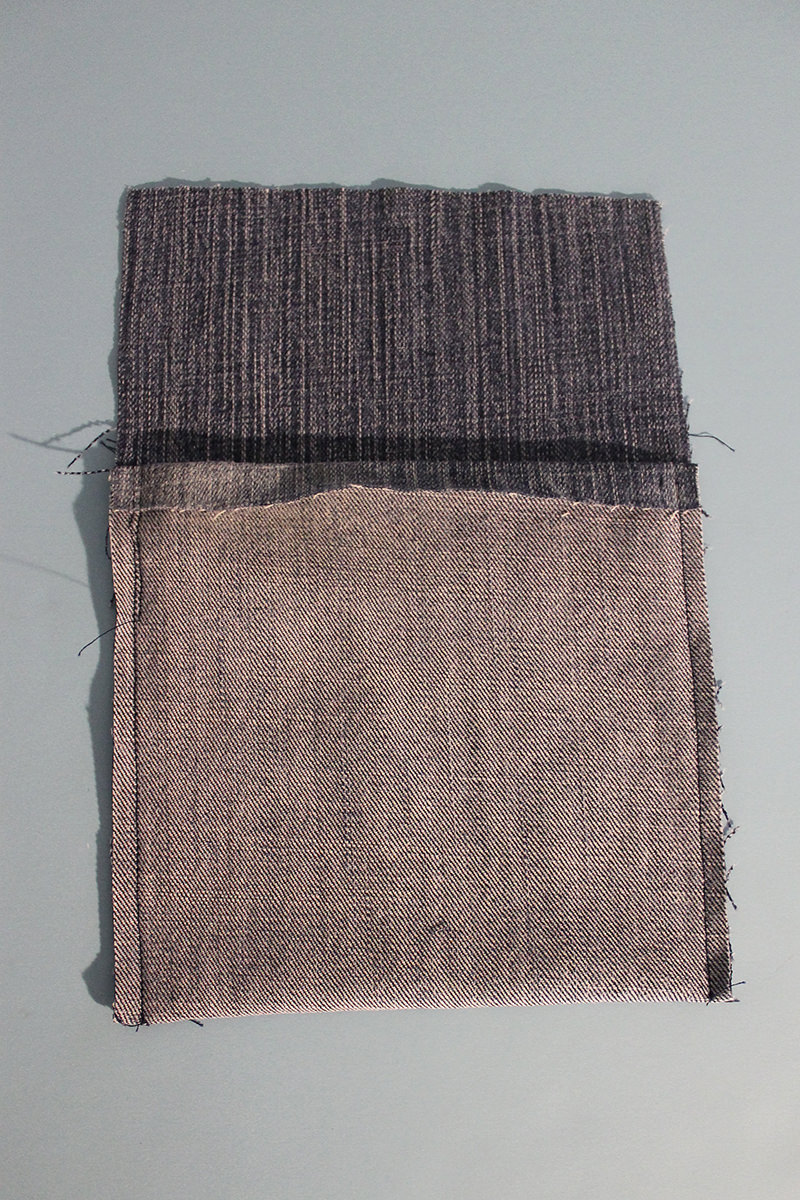
Box corners so each side is 2″.
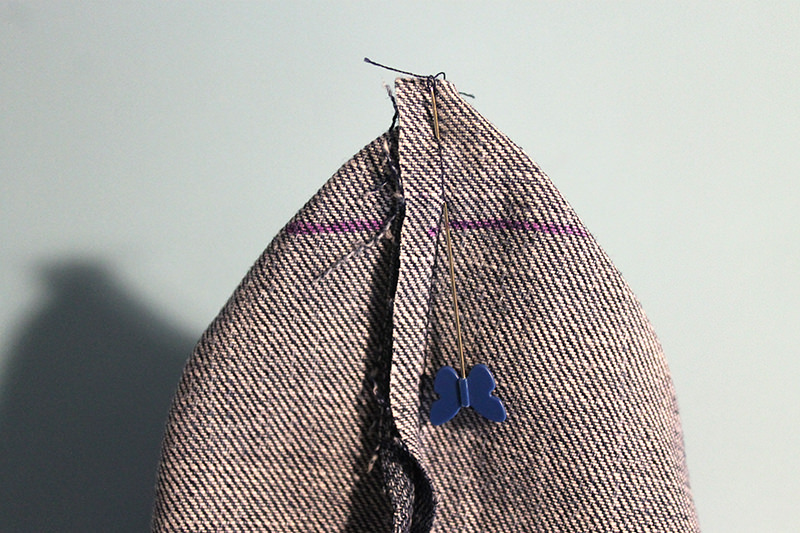
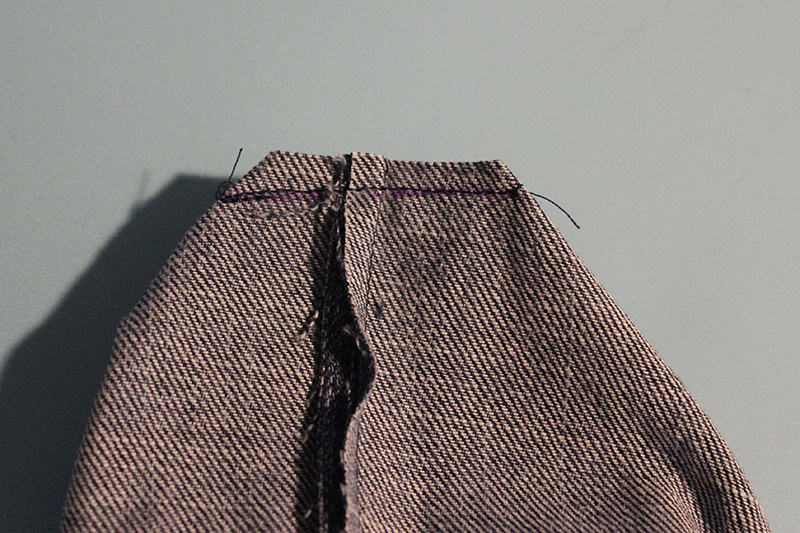
When I first saw the directions on how to do boxed corners I was totally confused but now I think it’s pretty simple. Pull the corner fabric out. Stick a pin from the seam to the fold on the bottom of the pouch. (I make sure to press that fold so I can see it really well.) Pin through. Measure. Mark. Stitch. Snip. Here’s my tutorial if you want more info.
Lining
Take lining fabric and fold up from bottom, right sides together, 6″.
Stitch 1/4″ from each folded side.
Box corners so each side is 2″
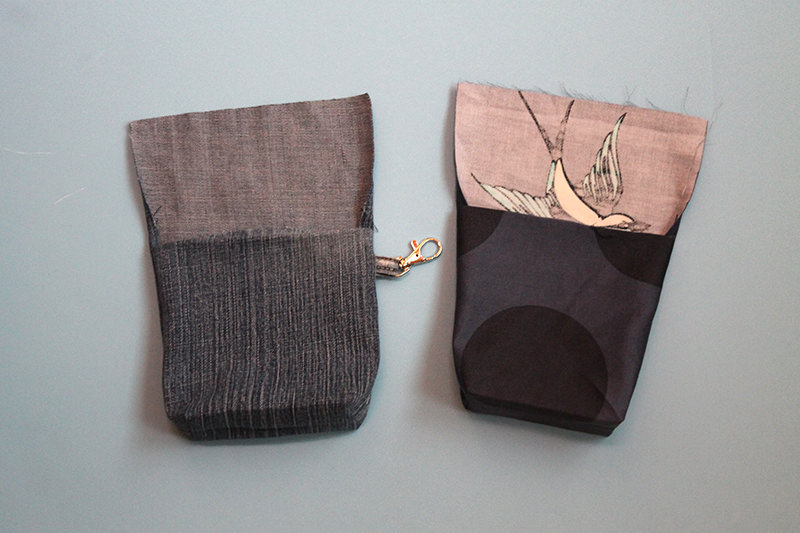
Bring them together
Put exterior and lining together with folded hem meeting. The right sides of the flaps are together. Make sure the folded hems match exactly.
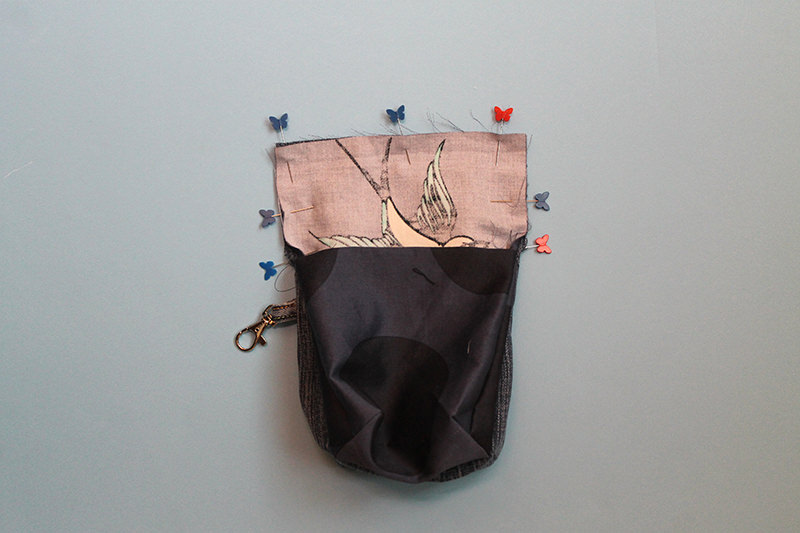
Stitch around flap–only around the flap! Turn the flaps right side out. The exterior will be right side out. Poke the corners out on the flap. Tuck the lining inside. The wrong sides will be together.
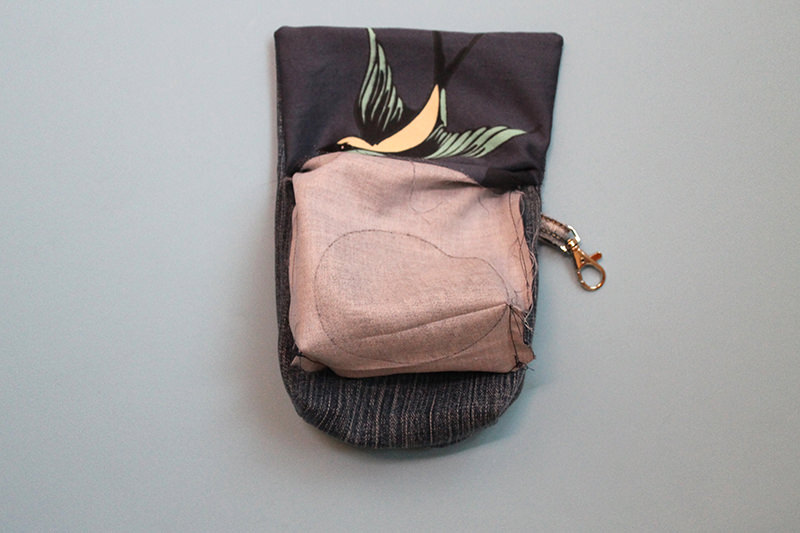

Stitch folded hems together. This is probably the only ornery part of making the easy peasy pouch. It’s a small opening. But you can do it!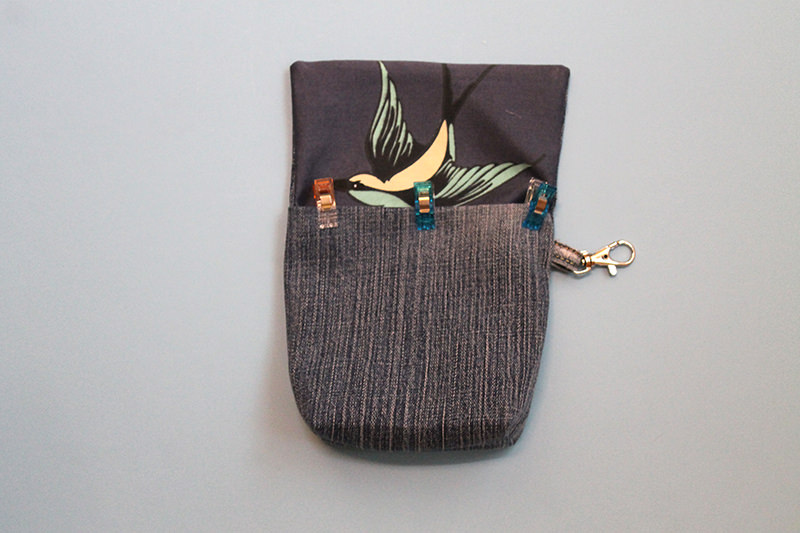
Next put the magnetic clasp on by hand stitching it. You can decide exactly where you want to place them. Mine are centered. The one on the flap is pretty close to the top. The one on the body is about 1 3/4″ down.
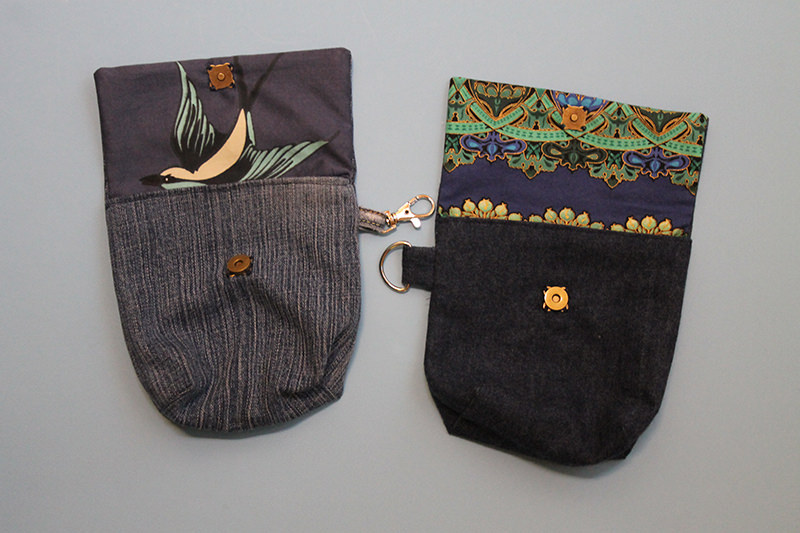
I have some plans to change this pouch up a bit. Hopefully will have something together to show you soon!
Discover more from
Subscribe to get the latest posts sent to your email.

Comments
Easy Peasy Pouch — No Comments
HTML tags allowed in your comment: <a href="" title=""> <abbr title=""> <acronym title=""> <b> <blockquote cite=""> <cite> <code> <del datetime=""> <em> <i> <q cite=""> <s> <strike> <strong>