Easy Peasy Christmas Pillow
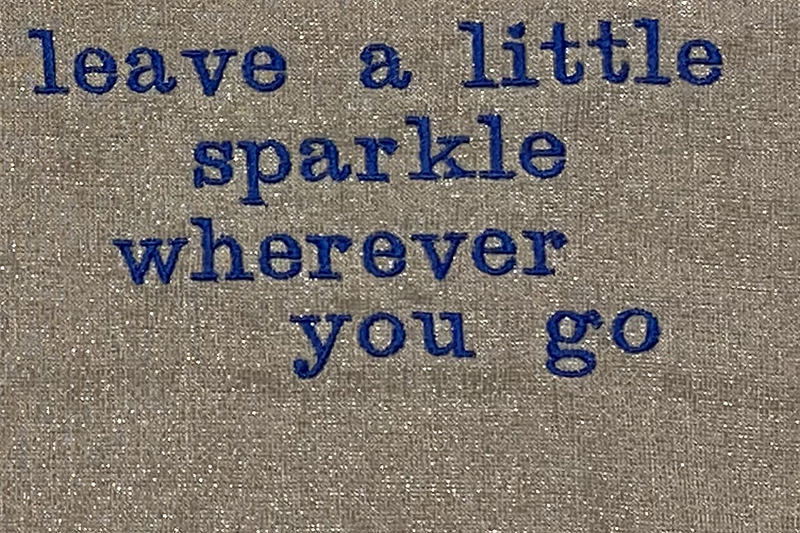
Saw this quote on Instagram….
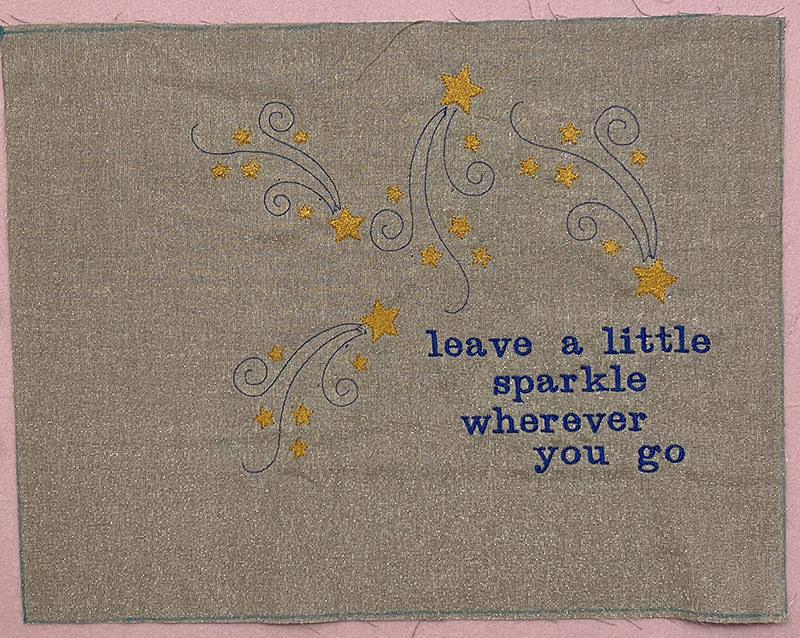
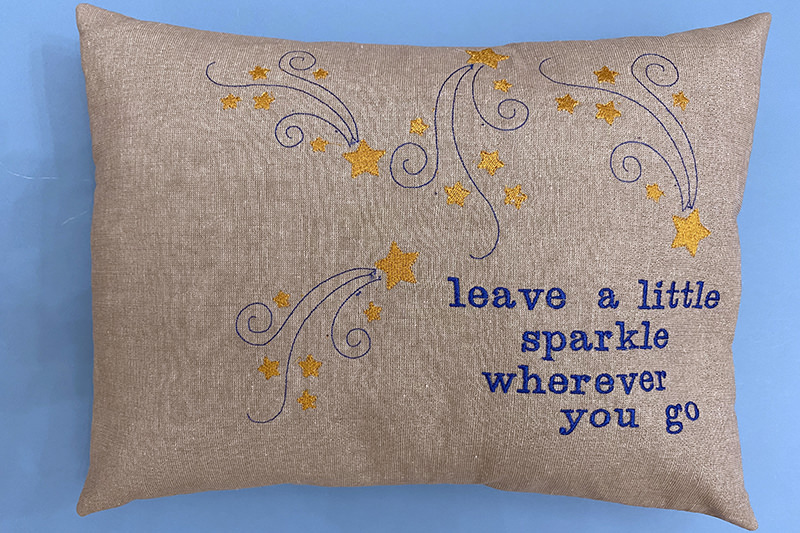
Such a nice saying so I thought I’d recreate it for my home. While she used a regular straight stitch on her sewing machine, I have an embroidery machine to make my own little version. Gotta admit that I’m not much of a machine-embroidery expert. I’m about as good with that as I am with the Cricut Maker. Know what I need to know to do some basic stuff. (And I keep telling myself, I’ve got to learn how to use these tools!)
I was a little concerned that perhaps the quote was copyrighted or that I was stealing somebody’s original content.
But.
Went out to EmbroideryDesigns.com to get some sparkling shooting stars to add to the quote and the saying is ALL OVER THE PLACE!
New to me, but not to the rest of the stitchy world. So I’m pretty sure that it’s public domain.
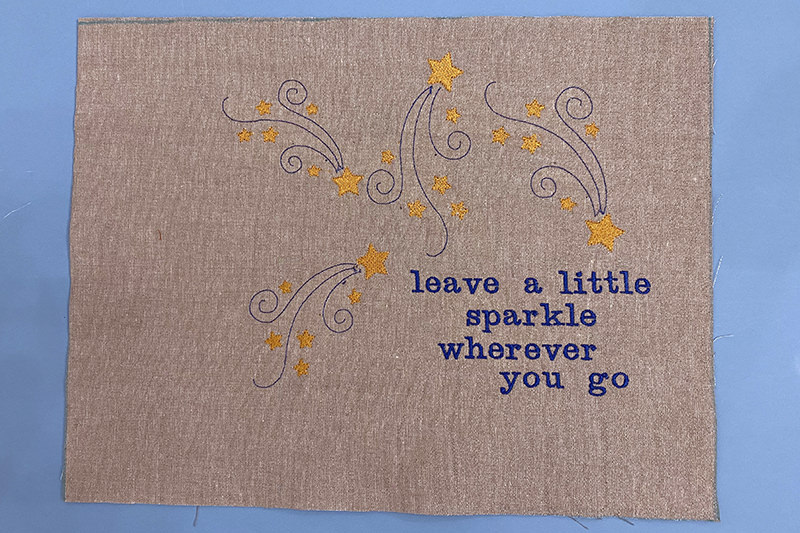
Then I added all the stars to the top of the pillow. Cute! Right?
I wanted it a little more down in the right hand lower corner, but, like I said, I’m not an expert at machine-embroidery and decided that this was good enough!
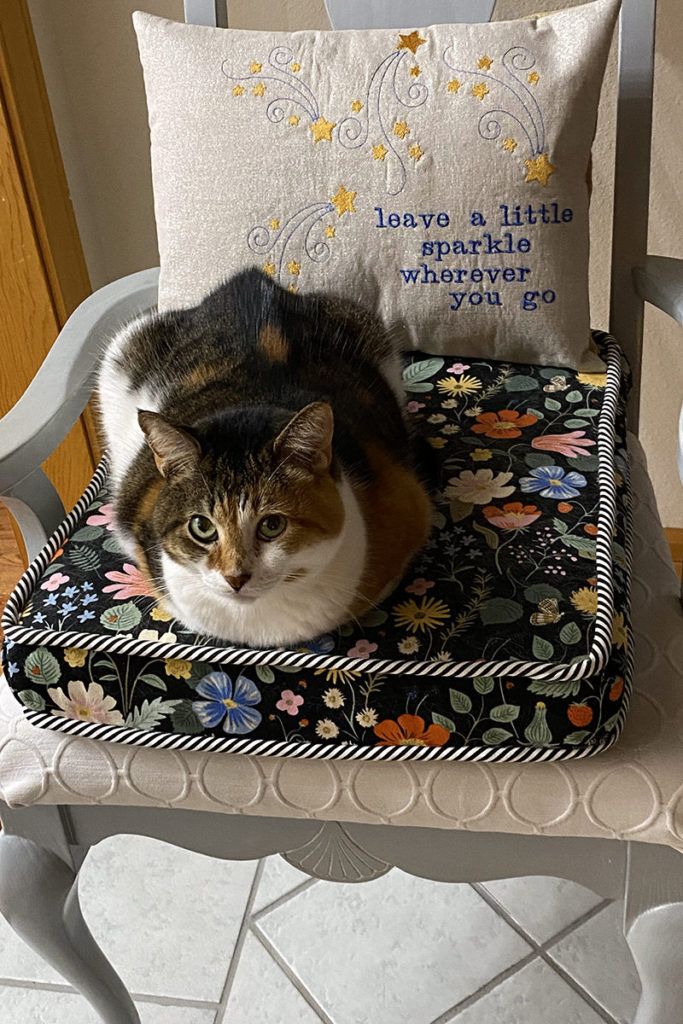
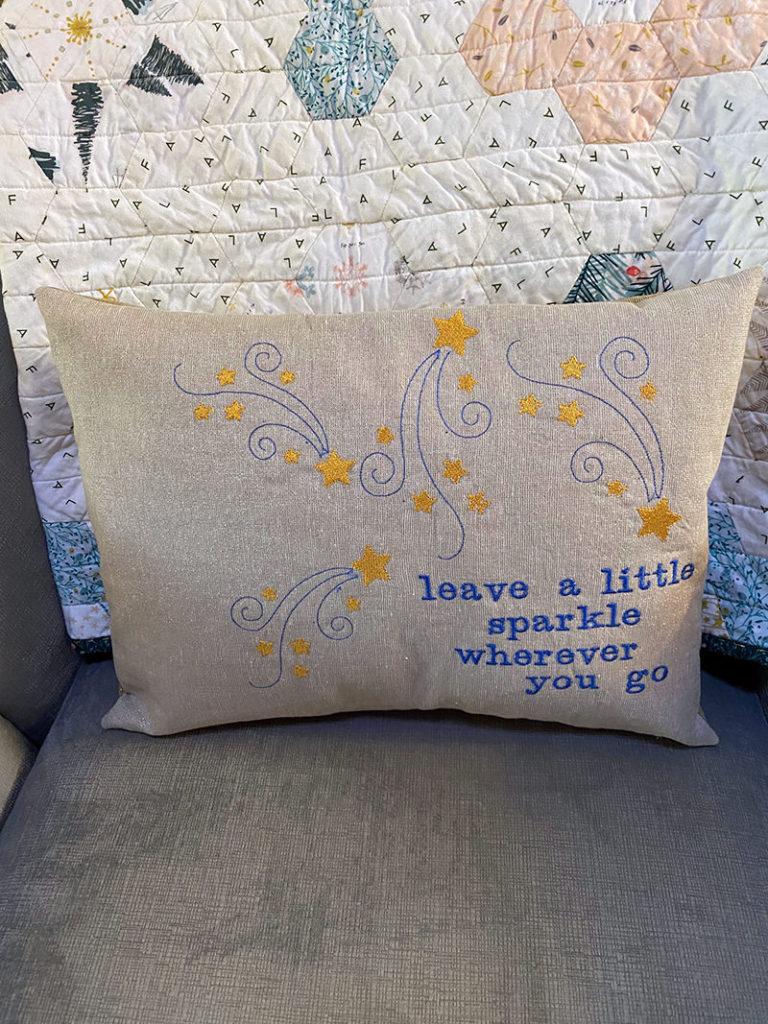
At first I thought I’d make it into a wall hanging but then went with a new Christmas pillow instead. I think that I can leave this out all year round. Here’s Miss Kitty with the pillow. Miss Kitty, we need to work on your sparkle!
Now the easy-peasy instructions.
This fabric is a Metallic version of Kaufman Essex Yarn Dyed Linen. I usually have some of this in my stash because it’s shiny and pretty and works in quilts and other projects that need a little flair. Like this one.
I only had enough of this light gold color for the front so used a darker shade for the back.
I’m using a 12″ x 16″ pillow form. I use this size a lot. It looks nice on my tub chairs plus it’s a good size for napping. (Me and the cat both like to nap!)
I cut out three pieces. The front is 13″ high x 17″ wide.
Whenever I’m making an envelope style pillow case I divide the front width by 3 and then multiply it by 2. Then I round that number down. (or up, just depends on how I’m feeling that day.) For this pillow back I cut two 13″ high x 11″ wide pieces.
Because Essex Linen is thin, I used fusible fleece on the back of all three pieces to make it a little sturdier. I cut the fleece a wee bit smaller than the front pieces but big enough to get caught in the seam allowance. If you are in a big hurry, the fleece is optional.
Next I did a little hem on one side of each back. Actually it’s a double hem. Just pressed it under about 1/2″ then pressed it under another 1/2″.
I stitched the hem down with some shiny metallic gold thread. I use this type of thread sparingly because it really tends to break.
Next I laid one of the back pieces down (right sides together)
and then the second piece down.
Stitched around the entire pillow with a 1/2″ seam allowance. Clipped the corners and graded the seams a little.
Turned right side out and stuck a pillow form in.
Easy Peasy Pillow.
Sparkly, shiny, bright.
Discover more from
Subscribe to get the latest posts sent to your email.





Comments
Easy Peasy Christmas Pillow — No Comments
HTML tags allowed in your comment: <a href="" title=""> <abbr title=""> <acronym title=""> <b> <blockquote cite=""> <cite> <code> <del datetime=""> <em> <i> <q cite=""> <s> <strike> <strong>