Easy Child-Size Apron
How lucky am I to have my sweet granddaughter Piper from North Dakota visit last week? Had such a great time.
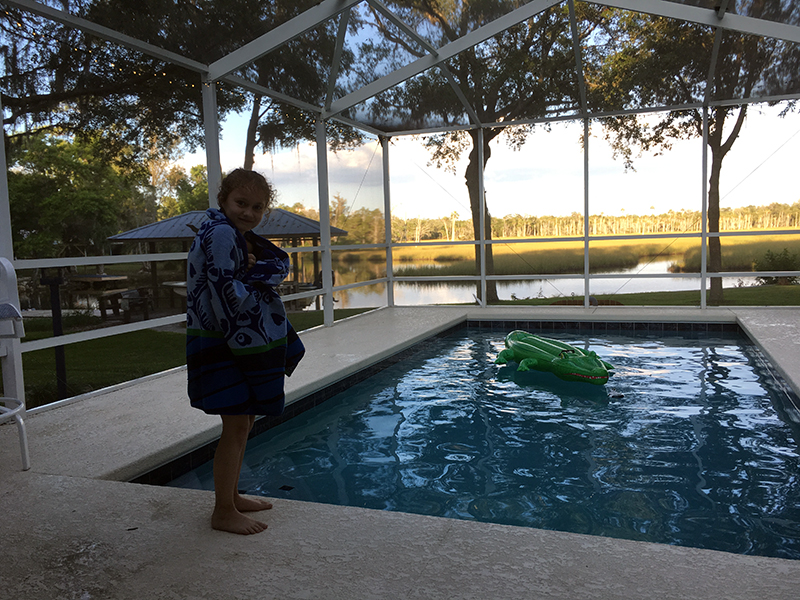
Piper and I do lots of stuff. There was swimming and going to Twistee Treat. Piper is quite artsy so we spent a lot of time drawing and singing. Sometimes we play ukulele.
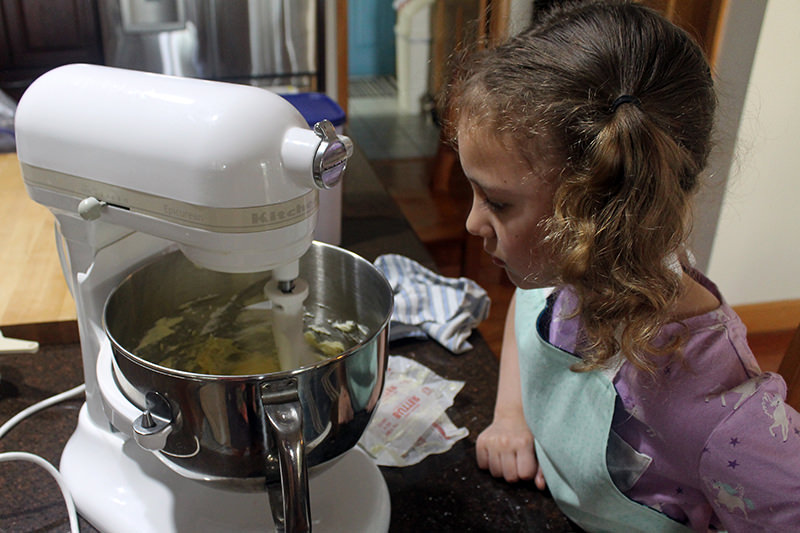
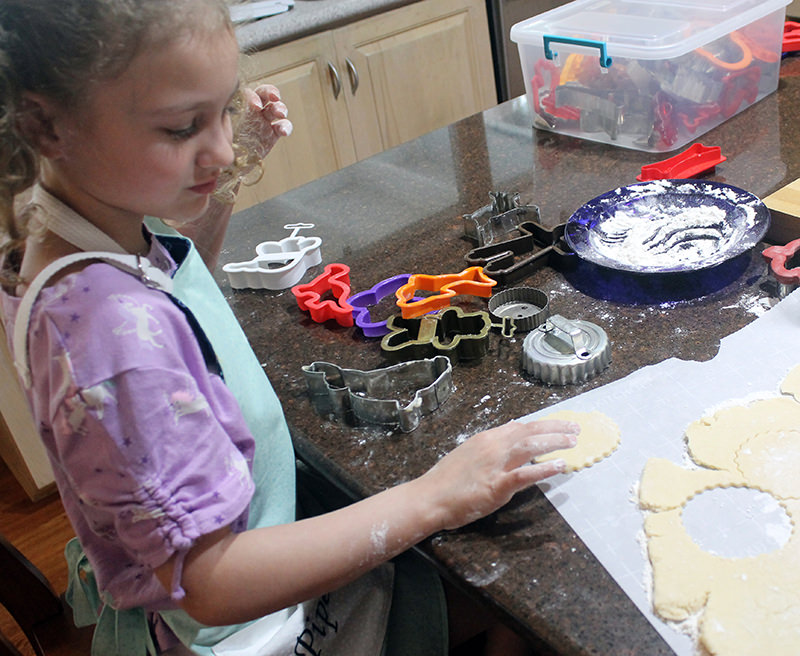
One thing that Piper and I always do together is bake Sugar Cookies. Always!
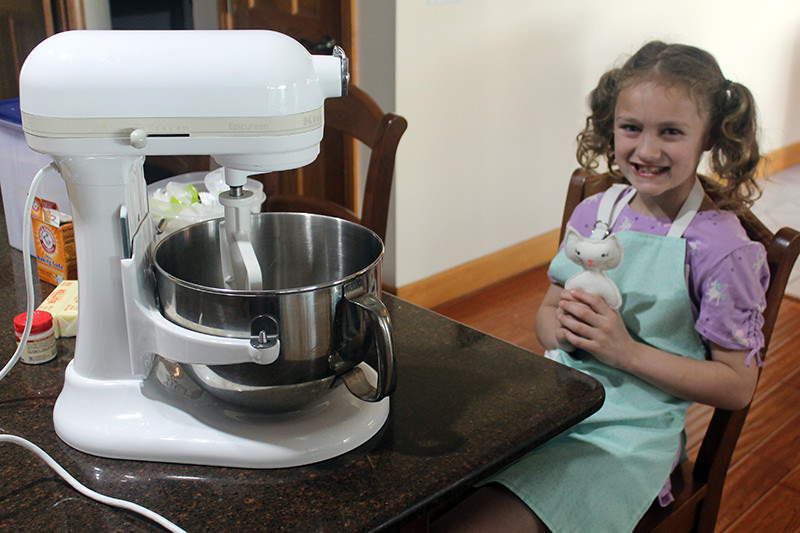
So I decided long ago when I first heard that she was visiting, she needed an apron. Of course a really cool apron. And one for her sister Adley, too. I had some adorable pink gingham set aside so all three of us could have matching aprons.
But, of course, I wanted the aprons to be in their favorite colors! (It’s not all about me….wait, it should be… but it’s not… but it should be….anyhow)
We FaceTimed one evening and I asked them what was their favorite color??? (Cause I knew it would be pink!)
Piper said green. What?????? I gotta say that green is like my least favorite color. Yeah I know, my last name is Green and I worked for a company that used a lot of green in their trademark. Still do not like green.
And Adley said rainbow. Rainbow. That’s like our sewing coach saying her favorite color is paisley. Come on Adley and Faith, those aren’t colors! On further questioning, she admitted to liking yellow.
I decided to wait until Piper came so she could chose her own fabric. And she picked out my very favorite piece of blueish minty green. Oh. That’s. Not. Green.
Anyhow…..
For Piper’s apron, I traced an apron that I already had that was designed for her age. Easy Peasy.
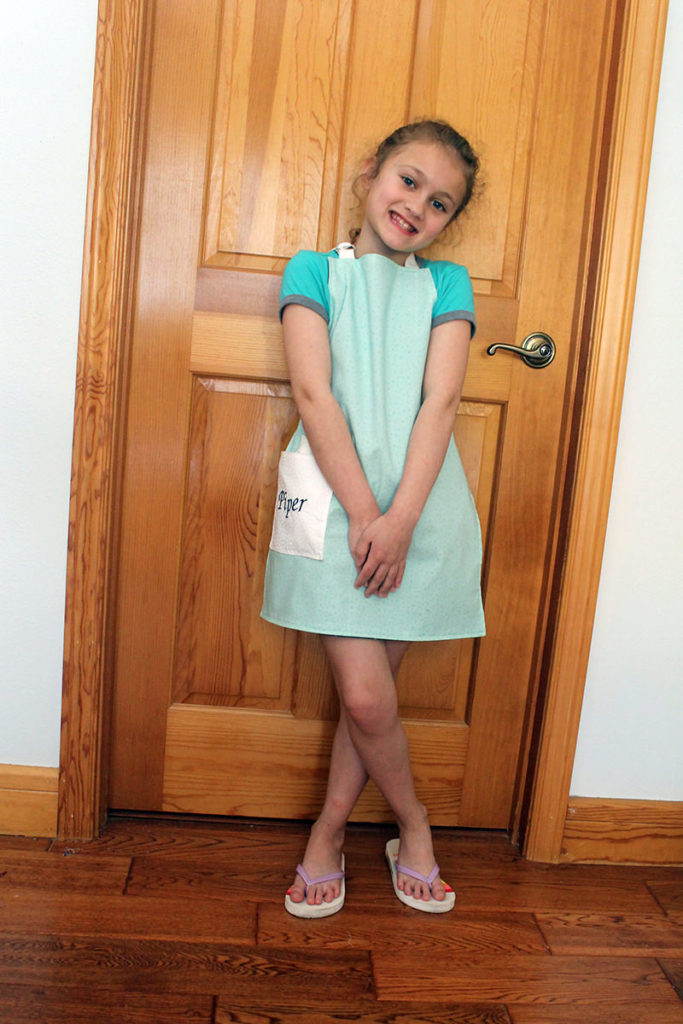
And I added a pocket. And if there is a pocket, there should be a friend in that pocket!
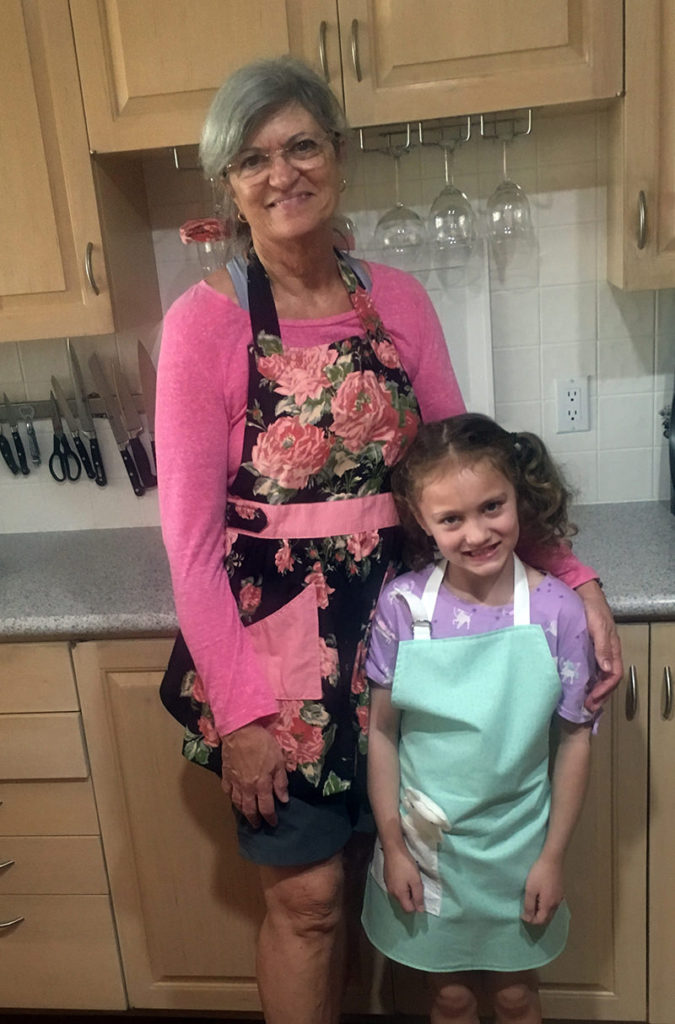
(I just want to add here that Piper had no idea there was a softie in the pocket when she put on the apron for our photo session! She had already tried it on several times while I was sewing it. The following snaps are Piper’s genuine reactions!)
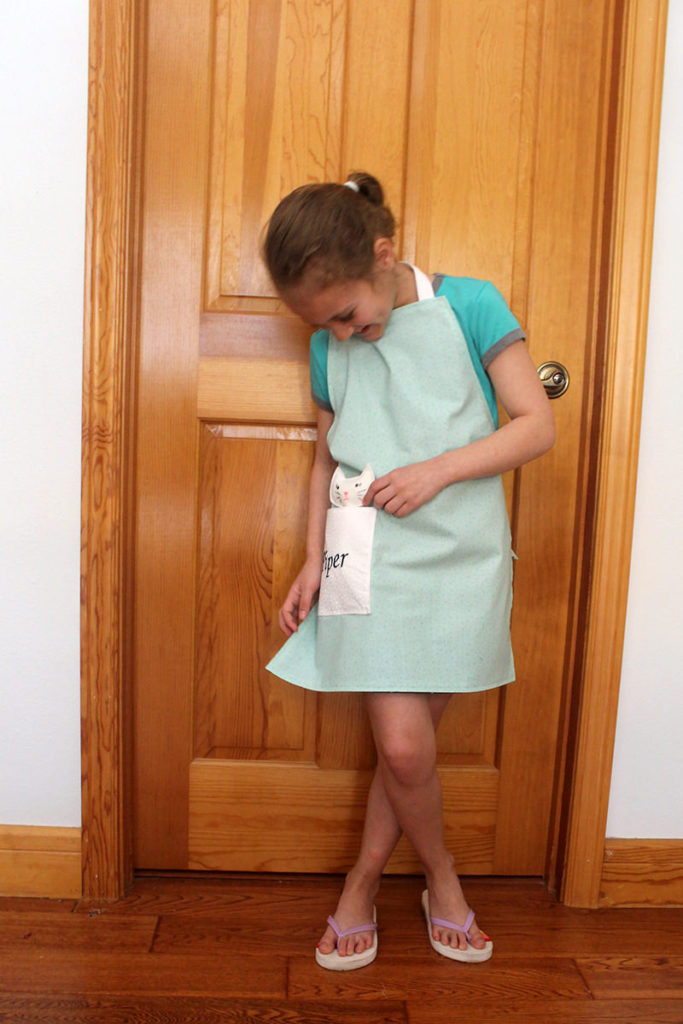
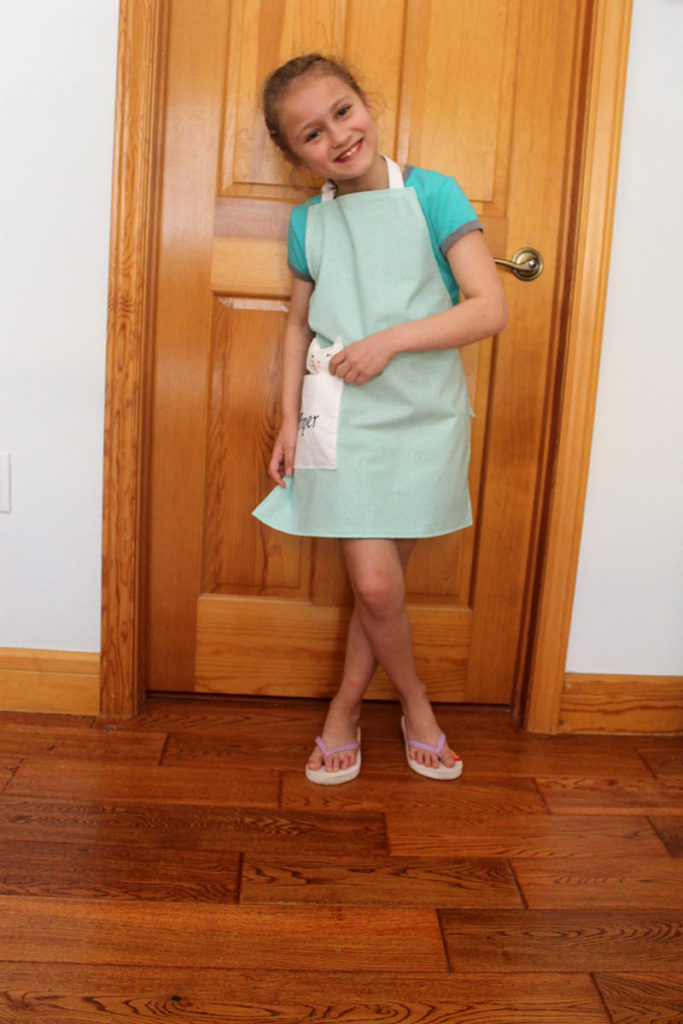
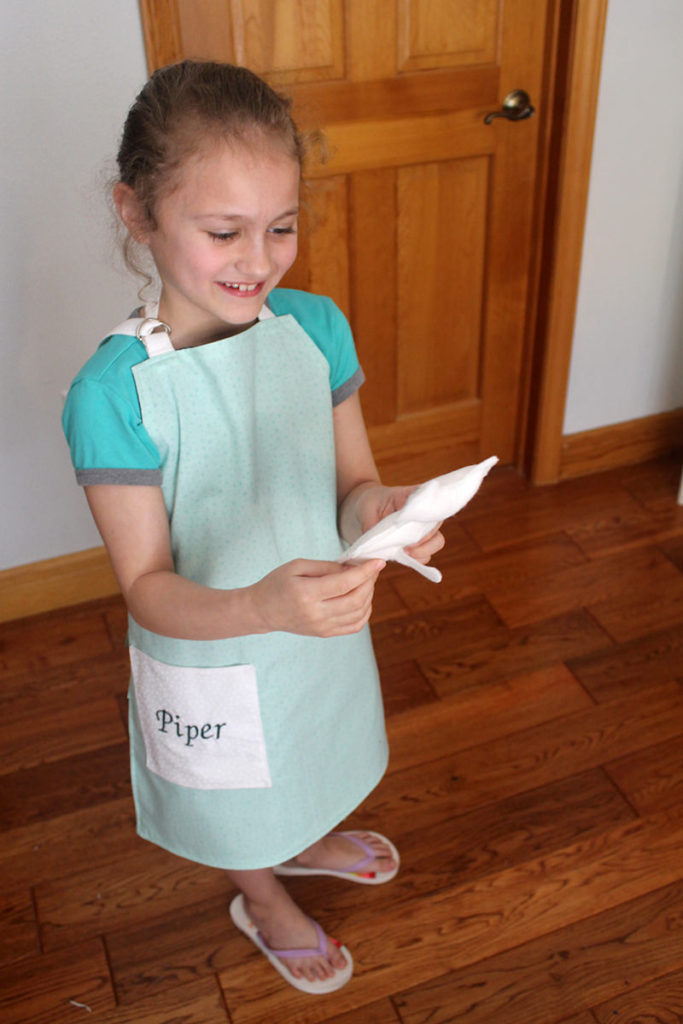
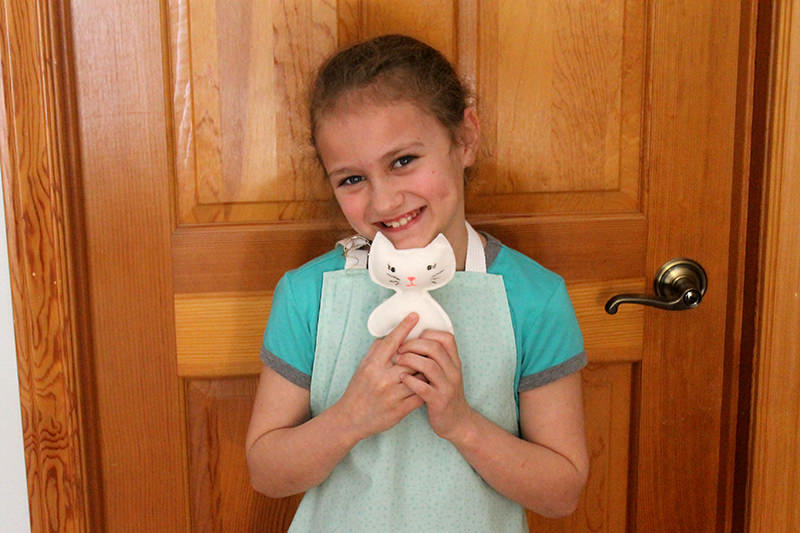
The apron is reversible.
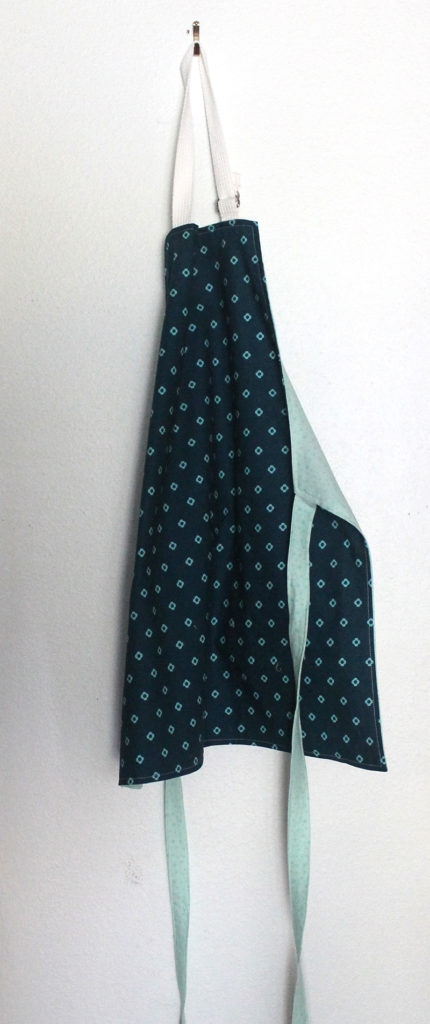
Then I made Adley’s apron. I knew that Piper’s apron would be way too big for Adley. (Piper’s 8 and Adley’s 4) So I did some research on Pinterest (of course) and found several examples. I took all those suggestions and turned them into an easy-peasy pattern for an apron for a 4-year-old.
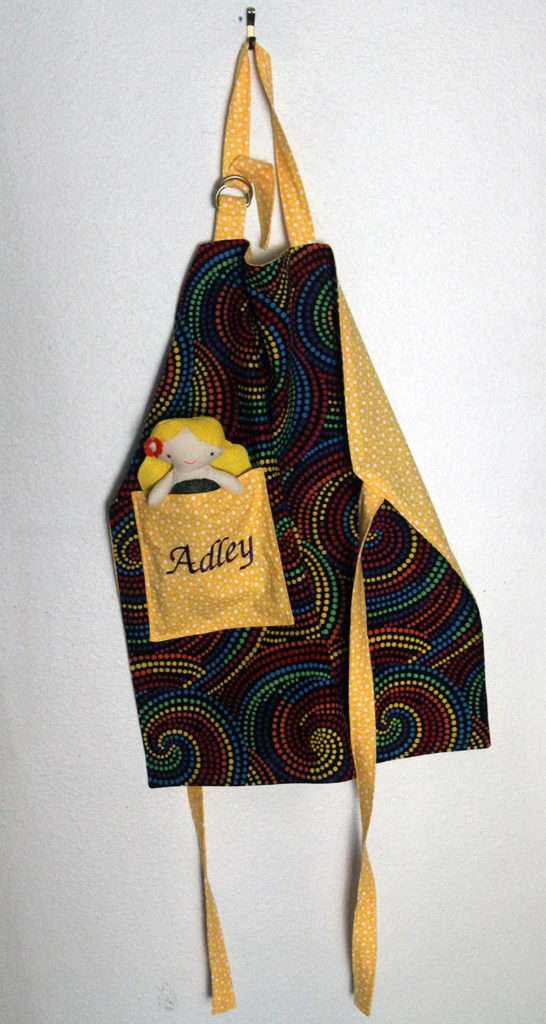
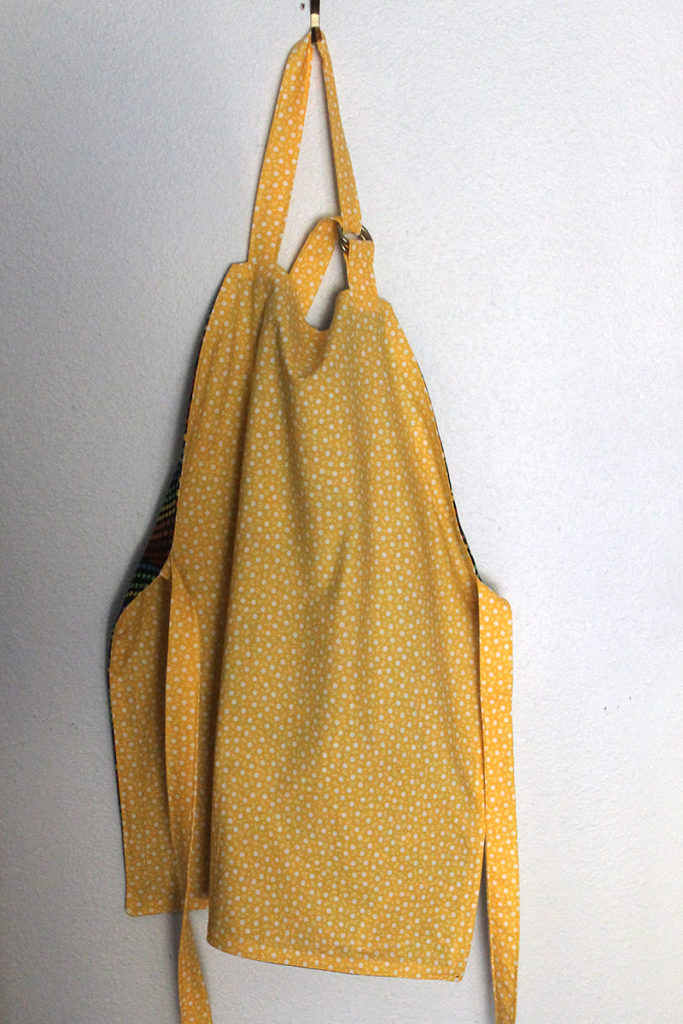
This apron is really easy-peasy.
You will need a two pieces of 18″ x 21″ fabric for the body of the apron. Fabric for the straps and one set of D rings.
Since I plan on making this apron in the future, I used freezer paper to make a template and cut it 9” x 21”. In case you haven’t used freezer paper for patterns, I just want to say that it’s an amazing tool. If you put the shiny side down on fabric and press, the pattern will temporarily stick. Then you cut it out without pinning! A huge time saver! And the pattern can be reused many times!
Here’s the instructions:
Starting with the freezer paper to make the template, measure in 5″ from center and 6 1/2″ from side. Mark a diagonal line. Cut.
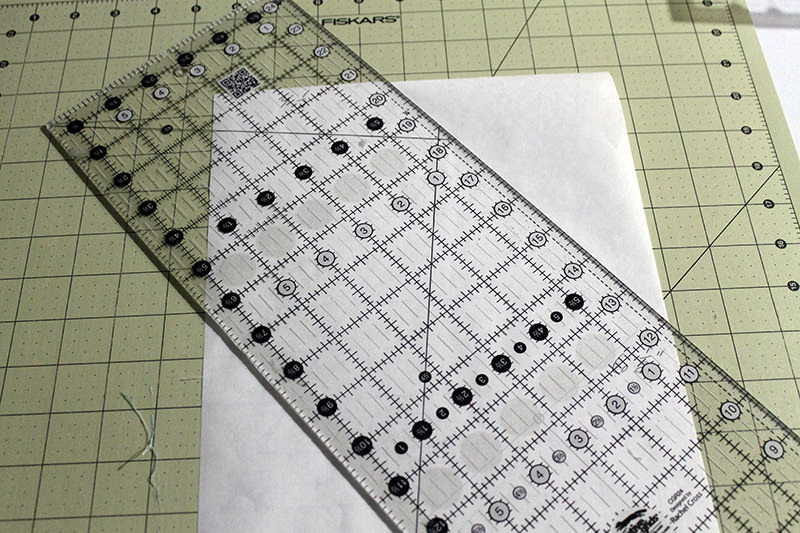
Take your main fabric and fold at center. Place the straight side of pattern on fold, press, and cut. Do the same for the reversible piece of fabric.
For the pocket, you will need two pieces of 6” x 6 1/2” fabric. Put right sides together and stitch 1/4” from all sides, leaving an opening to turn. Turn right sides out, press, topstitch across the top of the pocket. Place the pocket 1 1/2″ from side and 2″ down from corner on the main fabric. Stitch the sides and bottom close to all edges. (I double-stitch the pocket so it will be extra sturdy to little hands)
Make the ties for the waist and neck.
For the waist ties you will need two 3” x 22 1/2” pieces of fabric.
First, finish one end of each tie piece by turning under 1/2” on the short side. Then press 1/2” under on each long side.
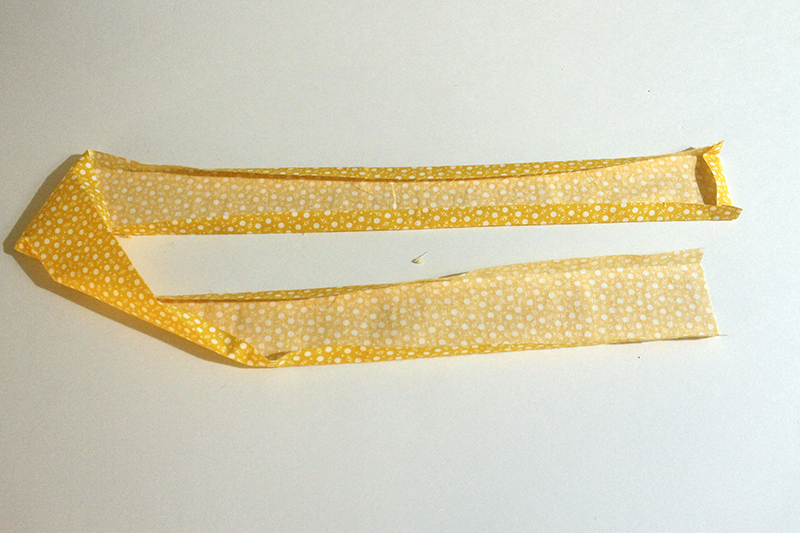
Then fold them wrong sides together.
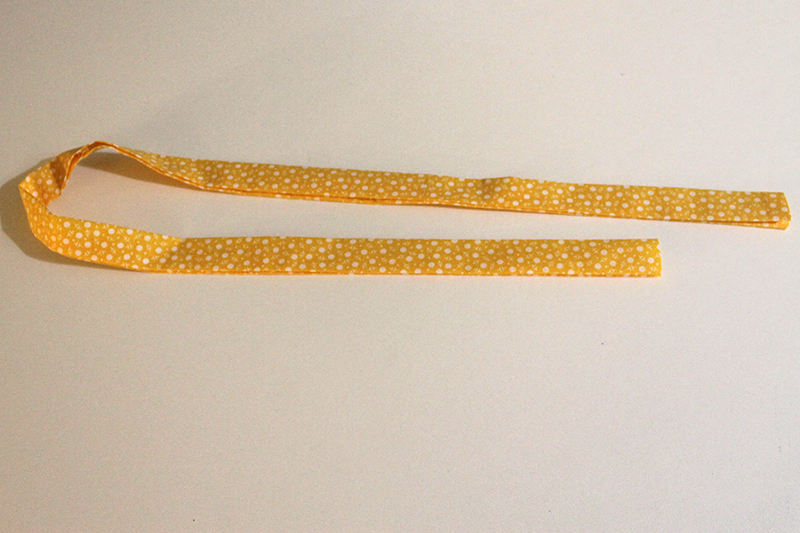
Top stitch each side and the finished end.
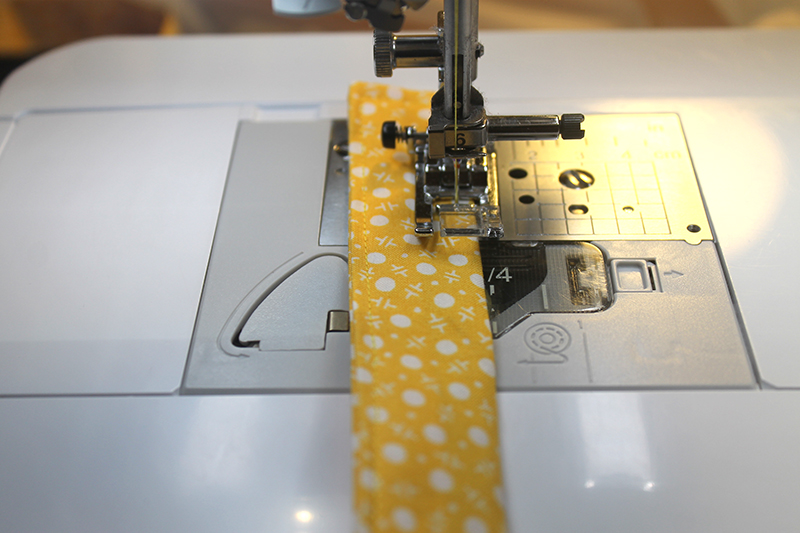
For the neck ties, you will need one 3” x 4” piece of fabric and two D-rings for one side. For the other side of the neck, I used a 3” x 18” piece of fabric. You will create the ties the same as above except you will not need to finish the end of the D-ring piece.
For the D-ring piece, slide two D-rings onto the short tie and fold the tie together. Stitch about 1/2” from the D-rings. Then place the D-ring strap 5/8” from edge.
Place the other neck tie 5/8” from the other edge—unfinished end along top edge of apron.
Place the waist ties along the sides with the unfinished side on the side edge of apron 5/8” from from the corner. Baste all of the ties down.
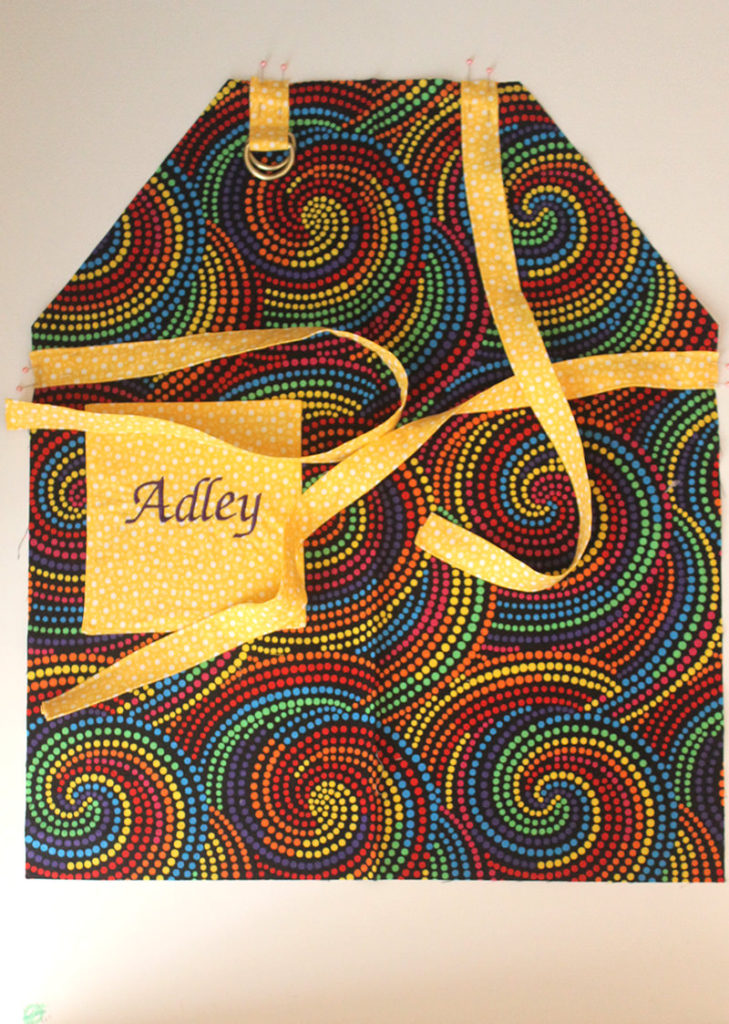
Put the reverse piece on the main piece of apron fabric with right sides together and stitch along all edges with a 1/2” seam allowance, leaving an opening to turn the apron. Turn right side out, press, stitch 1/4” along all sides, catching the opening.
That’s it!
I’m still working on my #the100dayproject of learning how to design and create softies. If you follow me on Instagram, you know that I’ve been posting lots of softies. It’s sure a lot easier to post on Instagram than here on my blog! Right now I’m working on perfecting the creatures I have been making and am not ready to share the finished products yet. But here is how I made the softies for the aprons pockets.
Until I find a better catch phrase, I’m calling these little guys pocket pals.
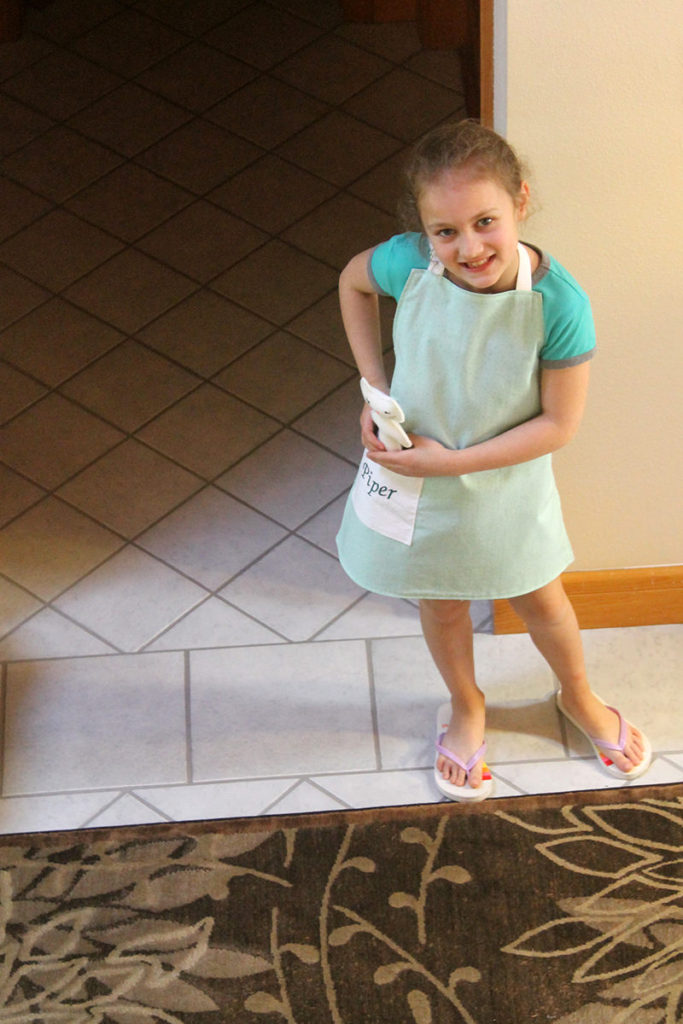
For Piper’s little pal, I just hand drew half of a cat on folded freezer paper. For the front of the kitty I pressed the paper onto a folded piece of wool-blend felt and cut. Then I made the back by using the same pattern but cutting two of the half kitties and adding a 1/4” seam allowance on the straight side. Then I put a short skinny piece of felt for the tail and stitched the back together, leaving an opening for turning. I stitched the front and back together, stuffed, and used a ladder stitch to close up the opening. I used fabric pens to draw the face.
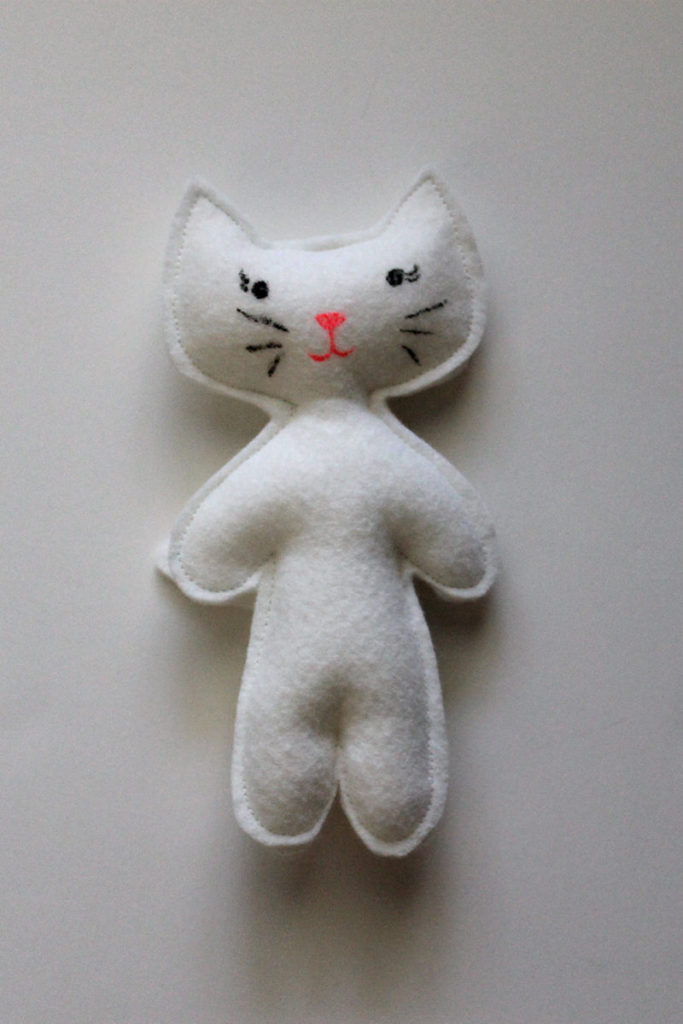
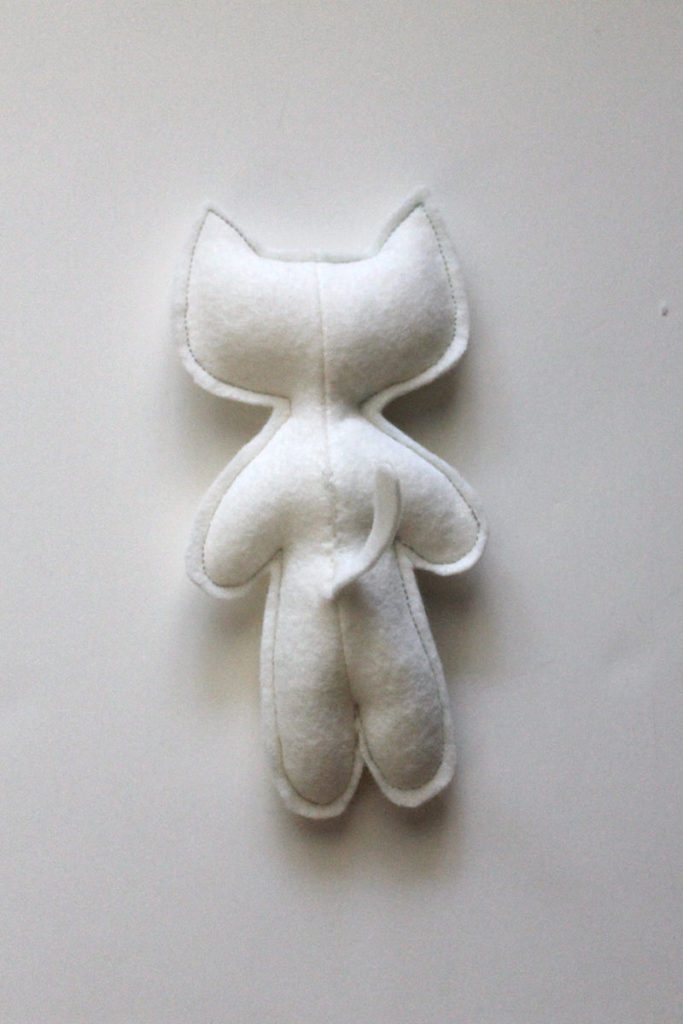
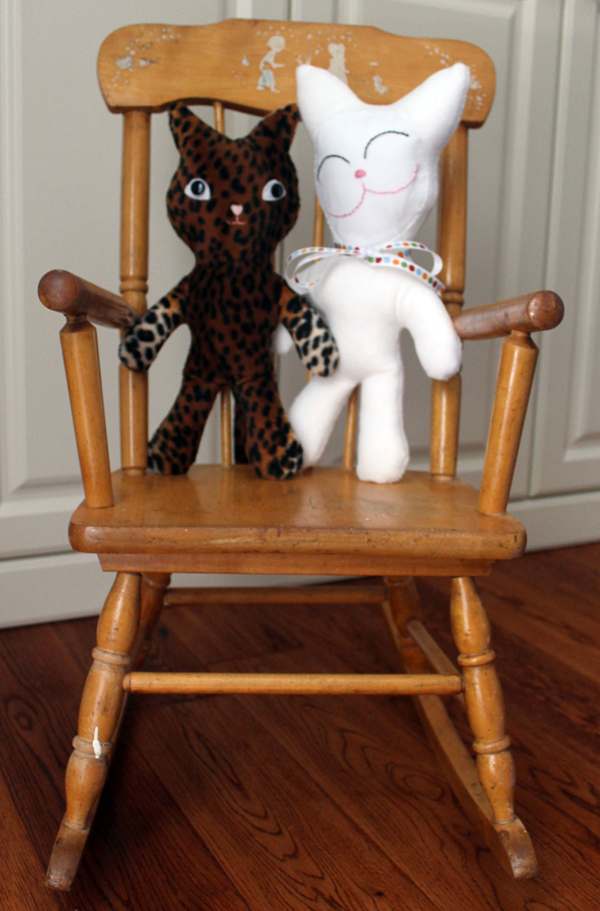
Piper loved her and named her Angie. And made up a whole background story for her. The cats I made almost five years ago—Tom the leopard spotted cat and Angela the white cat—are Angies parents. Now they have a precious baby. Happy ending!
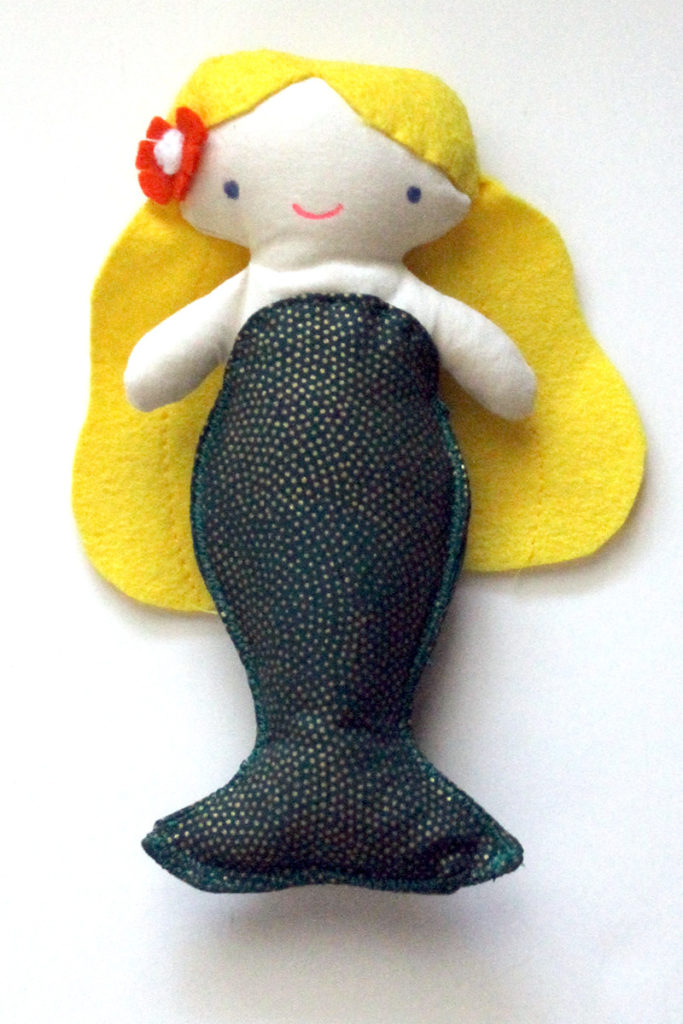
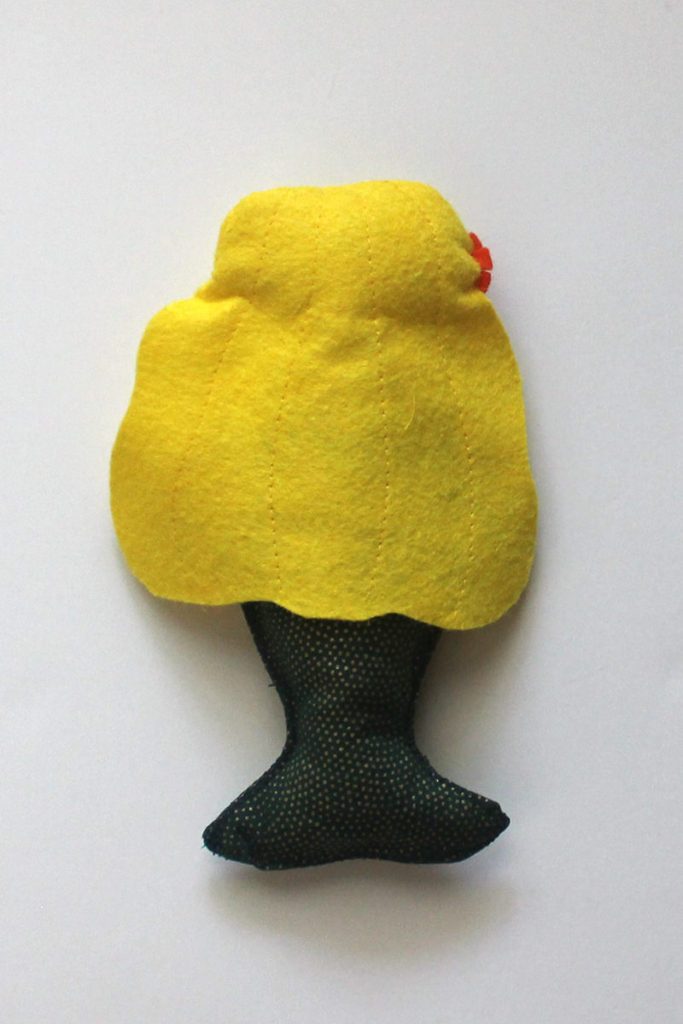
For Adley’s pocket pal, I used a free pattern to make the wee wonderful mermaid .
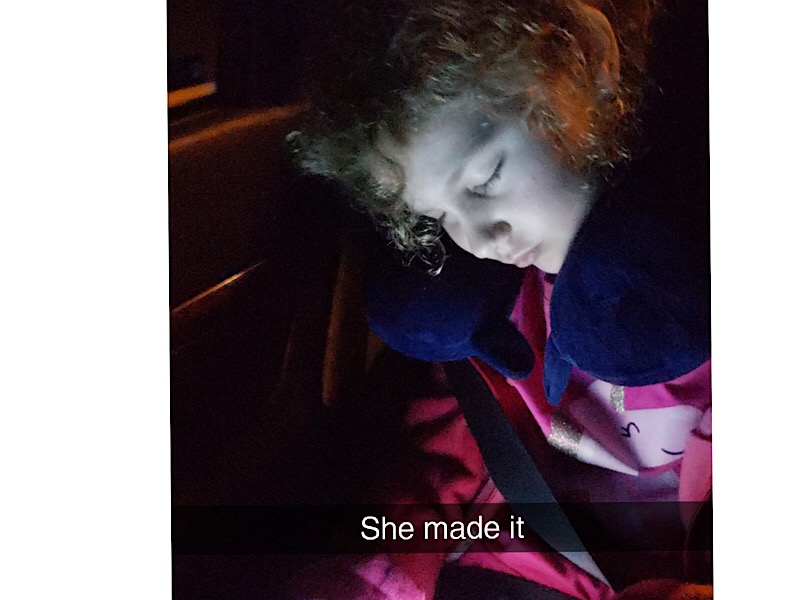
Piper and I had a lot of fun together but she had to go home to the cold white North.
Home again Home again!
Discover more from
Subscribe to get the latest posts sent to your email.

Comments
Easy Child-Size Apron — No Comments
HTML tags allowed in your comment: <a href="" title=""> <abbr title=""> <acronym title=""> <b> <blockquote cite=""> <cite> <code> <del datetime=""> <em> <i> <q cite=""> <s> <strike> <strong>