Dust Cover for the CriCut Maker
I finally have something to share from my organizing efforts I posted about a month ago.
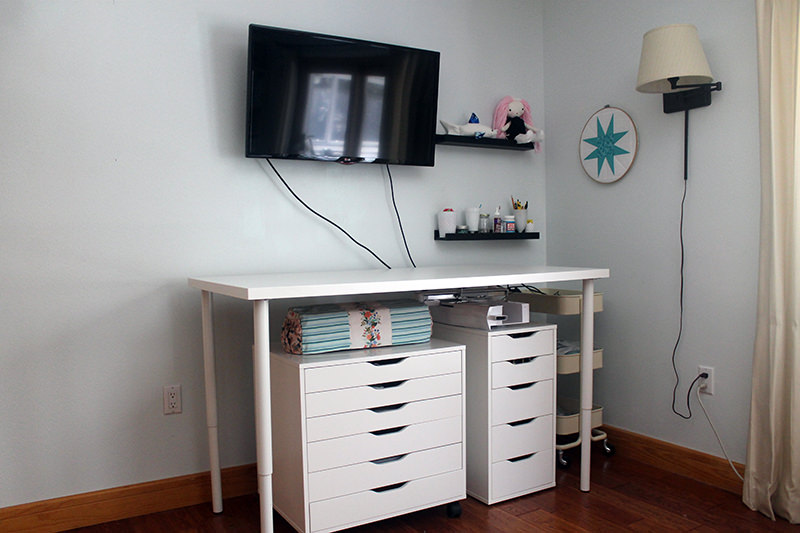
Terry and I made the trek to Ikea in Tampa. That’s about a hour and a half drive for us. Bought this really cool Alex Drawer Unit. On wheels. (I love the wheels.) It’s now the home base for my CriCut Maker.
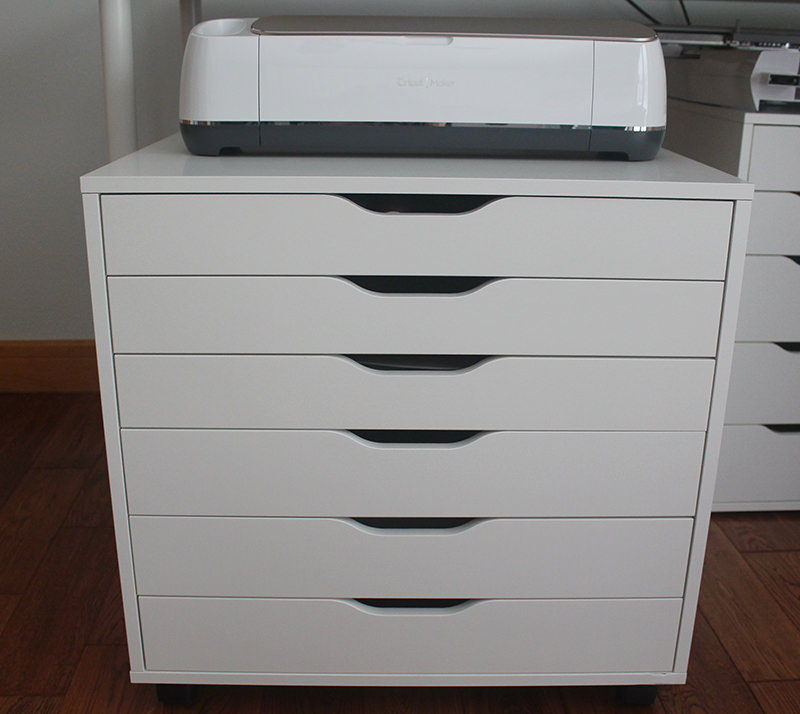
There is plenty of room for all of the CriCut paraphernalia. I don’t have a lot (yet) so I only am using a couple of the drawers.
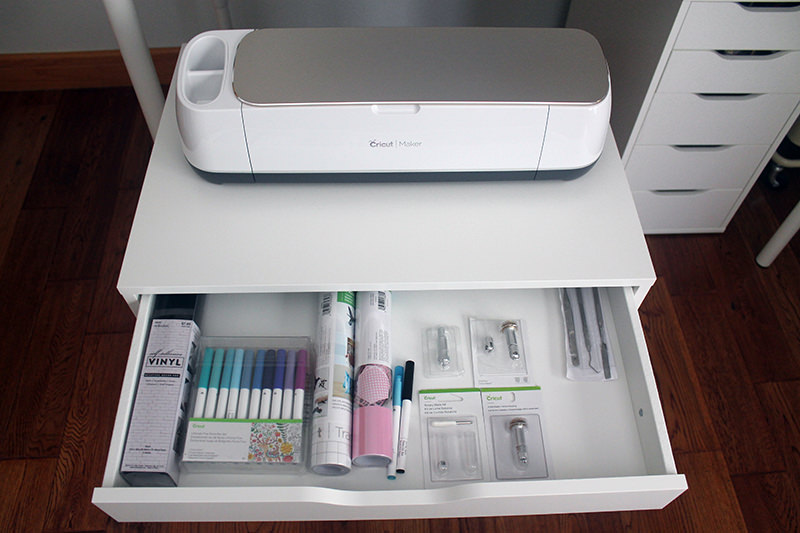
I also bought a table top and four extendable legs. And the two Alex units fit right under it!

This wall would be perfect for a design wall. Except for that TV. I don’t watch it. Ever. But this is the main guest room and the guests are usually family and they like to watch TV. Those cables hanging down drive me crazy, too. I plan to get a cover of some kind. All of the TV parts and the DirecTV box are in the top of the cart over in that corner so I’ll probably need another shelf that’s deep enough to hold them. Maybe my next project!
Back to the current one!
I’ve been planning to make a dust cover for the CriCut maker for quite some time. As part of getting my sewing room organized and pretty. The pattern is under the “Free for the CriCut Maker” category on Cricut Design Space. Except…..this month in one of CriCut’s email promotions “Free Cut Friday” the dust cover was one of those offered. And the email said that they listed this pattern as free for this month only! So I decided that this project was getting moved up on my list. Just in case the pattern disappears. (It hasn’t yet.)
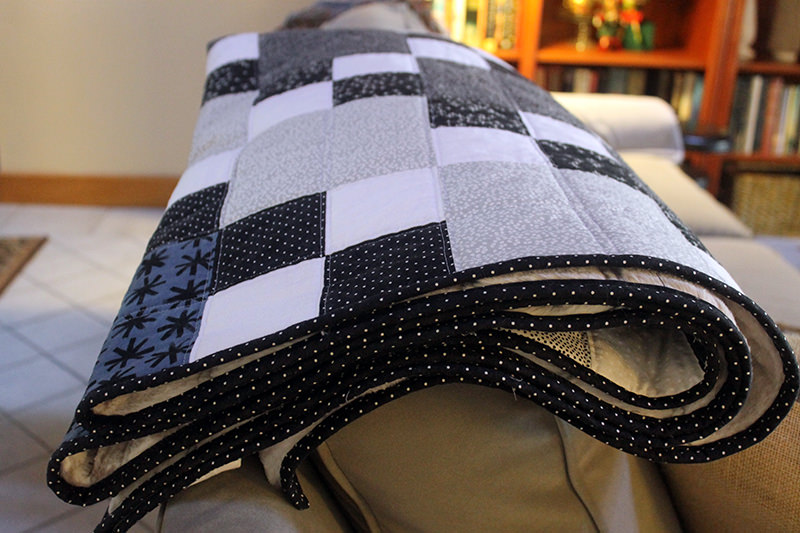
This is only the third project I’ve tried on the Cricut Maker. The first was the Sew Many Squares quilt. I loved it. But, the fabric frayed on several of the blocks when I pulled them off of the sticky mat. So I changed the cutting setting from cotton to denim which seemed to work.
The second project was these adorable little pink houses that went under my 2018 pink themed Christmas tree.
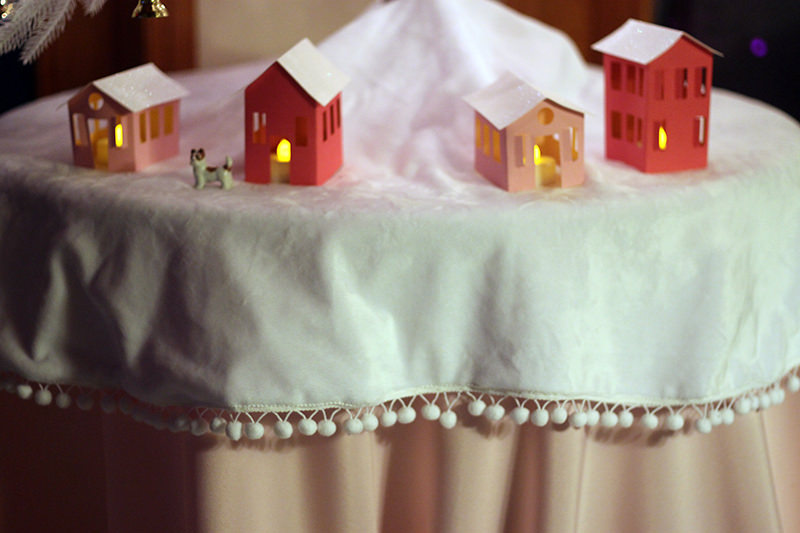
That was my first paper cutting experience on the Cricut. I actually purchased this pattern. And all the materials to go with it. (Probably could have bought a set of houses from Pottery Barn cheaper by the time I got finished!) When I pulled the first house off of the “sticky” mat I realized why they call it a sticky mat. With just a tug I ripped the first house in two. Whoops! I finally got the hang of that and was able to pull the other four houses off with no problem.
So now you understand that I’m not all that great on the CriCut Maker. (Yet)
Back to the dust cover.
Now, let me start out on this project with telling you what I liked. Mostly how nice the triangular markers were cut out and how the fabric marker numbered all the pieces. That was cool.
I picked out four coordinating prints from the the English Garden line from Rifle Paper Company for Cotton & Steele for the dust cover. And I REALLY like all the fabrics I put together. Looking at it this dust cover just makes me happy!
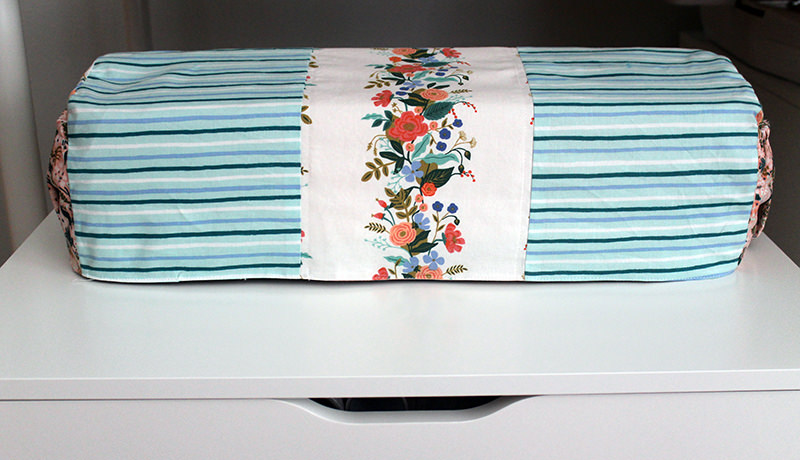
Although I used the denim setting for the cotton fabric, several frayed. I’m not experienced with the maker enough to know if that’s the rotary blade needing changed or if there is something wrong with the machine. I’ve only cut out a small quilt with the rotary cutter. It doesn’t seem that it should already need to be changed but I will put a new blade in for the next fabric project.
Now some stuff I didn’t like.
I really studied this pattern. Read it several times. The directions for the fabric size for the mats and how to make the dust cover are in one section. Then when you are ready to create the project, you click on the “make it” button and the diagrams with the mats are there. The mats do not say what each one is for so I to flip back to the directions. Which means I had to exit the “make it” part and reopen the project. I think it would be a lot simpler if, along with the layout of the fabric, the description of what each mat is cutting. Like mat 1–lining. Mat 2–lining. Mat 3-4–sides. Or I could have printed out the directions. But I don’t have a printer upstairs. And I hate wasting paper.
It took me a while to figure out which mat cut out which piece. I was mostly trying to figure out how to fussy cut the center strip. I wanted to use a one way flower fabric that needed to be centered. When I got that done, I was patting myself on the back for having done such a good job, then realized I had cut the other one-way fabric upside down for the front of the pocket. Duh!
The pockets and lining are just a rectangle so that wasn’t a big deal. The little triangle markers were off but I just used the ones for the lining. There are pleats on the bottom of the pocket and no description on how to create them. Just three straight lines. I finally figured it out by enlarging the picture on the pattern.
And as I was just getting ready to make the pockets, I thought, “why pockets?” If I actually store something in there–like the tools it shows in the photo, I’d have to remove them before using the maker. Then I’d have to find a place to put the tools. The pockets weren’t big enough to store the power transformer and cord. But. They are pretty!
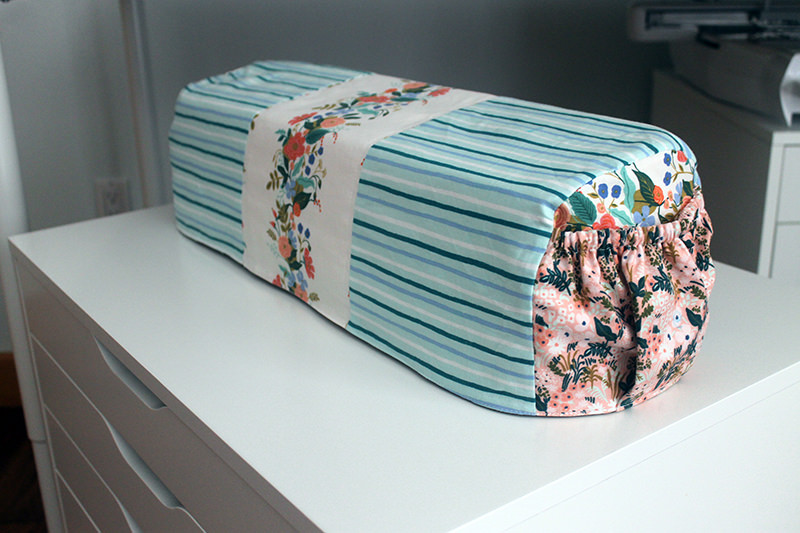
This project was marked advanced and that it should take 2 – 3 hours. I’d say it probably took me more like 4 hours with cutting and sewing and not including the reading of the directions multiple times. I’m definitely an advanced sewist and I’m fast.
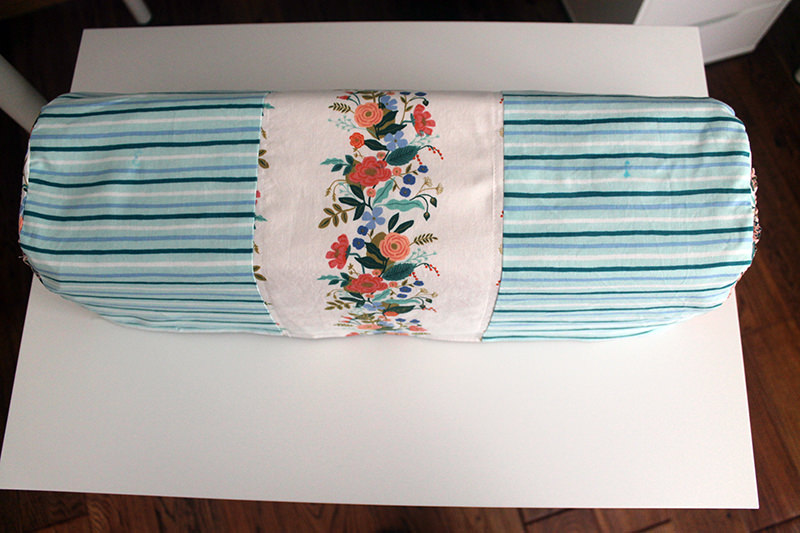
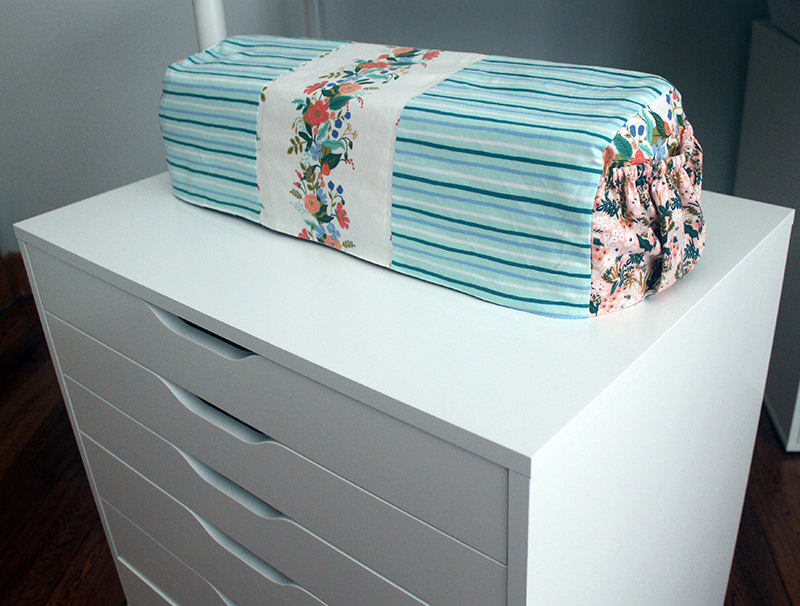
Overall I’m very happy with how the dust cover turned out. It certainly brightens up my sewing room!
Discover more from
Subscribe to get the latest posts sent to your email.

How did you find this pattern in design space i have looked every way I can think of cant find it i have contacted cricut email and phone i am still waiting for an answer
Hi Debbie!
It’s under Projects>Free for Cricut Maker. “Cricut Maker Dust Cover”. On my computer it is the last project on the first row.
Thanks for reading and commenting!
I cannot find the project “Cricut Maker Dust Cover” in the location mentioned above. Did DS get rid of the project?
I couldn’t find it either so I did a search for “circuit cover” under the “free for circuit maker” and it came right up! Weird.