“Down the Rabbit Hole” Quilt
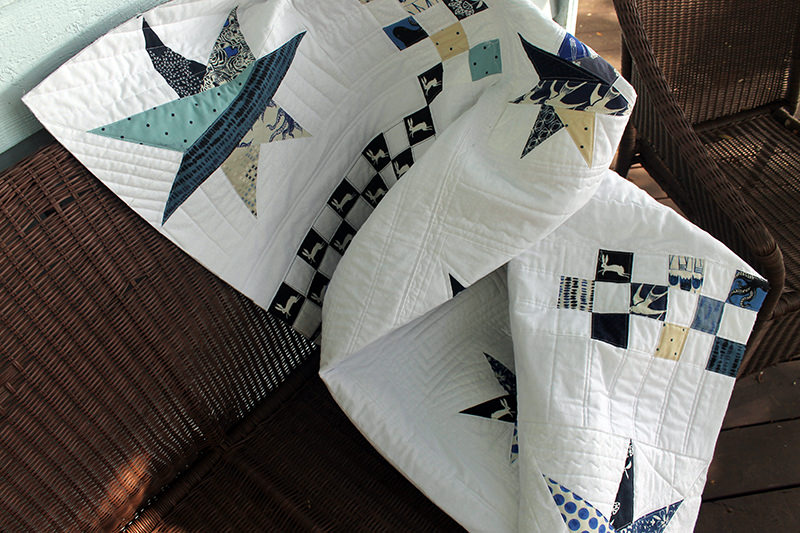
I made a LOT of progress on the “Down the Rabbit Hole” Quilt in the last week.
First I want to talk about basting the quilt which I did a couple of weeks ago. I have done pin-basting and spray-basting several times. Both are hard on the knees because the backing has to be taped down to the floor then the batting gets laid down and the quilt top goes on last. Then I get to crawl around on the floor and either pin it or spray it with a temporary adhesive.
Pinning is time consuming and I think my pins leave too big of holes in the quilt. Even though they are “quilting” pins. Then when you are quilting, you have to remove the pins which also takes more time.
Spraying is messy. This is glue. Even though I cover every part of the room other than the quilt with sheets, it still goes everywhere and things can be very sticky for awhile. Like my socks. I stick all over the house.
Then I saw a blog post about spray basting each piece outside then putting the layers up on a design wall. And after much pondering I decided to try to do it on a wall in the garage. I didn’t get any photos, but it sure was easier. Had my little step ladder out there, pinned up the backing, sprayed like a crazy person, stuck on the batting and smoothed it, more spray, then the quilt top, more smoothing. And it didn’t matter what the glue got on. Hey–it’s a garage! (Yes–I did move the car out first!)
It’s also suggested to press the quilt after the spray-basting to make sure the squares are all nicely lined up which I did. And was really pleased with the whole process. Think I’ll be doing spray-basting in the garage for all my quilts in the future!
Now back to this week. All quilting is done. While I still can’t do “free-motion” quilting, I did some fun lines with the walking foot.
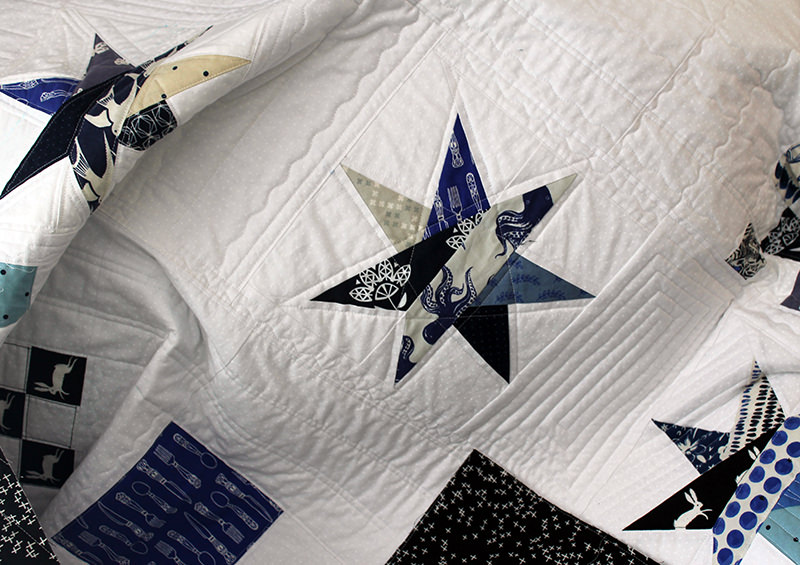
The quilting shows up on the back, too.
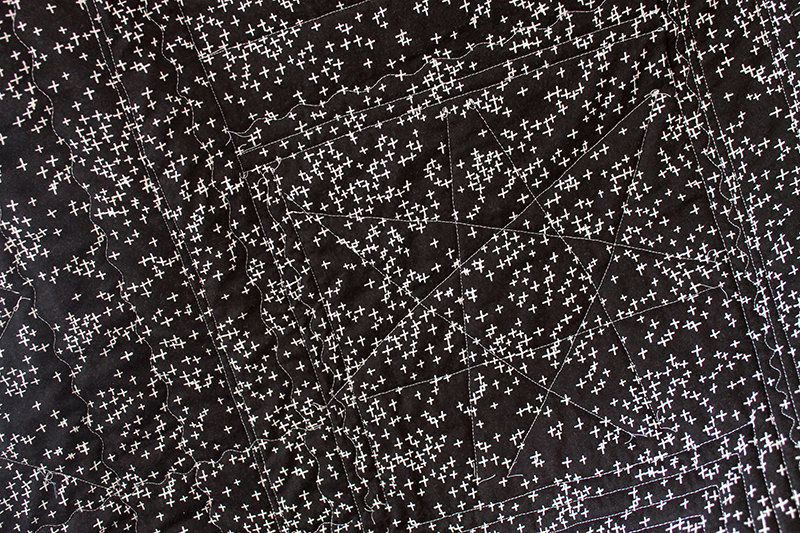
I like it a LOT!
Here’s more than 7 yards of bias binding.
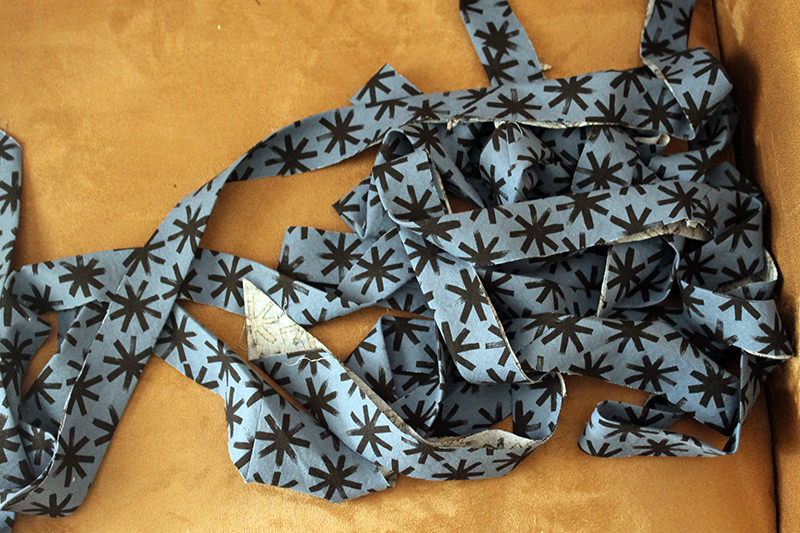
I usually make straight binding because it really doesn’t have to be cut on the bias for a quilt. But I thought I’d change things up a little. I made it using what I call the “tube” method. It makes continuous bias binding. It’s easy. But confusing to explain.
Here’s a link to a tutorial on another blog that’s pretty clear. She makes a 1 3/4″ bias binding for piping and I like the binding to be thicker for my quilts so I marked it for 2 1/2″. (I made a tutorial for bias binding once upon a time but can’t find it. How could I lose that? Or maybe I thought it was confusing so just deleted it!)
I don’t have a wall big enough in my new sewing space to have a design wall. I improvised and hung the quilt on hangers from the Murphy Bed.
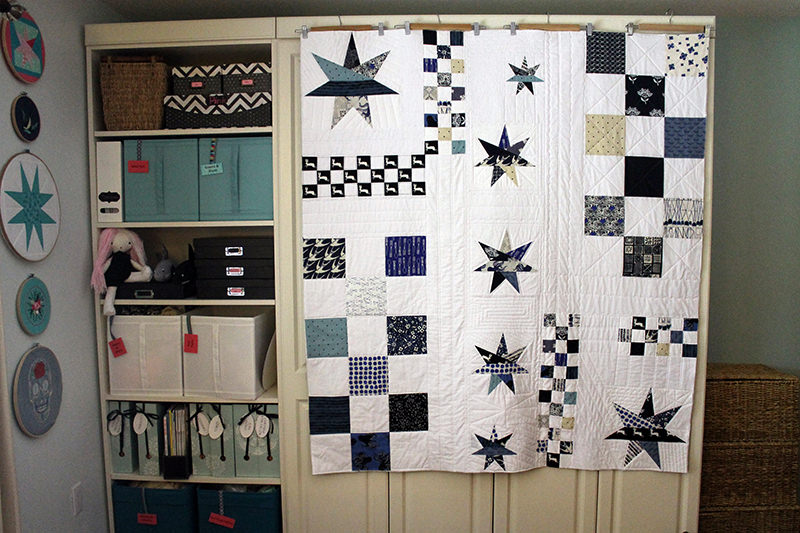
And on another note, I actually have some organization and some pretty in one corner!
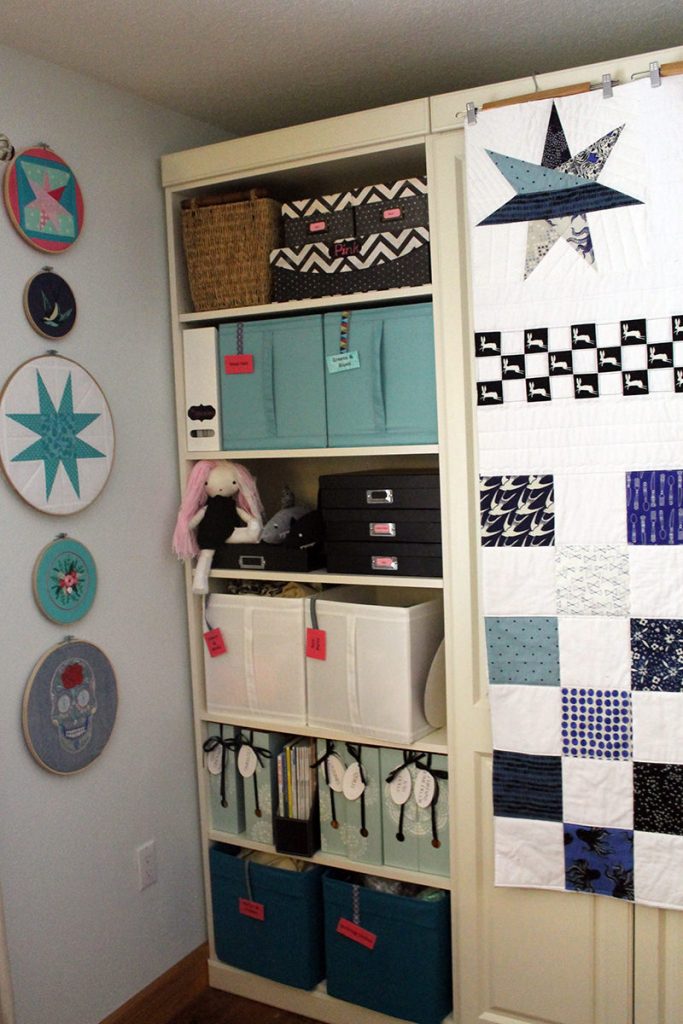
This room does not have as much storage space as my old sewing room. (And no design wall–why did I move???)
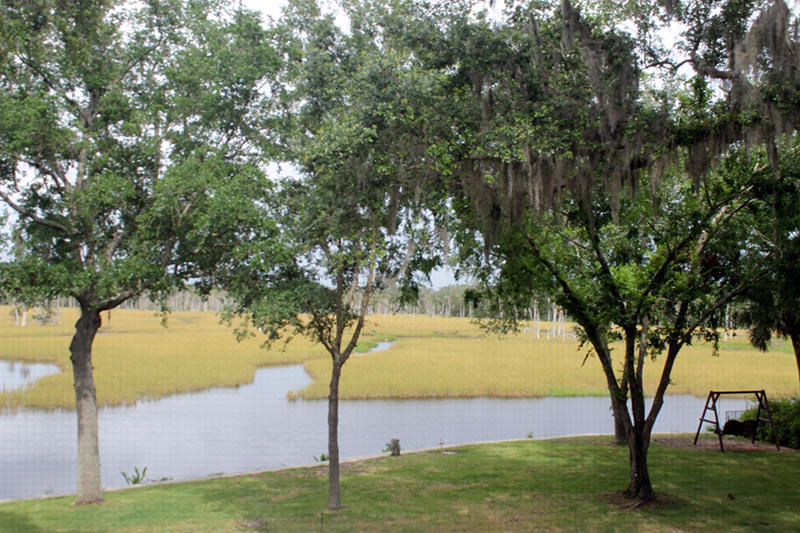
Actually I’m pretty happy with the space. While I’m sewing I get to look out at the back yard, canal, and saw grass. Sometimes otters, manatees, or dolphins swim by. The room also has a lot more natural light. My former space was very dark with only one window and that one had a dark glaze over it. Made photography difficult.
Here’s my view! And I took this snap through the screen so it’s even better in person!
Anyhow, I have the sewing room pretty much finished but it’s not the “optimal” layout, yet. Things aren’t quite where they need to be so I can just reach and grab that rotary cutter or box of clips. Still working on that but I have hope!
Next week– adding the bias binding!
Discover more from
Subscribe to get the latest posts sent to your email.

Comments
“Down the Rabbit Hole” Quilt — No Comments
HTML tags allowed in your comment: <a href="" title=""> <abbr title=""> <acronym title=""> <b> <blockquote cite=""> <cite> <code> <del datetime=""> <em> <i> <q cite=""> <s> <strike> <strong>