DIY Zippered Pouch
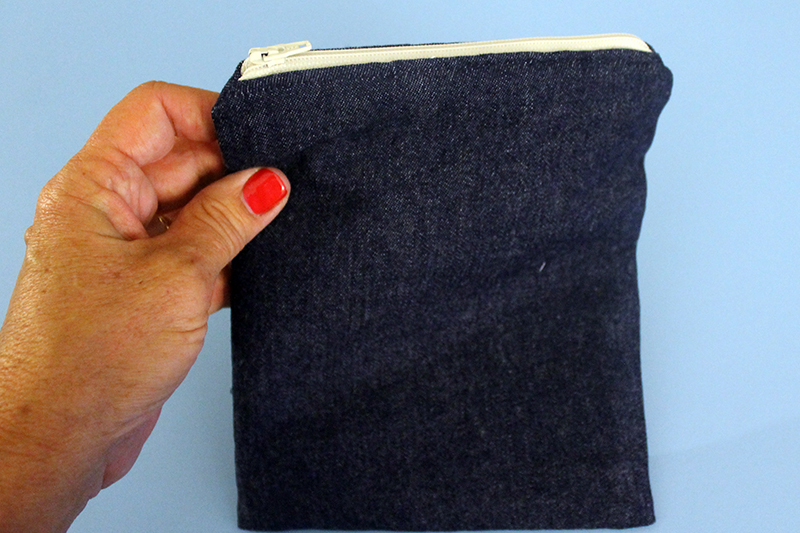
Sooooo,
I make my own patterns.
A lot.
And I share them.
But sometimes I’m kind of like “why reinvent the wheel?”
I was looking for a zippered pouch to make. Something I could put my little stuff in. I HATE rooting around in the bottom of my bag searching for the ibuprofen or Altoids. Plus I like to keep that stuff in a packet so I can move it very quickly to another tote if I decide to change up my outfit.
Really. Fashion calls.
Lots of searching on pinterest with no success but then I went to one of my favorite blogs Purl Soho. They have so many free and wonderful patterns. And the Simple Lined Zippered Pouches was perfect.
I wanted to use some of the fabrics from the Perfect Travel Tote I made for the Manchester Metallics Summer Bag Challenge. (If you didn’t already see it, I got featured on SewMamaSew!) I was asked how much fabric I needed for the tote I planned to make and I responded 1/2 yard of three different materials because I knew that was exactly what I needed.
And here’s what’s left:

Ok. This looks like big pieces of fabric but those are just bits and pieces. The shiny metallic fabric is about 2″ wide. Should have put a toy here to get a better perspective.
Mistakes were made. Fabric was tossed. I still had a great bag. But not much extra fabric.
And there’s the dilemma, I wanted to make some pieces that MATCHED the bag!
I turned to my “stash” and had a very similar denim and then pulled out a stack of Cotton & Steel fabric I bought way back at the beginning of the year. I had no plans for this pack of fat quarters. Just liked them. Bought them at a weak moment.
And there they sit in their own special drawer. (They have to have their own special drawer because they are very special pieces and I don’t want them getting mixed in with all that ordinary every day stuff!)
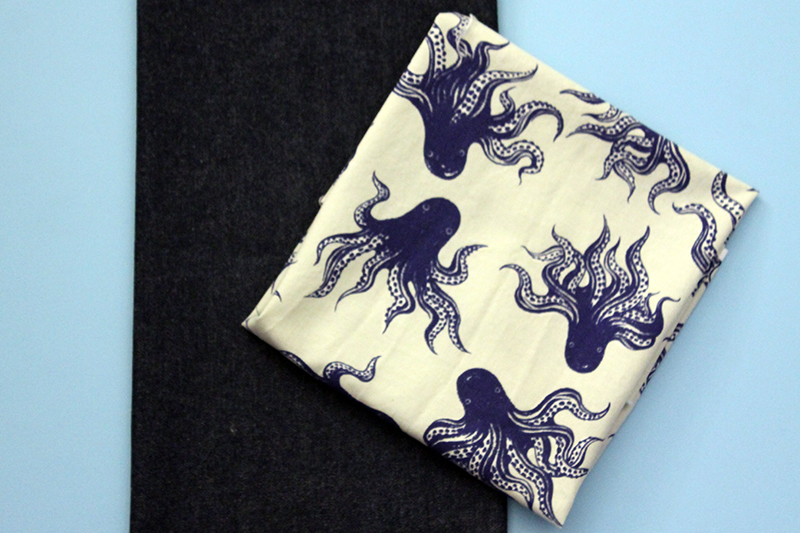
How cute is this octopus fabric? There are also tigers and dots and arrows and so many other very cool patterns. I have no idea how I’ll use them!
So I used these lovely pieces and made a perfect little bag for my stuff.
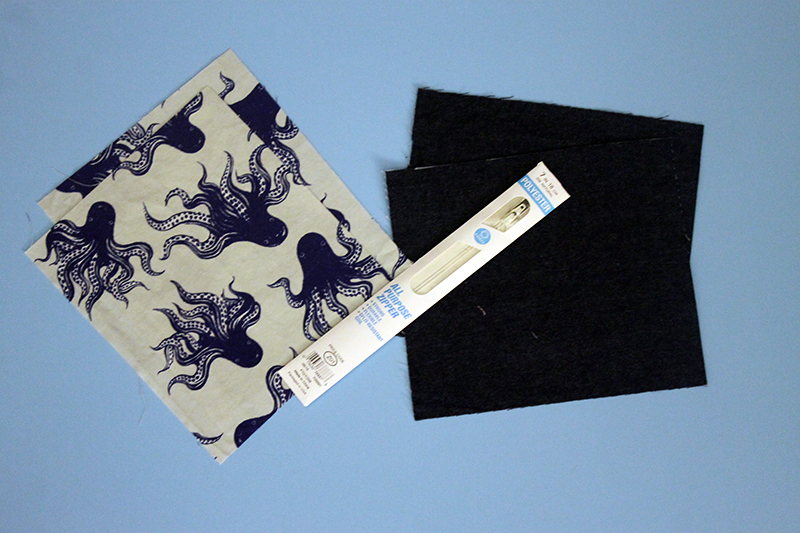
First you decide what size pouch you want. I wanted mine to be 8″ long by 7″ wide. The instructions from Purl Soho called for an LCM (length cutting measurement) and WCM (width cutting measurement). Using their directions, my LCM was 8 3/4″ and my WCM was 7 1/2″ and I used a 7″ zipper.
When I try a new recipe, I follow the instruction EXACTLY. Then I mix it up after I know I like the dish.
I’m the same way with a new pattern. I follow it EXACTLY. And then mix it up later.
Okay I did change ONE thing. I put some fusible midweight interfacing on the lining. I thought my little pouch needed some substance. Doesn’t everything? And everyone?
If you want to make this pouch, just follow the instruction on Purl Soho. Easy, very detailed, and it works!
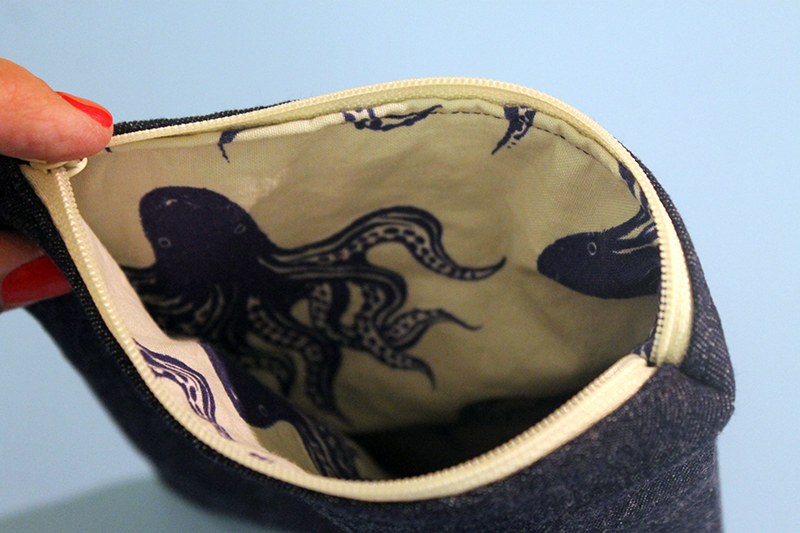
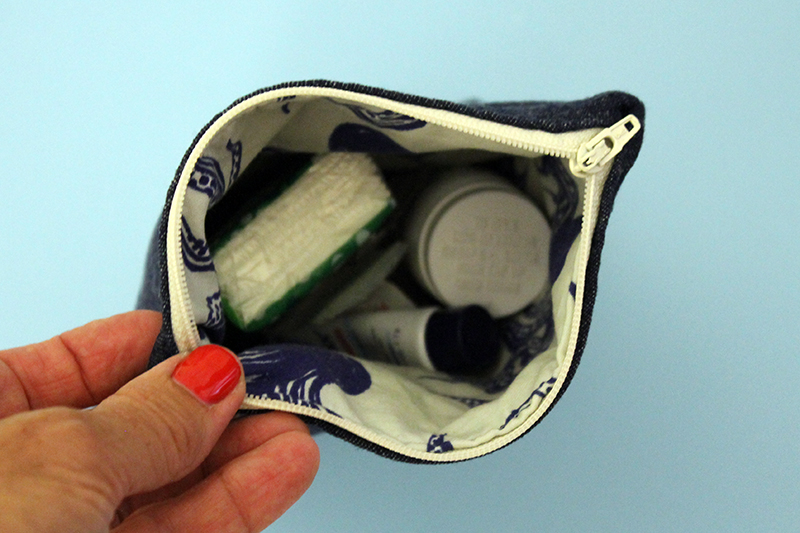
How much fun is that interior?
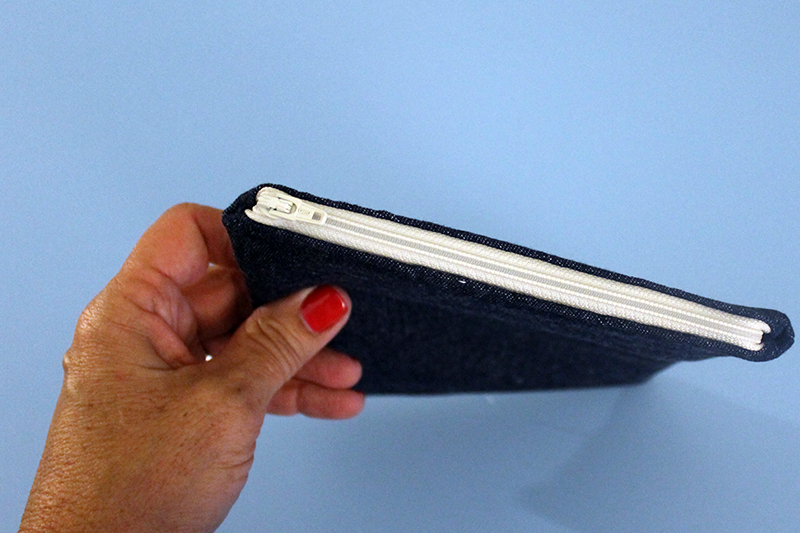
Just showing off my manicured nails that I had done for an event. I usually try to hide those chipped and chewed on fingernails.

Here’s all the stuff I need to put in that pouch. Plus I don’t know where my little tube of sunscreen is. Gotta find it because it should go everywhere with me!
And it all fits so nicely into my Perfect Travel Bag!

Now that I’ve been successful with this one, I’ll change it up. Different sizes. Maybe I’ll throw on a strap or two. This was a really easy-peasy project.
Discover more from
Subscribe to get the latest posts sent to your email.

Comments
DIY Zippered Pouch — No Comments
HTML tags allowed in your comment: <a href="" title=""> <abbr title=""> <acronym title=""> <b> <blockquote cite=""> <cite> <code> <del datetime=""> <em> <i> <q cite=""> <s> <strike> <strong>