DIY Quilted Coasters
My sewing machine was in the doctor’s office.
For five days.
Five days.
It’s better now. Just needed a little maintenance. A tiny face-lift.
But. Five days. Which means, I’m five days behind on all of my sewing projects. And I have a lot of them.
So I decided to make something relatively easy this week. I’ve been planning to make coasters for awhile. Can never have too many coasters.
Right?
Quilted coasters. And to make them even easyier-peasier, I wanted to use a charm pack. You know how much I love charm packs. When I open them it’s just like a gift. A little treasure chest with all these pretty bits and pieces.
I ordered Wing & Leaf by Gina Martin for Moda from Amazon. It’s also available from Fabric.com where I usually order my fabric from but this was a tiny order and I wanted it fast. I’ll probably be ordering some matching yardage from Fabric.com for a few other projects I have planned.
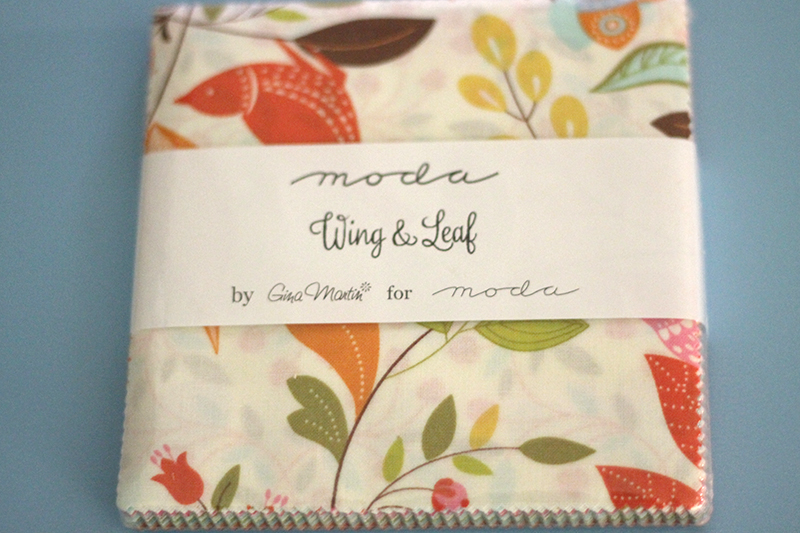
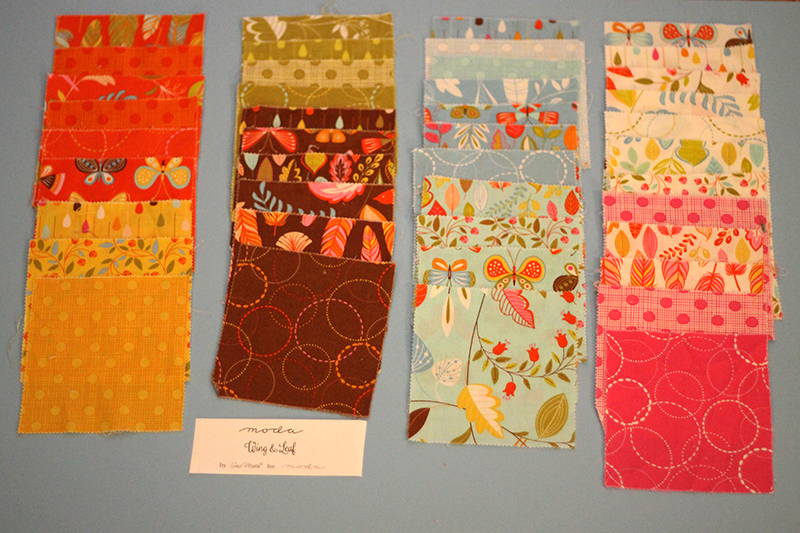
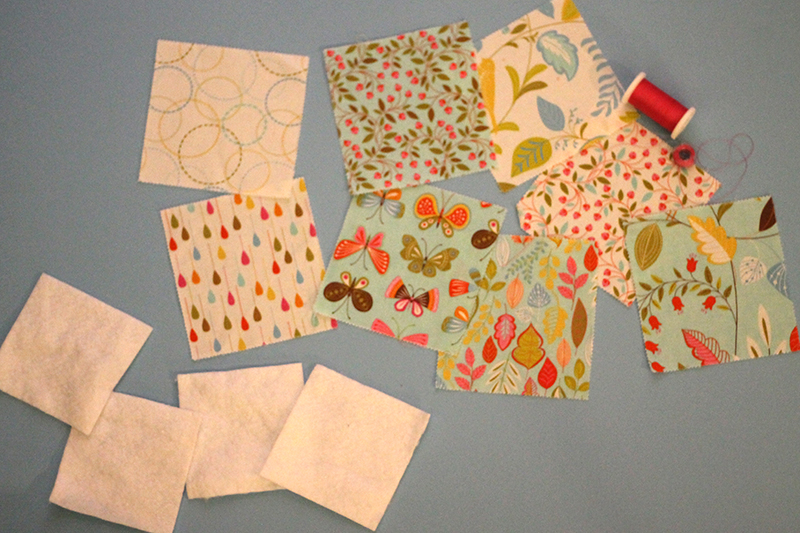
I’m making these coasters for my office so I picked out eight coordinating charms with aqua and pink and cut them down to 4 1/2″ square. Then cut out four 4″ squares of batting. I could have used fusible fleece which would have been easier but I have SO MUCH left over batting, I thought I’d make use of it. I also pulled some bright pink thread out of my thread organizer that matched the pink in the prints.
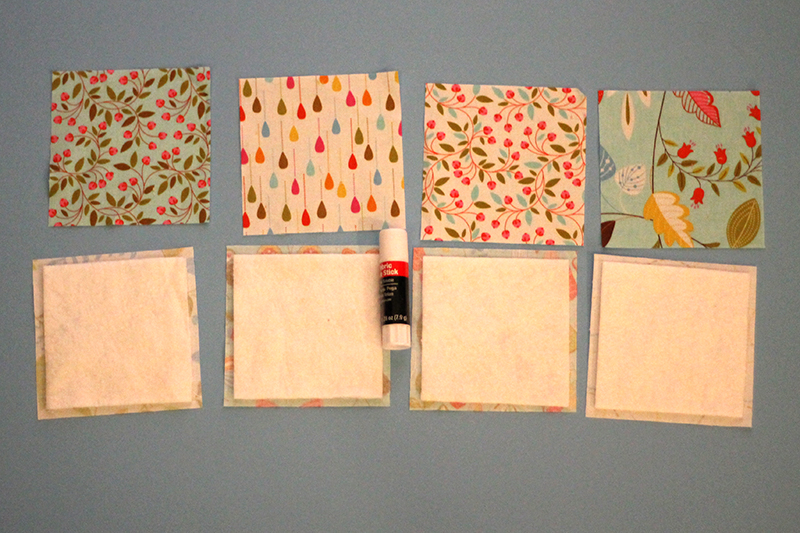
I glued the batting onto the wrong side of four of the squares. I get this fabric glue at Hobby Lobby. (I suspect that it’s just a generic version of Elmer’s glue stick.) It’s temporary and washes right out. I have found so many uses for it.
Then I put right sides together and stitched the four sides and left about a two inch opening on one end.
Once upon a time when I made this type of item, I stitched the four sides and pivoted at each corner 1/4″ away for the end then clipped the corners.
No more. SewMamaSew had this video that had a different method. Very cool and it makes the corners so sharp!
I sew all the way to the end. Then turn the corner down. And sew some more.
Like this:
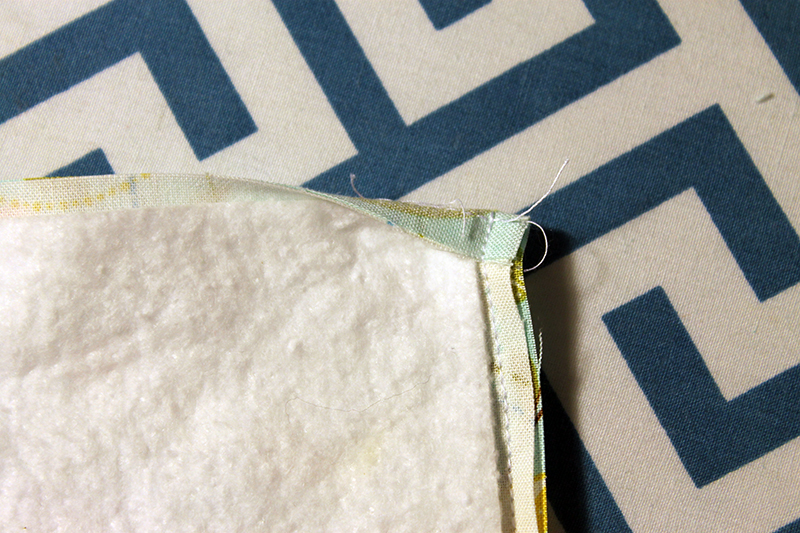
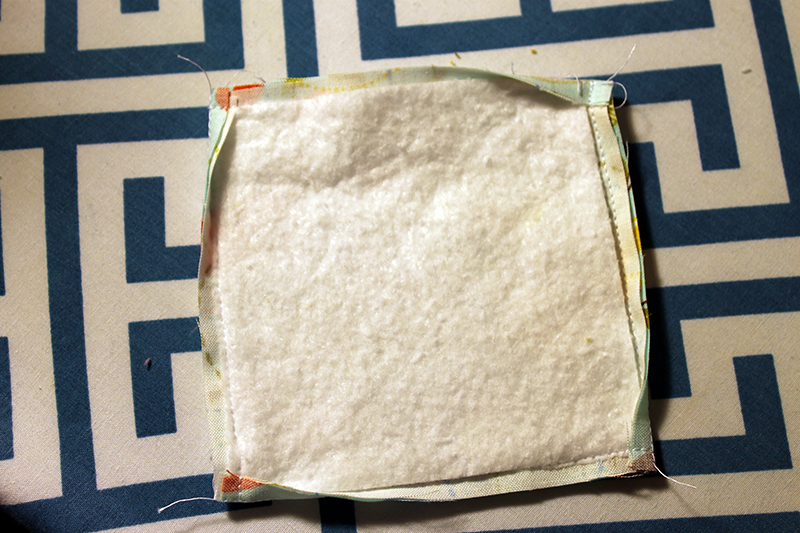
Turn the stitch charms right side out. The corners turn out nice and pointy with just a little poking out. Press.
I did a quick hand-basting of the opening because I do not stitch along the edges on these coasters.
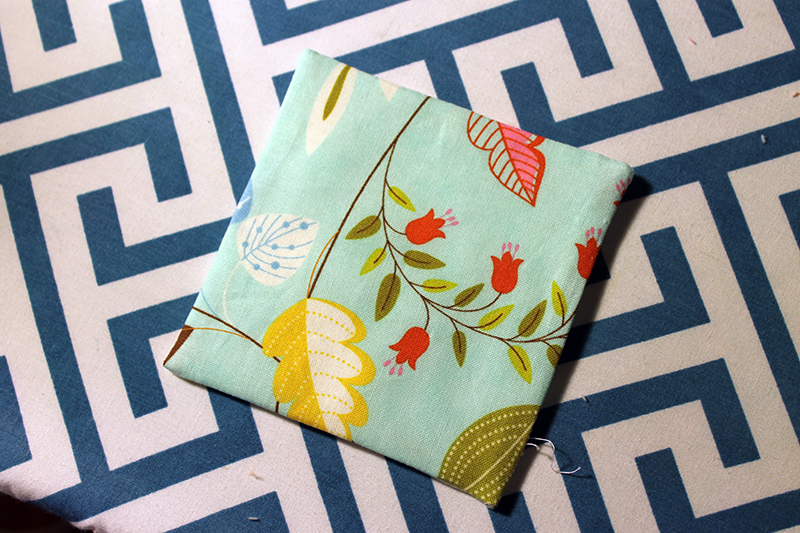
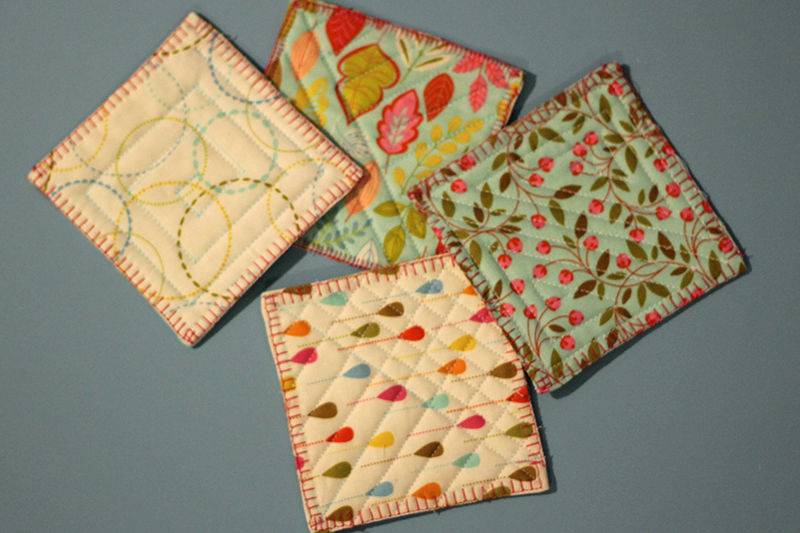
I did a different quilting method on each one. Just to see what I like the best. Then I appliqued around the edges with a blanket stitch. On my machine, The Baby-Lock Unity, it’s called a Quilting Applique Stitch, Q-12, and I set the width to 5 mm and the length to 2.0 mm. Well, I did that on the last two coasters. The first two I tried some other blanket stitches that weren’t all that great. But, this is for MY office and I get to experiment on my own stuff!
Here’s one side:
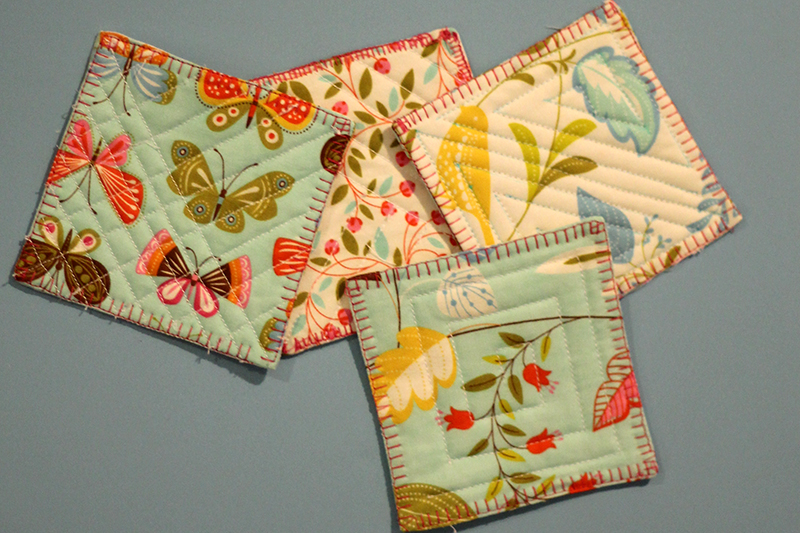
And the other:
 Halloween, Thanksgiving, and Christmas season are right around the corner. Party, party, party! I like to take hostess gifts that I’ve made myself.
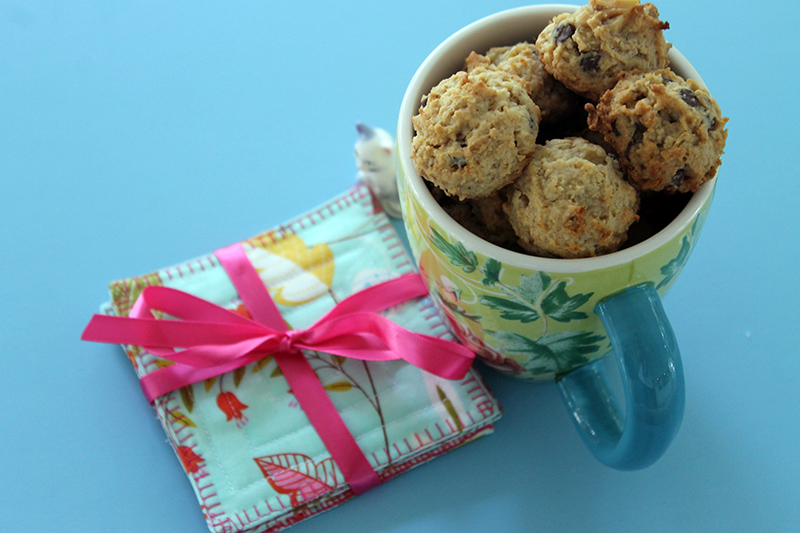
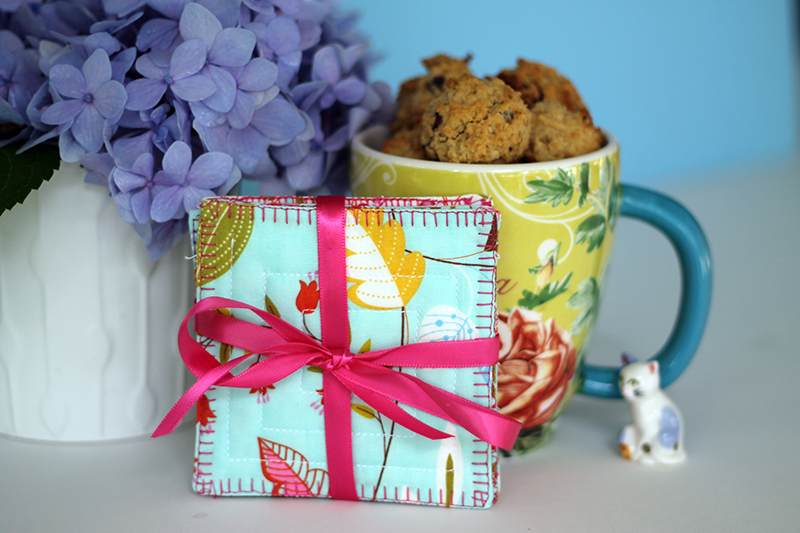
How cute would this be? Coaster, a pretty coffee mug and homemade cookies! (kitty not included)
Or maybe some shiny dinosaurs!
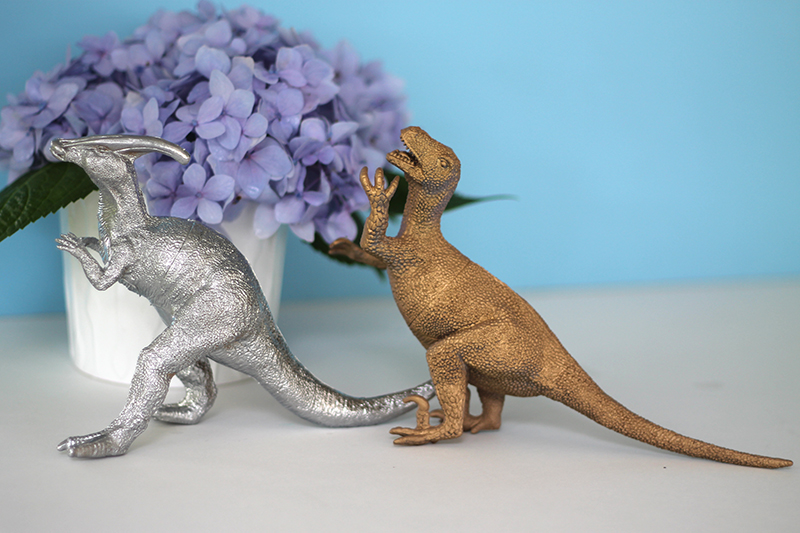
I think the gold dinosaur is upset that she didn’t turn out as shiny!
Okay. No dinosaurs, but I’m working on other hostess gift ideas right now. Hopefully I’ll get a few more put together before the holidays are here!
Discover more from
Subscribe to get the latest posts sent to your email.

Comments
DIY Quilted Coasters — No Comments
HTML tags allowed in your comment: <a href="" title=""> <abbr title=""> <acronym title=""> <b> <blockquote cite=""> <cite> <code> <del datetime=""> <em> <i> <q cite=""> <s> <strike> <strong>