DIY Pretty Potholders
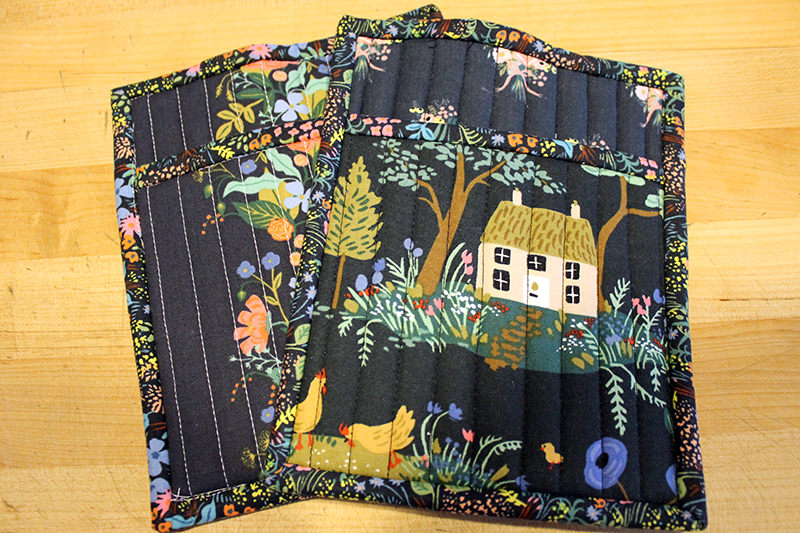
Back to the kitchen.
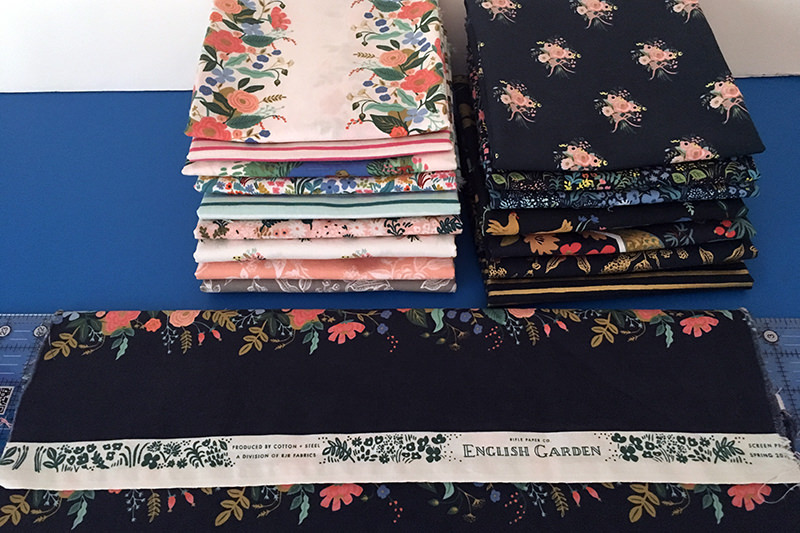
I first mentioned a few weeks ago that I planned on brightening up my kitchen with this Rifle Paper Company fabric English Garden from Cotton & Steel.
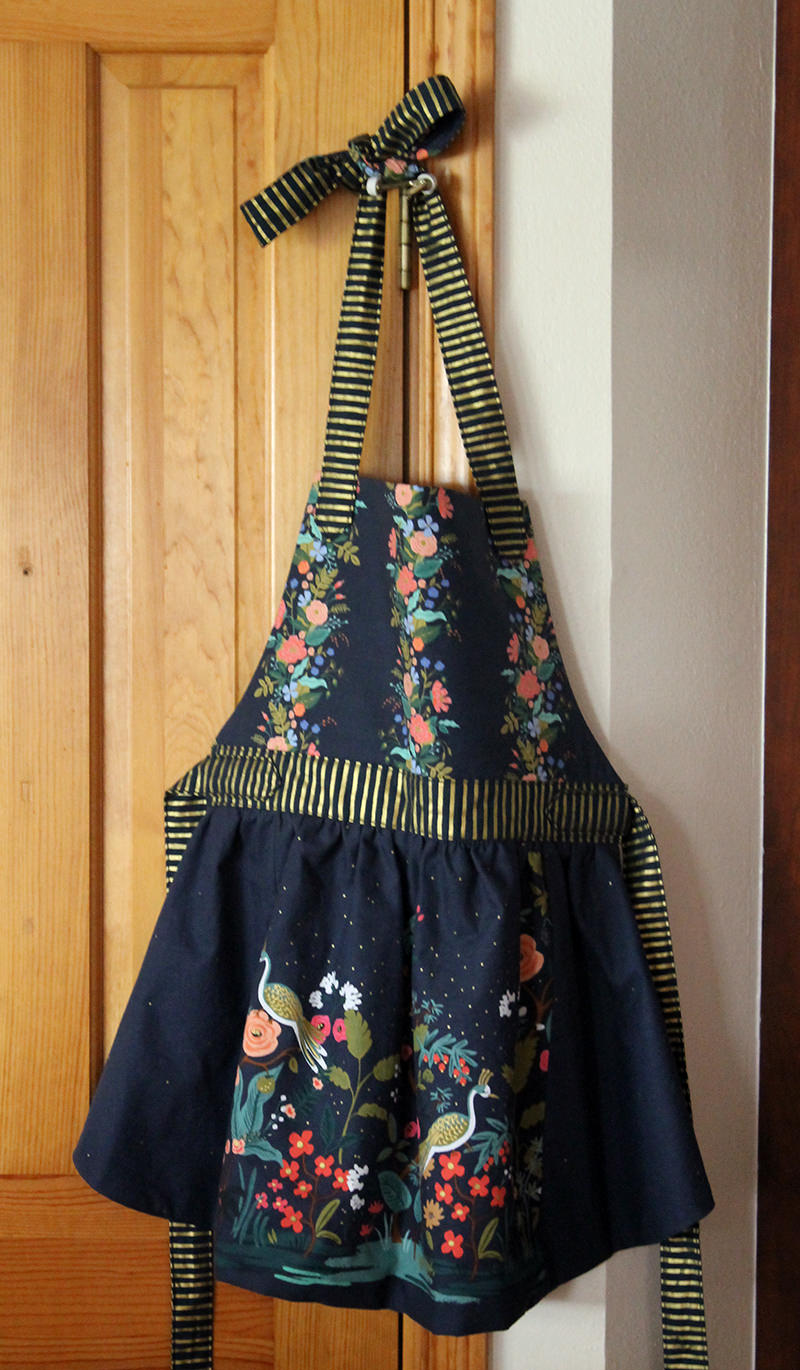
And I did make an apron!
Then I got distracted by the Cricut Maker. (You will not defeat me, Cricut Maker, do you hear me?!)
But I’m back on track! I really need to replace my old worn out potholders and make a few other cool kitchen designs that I have stuck in my head!
I am planning to make a few different versions of potholders and hot pads along with some bowl cozies and casserole holders and am starting with this potholder that has a pocket. (Because those are the type I use the most and now look the worse!)
Although most potholders that you make or buy have a loop, I don’t know why. I assume they are for hanging. But I keep mine in a drawer. So I’m leaving off the loop for these!
For this potholder you will need fabric and insul-brite. I used three different prints. If you were using one fabric you could probably get it all on a 1/4 yard piece. (Not a fat quarter because you need a 36″ length for the trim/binding)
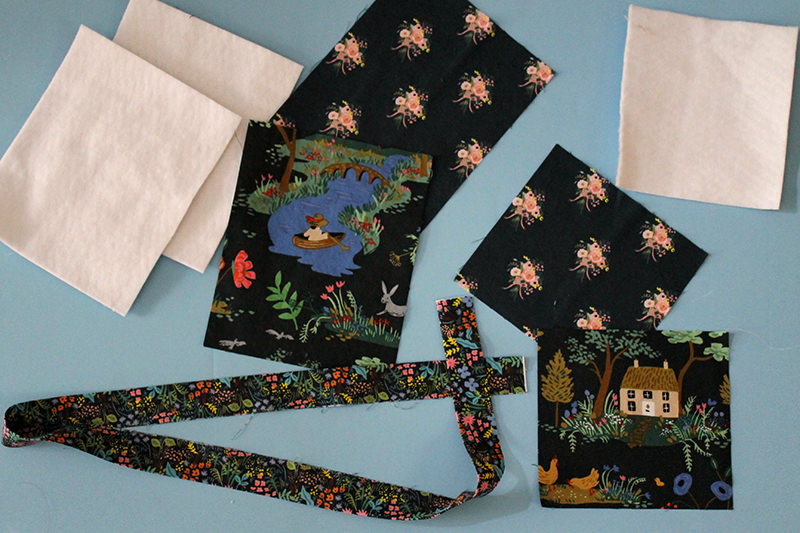
8” x 6 ½” Pot Holder with a pocket:
Two 6” x 6 1/2” piece for pocket (one for front of pocket and one for lining)
One 6″ x 6 1/2″ insul-brite for pocket
Two 8” x 6 ½” pieces for front and back
Two 8” x 6 ½” pieces of insul-brite
Approximately 36” length of 2 ½” fabric that I pressed in half for the trim/binding.
I would also suggest using a 90/14 size needle because you need to get through several layers of fabric and insul-brite. What is insul-brite? It’s batting that has a metallic layer to protect your hands from the heat of the oven. Here’s a link to the product.
You have to make one “quilt sandwich” with the pieces for the front, two layers of of insul-brite and then the back then a second quilt sandwich of front, insul-brite, and lining for the pocket.
Of course, all of those layers move around and I could have used the spray adhesive to fix that problem but I have to spray that outside. Using it in my sewing room is just not feasible–that stuff is sticky and smelly! I usually do it in the garage and I have to move my car out and then I have to clear off my workbench….
I just didn’t want to take the time. For these little potholders. So…..
I glued them all together with a glue stick. It wasn’t even an Elmer’s glue stick. Just the stuff from the Dollar Store. A long time ago I bought the fabric glue sticks at Hobby Lobby and I couldn’t tell the difference between the fabric stuff and the cheap stuff. (Other than the price!) I wouldn’t do this with a quilt or something precious. But these are potholders. That will get dirty and burnt and be washed until they fall apart. I thought the glue was a brilliant idea. (After I wash them I might change my mind!)
So I glued the layers together for the main piece. Then quilted!
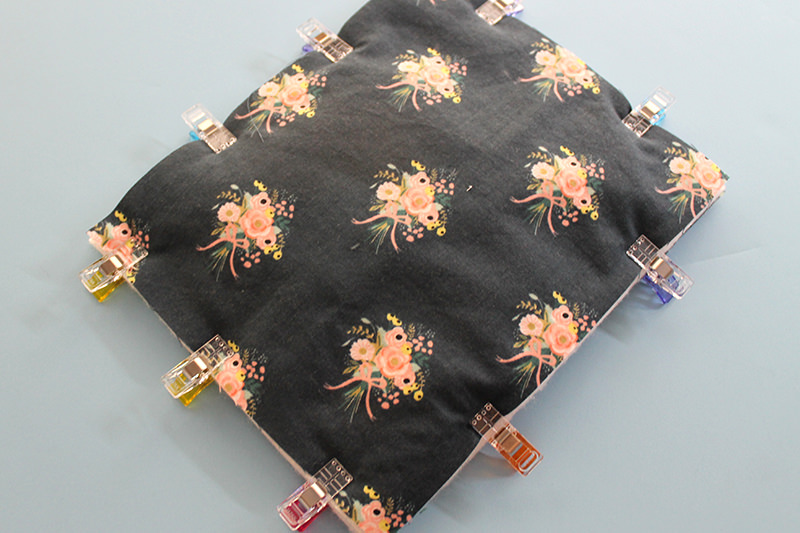
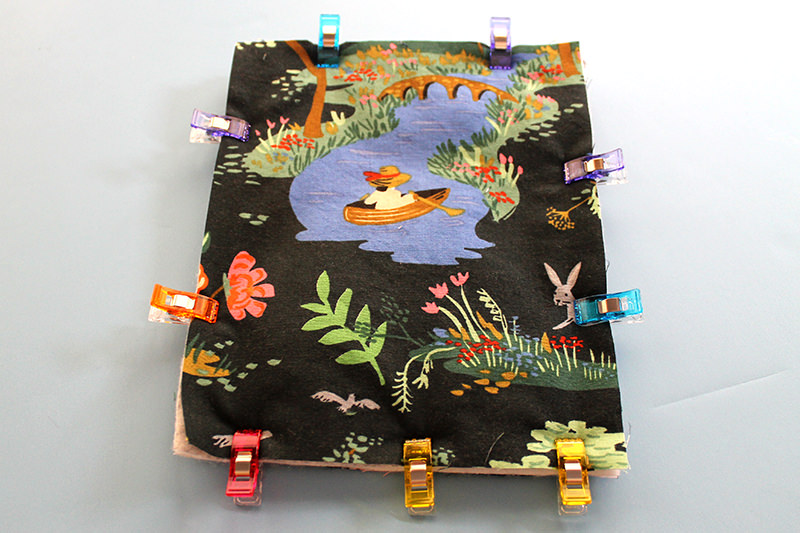
I quilted about 1/2″ apart. But any old quilting style would work. I used matching thread for this potholder. (The main fabric is actually a very dark navy blue but it shows up in all my snaps as black.) I used contrasting thread on my first “test” potholder and it isn’t nearly as nice (but still useable)!
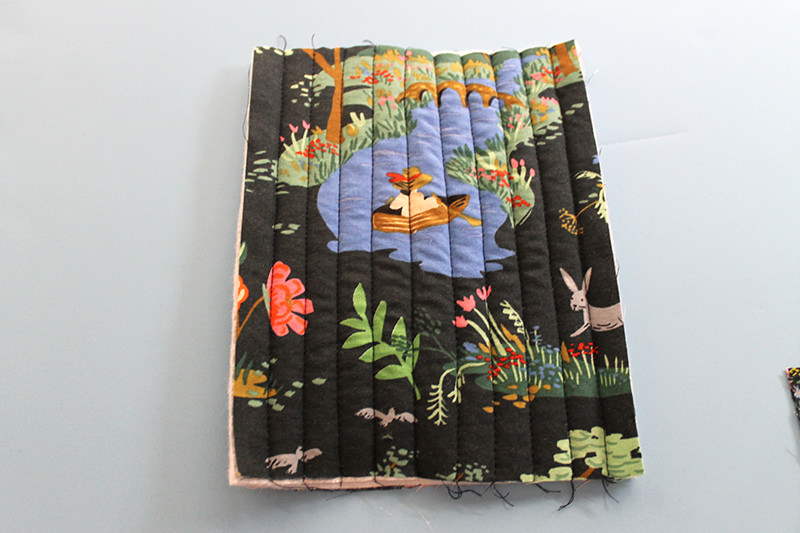
Then I did the same with the pocket quilt sandwich.
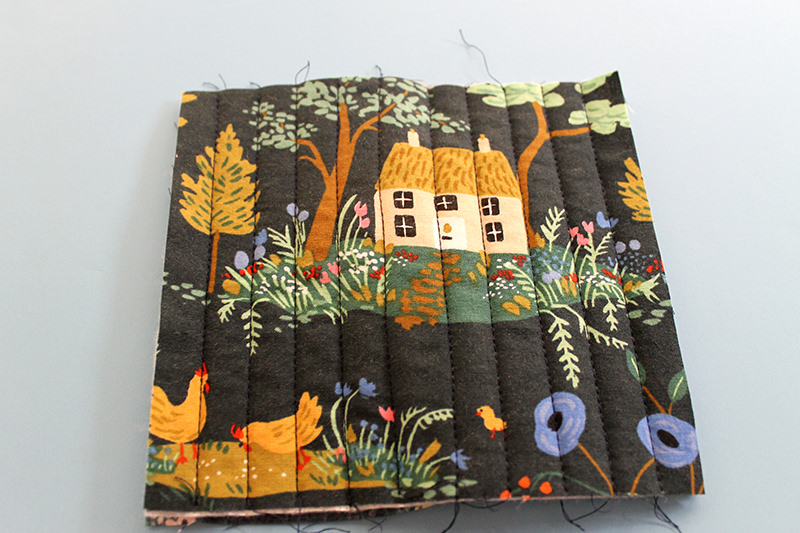
Next I put the trim on the top of the pocket with a 1/4″ seam. (Raw edge of trim on top raw edge of pocket with the fold on the bottom)
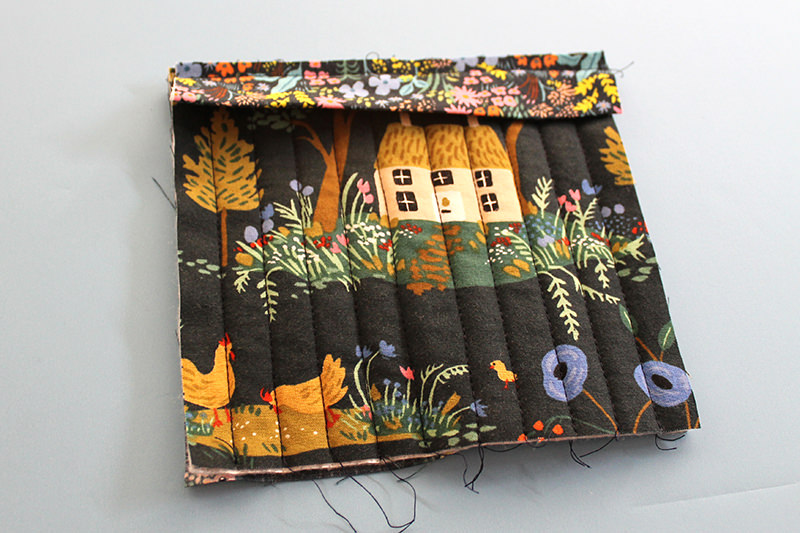
Flipped it over to the other side–making sure there was a little more trim on the back side! And then stitched in the ditch! Which means I had the needle of the sewing machine right in the seam!
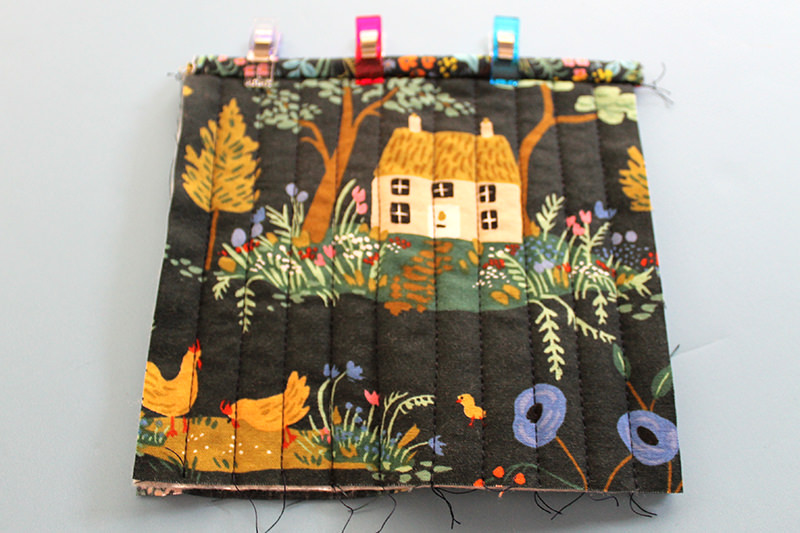
Next I placed the pocket on top of the main piece with the bottom edges and sides matching. Stitched around the three edges.
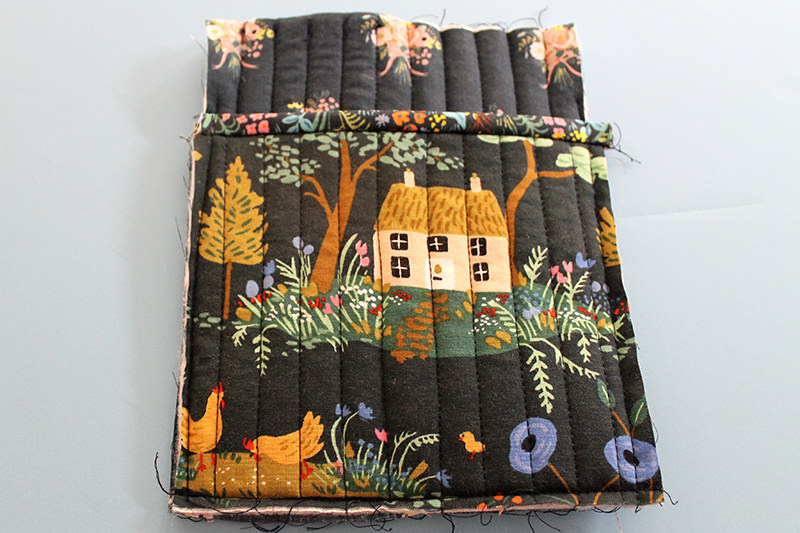
If the pocket is wider than the main piece (like this one obviously is) trim to match edges!
I put the binding on exactly like I do quilt binding. (You can refer to Craftsy for a good tutorial on quilt binding)
Other then when I joined the ends. I leave a couple inches unstitched when I start and and turn the raw edge of the beginning under 1/4″. Then I stitch the binding and miter all the corners. When I get to the last bit, I tuck the end into the beginning piece that I turned under 1/4″. Then I stitch that part down.
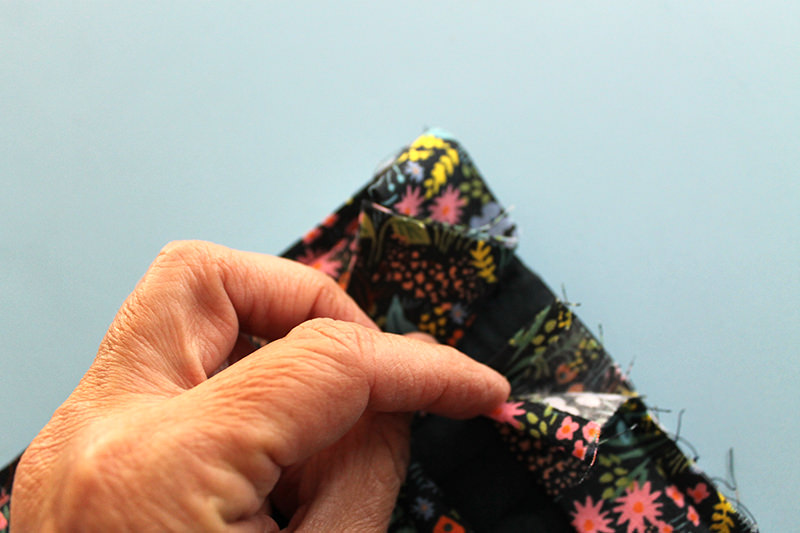
This is where I tucked the ending into the beginning!
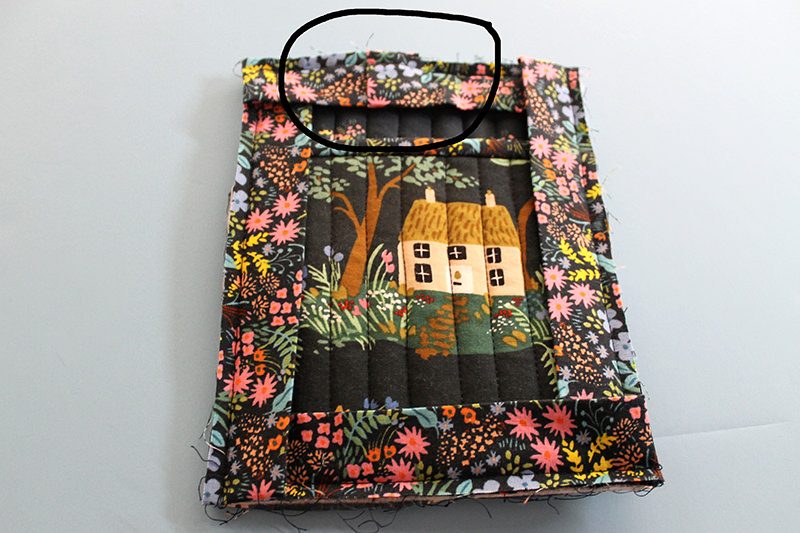
Then I flip the binding over to the other side, making sure more of it is on the back side.
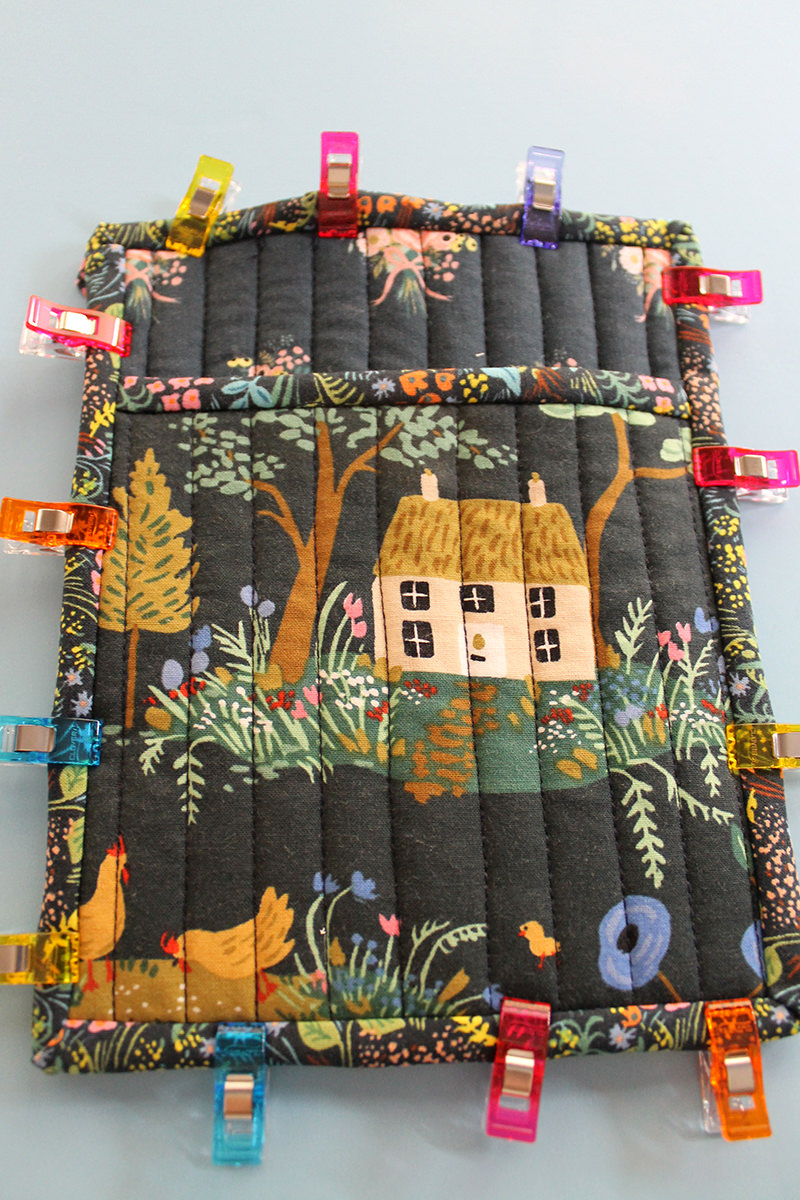
And I stitch in the ditch!
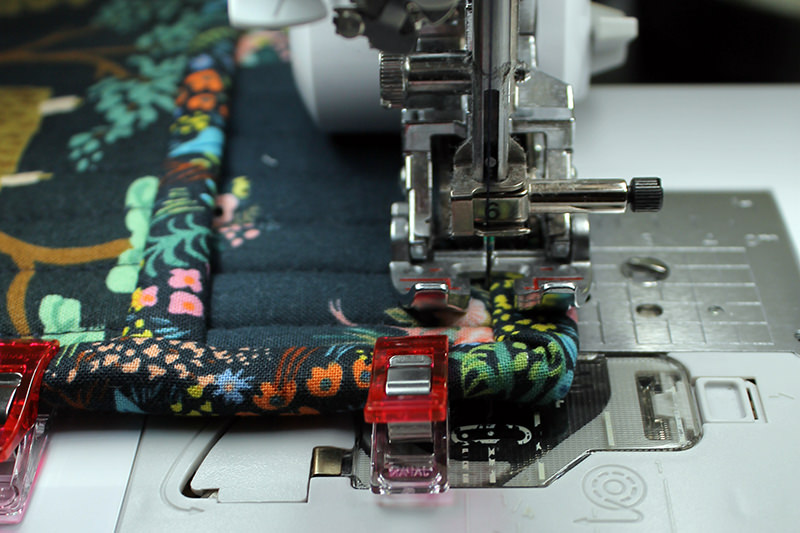
When I’m finished I make sure that all of the back of the binding is attached! For this potholder I used the same color thread as the main fabric in the top thread and the bobbin so this stitching is not as obvious.
And that’s it!
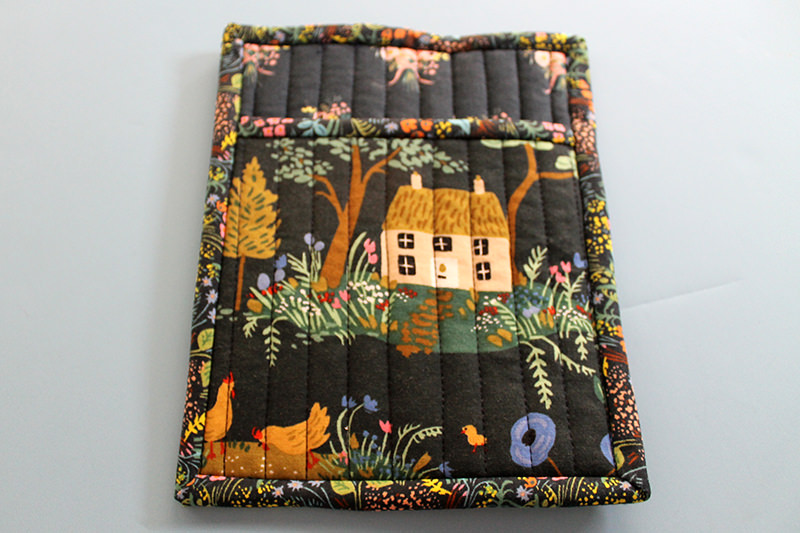
The test potholder is on the right with contrasting fabric. Think I like it better with same color thread!
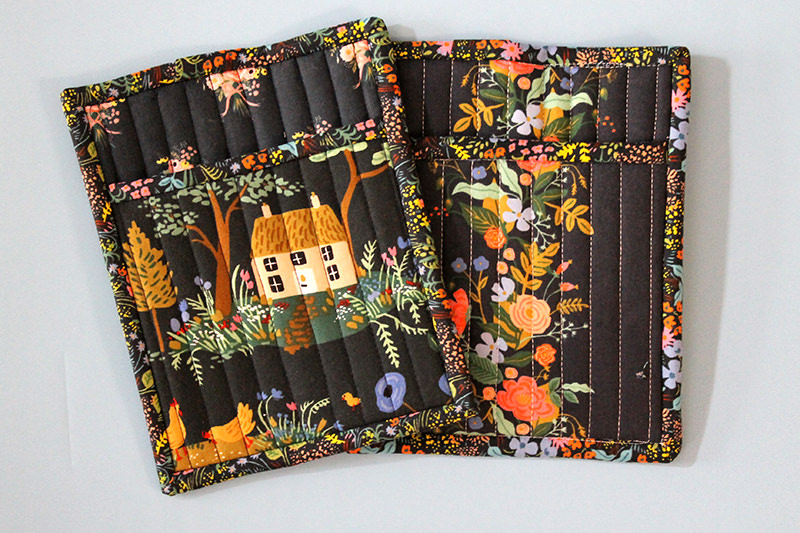
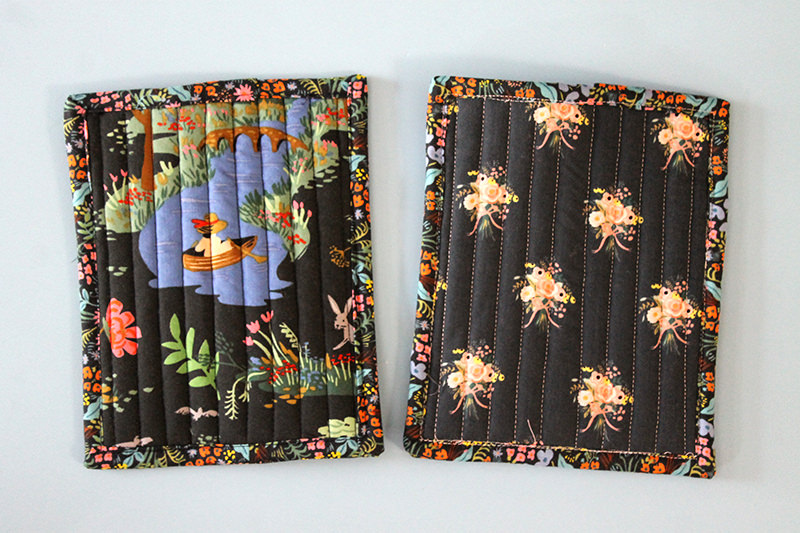
Now I need to make a few more and then move on to some different styles of potholders and hot pads!
Any questions, let me know!
Discover more from
Subscribe to get the latest posts sent to your email.

Comments
DIY Pretty Potholders — No Comments
HTML tags allowed in your comment: <a href="" title=""> <abbr title=""> <acronym title=""> <b> <blockquote cite=""> <cite> <code> <del datetime=""> <em> <i> <q cite=""> <s> <strike> <strong>