DIY Pressing Table
Almost exactly a year ago I wrote a “Let’s Get Organized” post about my awesome sewing room.
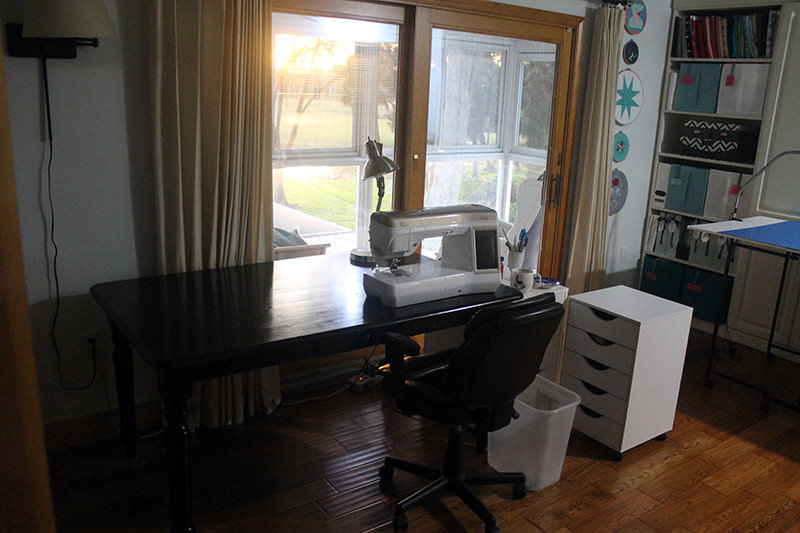
While it was pretty perfect, I had a few things I wanted to change. And one was a “pressing table”. ‘Cause I didn’t need that pointy end on the ironing board! I need width and length for the fabric and quilts that I press.
I did a lot of research–mostly on Pinterest. And there were so many great ideas. I decided that I needed a new table that I would turn into my pressing station. So Terry and I went off to Ikea and bought this really great flat surface and legs to bring it up to a comfortable height. Also bought a new Ikea cabinet (maybe more about that later)
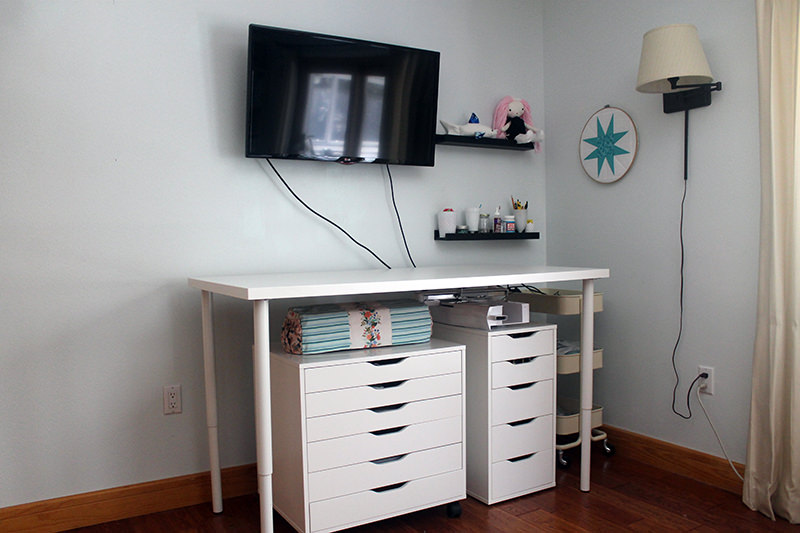
And then I read Elizabeth Hartman’s post about her pressing table. She also used a table top and legs purchased from Ikea and then put on a plywood top to protect the table top. Next she made a form fitting batting cover and then topped that with a cotton slip cover with elastic.
At first, I decided that I wouldn’t do the plywood top. Mostly because I didn’t want to deal with going to Home Depot and getting the plywood cut. Really, the Ikea table is a pretty good price so I thought if it got damaged, I’d just get another one.
But. I procrastinated. And usually, if I procrastinate there is a reason. Cause I’m really a “Can do” kind of person that goes for it and gets it done. Unless my little inner thought process has an issue. And I finally recognized that the issue was I really loved that table and didn’t want the top to get ruined. Have to admit, when I have ironed things on my cutting table–with several layers of towels–the dampness does go to the table. I rarely do this and I wipe the table down ASAP so no damage–yet.
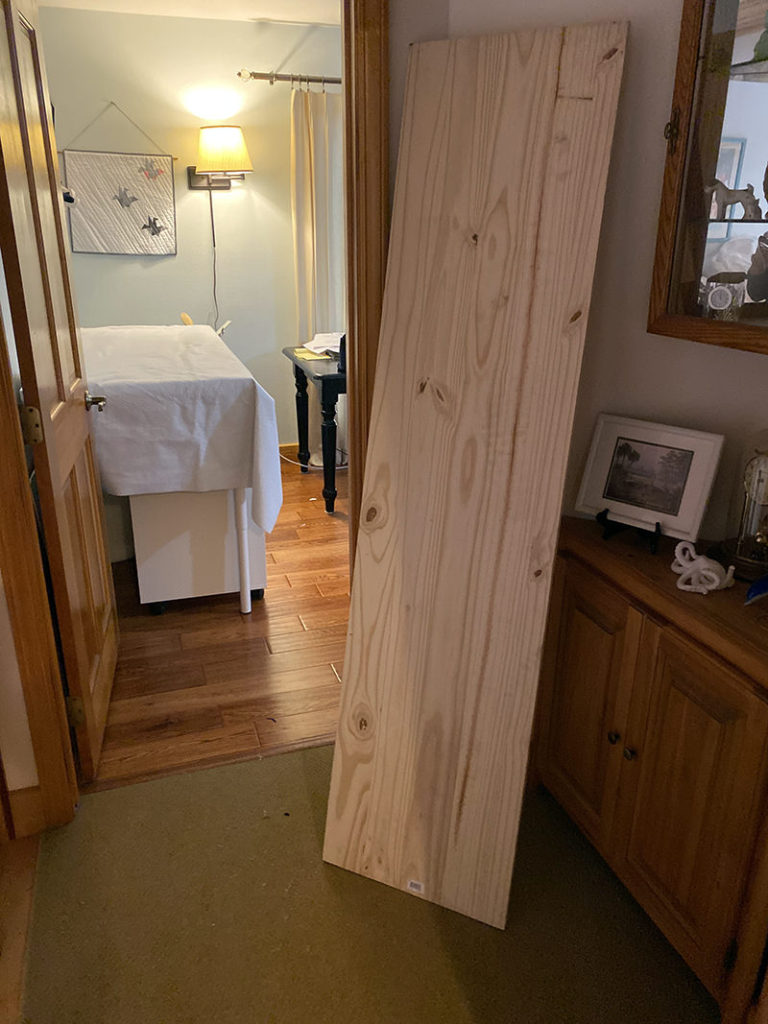
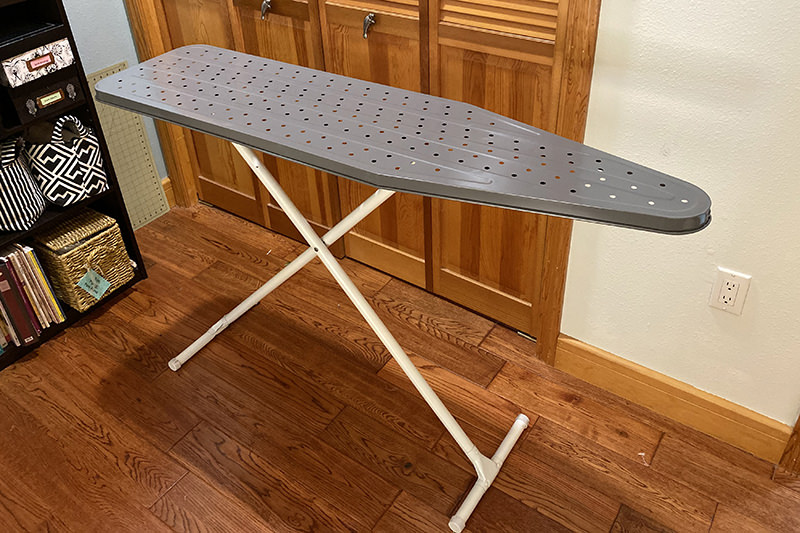
Anyhow. I knew that my really smart inner thought process was totally against ruining this table. And I totally loved having another flat surface in my sewing room. I had a second ironing board tucked away and I asked Terry if he could make a plywood platform for the top of that board that I could turn into my pressing station. Of course, he said yes cause he is also a “Can do” kind of person.
So we were off to Home Depot where we found a 72″ x 17 1/2″ piece of wood that was already cut and we bought another two pieces of wood to frame the ironing board that were 48″ long x 1 1/2″ high by 3/4″ wide. Terry drew the top of ironing board onto the back of the board and then put the brackets on to frame the top piece by gluing and screwing.
Like I already said, I did a lot of research and almost every pin that I looked at had different layers of different battings and fabrics. This is how we made this cover–there are many different suggestions out there on the world wide web–all are correct!
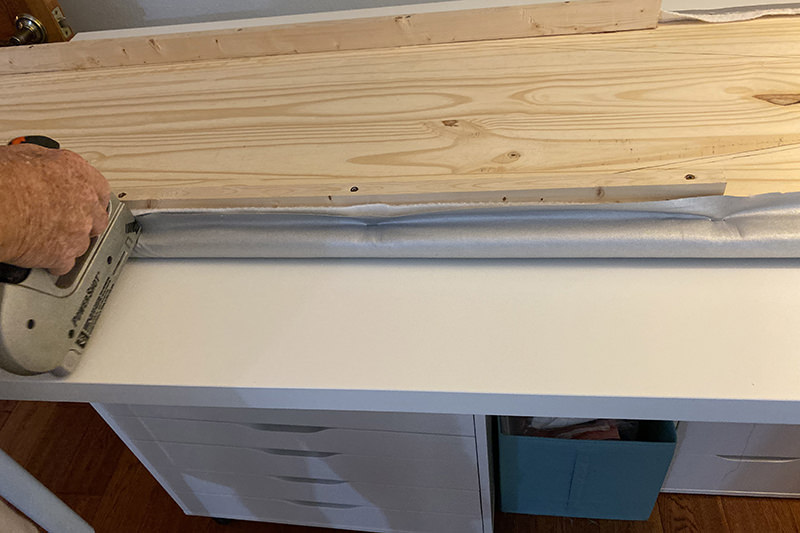
I decided to start out with insul-bright as the bottom layer. It’s a batting that has a metallic layer included. I use in my potholders. I thought it would protect the plywood a wee bit. So Terry and I stretched that out over the plywood and he stapled it on.
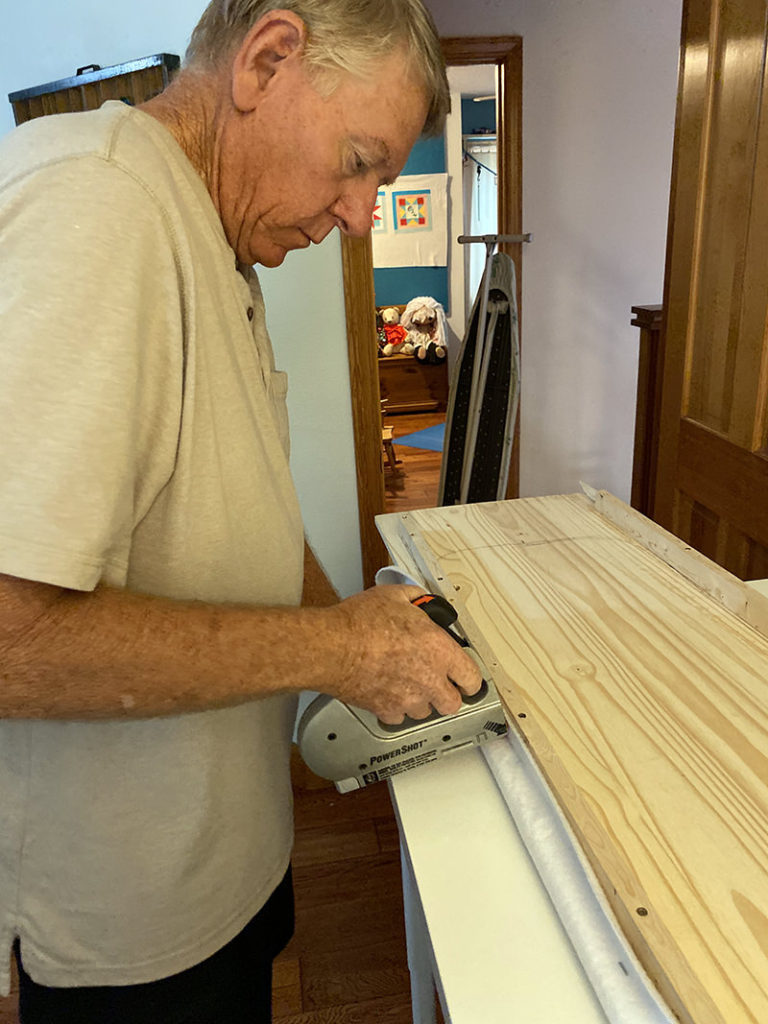
And followed that with a layer of Warm and Natural batting. I had planned on using all cotton batting but when I tried to stretch it over the insul-bright, I could hear the little fibers breaking apart so I went with the Warm and Natural batting.
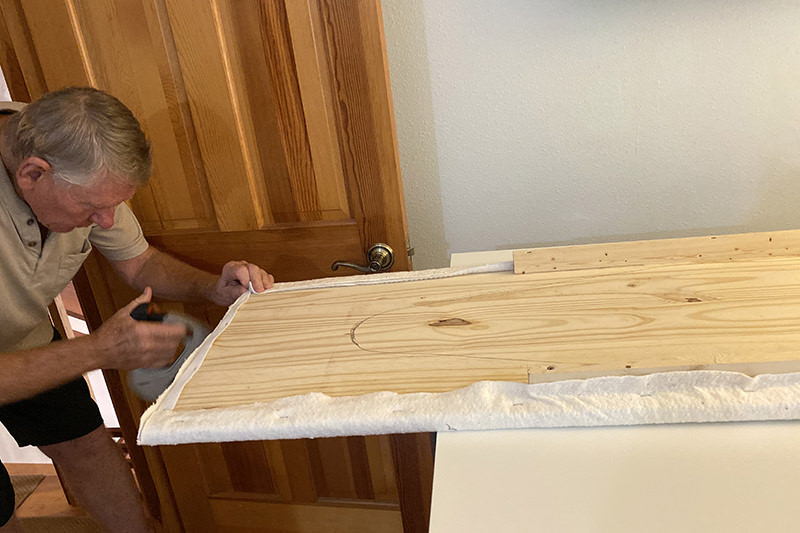
We topped those two layers with 60″ Ironing Board Fabric Silver Fabric that I bought from fabric.com.
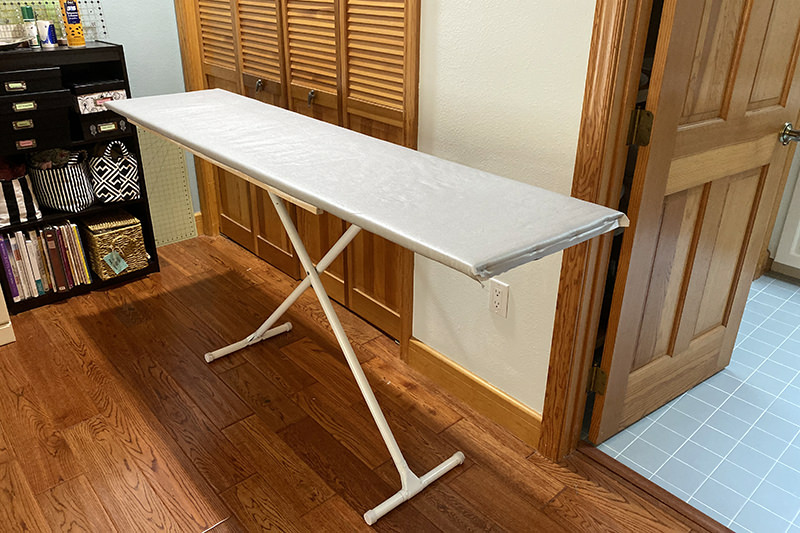
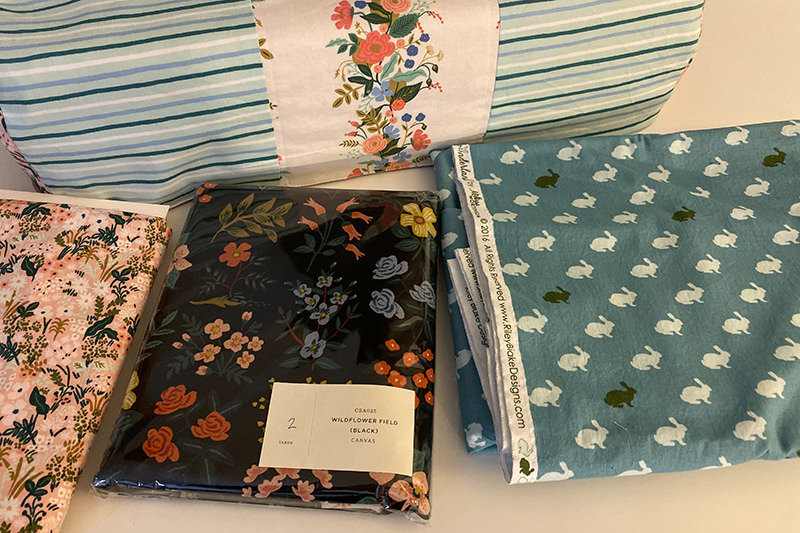
I could have stopped here. I think the ironing board fabric would have been fine as the top layer but I wanted to make a removable cover that I could wash or replace. All those other layers are stapled which I am calling permanent! I had ordered the fabrics for the 60″ Ikea table including 2 yards of this lovely Rifle fabric that matched the cover I made for the Cricut Maker and the canvas fabric that I have to recover my sewing chair. (Because you know I want my sewing room to coordinate!) Two yards were not quite enough since the cover had to wrap over the pressing table and it is almost 73″ long now with the three layers added. It’s not like I could add more fabric because I DO NOT want a seam that will cause wrinkles while I’m ironing.
I went through my stash of fabrics and found this bunny print. I’ve had it for quite some time. I think I ordered it for the backing on the Splendid Sampler then decided against it. I put it up against the other fabrics and thought “close enough”! (And I really like all things bunny)
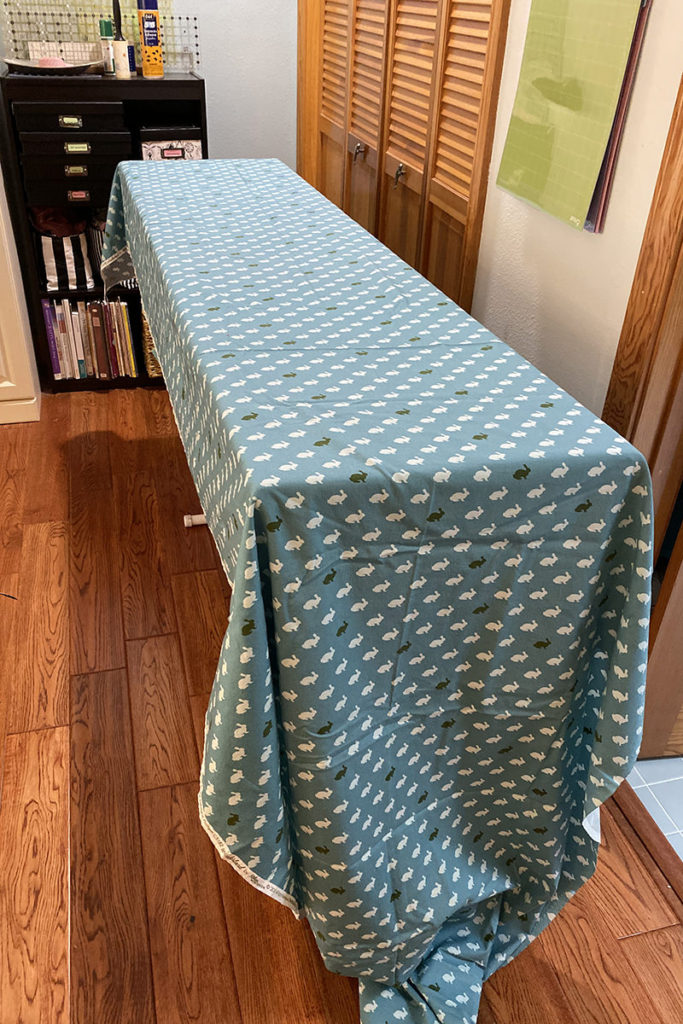
The top of the pressing table is about 72 1/2″ x 18″. The depth is about 3/4″. I did all these calculations to figure out the size I should cut out then was afraid it would be too small. So I ended up cutting a piece that was 80″ x 25″. And I would put all those calculations that I used right here but I don’t remember what they were! But it was big enough to turn under 1/4″ then turn under another 1/2″ to run the elastic through. And I have no idea how long the elastic was. But it was 1/4″ wide. I’m a total loser as a DIY blogger. Right?
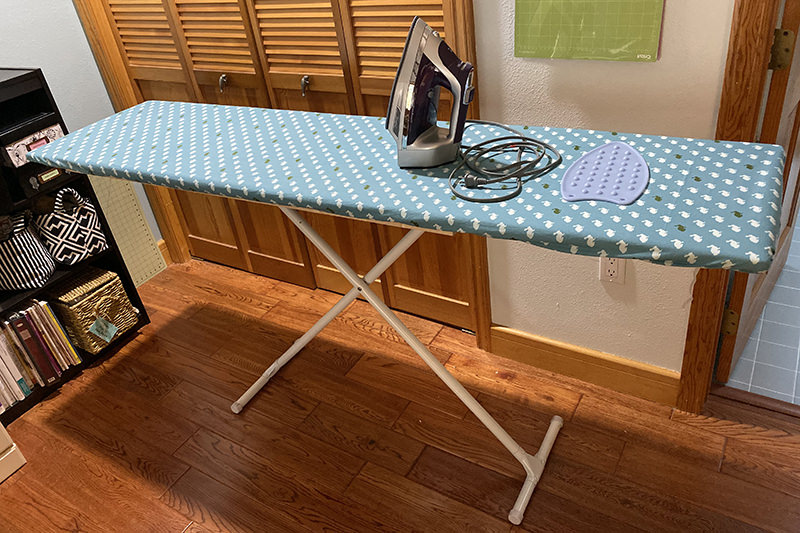
So I have been using my pressing station for a few months. The only complaint I have is that the ironing board squeaks while I’m using it. Constantly. There was a reason that I tucked that ironing board away and bought a new one! But I forgot about that.
I love it even with the obnoxious noise. It’s light enough that I can take the pressing board off and use the ironing board in the rare occasion that I need a pointy end. When we have guests and my sewing room turns into a bedroom, the pressing top and the ironing board slides right into the closet.
So Perfect! Now I need to recover my chair which is really sad now! (Or maybe just break down and buy a new one!) And then my sewing room will be even more awesome!
Discover more from
Subscribe to get the latest posts sent to your email.

Very nice idea beautiful organized sewing room
Thank you so much! I find it easier to work efficiently when I have everything organized and pretty!