DIY Potholder with Hanging Loop
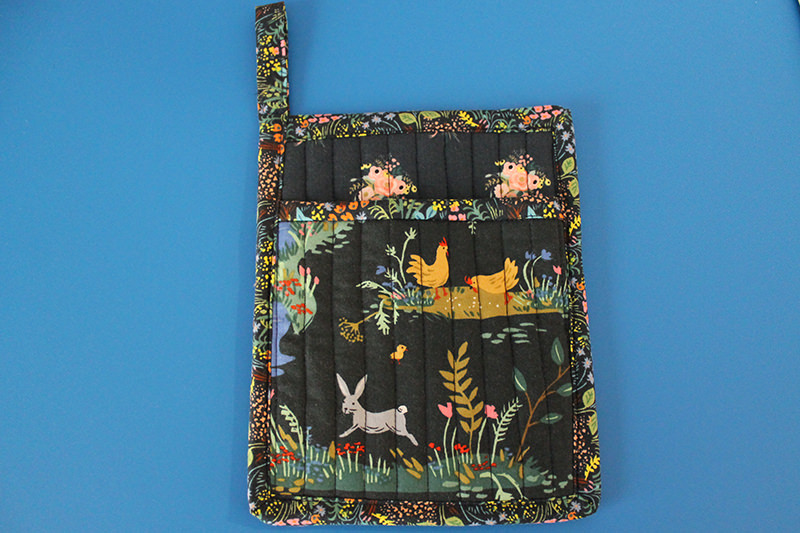
I’ve been thinking about hostess gifts lately. A lot. Because it’s that time of year. Parties, dinners, events.
Since I started making these potholders, I thought that maybe that might be a good gift. Yes? Then I started over-thinking the whole leaving the hanging loop off decision I made for the first two potholders. If I was making these as a gift, I should probably put the loop on.
So I did some research and came up with a new method for a pot holder with a pocket with a hanging loop. (I really like to have that pocket on my pot holders for a little added protection for the top of my hand!)
While the sizes and insul-bright batting are the same, the method of putting the binding on is a bit different. So now we have another post and tutorial–on basically the same thing. A pretty potholder!
I’m using the same measurements as the DIY Pretty Potholder that I posted about two weeks ago. With just a few changes.
I found some inspiration from Sew4Home.com and their Nature Brights Kitchen: Quilted Hot Pads. Their hot pads are a different size and style than mine with the pocket, but if you want an excellent tutorial on making hot pads you should definitely check it out. There are also good instructions for Faux Mitered Corners which is how I put the binding on these pot holders.
8” x 6 ½” Pot Holder with a pocket:
Two 6” x 6 1/2” piece for pocket (one for front of pocket and one for lining)
One 6″ x 6 1/2″ insul-brite for pocket
Two 8” x 6 ½” pieces for front and back
Two 8” x 6 ½” pieces of insul-brite
34″ x 2 1/2″ for the binding around the potholder and the loop for hanging.
6 1/2″ x 2 1/2″ trim on the pocket.
First make a “quilt sandwich” with the piece for the front, two layers of of insul-brite and then the back then I made a second quilt sandwich for the pocket of front, insul-brite, and lining. I glued my quilt sandwiches together with glue stick. You could also use spray adhesive.
I quilted each sandwich.
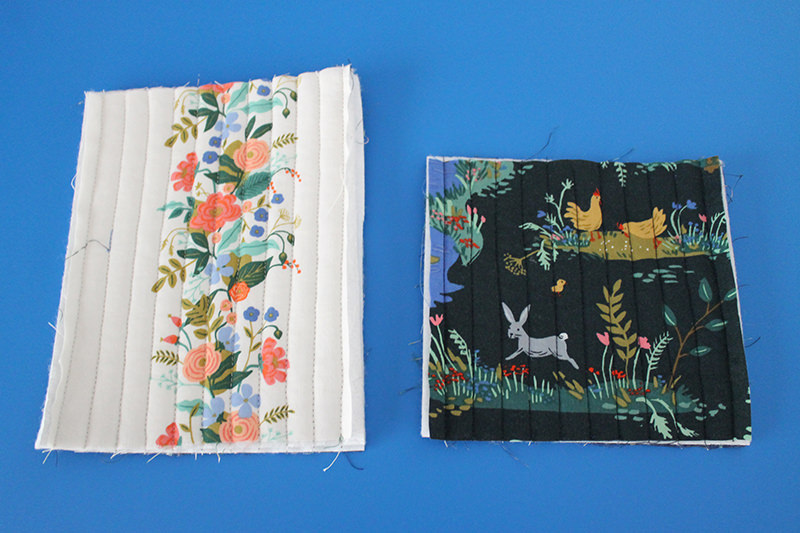
I used the white fabric for the back of the potholder.
Then added the trim onto the pocket just like I put binding on a quilt.
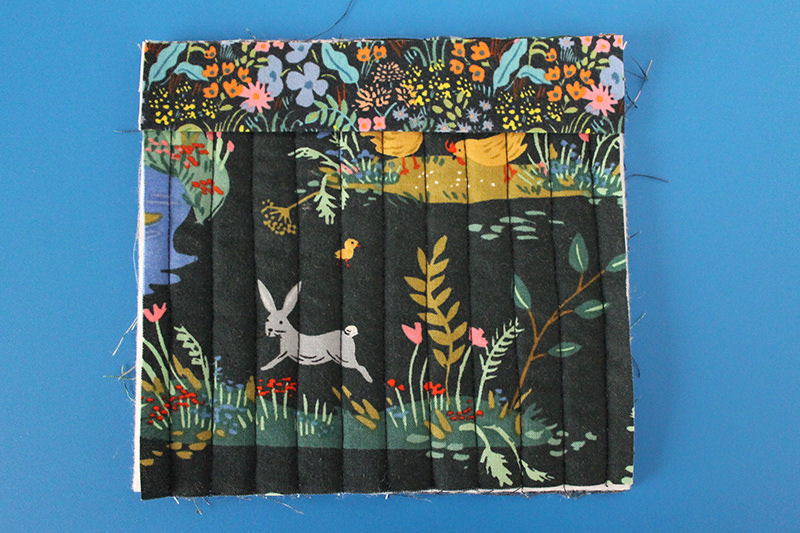
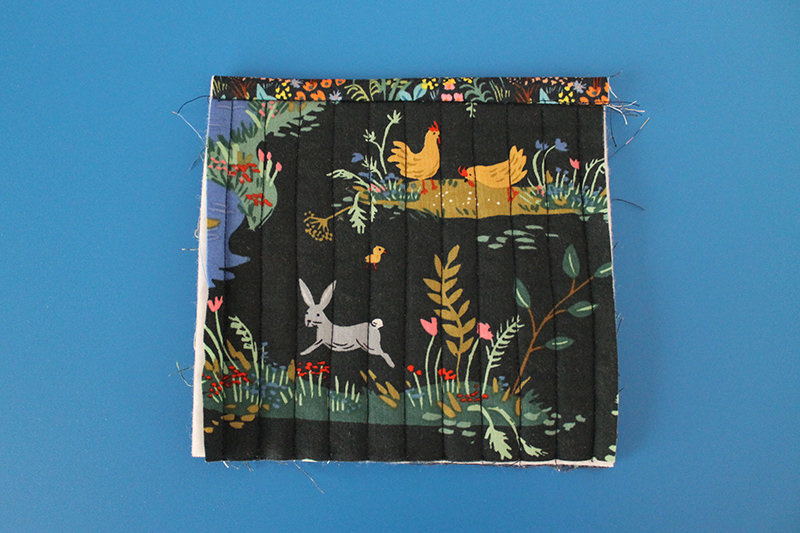
I placed the pocket on the front of the main piece and stitched it down on three sides.
Press under one end of the 34″ binding 1/4″
Press the binding in half, press each half into the fold.
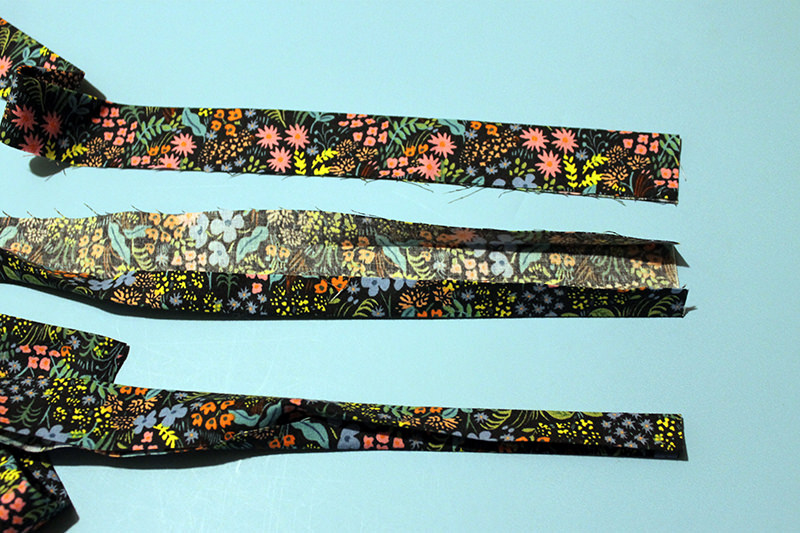
Top top strip is pressed in half, the middle is each half pressed into the center fold, and the bottom is pressed together so it can go on the potholder.
Put the unpressed end of the binding on the upper left corner. The center fold will be on the raw edge of the pot holder. There will be equal amounts of the binding on each side of the pot holder.
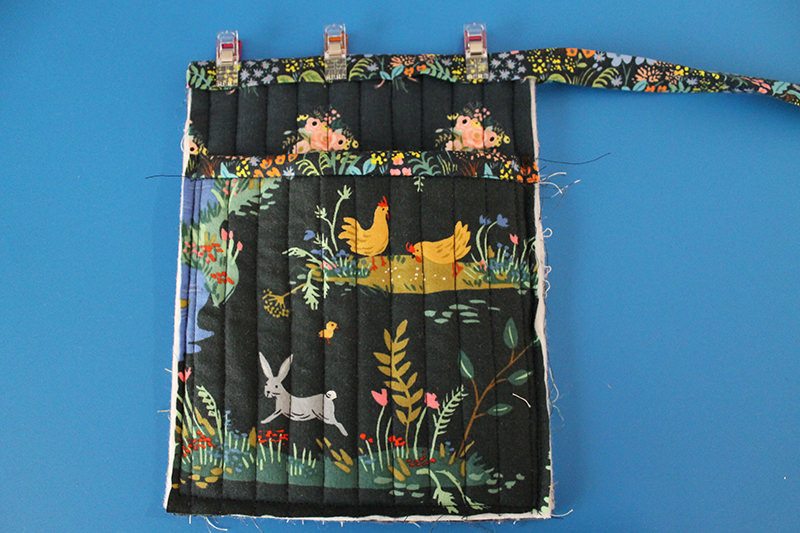
Stitch along the edge.
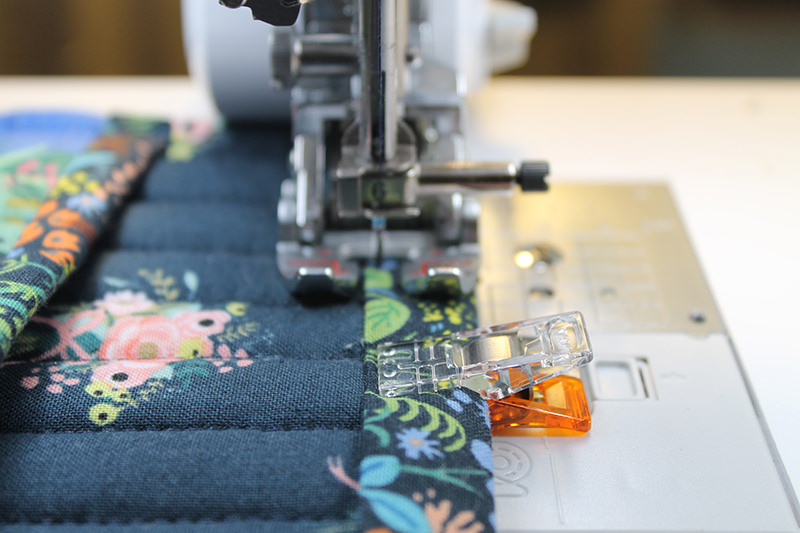
Stitch to the first corner
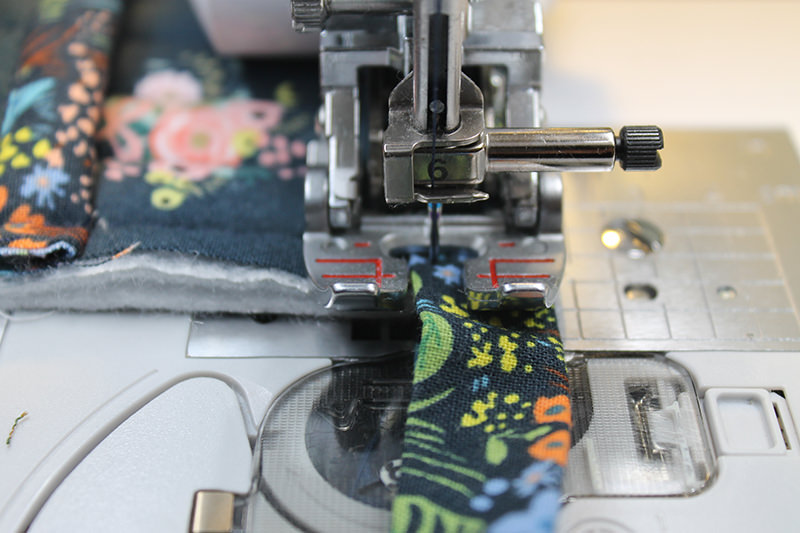
and then stitch backwards enough that you can manipulate the fabric on the corner.
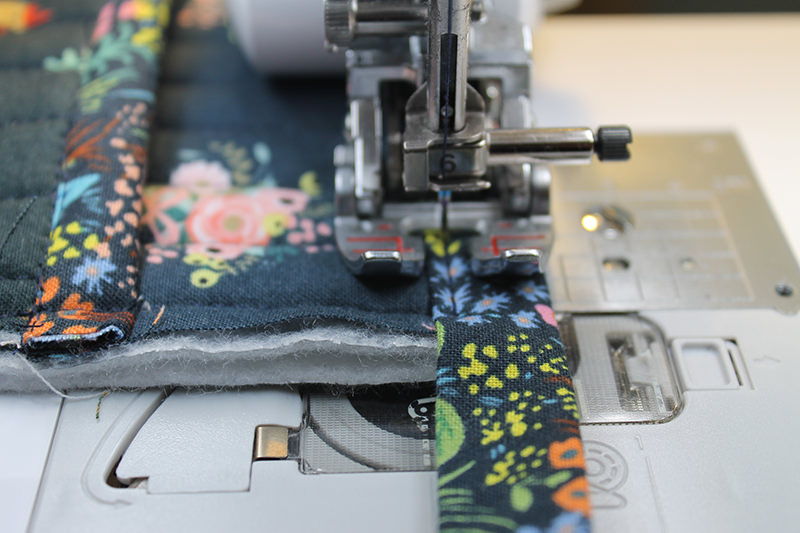
Leave the needle down. Pull the binding around the corner, making sure it is equal on the top and bottom. A little fold should automatically pop up.
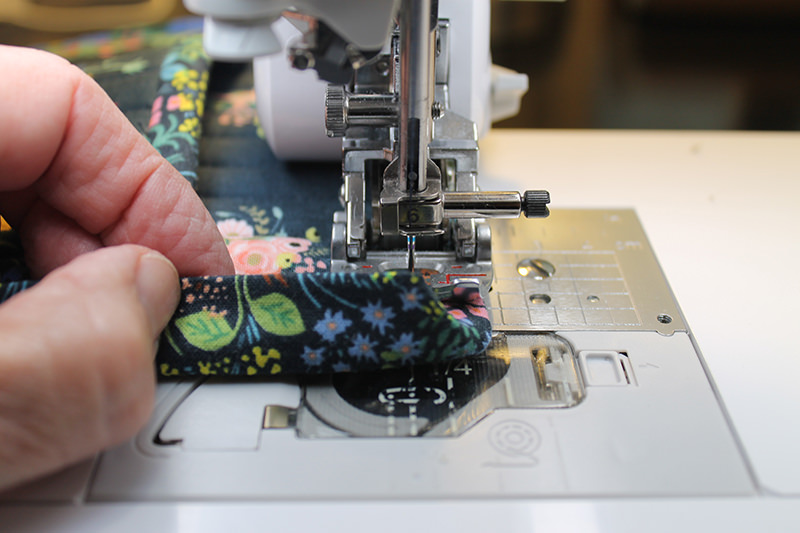
Press it down with your finger to make a perfect faux mitered corner.
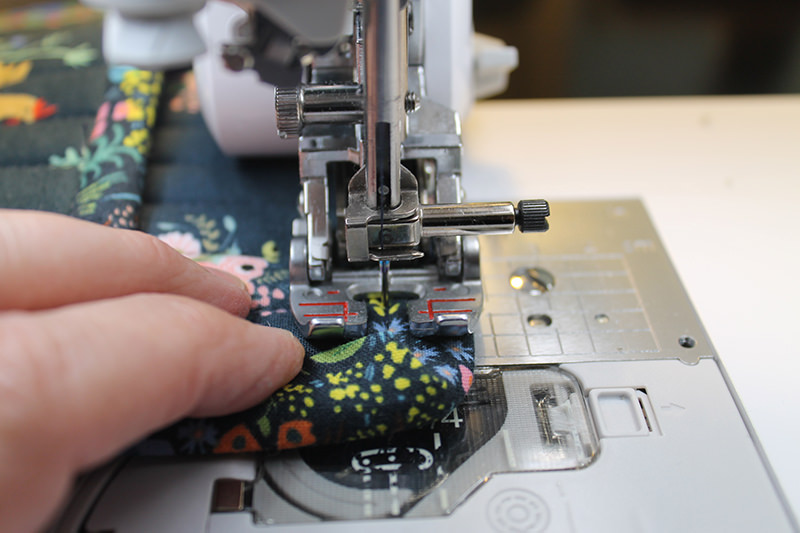
Stitch to the corner. Leave the needle down then turn the corner.
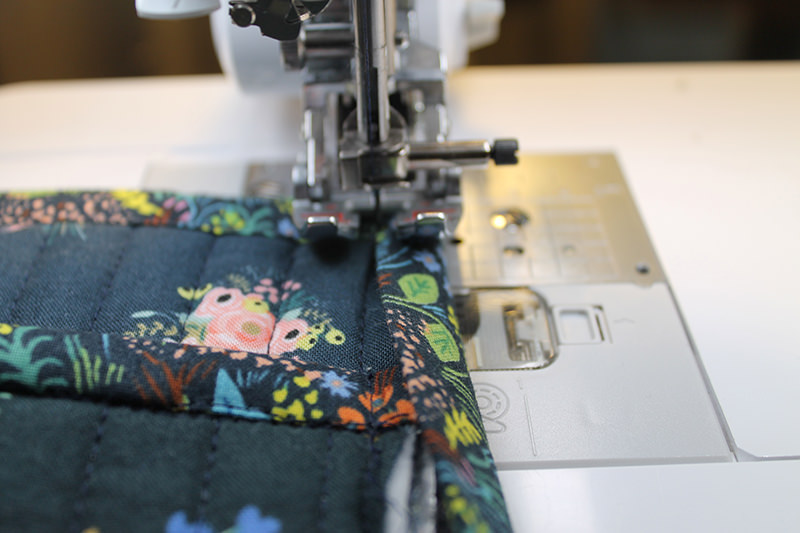
Do the same for the next two corners. Stitch to the upper left corner and continue stitching to the end of the loop.
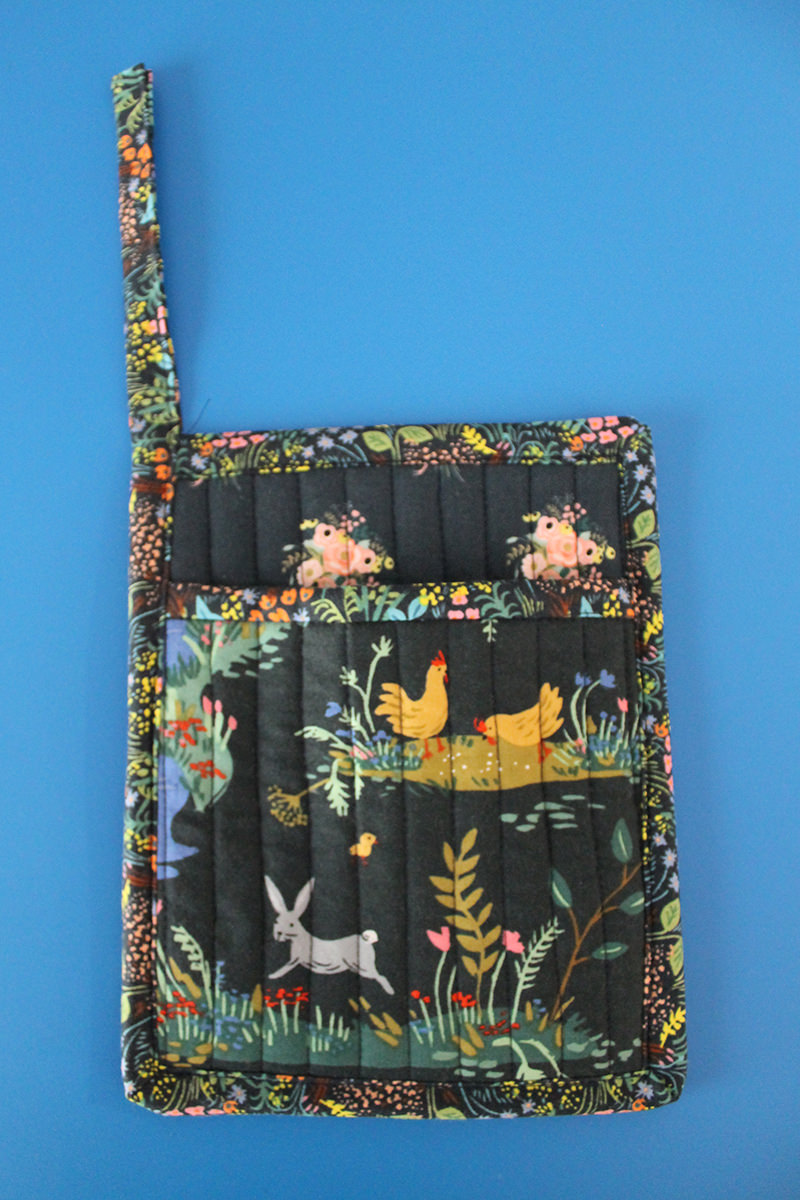
You should now have 5 inches at the end to make the loop.
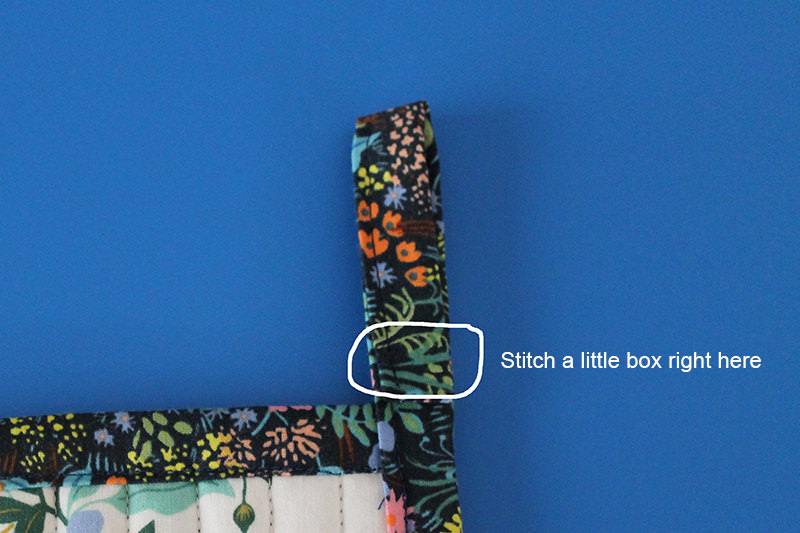
Fold the remaining fabric for the loop to the back. Just above the potholder. Stitch a little box there to secure the loop.

Done!
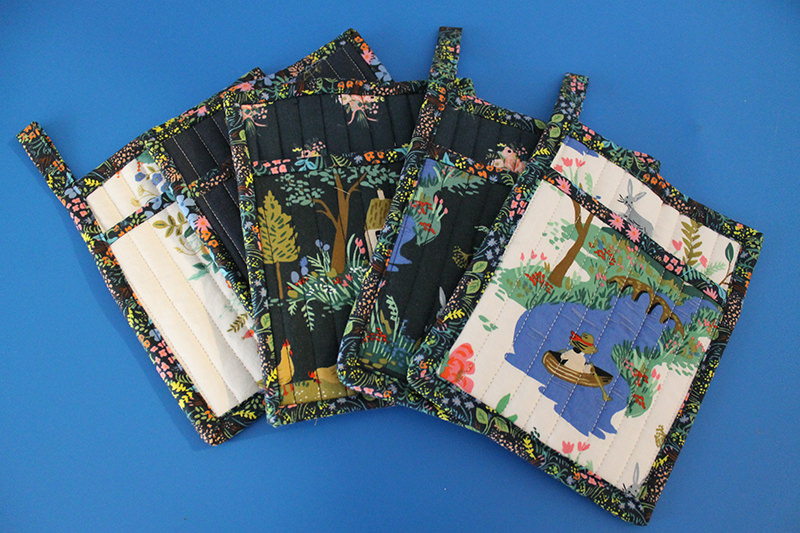
I made three of that style and I already had two of type I made in the first tutorial.
But….
I really liked the binding on the potholders that did not have the loop. It just looked neater to me. (Or maybe I was just a little sloppy on that version!)
So…..
Next week. Potholder with the quilt style binding and a loop!
Hoping I’ll be happy enough with next week’s version to give as hostess gifts!
Discover more from
Subscribe to get the latest posts sent to your email.

Comments
DIY Potholder with Hanging Loop — No Comments
HTML tags allowed in your comment: <a href="" title=""> <abbr title=""> <acronym title=""> <b> <blockquote cite=""> <cite> <code> <del datetime=""> <em> <i> <q cite=""> <s> <strike> <strong>