DIY Pillow for Christmas
I think I make at least one new pillow every Christmas. Here’s some from past years. Just click on the highlighted words and you’ll go right to the tutorial. The first two are on my other website.
This one is definitely the easiest. I call it the “Easy-Peasy I’m having a Party Tonight Pillow!”

This ornament pillow is a little more difficult but it’s so pretty and Christmasy!

Last year I made this Rudolph pillow out of a tea towel.
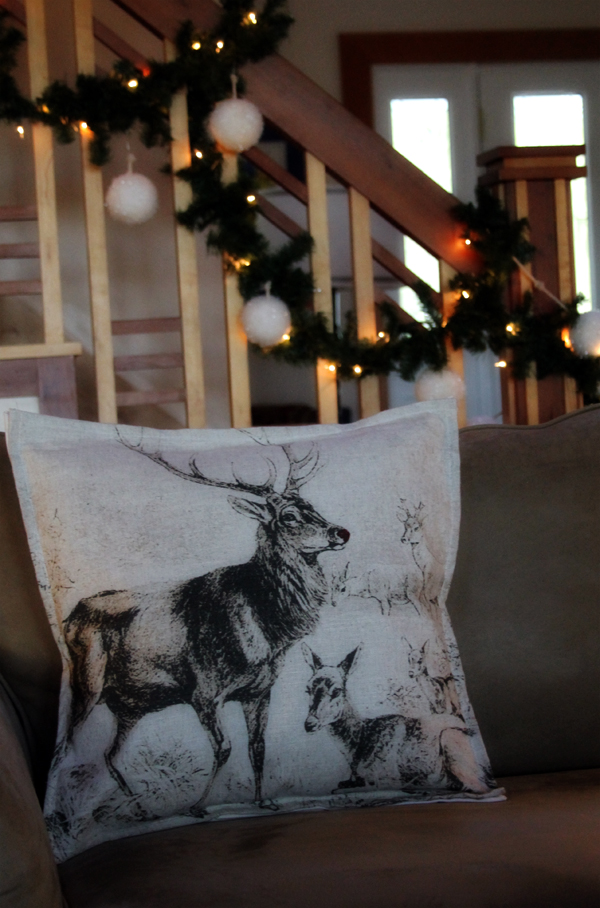
I have many more that I’ve been given or actually purchased! (Once upon a time I had a real job and didn’t have time to make everything!) I didn’t plan on making one this year since the pillows seem to be taking over. I don’t have enough furniture to put them all on! There is such a thing as too many pillows!
But….
Here comes the long story…..
This is my favorite pillow. I call it “My Funky Leopard lumbar Pom Pom Pillow”.

It’s perfect for naps. (my naps, not the grandkids’ naps)
But it’s not very Christmasy.
So I stuck it away in a basket in another room until after the holidays.
But it sneaks back in when I’m not looking. On little sneaky leopard feet.
Now for the next part of the story.
I have an embroidery and quilting sewing machine. Baby Lock Unity. I love it. But I’m not crazy about the embroidery feature. To be fair, I’d probably like it a lot more if I took a class at the quilt shop where I bought it. But it’s in Tampa. And that’s over an 1 and 15 minutes away. With no traffic. And packing all that stuff up and carrying it into the class is A LOT OF WORK!
Anyhow, I still look at the patterns at Embroidery Library when they send me their newsletter. Patterns are only $1.25 when they are on sale. And I fell down the rabbit hole (again) and fell in love with these wild reindeer. A PERFECT way to bring my Funky Leopard Pom Pom pillow back into the family room for the holidays! (and my holiday naps)
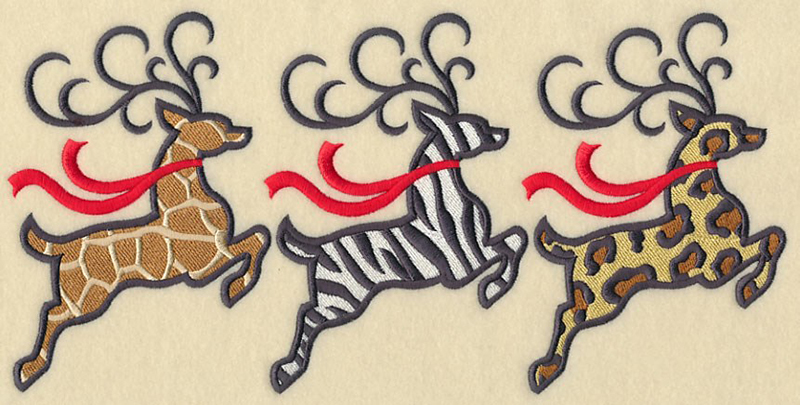
So I found some suitable fabric, added the stabilizer on the back, and let the machine embroider for two hours.
(Scheesch. Now I remember why I don’t like to embroider on the machine!).
And even though I used stabilizer and made sure the hoop was very very tight, the finished product was a bit off. The fabric is kind of puckered. But I added batting to it and pom poms and it’s really not noticeable. Well, maybe to me, and maybe to you now that you have read this! If you stop by, don’t tell anyone!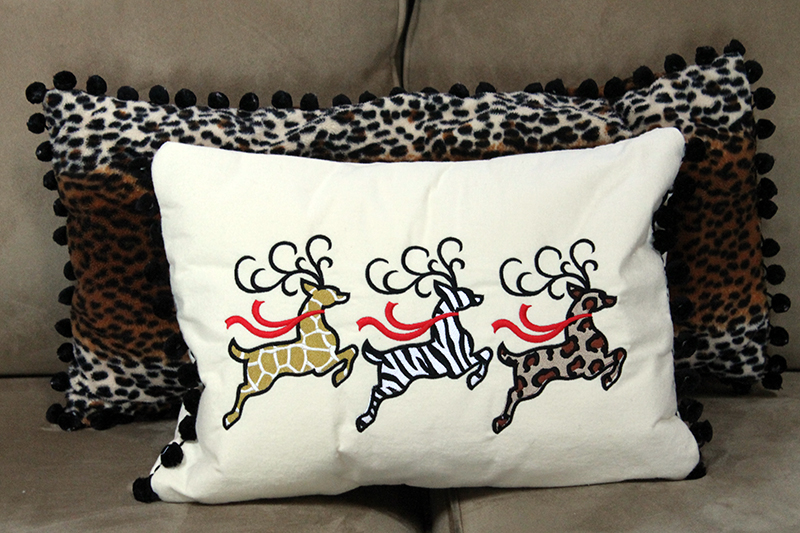
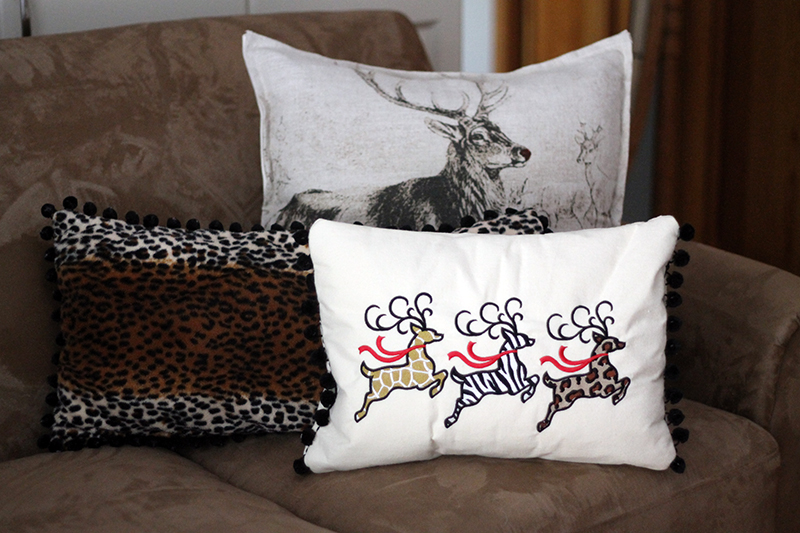
Okay. Now how I made the “Reindeers Gone Wild” pillow!
This pillow form is the same size that I use for the “Name Pillow”, it’s 12″ x 16″. I’m using 1/2″ seam allowances throughout.
I cut the front piece 13″ x 17″ with the wild reindeer centered. Also cut a piece of batting 13″ x 17″ and basted it to the wrong side of the front piece.
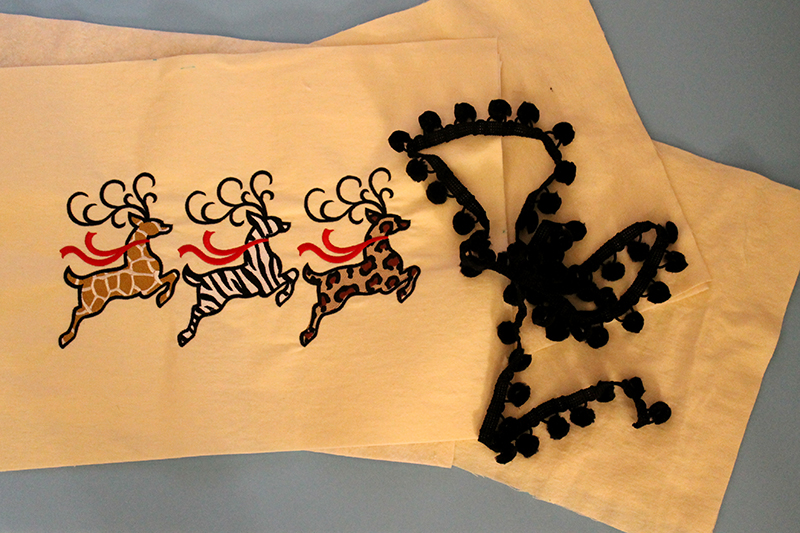
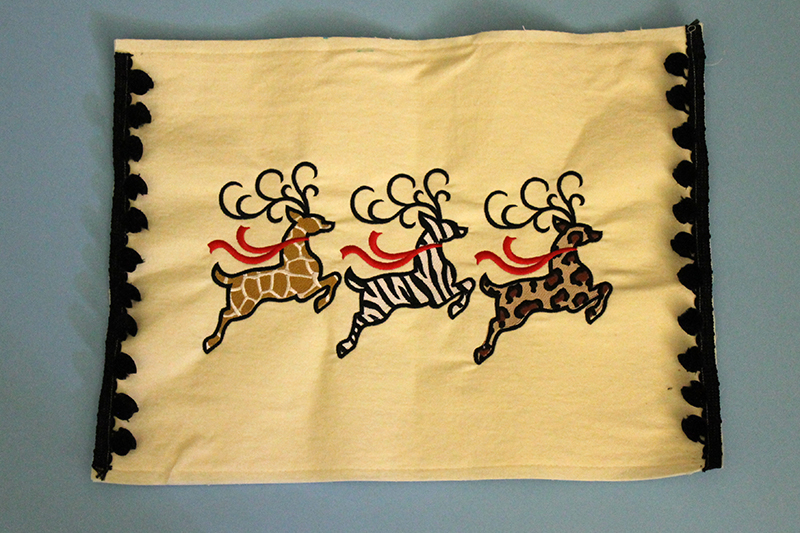
Next I used the zipper foot and added the pom poms to both sides on the front.
For the back, I cut two 13″ x 12″ pieces of fabric and two 13″ x 12″ pieces of batting. Basted the batting to the wrong side of each piece then turned one of the 13″ sides on each piece under 1/2″ then another 3/4″ and stitched.
Layer the back pieces on the front piece, right sides together. Stitch along all four sides. Forgot to take photos of this step, but here is how I did it on the Quilted Name Pillow.
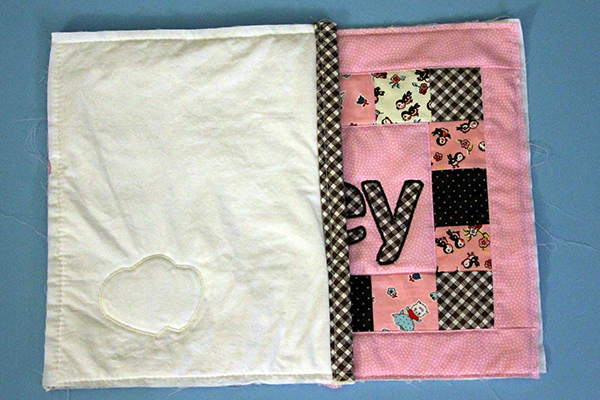
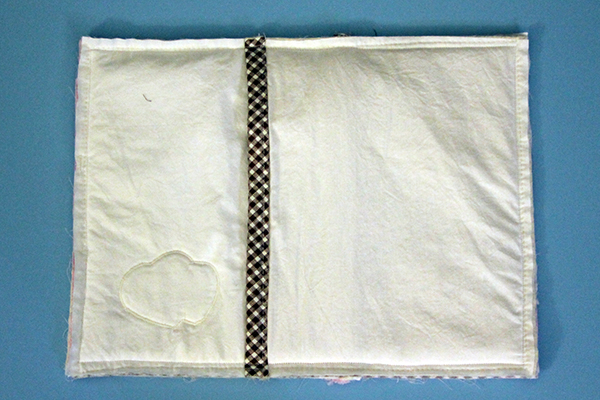
Okay. That’s it! Pretty easy other than the embroidery. And you could just do cute applique deer out of wild fabric. But you must use pom poms. The more the better!
Discover more from
Subscribe to get the latest posts sent to your email.

Comments
DIY Pillow for Christmas — No Comments
HTML tags allowed in your comment: <a href="" title=""> <abbr title=""> <acronym title=""> <b> <blockquote cite=""> <cite> <code> <del datetime=""> <em> <i> <q cite=""> <s> <strike> <strong>