DIY Hot Pads
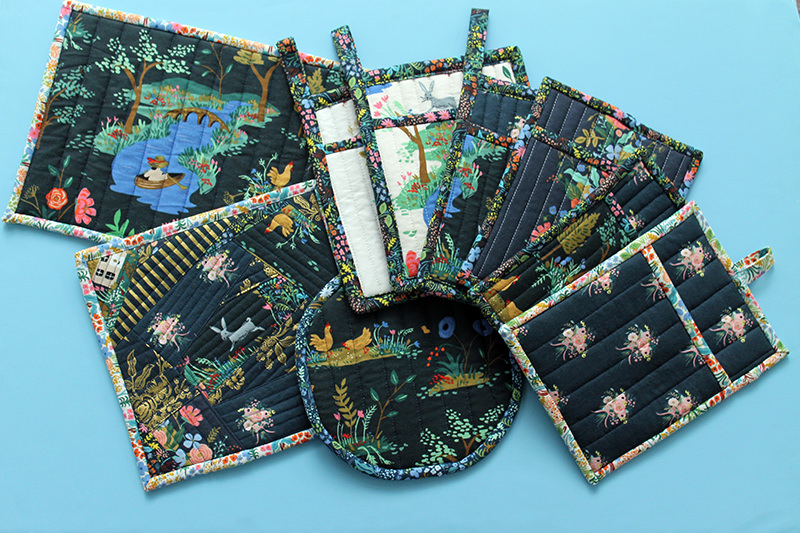
I started this kitchen linens series back on October 9 with the goal of updating my kitchen with English Garden by Rifle Paper Company.
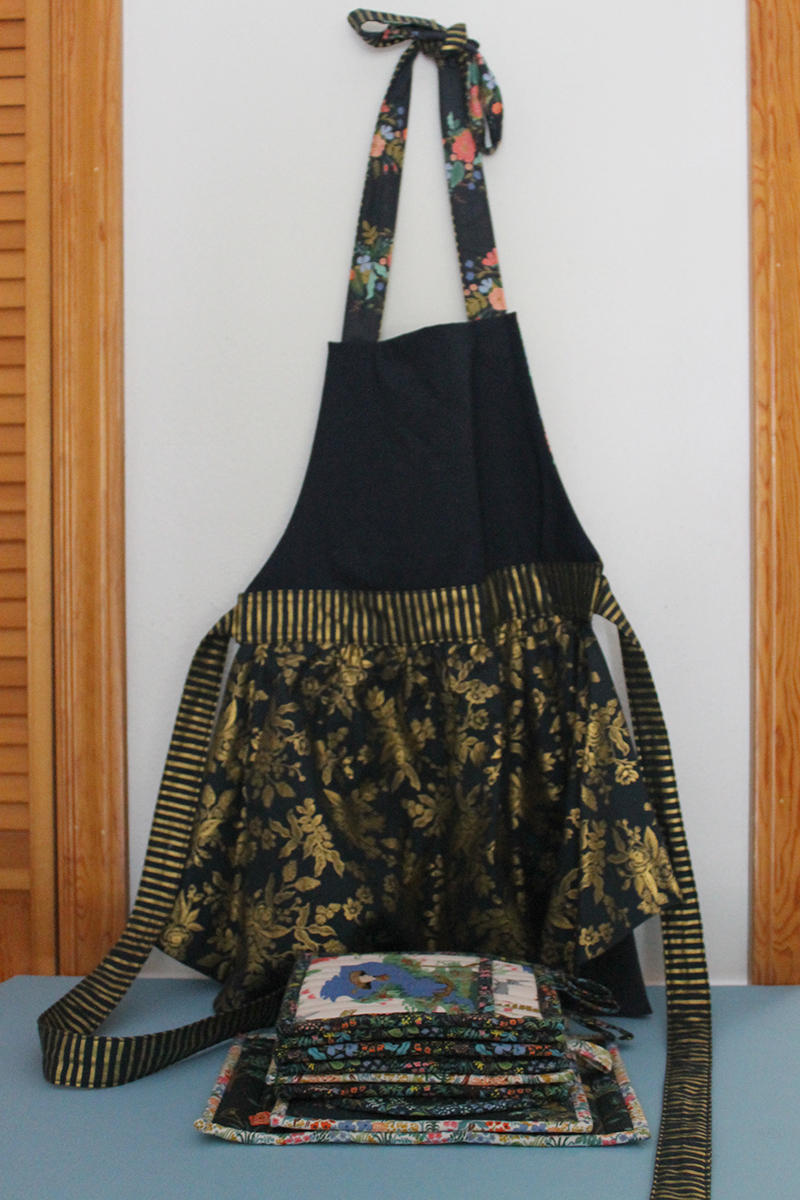
I started out by making an apron and you can check that out here: Another Pretty Apron.
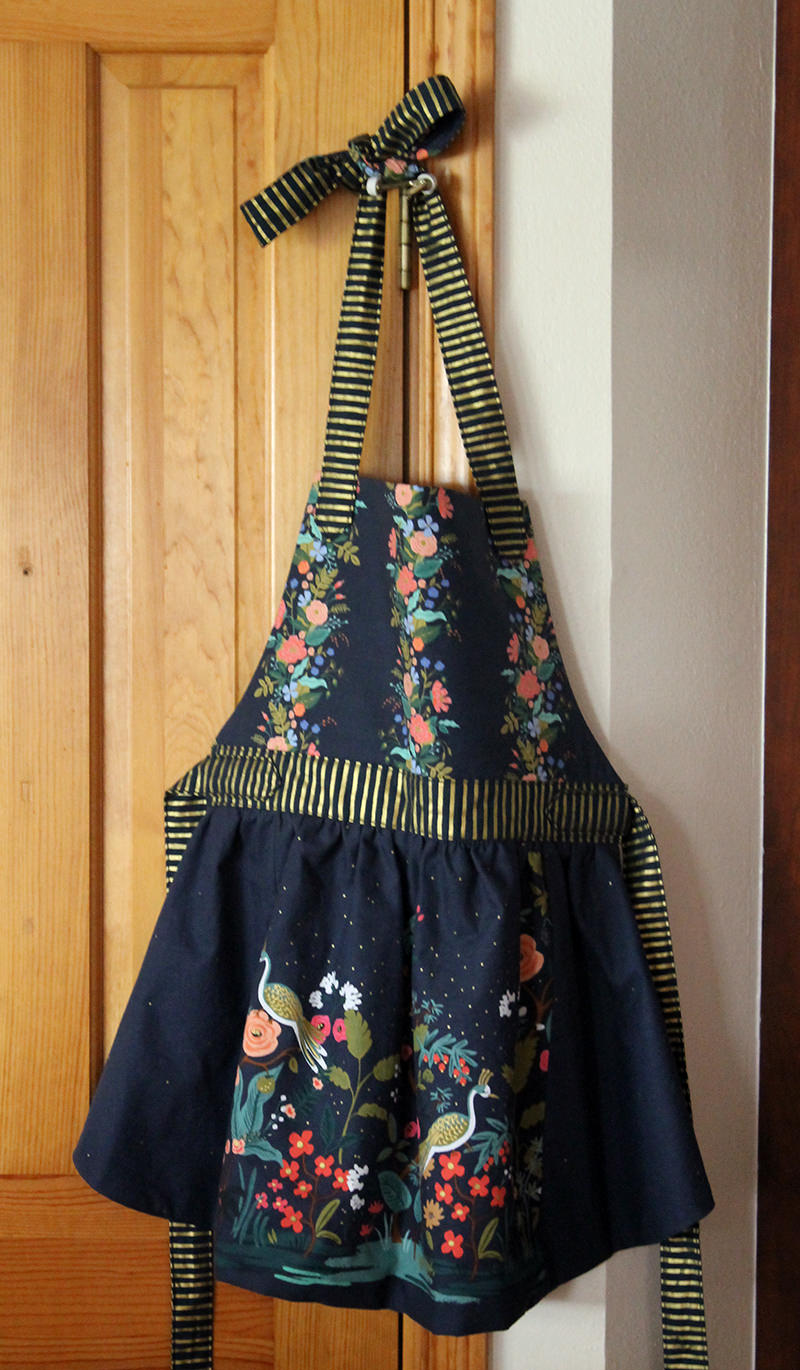
Then I went on to potholders and hot pads. Now I think I need to wait until 2019 to do more sewing for my kitchen. (Can you believe that the new year is only 5 weeks away????) I probably ought to finish cleaning and decorating the house for the holidays before I start anymore kitchen projects!
Quick review, I demoed three different potholders with the English Garden fabric. You can check on the tutorials here: DIY Pretty Potholder, DIY Potholder with Hanging Loop, and DIY Potholder with Hanging Loop, Another Version.
Today I have three different easy-peasy hot pads.
I made these basically the same way as I did the DIY Pretty Potholders.
I just left off the pocket. So it’s extra easy-peasy–one less layer to sew through. And no hanging loops.
DIY Basic Hot Pad
For this first DIY, I wanted a casserole-sized hot pad. Because I make a lot of casseroles.
My casserole dish is 12 1/2″ by 8 1/2″
For a hot pad exactly that size:
Cut two pieces of fabric and two pieces of insul-bright 12 1/2″ by 8 1/2″ along with a 44″ by 2 1/2″ piece of contrasting fabric for the binding.
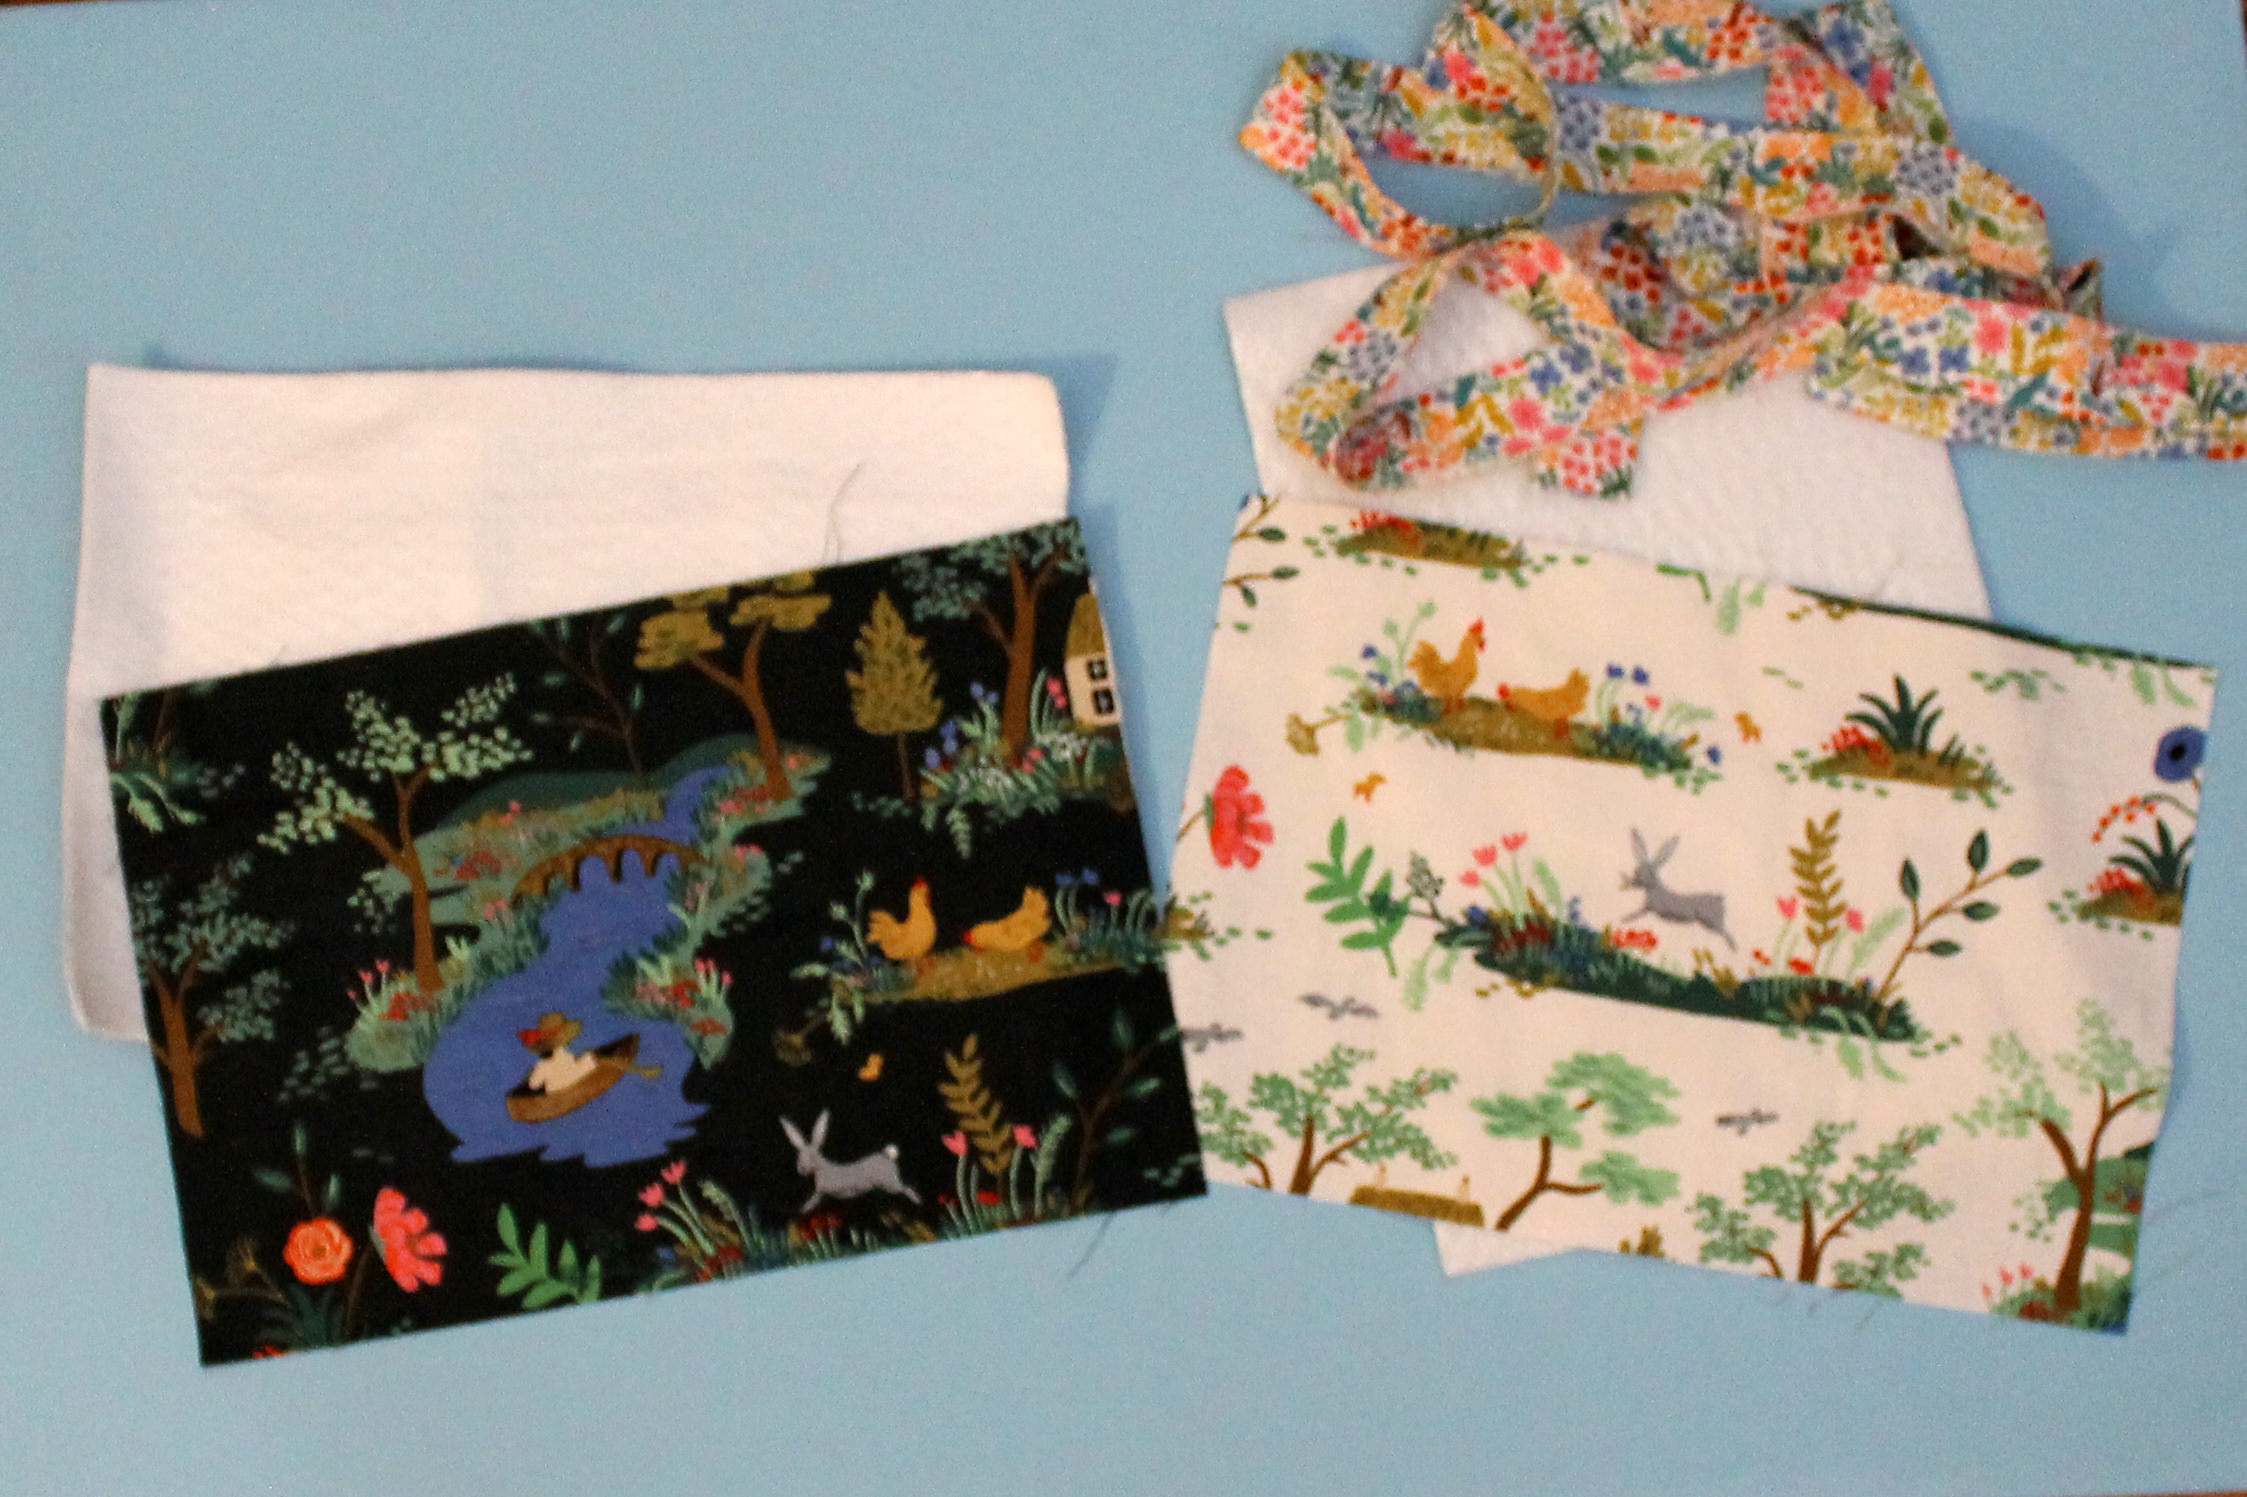
Make a “quilt sandwich” with one piece of fabric right side down, two insul-bright layers, and the other piece of fabric right side up and glue them together with either a glue stick or temporary adhesive spray.
Make the binding by pressing the 44″ x 2 1/2″ piece in half–the long way.
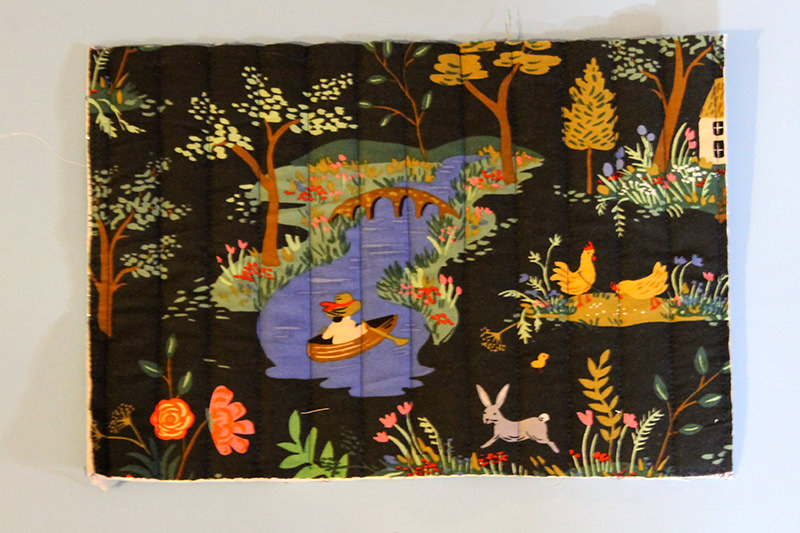
Quilt the sandwich and add the binding just like quilt binding.
First hot pad done!
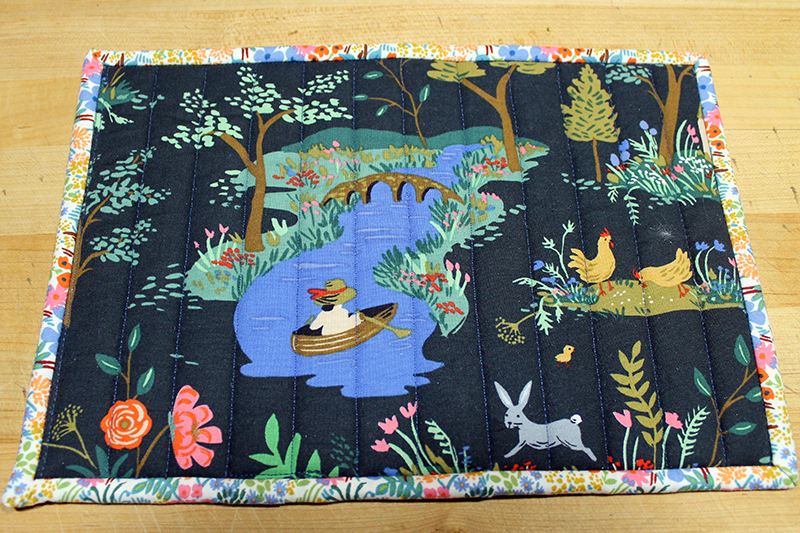
“Quilt as You” Go Hot Pad
The next hot pad was fun. I did this one in a “Quilt As You Go” method
Doesn’t matter what size you make it. This one is 8 1/2″ x 9″. For that size, you will need two insul-bright pieces 8 1/2″ x 9″, one piece of fabric 8 1/2″ x 9″ and bits and pieces of your chosen fabric. You will need 37″ of binding.
I followed the directions from Bloomin’ Quilt-As-You-Go Panel Tutorial from Hey Let’s Make Stuff.
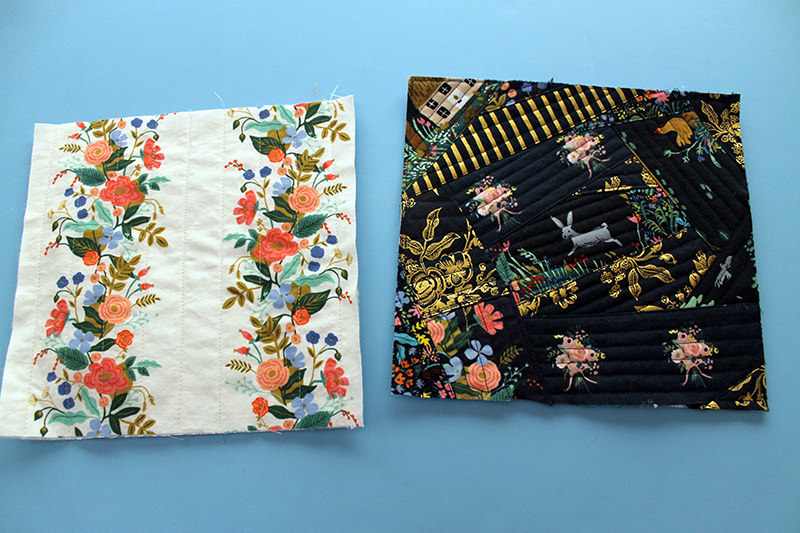
I started out with this adorable rabbit in the center of one layer of 8 1/2″ x 9″ insul-bright.
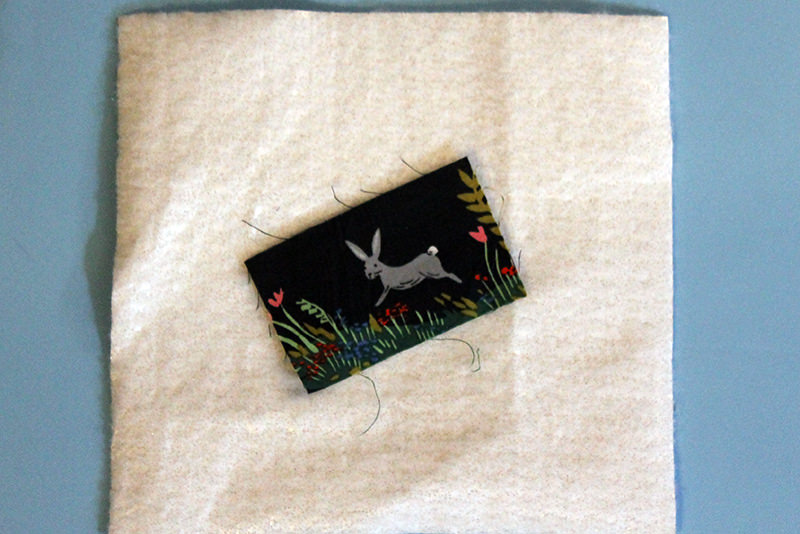
Stitched it down and quilted with straight lines. Then filled in from there. Although fun, it’s more difficult than it looks. The important thing is to make sure that all the raw edges are covered. I cheated on one of the bits and turned under the edge before putting it down.
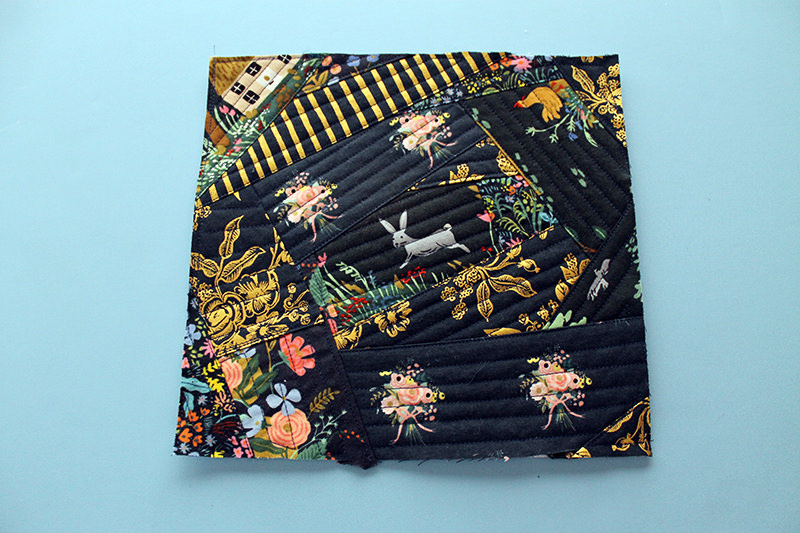
The back of the piece is pretty ugly. Gotta cover that up!
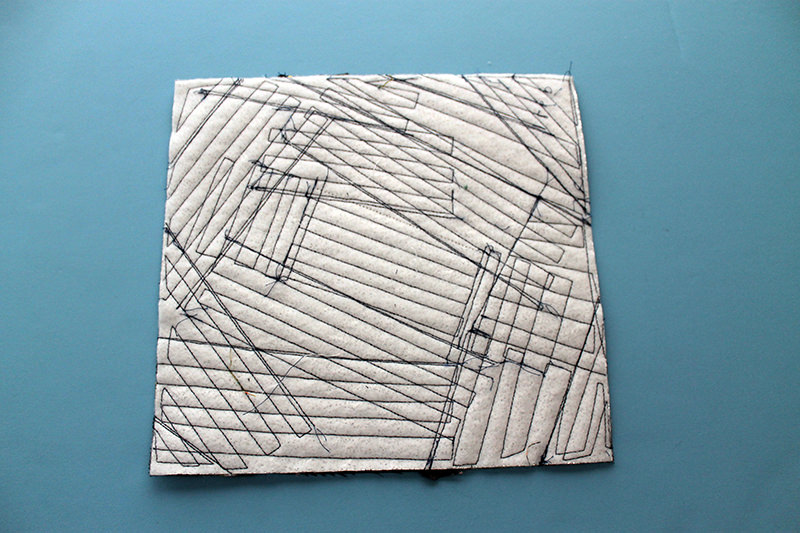
I glued the a piece of fabric 8 1/2″ x 9″ onto the second layer of 8 1/2″ xx 9″ insul-bright and did some straight-line quilting. Pinned the front and back together then zig zag stitched the edges together and added the binding.
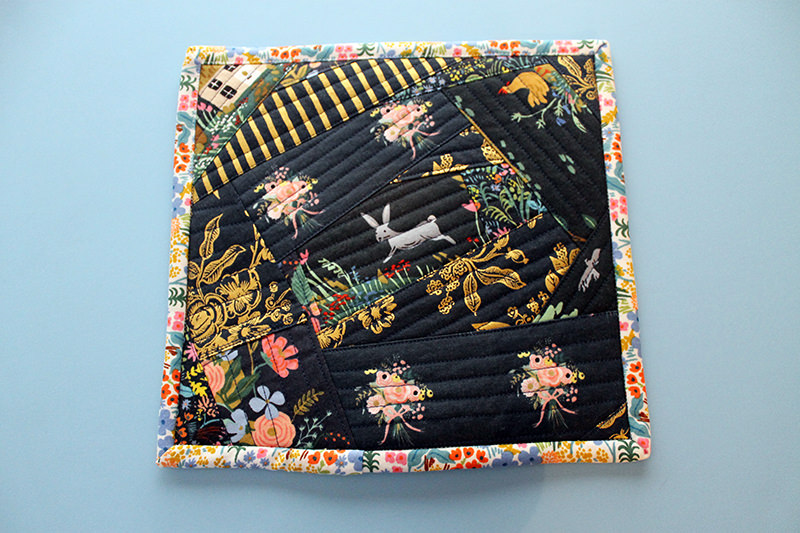
I used that same style for the hot pad in this pic that I gave as a hostess gift.
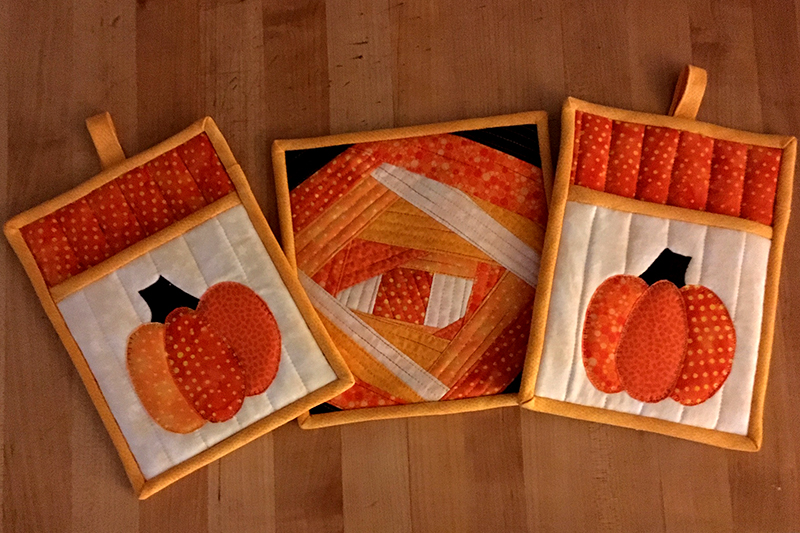
Rounded Corner Hot Pad
And for the last DIY today, I’m making one 8 1/2″ x 8 1/2″ hot pad and I’m rounding the corners. When rounding corners, the binding has to be cut on the bias. It’s stretchy on the bias and can be eased around the corner.
You can find all kinds of tutorials for bias binding on Pinterest. I like this one from SewMamaSew.com–just make it 2 1/2″ wide rather than the width that the tutorial gives. Update on February 28, 2020, SewMamaSew.com is no longer online.
I made my bias binding from an 18 1/2″ square. (Because I have an 18 1/2″ quilt ruler!) From this square I made more than 3 yards of 2 1/2″ bias binding! A wee bit more than I need for this 8 1/2″ square hot pad! But I will definitely find a use for it!
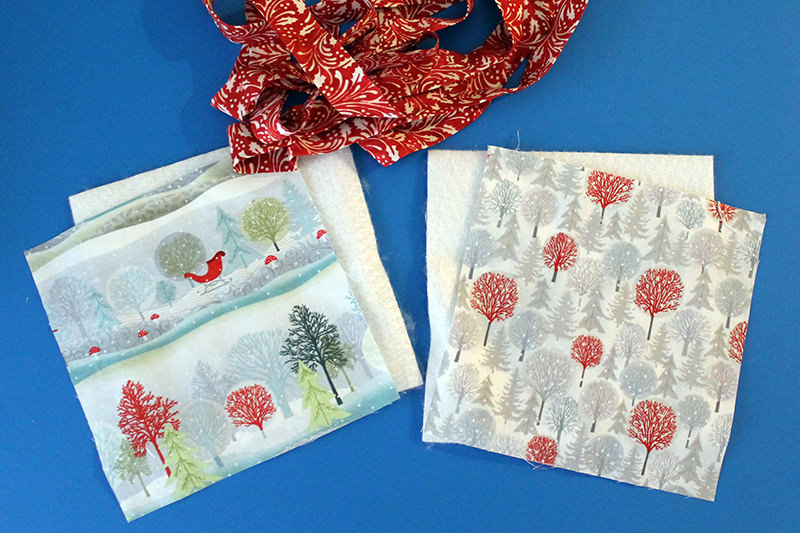
I’ve cut out two pieces of 8 1/2″ fabric–one for the front and one for the back–and two 8 1/2″ pieces of insul-bright.
Make the hot pad exactly as the larger hot pad in the first method except don’t put on the bias binding yet.
Put a cup or other round edge and mark with your fabric pen on all four corners.
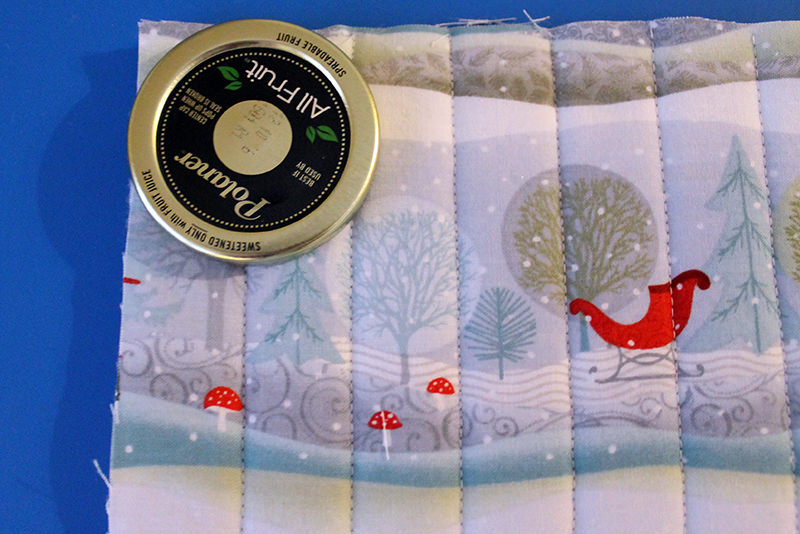
Cut on marked lines. Zig zag stitch around all the edges.
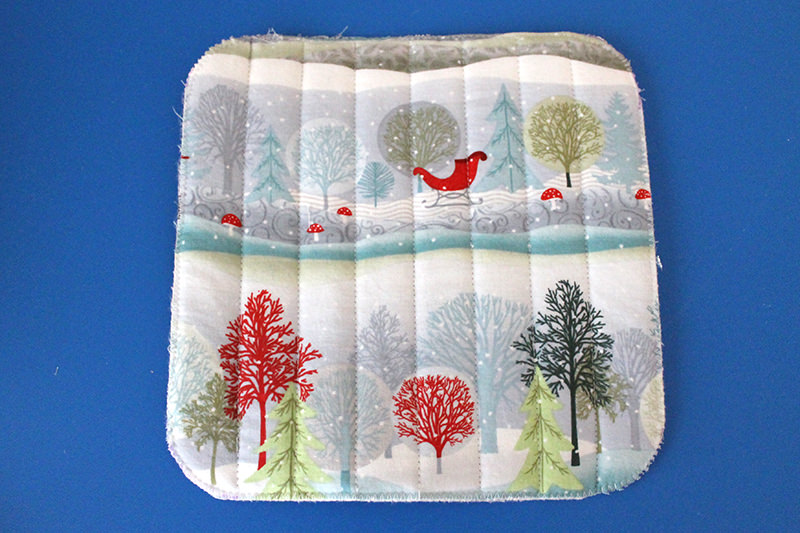
Now it’s time to add the bias binding.
Cut 36″ of the bias binding.
Pin the bias binding around all the edges. 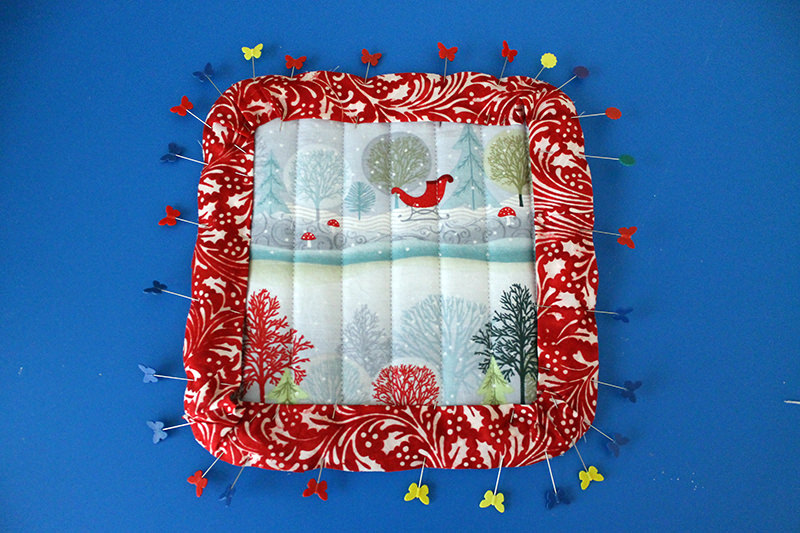
Stitch with a 1/4″ seam allowance, easing the bulk around the corners. Turn the binding to the back and stitch in the ditch.
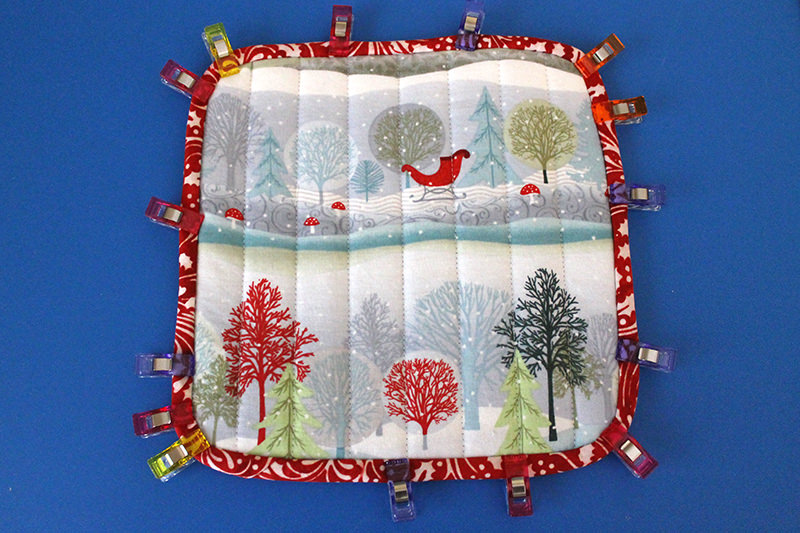
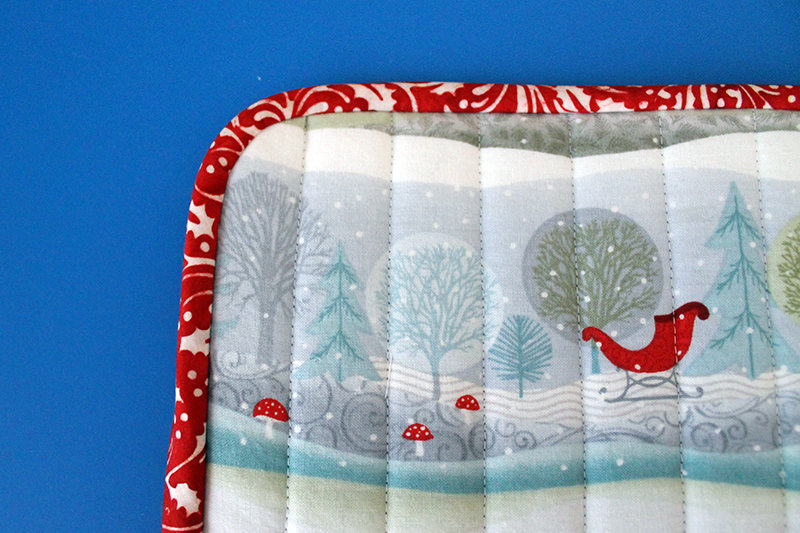
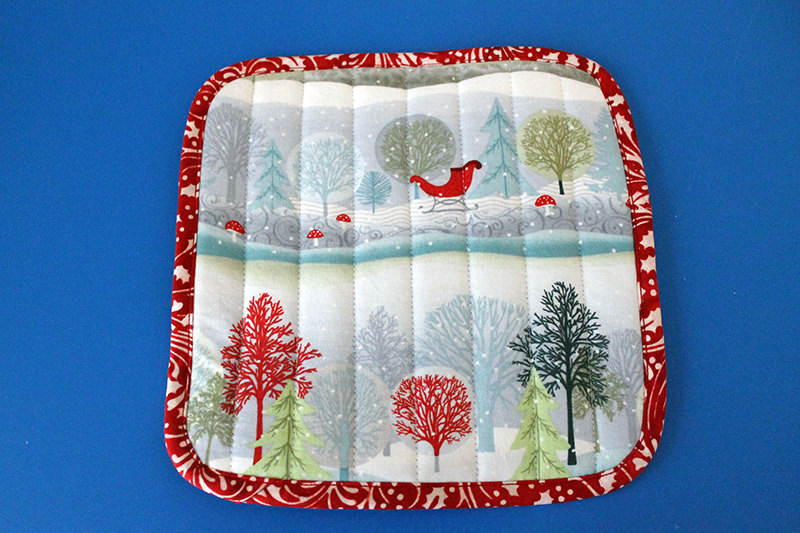
Done!
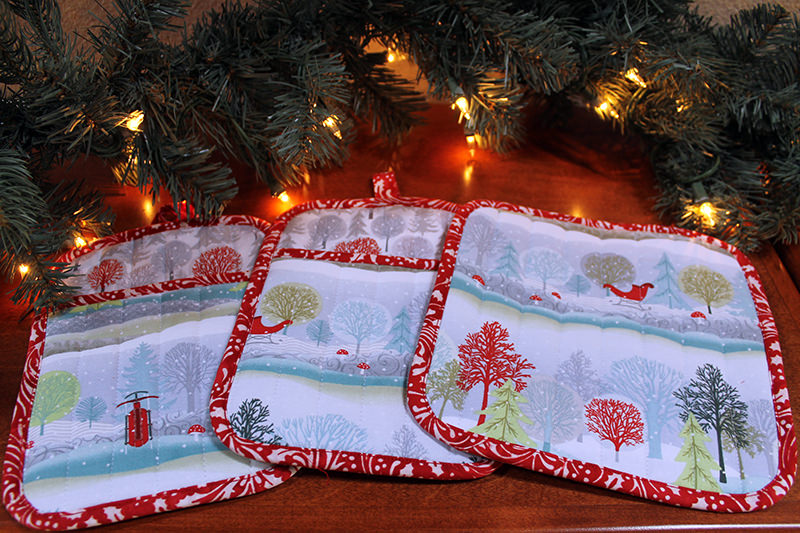
I liked it so much I rounded the corners for two matching pot holders! Pretty and useful hostess gift!
And one almost round hot pad with the English Garden fabric.
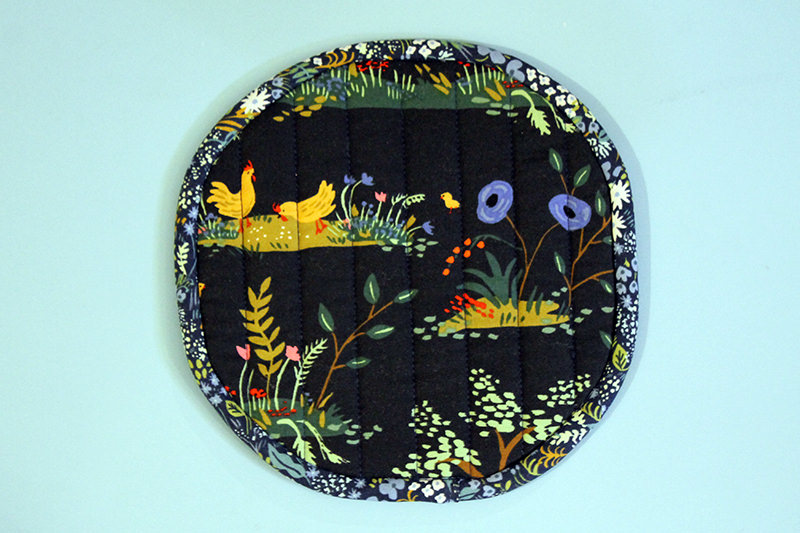
Then I couldn’t help myself and had to use up this little bit of pig fabric that I had left!
Okay. These are really easy and sew up quickly. You can make them in any size you think is appropriate. The little pig pads are only 8″ square.
Use your imagination!
For now, I think I have enough to brighten up my kitchen! Next year (ONLY 5 WEEKS!!!) I’ll make some kitchen towels and other pretties.
Discover more from
Subscribe to get the latest posts sent to your email.

Comments
DIY Hot Pads — No Comments
HTML tags allowed in your comment: <a href="" title=""> <abbr title=""> <acronym title=""> <b> <blockquote cite=""> <cite> <code> <del datetime=""> <em> <i> <q cite=""> <s> <strike> <strong>