DIY Easter Basket
I went crazy getting all my handmade gifts and decorations ready for Christmas. And followed that up with a whole lot of Valentines posts. But Easter kind of snuck up on me.
Is is too late to post an Easter Basket DIY? It is this Sunday!
Yes, or no, I’m doing it.
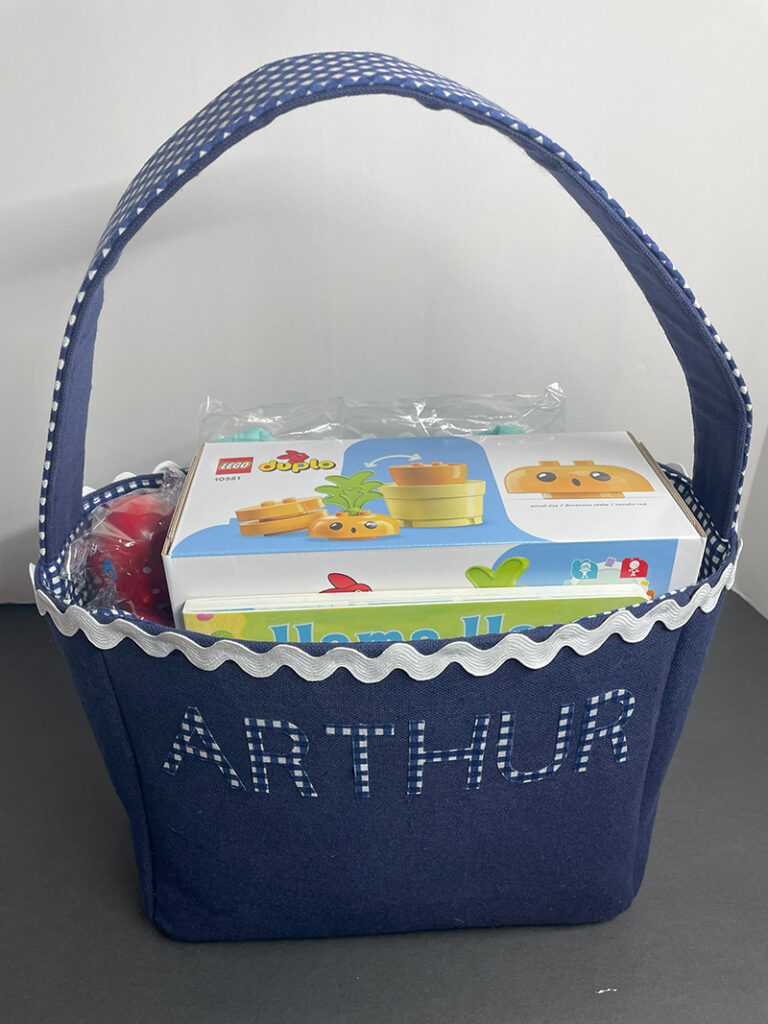
I went to DC last weekend to see my daughter, her husband, and Arthur our grandson. (Yeah, you might have seen the pics!)
Of course I wanted to bring an Easter basket for Arthur with goodies. I had planned to follow my beer bag tutorial and change up the handle, but the stuff I bought him didn’t quite fit.
I said a couple of weeks ago that I’d share how to change out the measurements in my Beer Bottle Tote so you—Yes You!—can create a bag to any size you might need.
Just follow the free tutorial for the Beer Bag but change the dimensions. (And the handle, but I’ll go through that process a little later.)
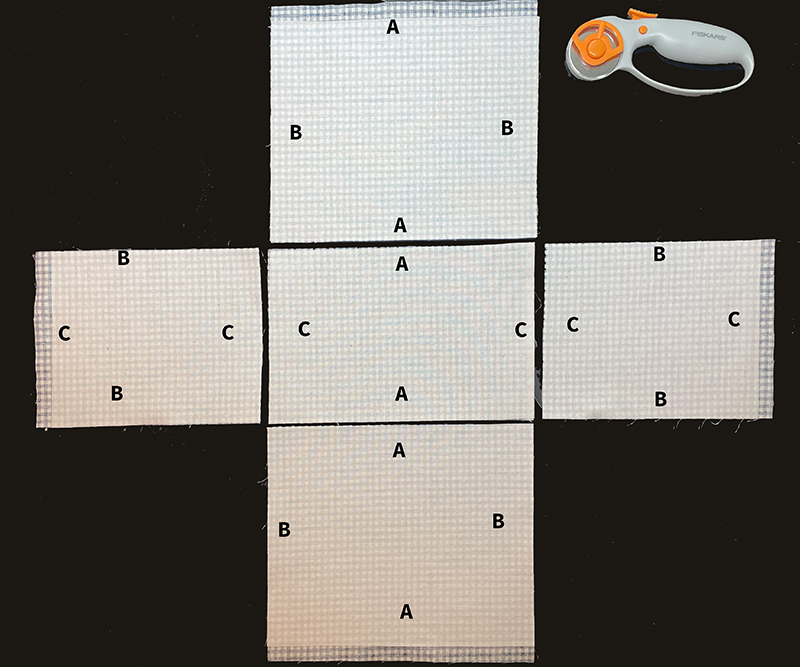
Here’s a diagram of how both the beer bottle tote and the basic shopping tote are laid out. I call it the “Plus-Sign” method.
When cutting out the exterior and lining, make sure the measurements are the same for each letter—A,B,& C. The interfacing is cut 1/2″ shorter. Then you lay them out as in the above diagram. And follow the instructions for the beer bag.
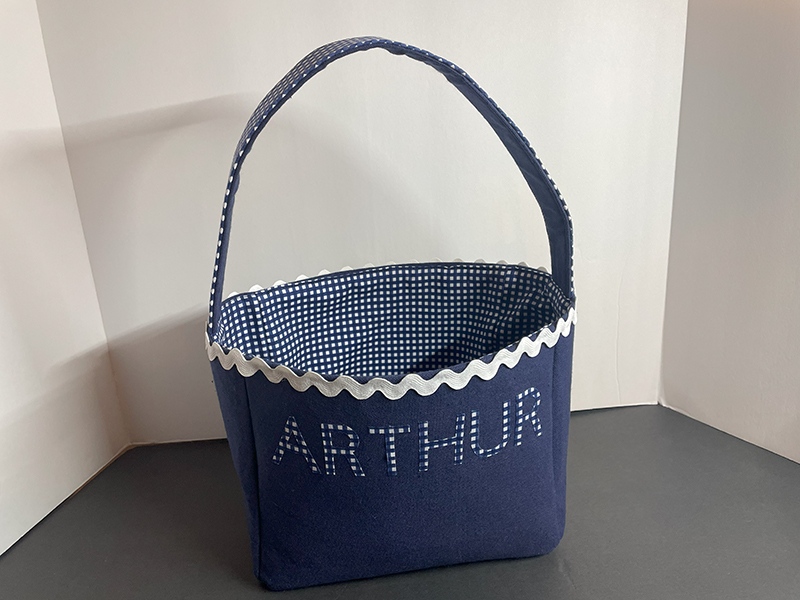
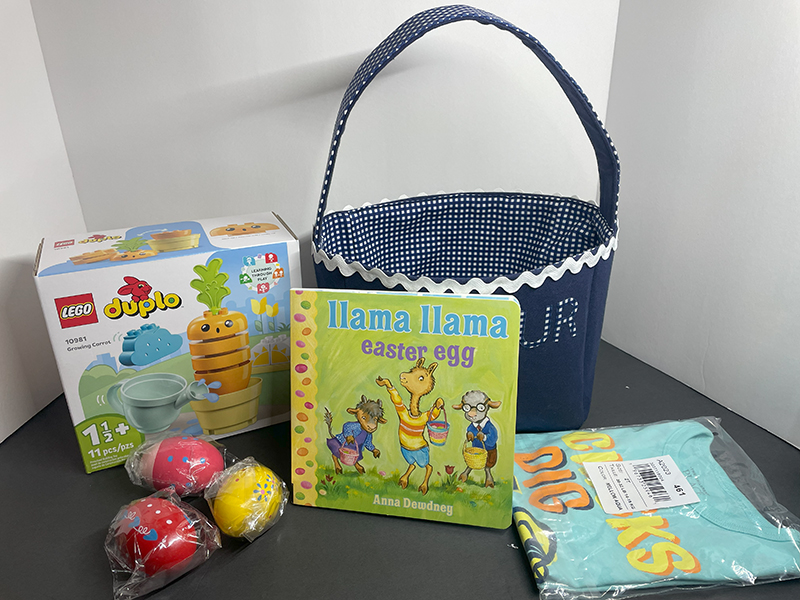
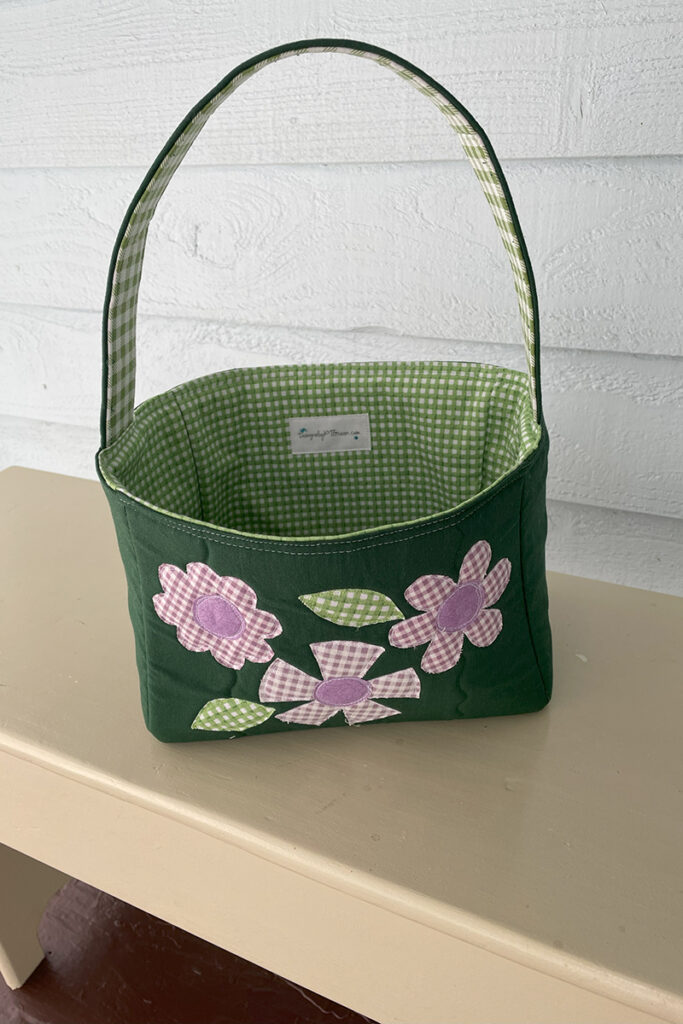
And here is the basket!
This was the first time I made an Easter basket and I was running out of time. But “necessity is the Mother of Invention”.
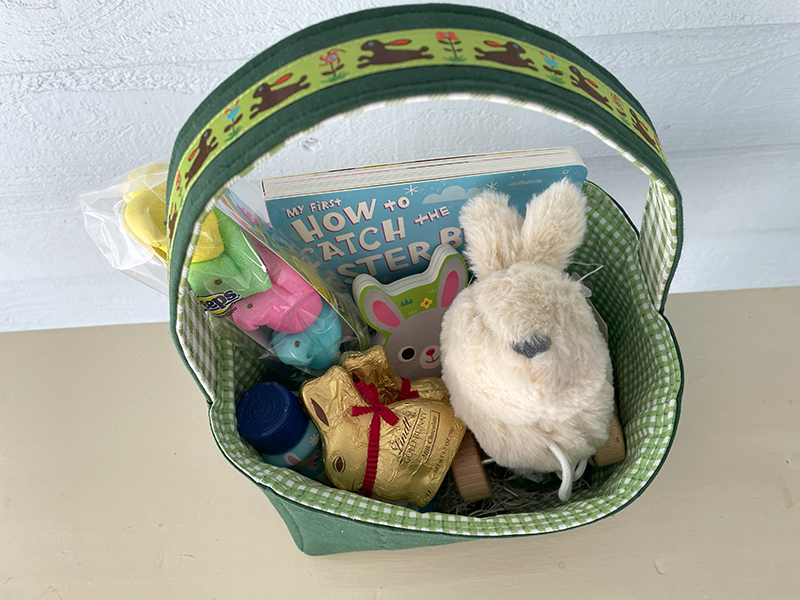
I gathered all the gifts for the basket and did a quick measurement.
For this Easter basket, my As are 9 1/2″, the Bs are 8″, and the Cs are 6″. These measurements include 1/4″ seams and 1/2” hem on top.
To add stability, I used Peltex 71F single-sided fusible interfacing the on the exterior and SF101 on the lining.
Peltex is not for sissies. (I fact, I think I should burn all my Peltex because it is SO hard to work with and I don’t remember until I use it! Because I have it in my stash. But I can’t throw perfectly good product out—so I put it back into my inventory—and it turns into a vicious cycle!)
But I did it. And it turned out well. It made the airplane trip in my carry on unscathed. Arthur loved it and we spent time together making that Duplo carrot and reading the book!
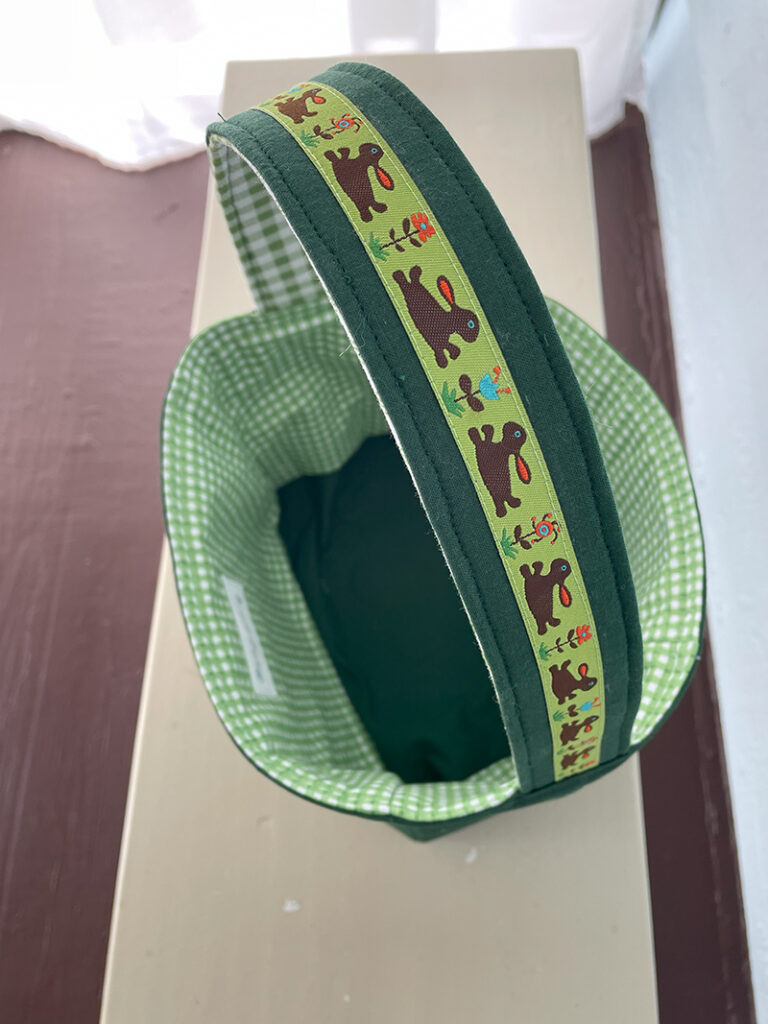
For the second basket, I used ByAnnie’s Soft and Stable—because I’m a sissy and did not want to deal with Peltex again–on the exterior fabric. For the lining, I used fusible fleece. I also changed the size up a little. Referring to the diagram, my As are 9 1/2″, B’s are 7″, and the C’s are 6″.
I placed the interfacing 1/2″ lower on the top so I could easily press over the hem. (Learned that from that devil Peltex!)
I quilted the exterior to the Soft and Stable because it is not fusible.
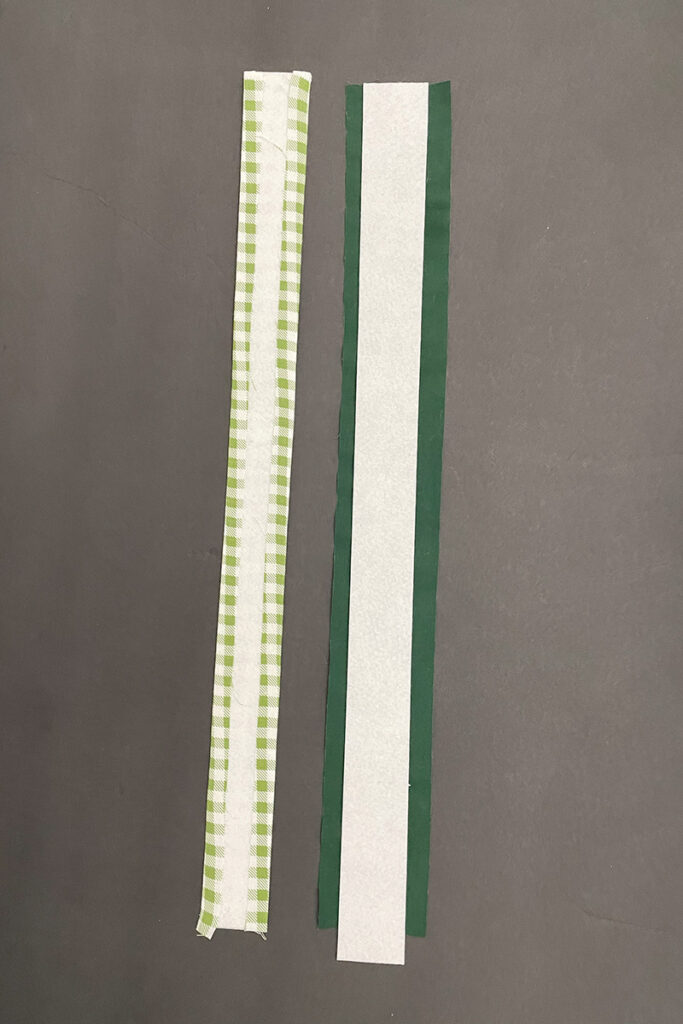
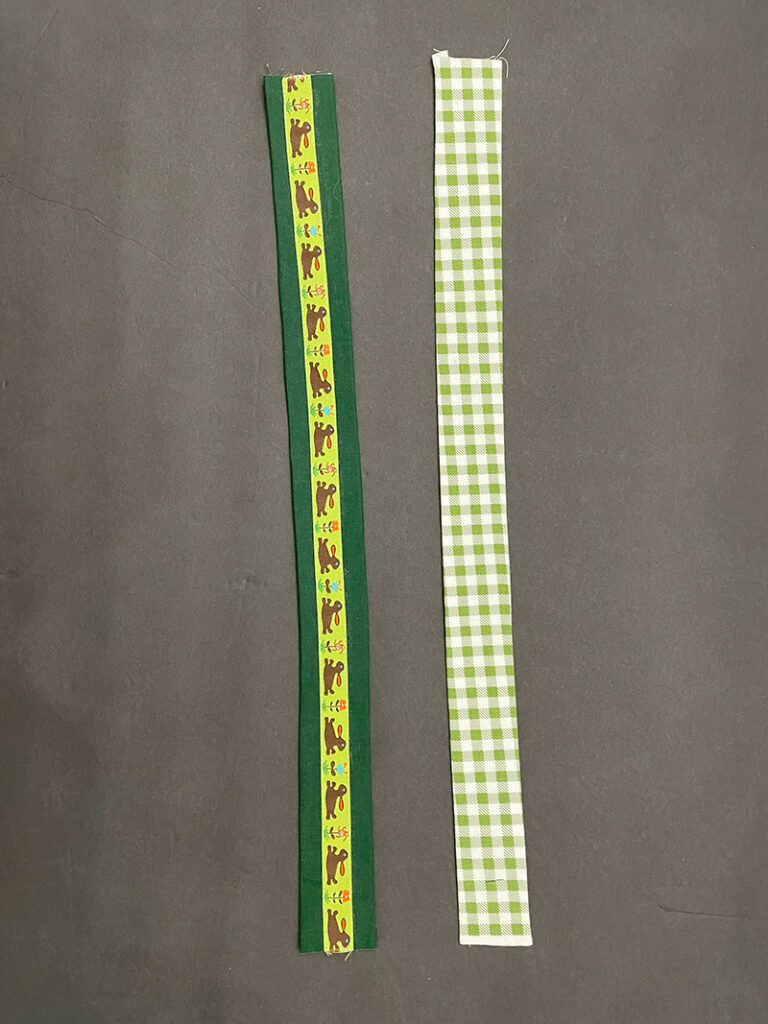
I wanted the handle to be very stiff and the Peltex worked well for this use. I cut two pieces of Peltex 20″ x 1 1/2″ and two pieces of fabric 20″ x 2 1/2″ Centered the Peltex on the fabric and fused it. Folded the sides in for a hem on each piece then stitched them together.
Because of the handle, we are making the lining and exterior separate–pressing a hem 1/2” along the top on both pieces. Then placing the lining into the exterior– wrong sides together.
I tucked the handles in between the lining and the exterior. And stitched around the top edge to bring the lining, exterior and handle together.
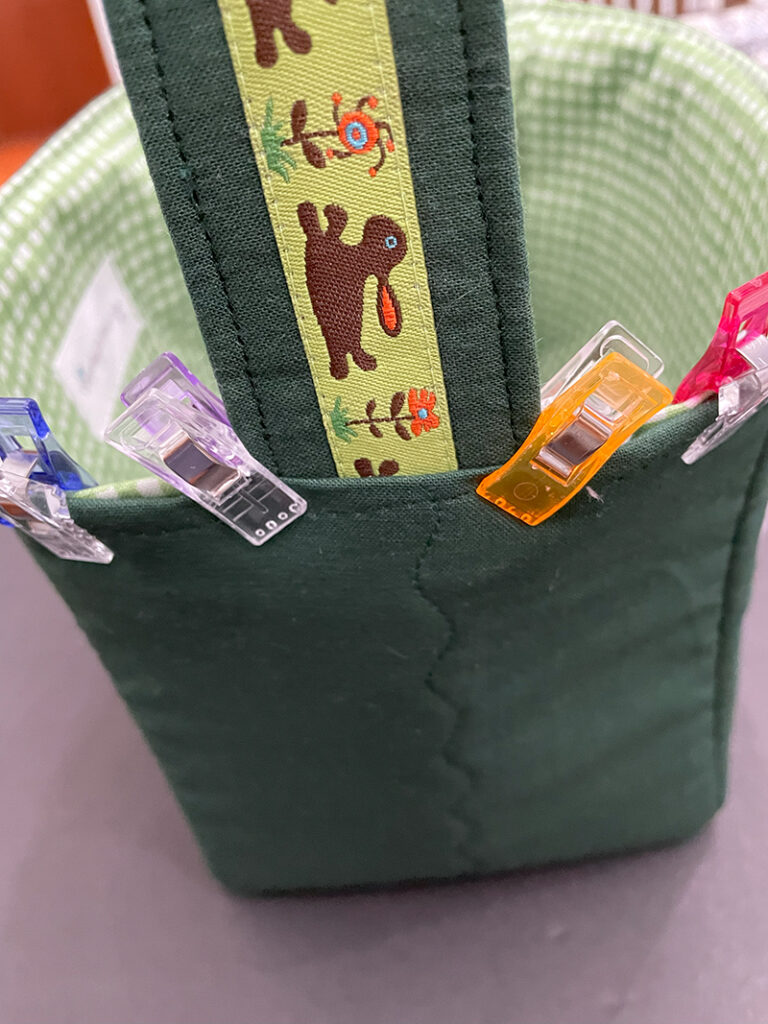
And that’s it!
Fill the basket up with all the goodies and you are ready for Easter!
Discover more from
Subscribe to get the latest posts sent to your email.

I m not really a comment person. I wanted to share that I love your posts and your projects. These baskets are wonderful. I look forward to making one at some point in the future. I have a bit of a crazy life. Please know your posts are very much appreciated. Thanks for taking the time to share.
Happy and blessed Easter!!!
Hi Theresa! Thanks so much for following my posts and commenting! It means a lot to me! I’m giving the green basket out to the toddler winner of the “golden egg” at our local Easter egg hunt tomorrow. I’m looking forward to the event!
Beautiful as always!
Thank you Terry!