DIY Baritone Ukulele Bag
Glad I don’t sew for a living. As long as this project took I would go broke!
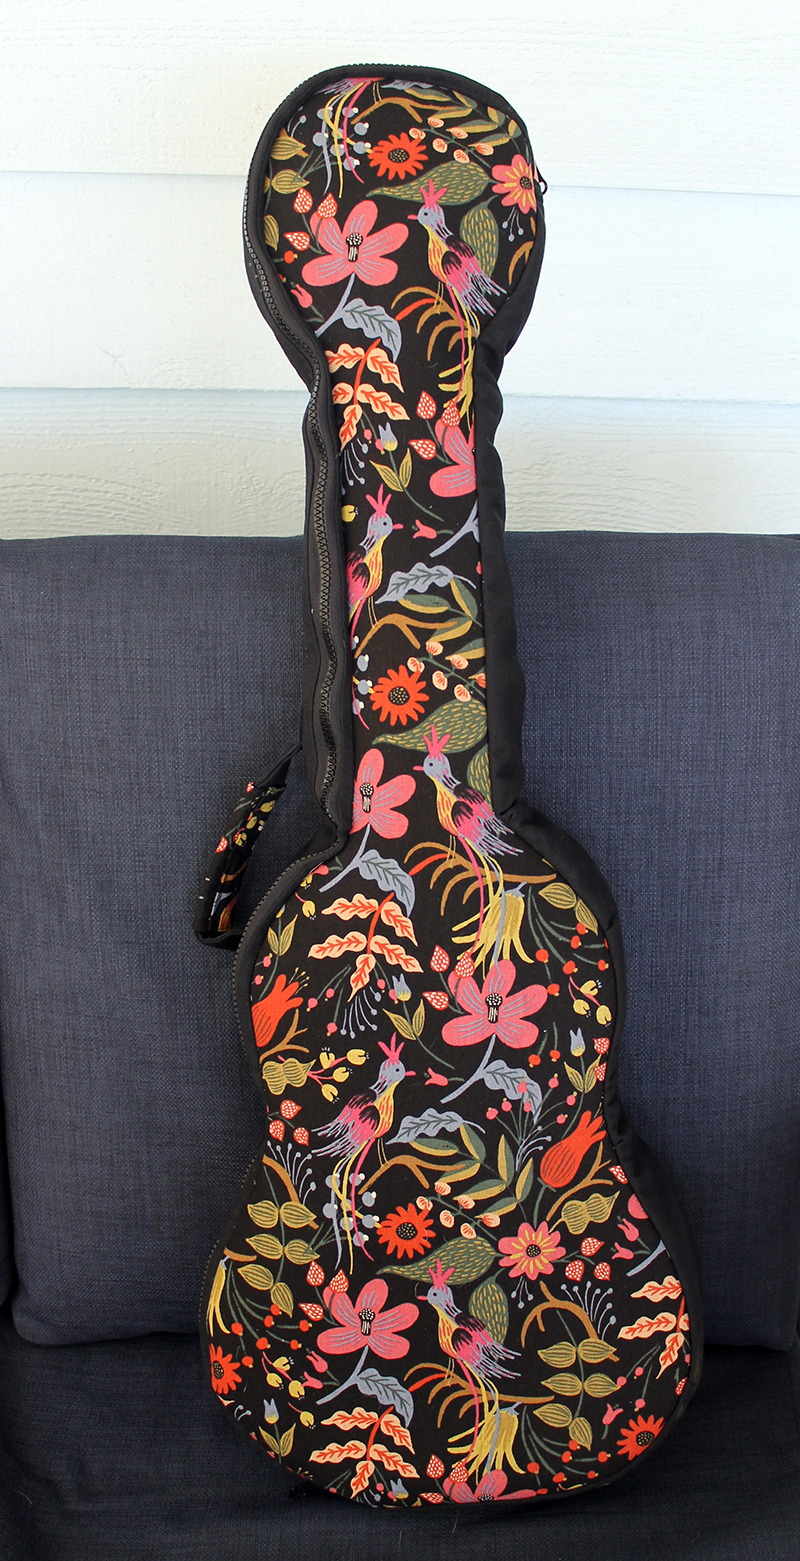
And here’s the story….
I bought a baritone ukulele a few years ago. Hoping to get my two granddaughters, Addison and Kendall, interested in playing. Kendall LOVED carrying it around in the bag on her back at my house. Addison wanted a guitar. Kendall wanted a little ukulele. Bought them what they wanted for Christmas that year. A few months later Addison said that Kendall had stepped on the guitar and they didn’t know where the uke was.
And the moral of that little tale is that those darling girls now do dance and gymnastics.
So I’ve been learning the baritone ukulele cause I hated seeing it just sit there and it’s fun! A lot more fun and a whole easier than picking the banjo. (Although the banjo is still my main acoustic bit.)
Then I bought a new baritone ukulele–a Lanikai–and made a gig bag for it which I posted about last week. Sad saggy baggy bag.
Let’s try it again!

I can’t actually give you a pattern for the gig bag. There are numerous different sizes of ukuleles–soprano, tenor, concert, baritone. Along with different styles–banjo and coconut to name a few. So I’m just going to give you some very general directions.
I also want to add that this isn’t the best tutorial I’ve ever made. Nor are the photos all that great. Have to confess that I mainly wrote these instructions up for ME! I do not plan on making any more gig bags, but I might need to go back and see how I put in the zipper, made a handle, or added the strap. I try to take pictures of just about everything I create.
If you have any questions, please email me. I do answer!
So here goes….
For the second bag I wanted to use the Cotton + Steel Les Fleurs Canvas that I used for the Perfect “Personal Item” Travel Bag.
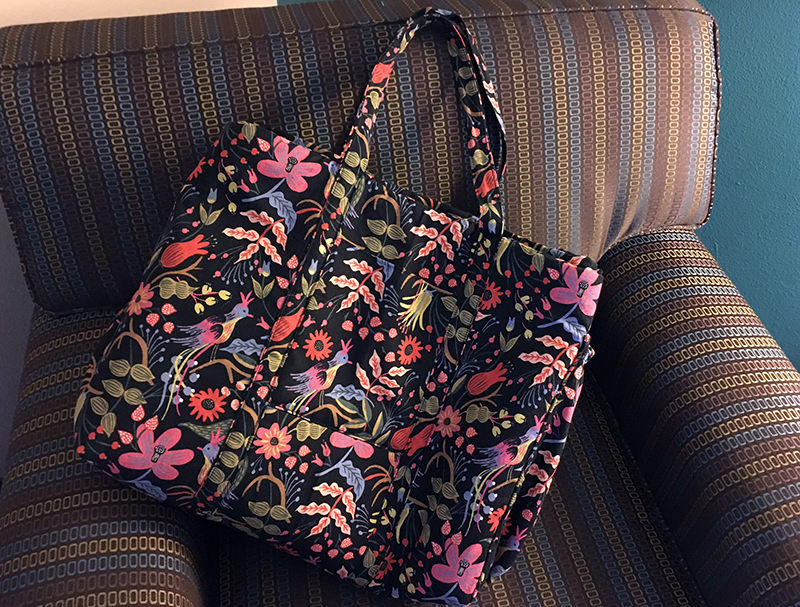
I don’t have a lot of that fabric left so I just used it on the front of the gig bag. I ordered a 7 oz black canvas to match the weight of the Cotton + Steel that would go on the front. I also bought a pink cotton piece, Cotton + Steel Wonderland Metallic Caterpillar, for the lining. It was a pretty close match to the fabric I used inside the travel bag. My travel pieces must accessorize!
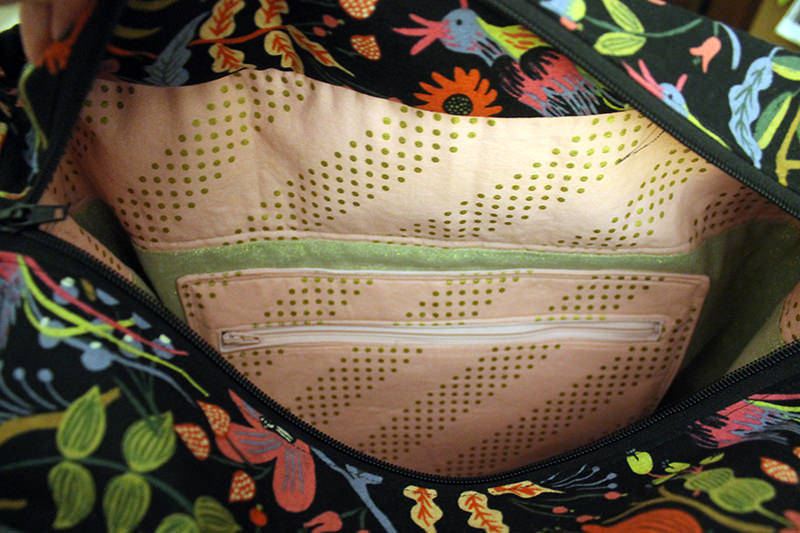
I used “Annie’s Soft and Stable” to provide a bit more protection for Lani-Lani-Lanikai. Since we will be hitting the road together I thought that would provide a bit more protection than batting. I did use batting for the sides.
Like the first bag, I traced around the uke and added 1″ to the sides for my pattern.
BACK OF THE BAG
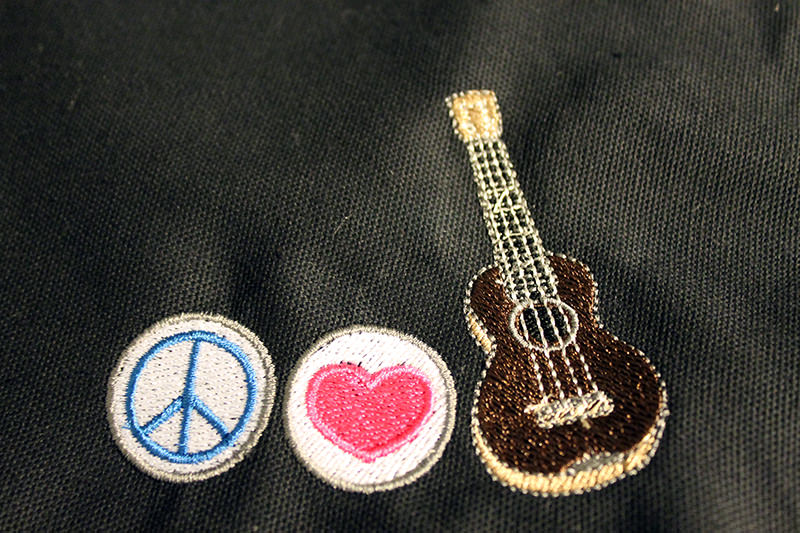
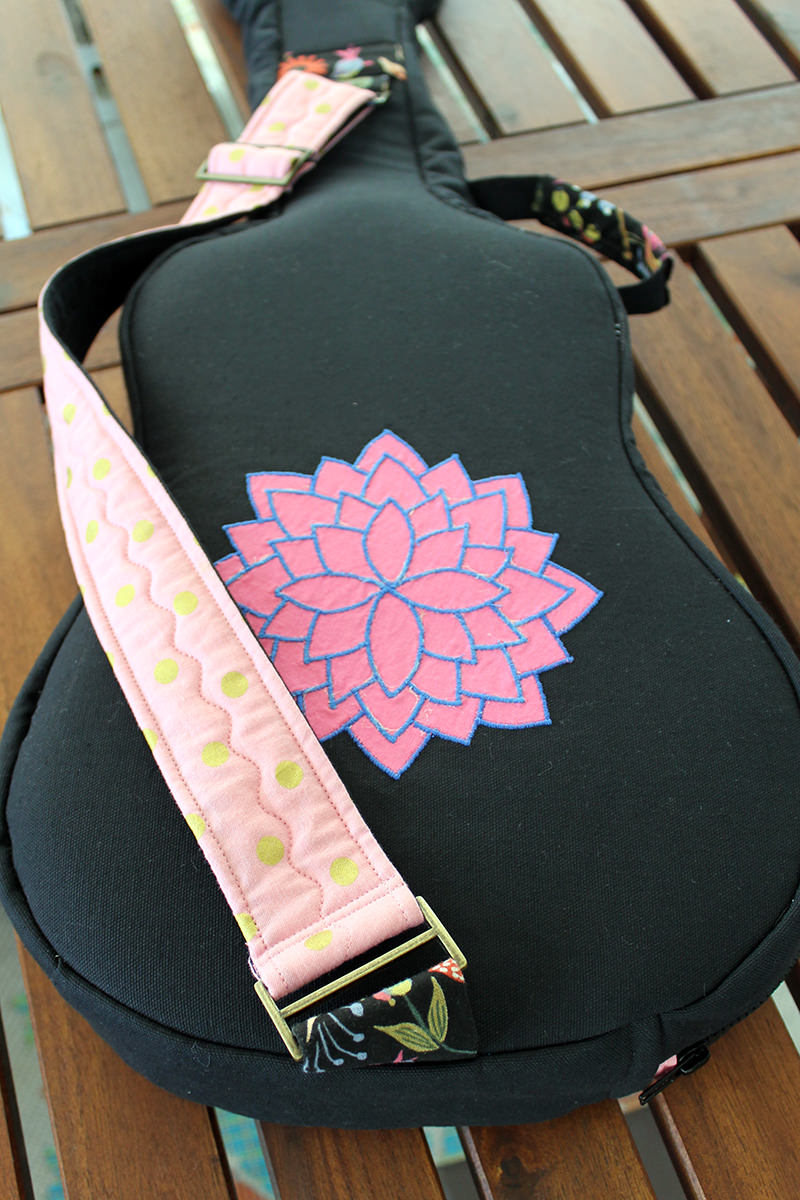
I stitched the Annie and the exterior back together first then I put the “peace, love, uke” embroidery on the back of the headstock section and a cool mandala applique on the body.
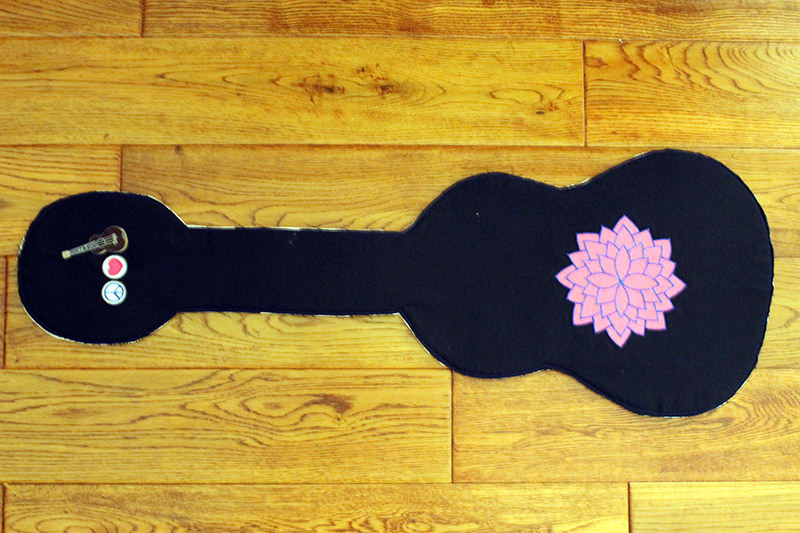
Then I stitched the lining to the back–wrong sides together.
My original bag and my banjo gig bag have a pocket on the front and a strap on the back. I have never used the pocket on either bag because I have a tote that I carry all that stuff in. I do use the strap on the back. So no pocket on this gig bag but I did add a pretty 2″ wide padded shoulder strap.
HOLDERS FOR BACK STRAP
Holders for the strap should finish 2″ wide because that’s the width of the tri-glides I have.
Cut two 4″ x 4 1/2″ pieces of fabric.
Bring the 4 1/2″ sides together and stitch with 1/4″ seam.
Center bottom holder on bottom seam. Stitch.
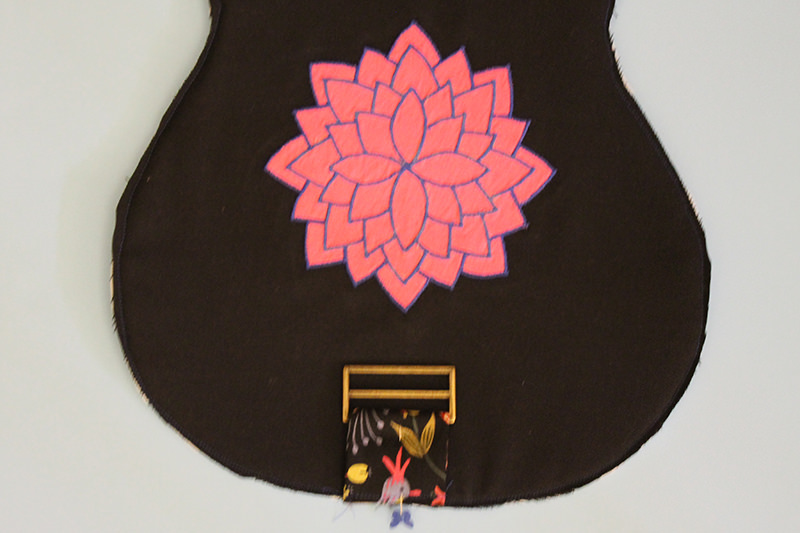
Measure 10″ from top of the headstock and center the top strap holder. Stitch.
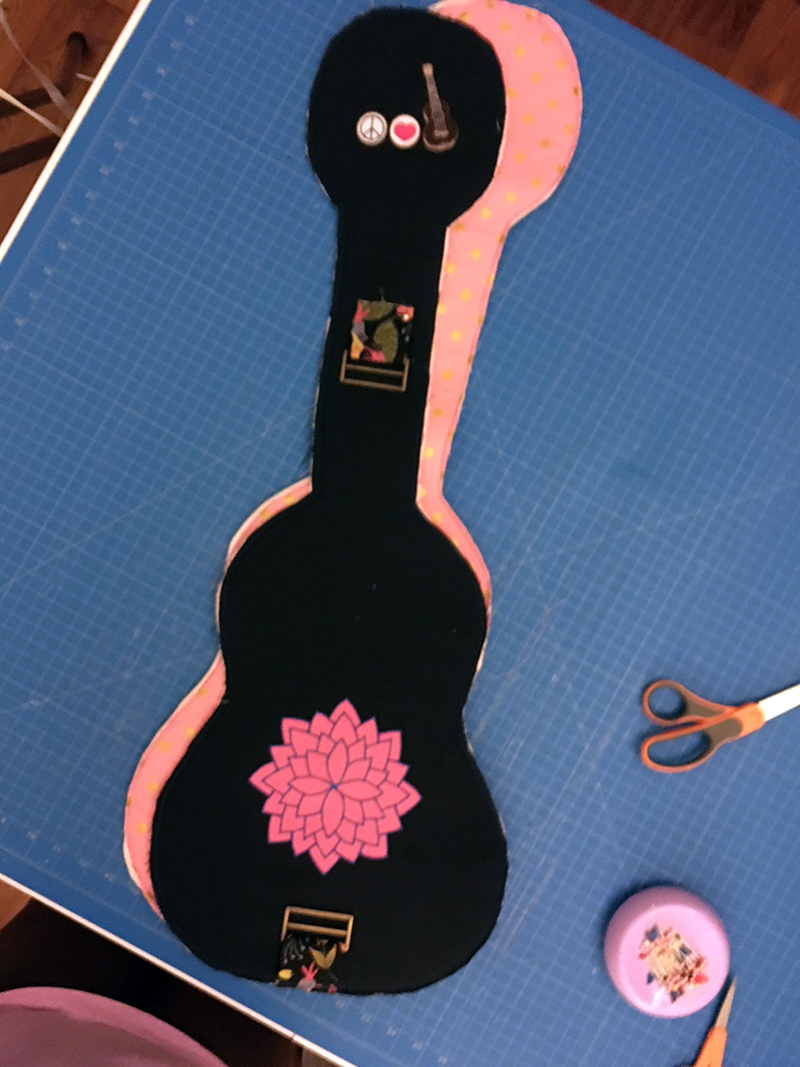
Add a piece of the exterior fabric over the top strap holder just to cover the raw edges. I cut 2″ x 3 3/4″ and turned under a quarter inch on the long sides.
STRAP
This strap finishes at about 27″.
Cut the pink fabric and black canvas 2 1/2″ x 30″ and a piece of batting 4″ x 30″.
Fold the batting and put on wrong side of black. Stitch 1/2″ from each side and down the middle.
Put the pink fabric right sides together on the black. Stitch 1/4″ seams on three sides. Leaving one end open for turning.
Turn, press.
And here is how I put the strap on the back….
Put strap through the tri-glide. Stitch close to metal.
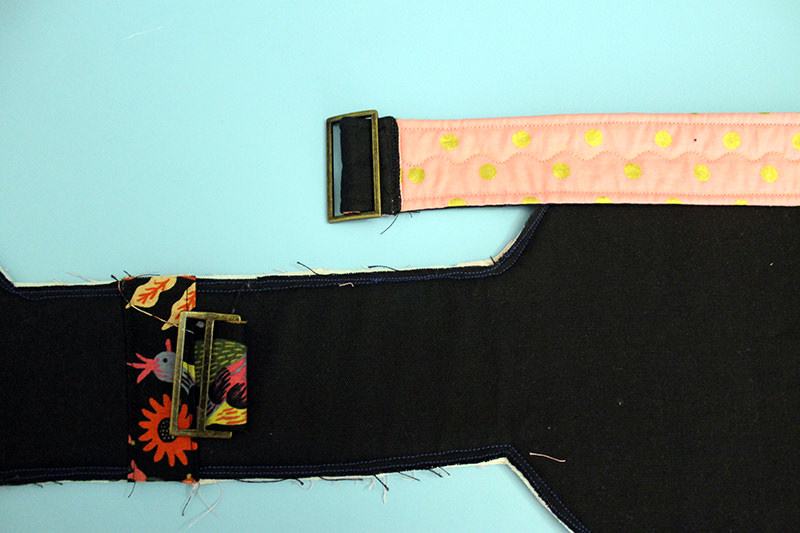
Slide the strape through the tri glide on the top.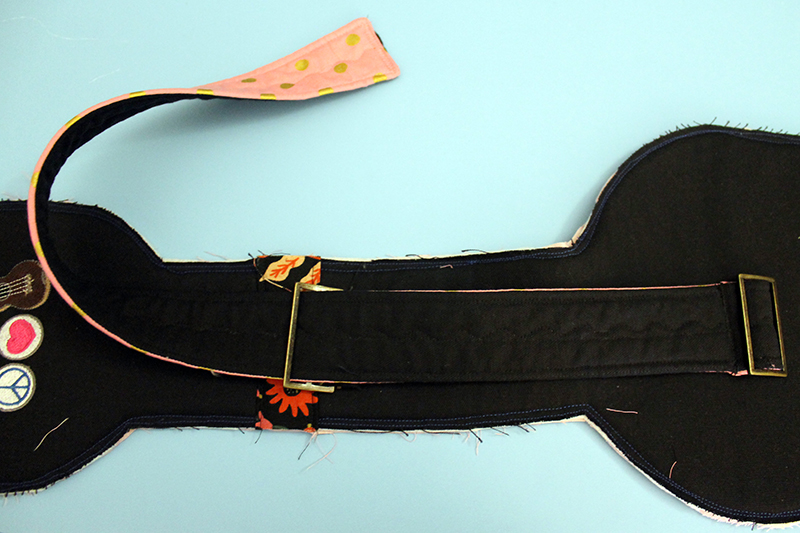
Put strap back through the tri-glide.
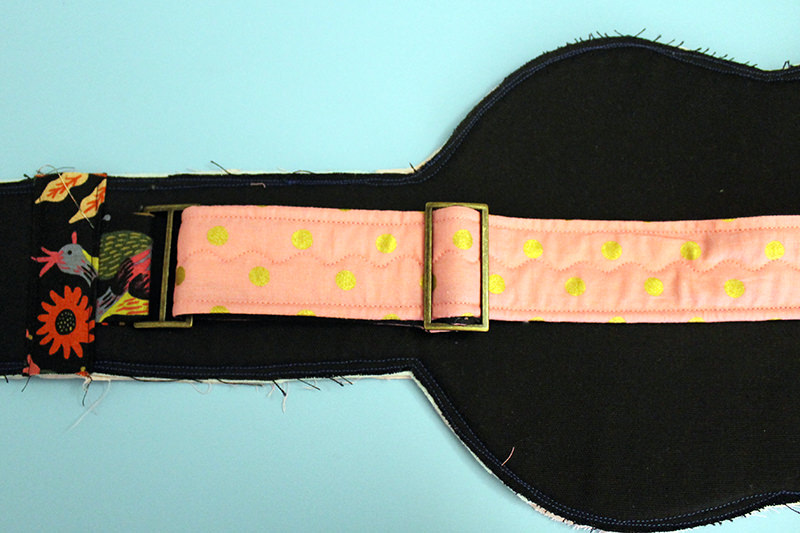
Loop it around the bottom tri-glide.
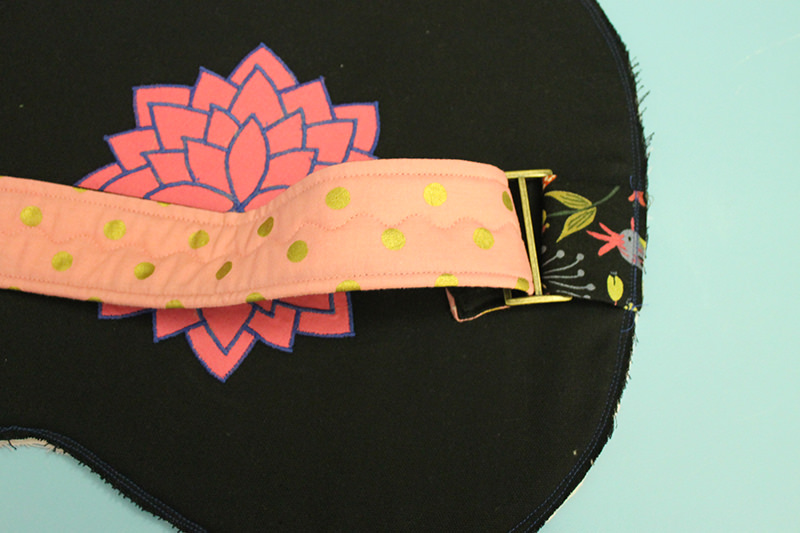
Stitch close to the metal.
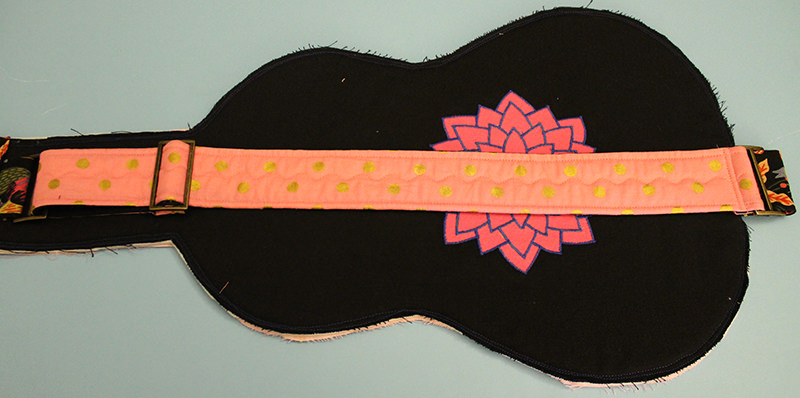
ZIPPER AND SIDES
Gotta have a zipper to get the uke in and out. Not too long. Not too short. I had a 48″ parka zipper (has a zipper pull at each end) that I cut down to 44″.
The zipper section has to have one side wider than the other to take in account room for the handle.
I cut 2 1/2″ by 1 1/2″ bits of the lining fabric and made tabs for both ends of the zipper.
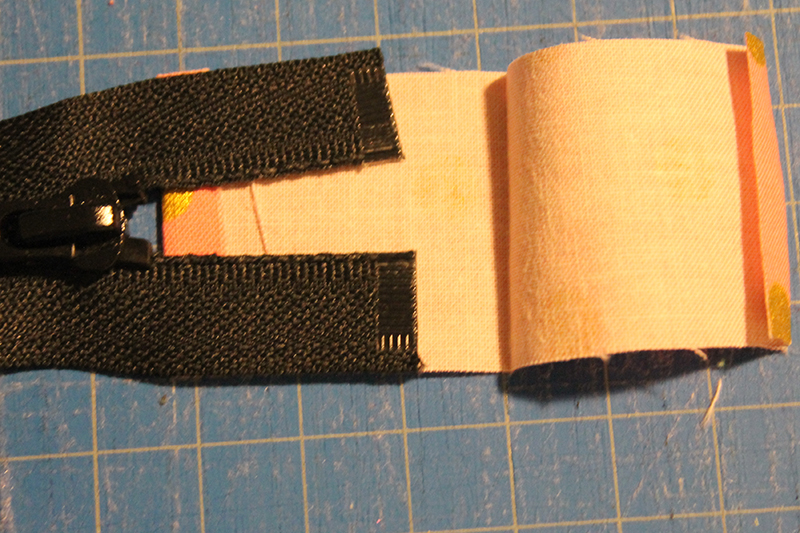
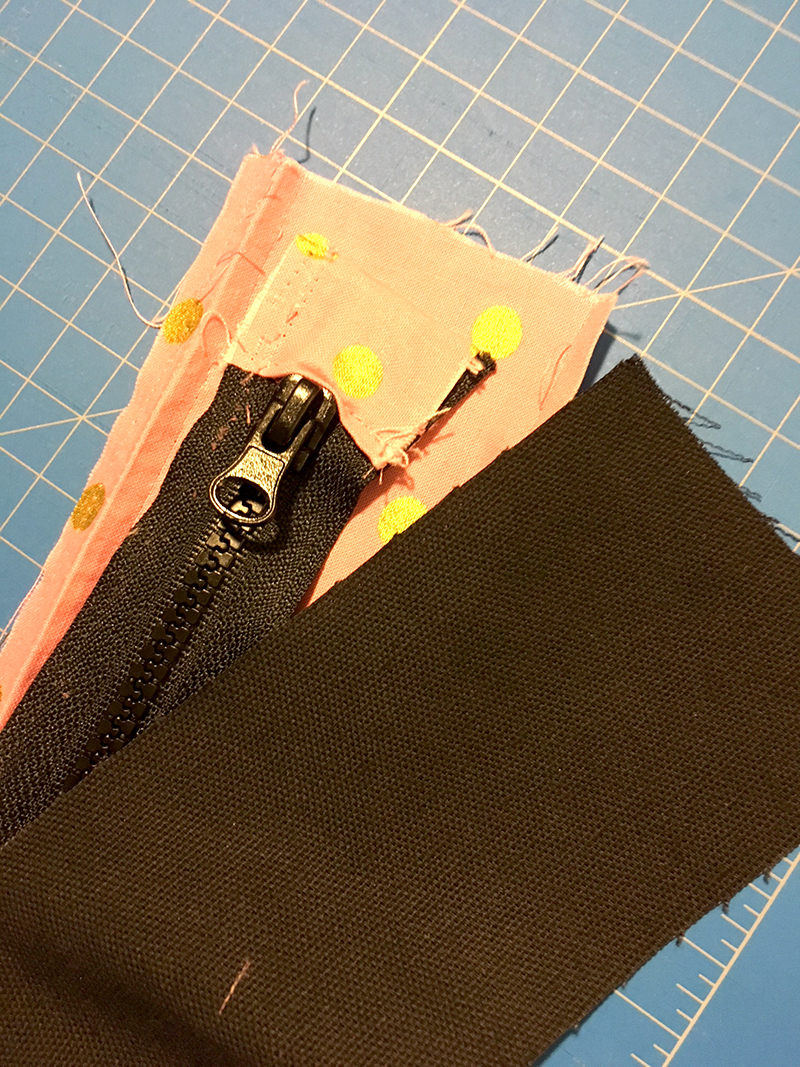
Now, gotta say, I’m the person that doesn’t sew over pins because I know that they will break in two and one half will fly up and pierce my eye and I’ll be blinded forever. (Little over dramatic right? But you get the idea!) I decided that I could sew over the teeth on that zipper.
You know that I broke that needle! Duh!
But fortunately I didn’t lose an eye–just a needle. I thought I might be able to pry the teeth off but couldn’t figure out how to do that either. I just sewed the tab on and left an opening where the teeth were.
Next up, sides for the zipper. My zipper length with the tabs is now 45″. The ukulele sides are 3″. I cut exterior and interior fabric, one piece at 45 x 1″ and a second piece at 45″ x 3″. After I put the zipper on I added batting to the 3″ side.
For the sides, I measured the outside then subtracted the zipper. I added a couple inches because it’s easier to make it shorter than longer!
Made a quilt sandwich with the exterior fabric, batting, and lining. Where the zipper section and the side section meet, I covered that seam with some binding that I made.
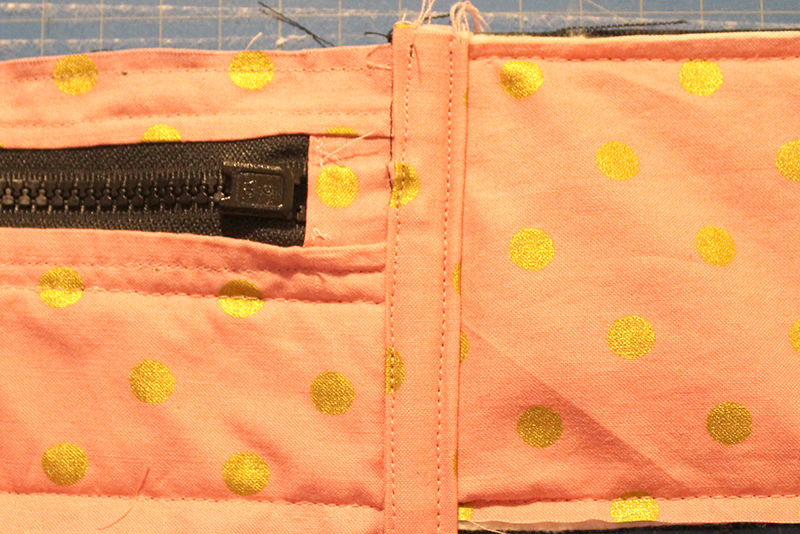
Because I didn’t know the exact length I needed for the sides, I connected them a bit like I do quilt binding. Using a 1/2″ seam allowance, I started stitching the side a few inches from the end and stopped a few inches before the other end. Then I lined them up, left a 1/2″ seam allowance, and finished.
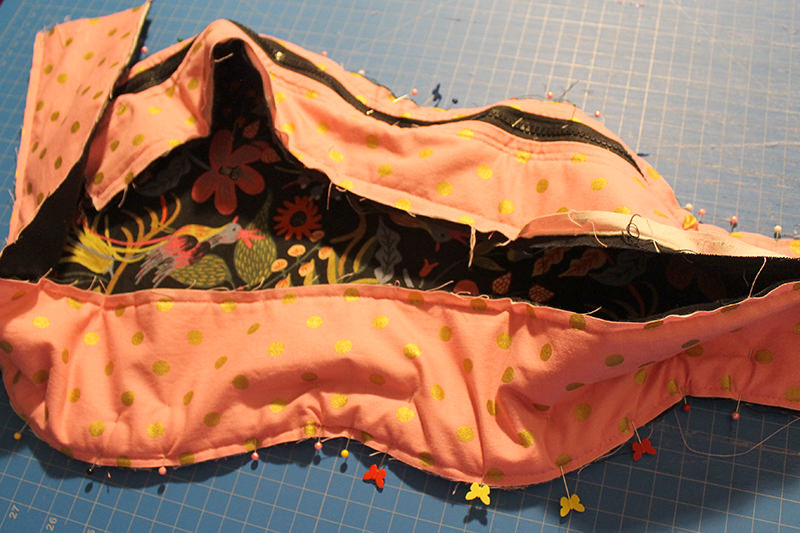
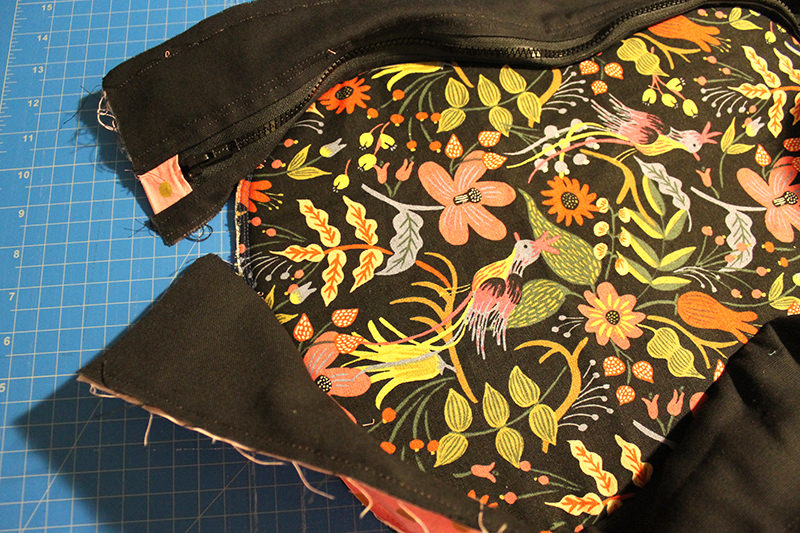
While the width of the side pieces is 4″, I knew that was way too big for the headstock portion. After I had the sides attached to the front, I graded the top of ukulele case down to 2 1/2″ starting at the “neck”. The smallest side was at the tippy top of the headstock.
Putting the back of the bag on was a real challenge.
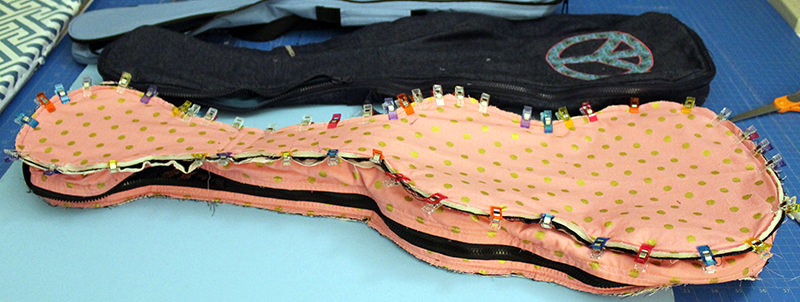
All the cases on the table!
I trimmed the seams down to 1/4″ and did an overcast stitch on them.
HANDLE
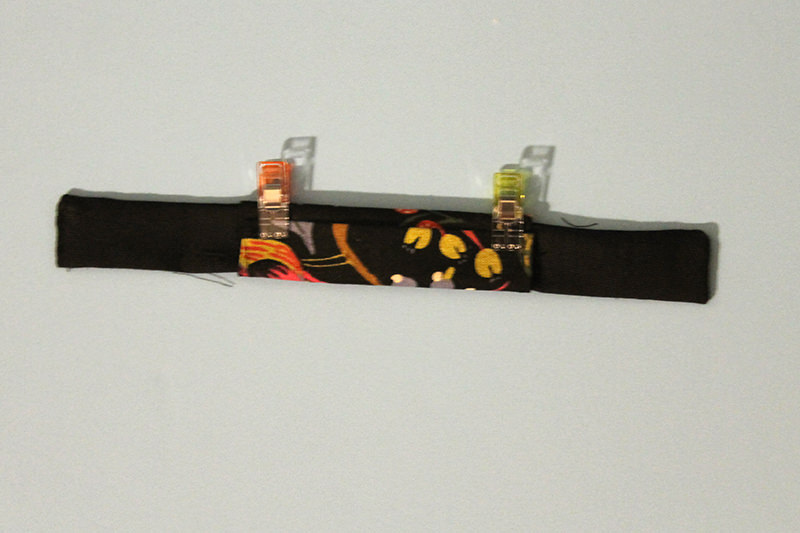
I attached the handle after I had the entire bag done so the case would be balanced correctly.
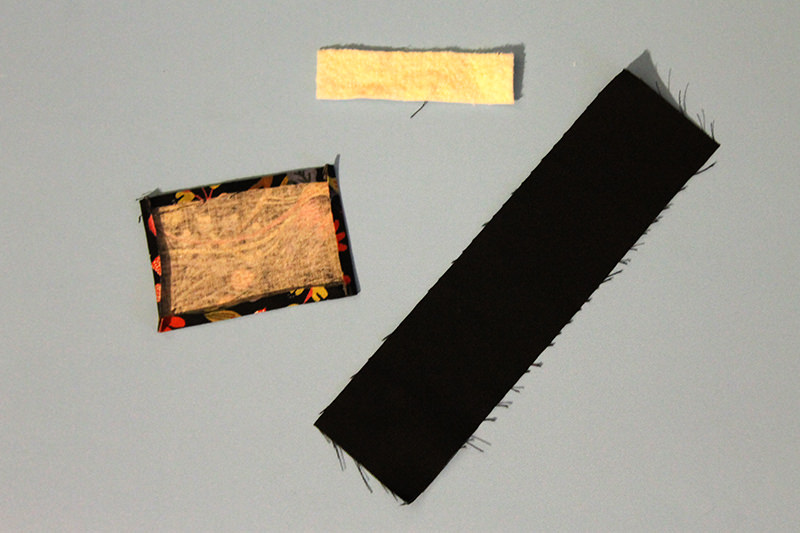
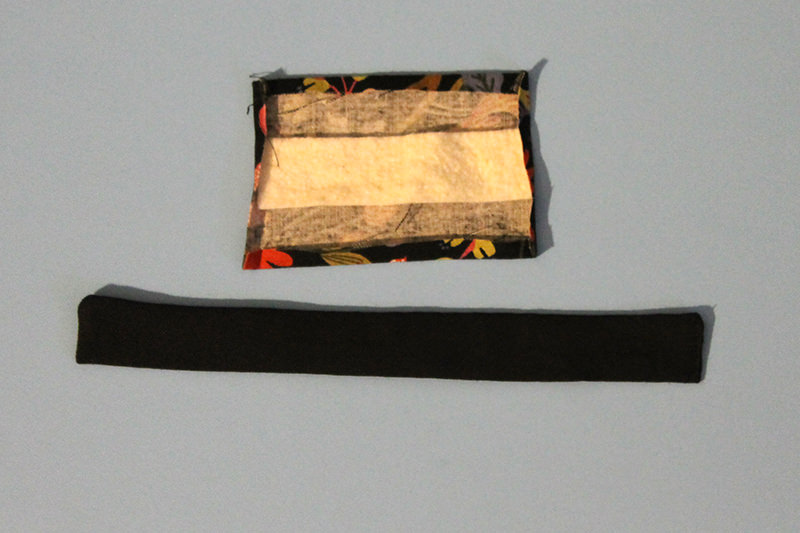
Centered the black canvas on top of the batting.
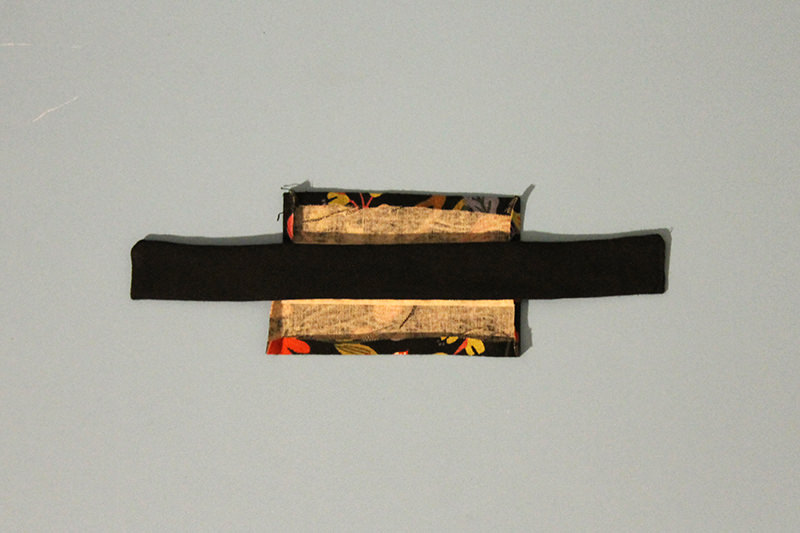
Folded the exterior piece over the strap and batting.


Discover more from
Subscribe to get the latest posts sent to your email.

Comments
DIY Baritone Ukulele Bag — No Comments
HTML tags allowed in your comment: <a href="" title=""> <abbr title=""> <acronym title=""> <b> <blockquote cite=""> <cite> <code> <del datetime=""> <em> <i> <q cite=""> <s> <strike> <strong>