
Christmasy Patchwork Pillow
There are many things that I try to make for Christmas every year.
A new apron.
Some new pot holders.
Gifts, of course!
And at least one pillow. You can check out some of my holiday pillows here.
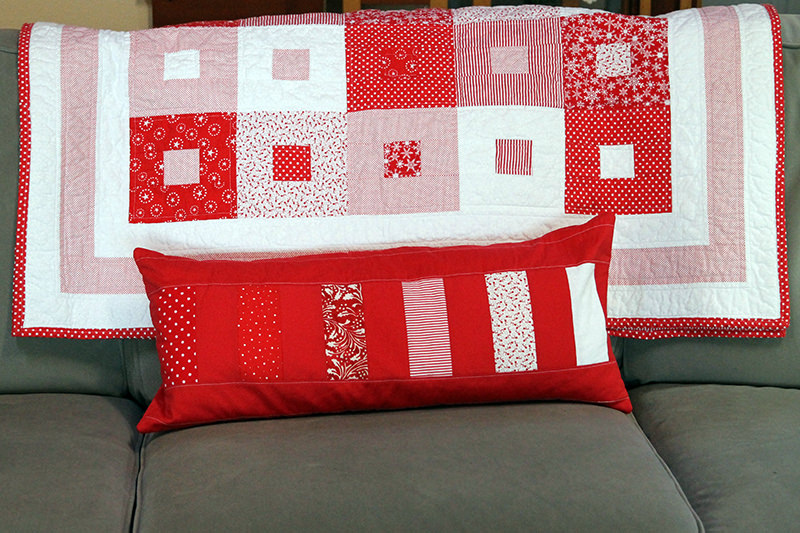
I have this VERY FAVORITE lumbar pillow. It is always on my sofa. Because it is the perfect napping pillow.
And, I’m all about naps!
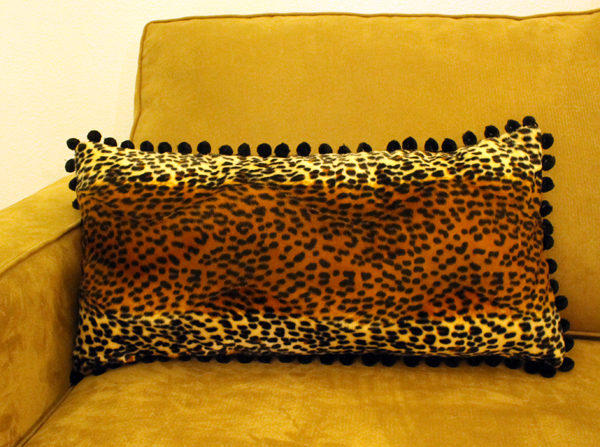
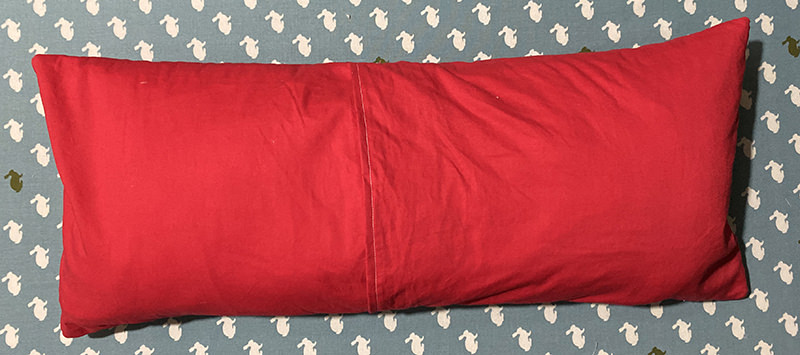
Well, I made that pillow back in 2015. It’s getting a little frumpy so I made it a new cover! For Christmas! “Merry Christmas” favorite pillow!
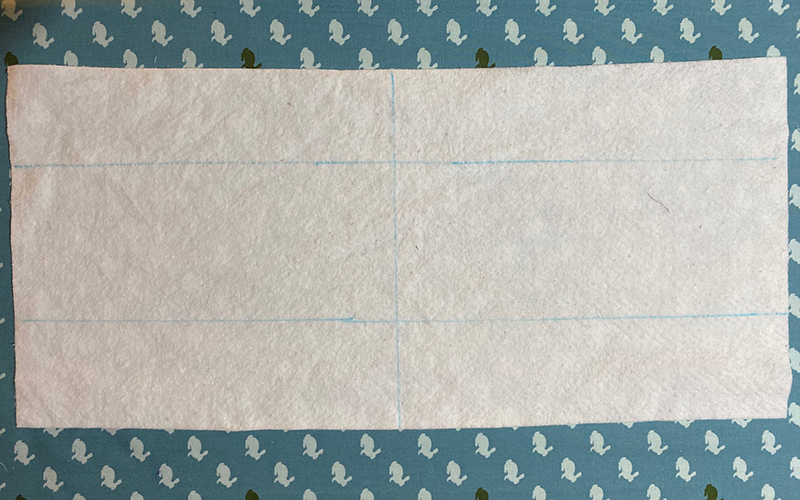
At this point, after being squashed down from sooo many naps, the pillow form is 11″ x 25″. The pillow cover should be a little tight so I’m planning for the front piece to be 11 1/2″ by 25 1/2″. I’m using 1/2″ seam allowances.
I cut a piece of batting a little bigger than needed. Because batting and fabric like to move around and shrink or get larger. It has a mind of its own. Just accept it. This piece is 12″ x 26″.
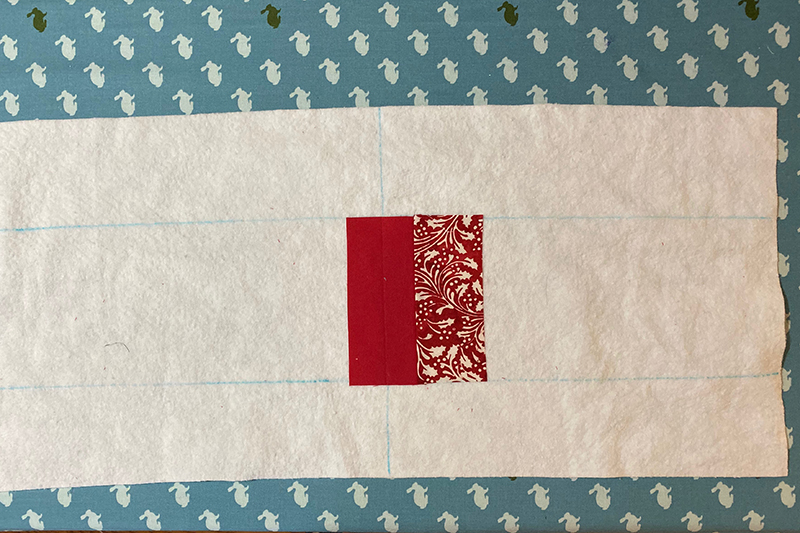
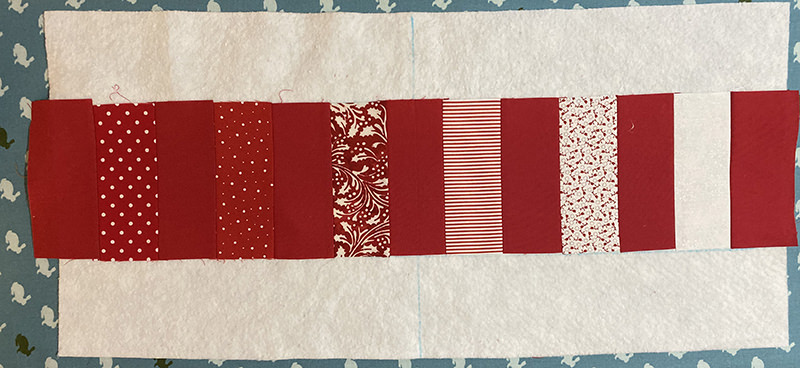
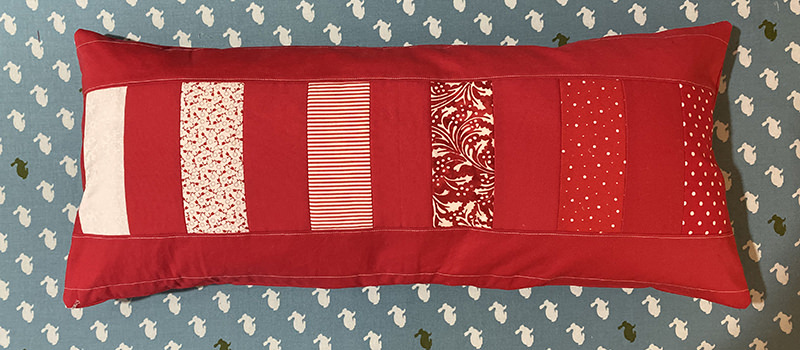
I marked the center. And marked from the top and from the bottom for a section to be 5 1/2″ high. Cause my strips will be that high. And 2 1/2″ wide.
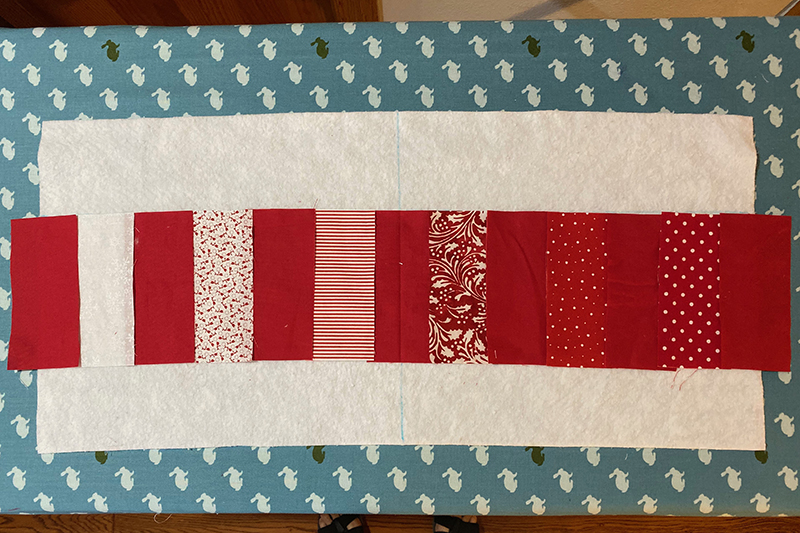
Then I interviewed my fabric strips to see how I wanted them laid out. You might be able to see that I pressed the middle red piece in the center so it would match up with the center mark on the batting.
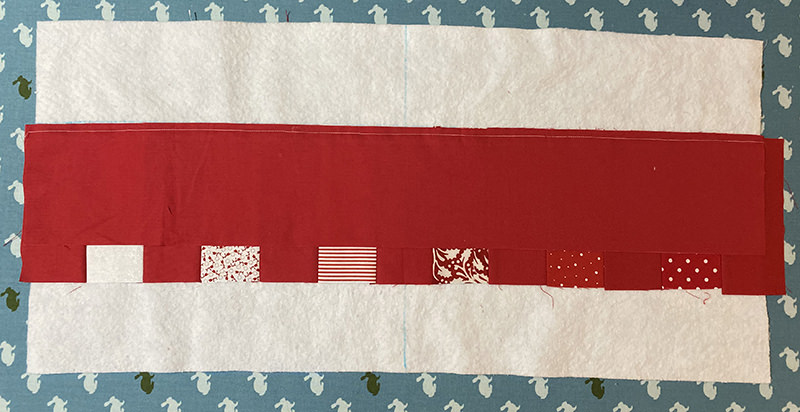
I started out by laying down the center piece.
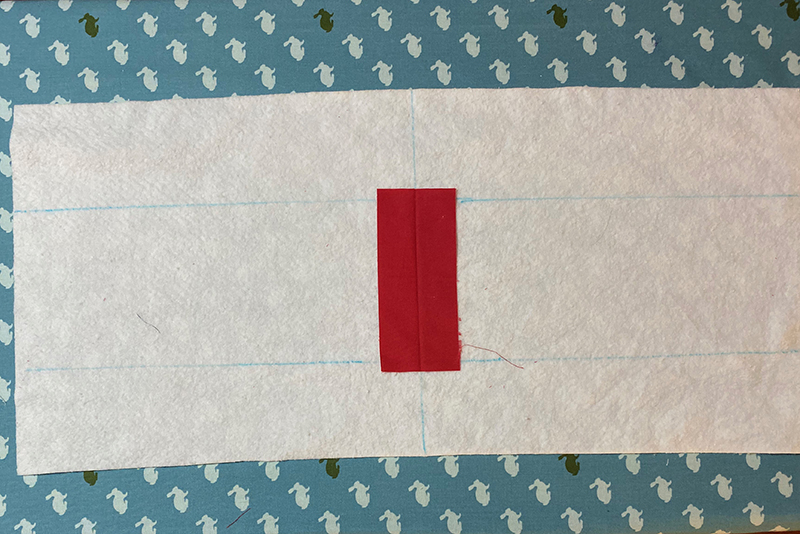
It’s very important to keep the top of the strip at the top marking or the line will go wonky. I like wonky but for this pillow I want straight. After I lined it up correctly, I laid the next piece down directly on top of it–right sides together–and stitched on the right edge with a 1/4″ seam. Flipped it over and pressed. This is a type of “quilt as you go”. Rather than piecing the whole top of the pillow together then stitching it onto the batting, I find this method much quicker and easier.
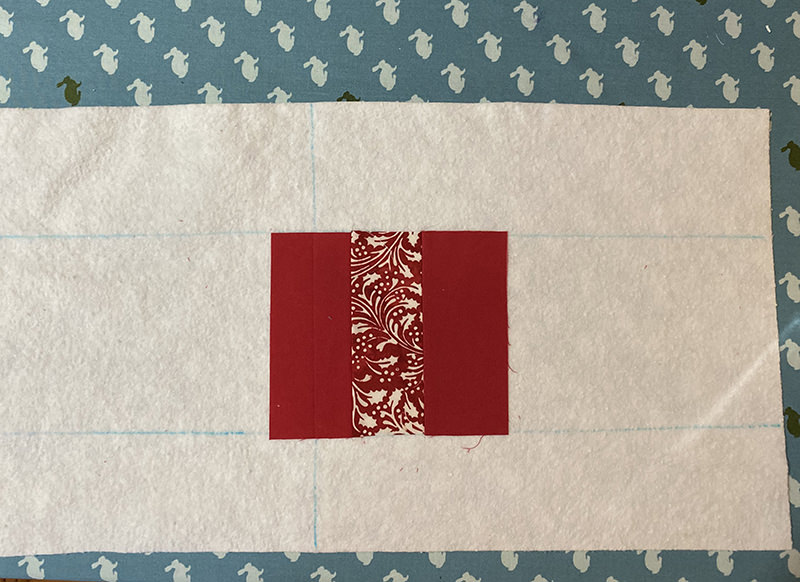
I flip the batting over and continue onto the other end.
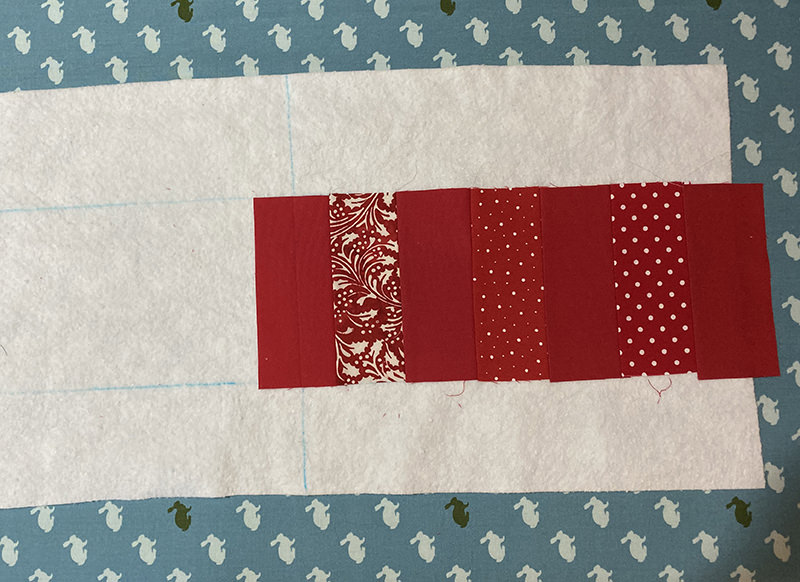
Then I put a red piece of the fabric on the top. And on the bottom. I have no idea what size I cut. It was early. I might have been experiencing sleep deprivation.
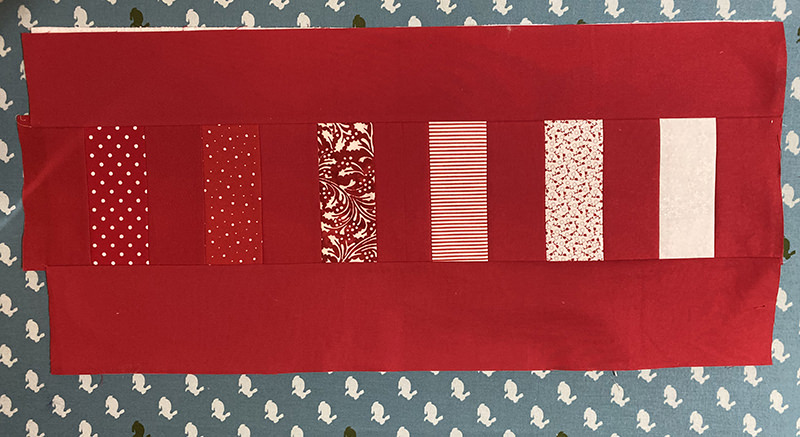
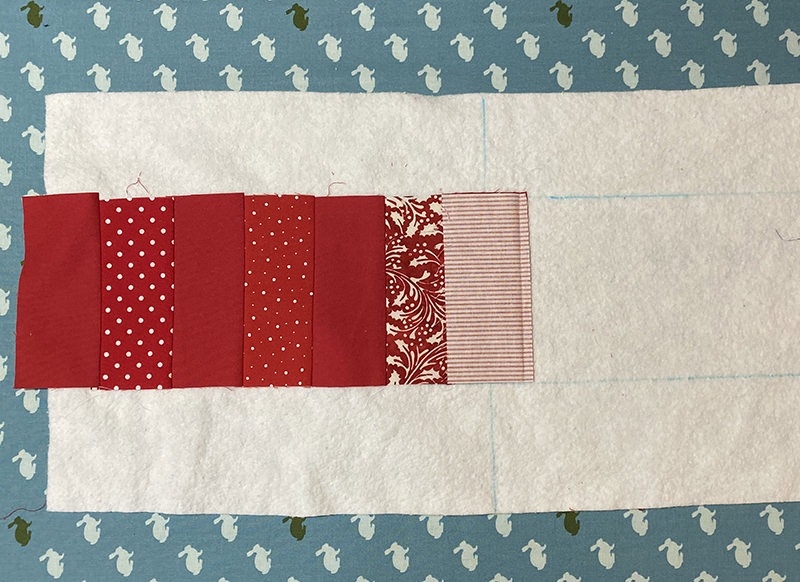
I did a little quilting just to hold the fabric down on the top and bottom pieces.
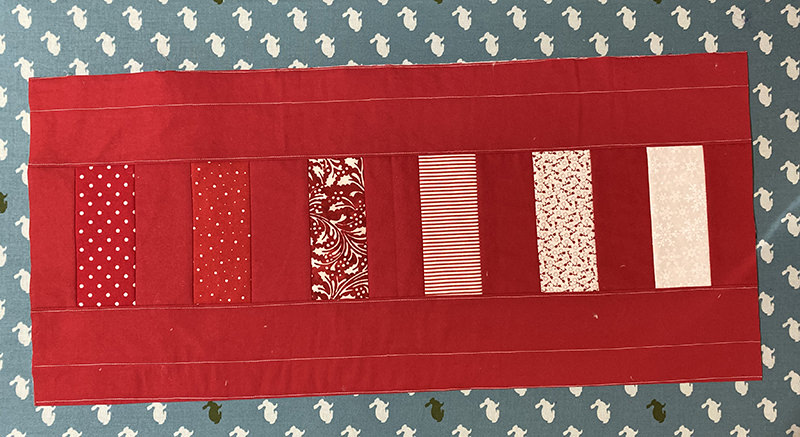
And then trimmed it down to the size I needed. 11 1/2″ x 25 1/2″.
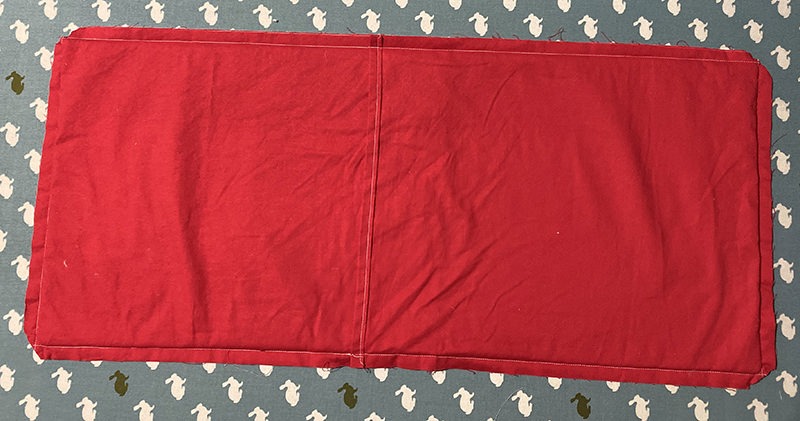
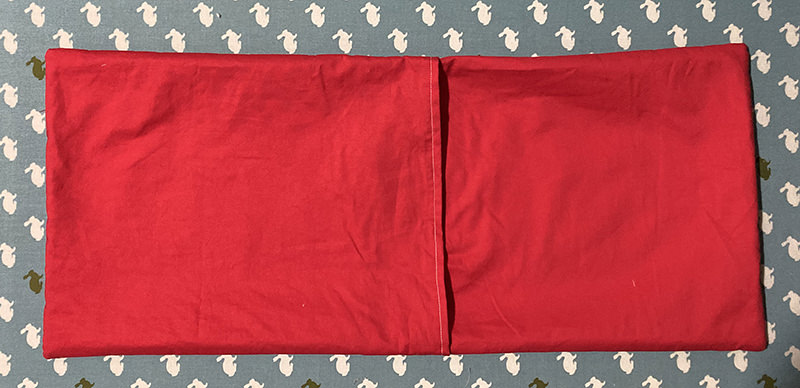
Next up, I made an envelope style back. Quick and easy formula for the envelope back. You need two pieces that are 2/3’s of the front. Rounding up or down. This pillow is 11 1/2″ x 25 1/2″. I made two pieces 11 1/2″ x 15″. Pressed under 1/4″ and then another 1/4″. Stitched. Laid the first piece on the back. Right sides together. Stitched. Laid the second piece on the back. Stitched. Clipped the corners. Turned right sides out.
So my goal of making a pillow every Christmas…..DONE!
Discover more from
Subscribe to get the latest posts sent to your email.
Comments
Christmasy Patchwork Pillow — No Comments
HTML tags allowed in your comment: <a href="" title=""> <abbr title=""> <acronym title=""> <b> <blockquote cite=""> <cite> <code> <del datetime=""> <em> <i> <q cite=""> <s> <strike> <strong>