Christmas Tote
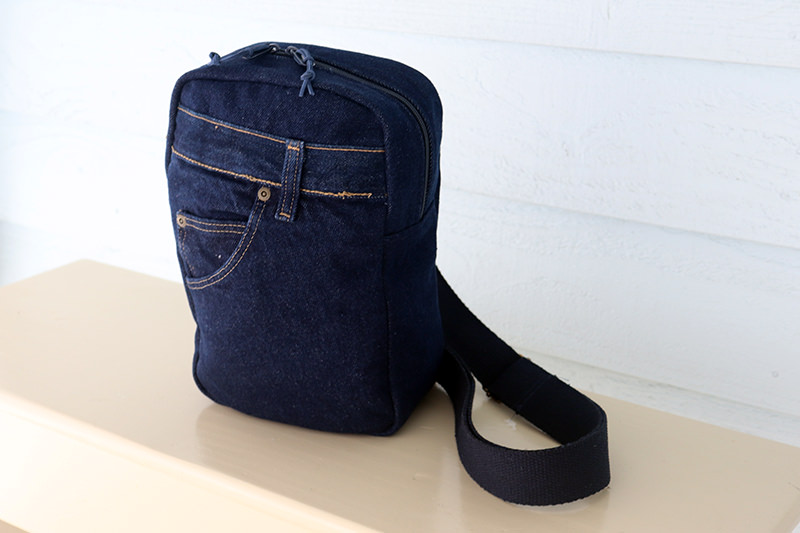
This bag.
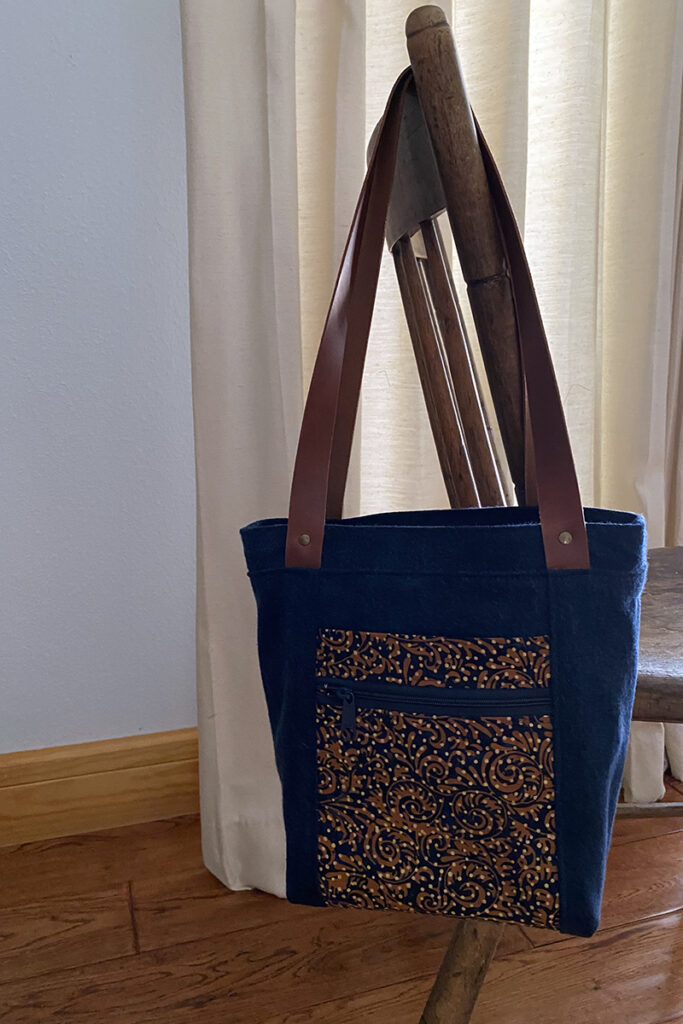
I have been carrying it everywhere. Except in situations where I’m in a crowd and might be jostled. Then it’s this bag.
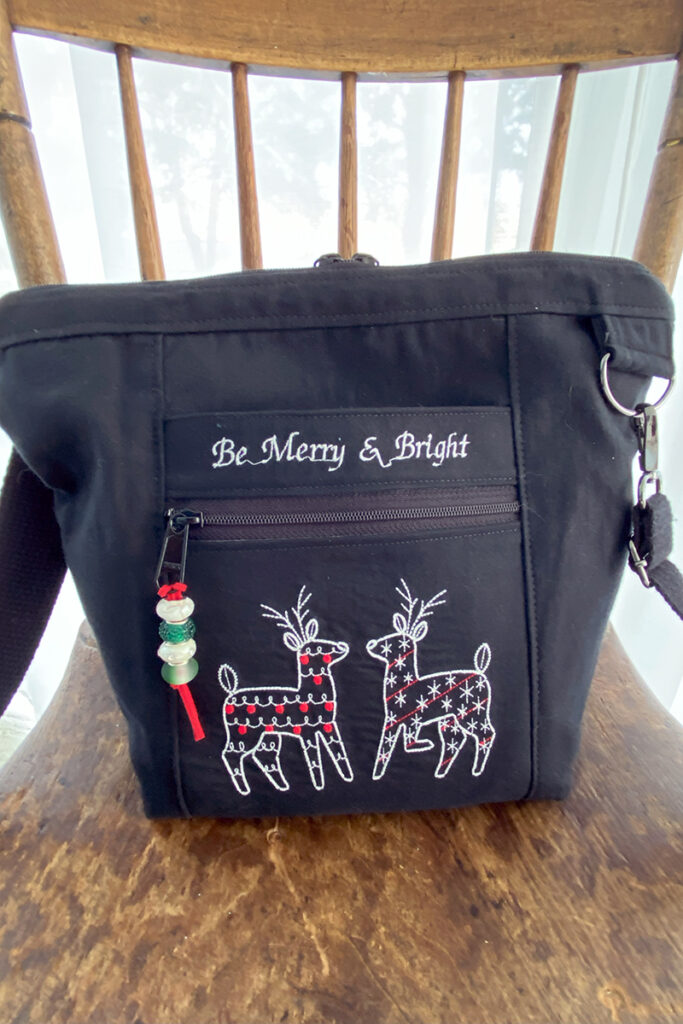
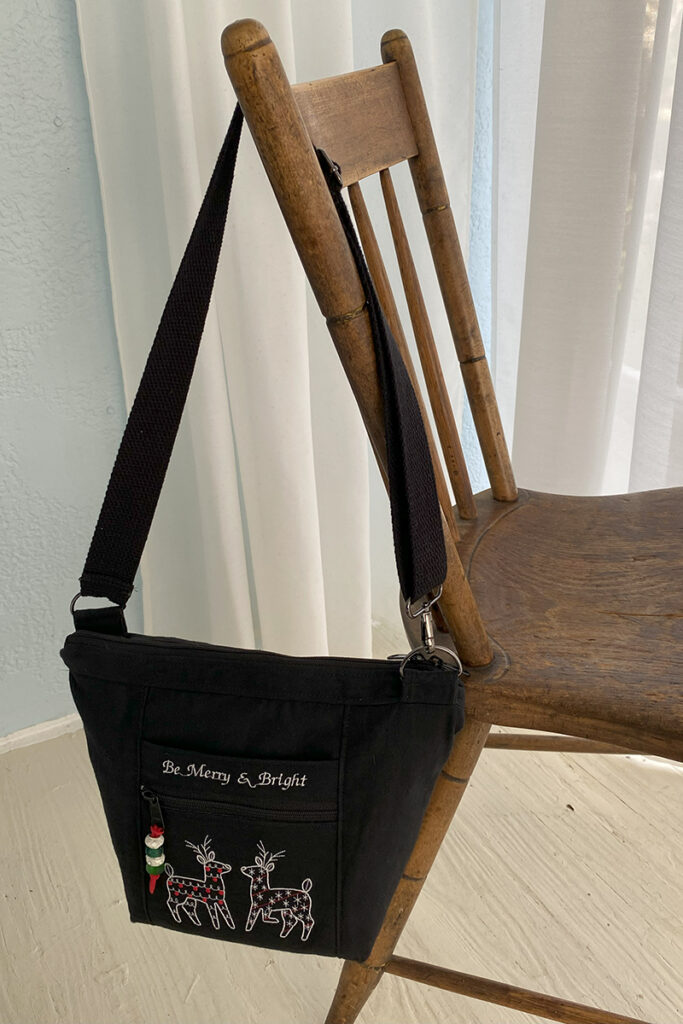
Then I decided that I needed a Christmas-themed bag for upcoming holiday travel. And last month I made this bag. Again, based on a Noodle-head pattern–the Firefly in the Project Size.
I had requirements.
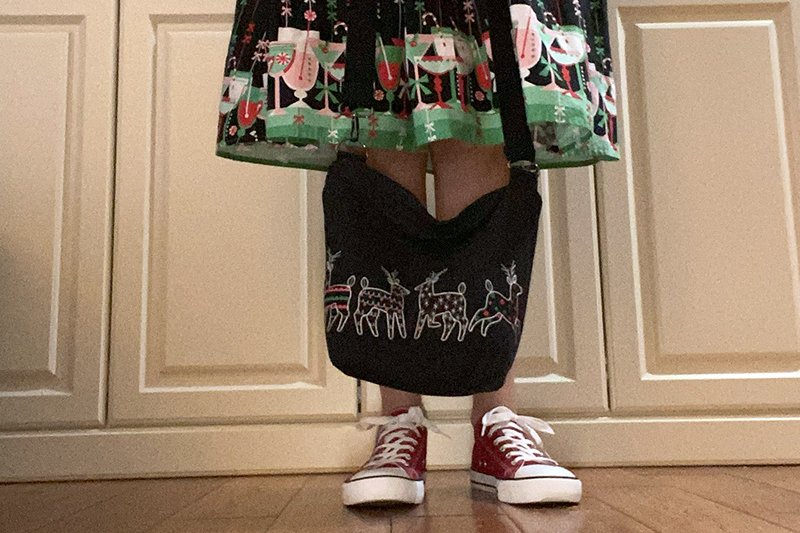
It had to have reindeers–my favorite Christmas image. I wanted it to be cross-body. With plenty of room inside for my very important items. And have a zippered top so the very important items wouldn’t fall out as I went through security at the airport.
First I pulled out one of my own patterns—a medium sized cross body bag. I had started designing this about 3 years ago and stitched a few test bags. The recessed zipper is always a trial for me. While I typically find zipper placements not a problem, I was trying to find a quick and easy method that I can explain in a tutorial. But after purchasing and using Noodle-head patterns several times, I decided that her tutorials are so well done, why am I even bothering? Spend the ten dollars and buy the pattern. And if isn’t perfect for your needs, modify it! I’ve made almost ten of her bags from two different patterns—some with modifications of my own. I seriously doubt if there will be anymore free tutorials from me. Testing and writing takes so much time and I have so many other things I want to do.
So I returned to the Firefly Tote from Noodle-head in project size for my new Christmas Tote. And changed it up to meet my requirements.
I had some challenges.
Challenge Number One
Placing embroidery in the ideal location
Lots of measurements took place. “Measure twice, cut once.” More like measure ten times, cross my fingers as the machine does the embroidery, cringe as I HAVE to make that Final Cut!
Challenge Number Two
Adding holder straps for the shoulder strap.
I had to put my thinking cap on for this one. The Firefly isn’t designed for a cross body strap. Plus it has the drawstring bag for the interior. Got my notepad out, took measurements, wrote equations, came up with a simple solution.
I eliminated the drawstring portion, cut the top band in half but added the removed half to the interior (no fabric wasted!) Then I offset the cross body strap holders a bit so they weren’t in the seams which cut a lot of the bulk in the seams.
Challenge Number Three
Adding a zipper to the top.
What I wanted was a recessed zipper—also called an inset zipper. I’ve tried adding these before and always ended up hand stitching the ends to the bag because of the bulk. There’s got to be a better way.
Rather than fight with the recessed zipper I went with easy for this tote. I just added it to the top like I do for pouches. Not what I really wanted but it serves the purpose–my very important items won’t be falling out on my travels.
But I really want to understand how to add a recessed zipper, I ordered the Pepin Tote pattern from Noodle-head back on Black Friday so I could study how she does that zipper. Her instructions are so great, I know that I will be a recessed zipper expert in no time! I plan to make that tote as one of my first projects of 2024. (every time I think of a new year right around the corner my chest kinda tightens up a little bit!)
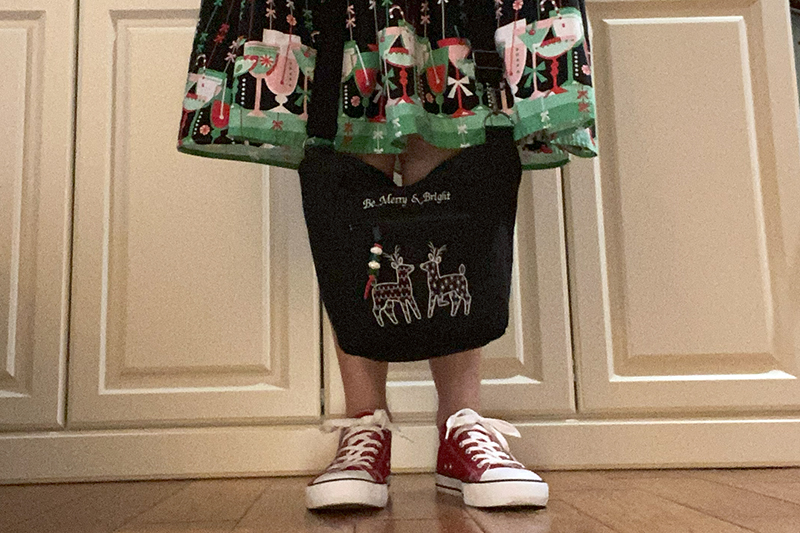
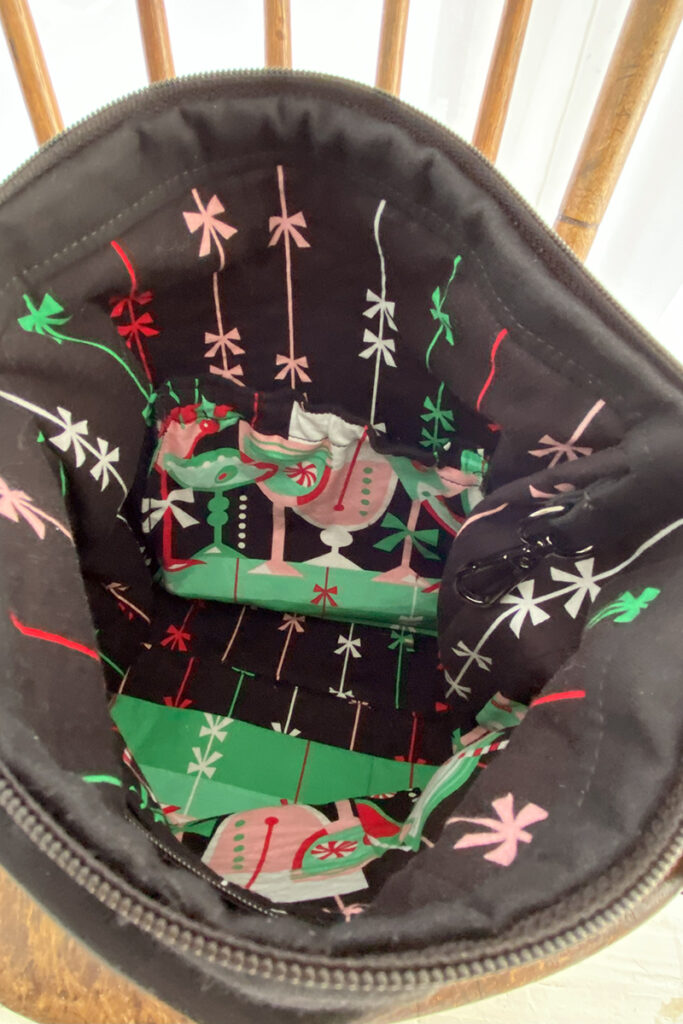
For the interior, I used this really cool fabric that I had used for a Christmas skirt several years ago. I had to piece some of it together but it turned out great. I like the lining as much as the exterior. (I wish I had more of this fabric!) I added a large zippered pocket to the interior and put elastic on the top of the second interior slip pocket. Of course, I included a swivel hook for my keys.
I’ve been carrying my perfect Christmas Tote for a couple weeks and LOVE IT! Looking forward to going on a trip and really testing it out!
Discover more from
Subscribe to get the latest posts sent to your email.

Comments
Christmas Tote — No Comments
HTML tags allowed in your comment: <a href="" title=""> <abbr title=""> <acronym title=""> <b> <blockquote cite=""> <cite> <code> <del datetime=""> <em> <i> <q cite=""> <s> <strike> <strong>