Boo Bag!
Back in June I spotted these pillows at sew4home.com. I LOVE toile. And I love scary things.
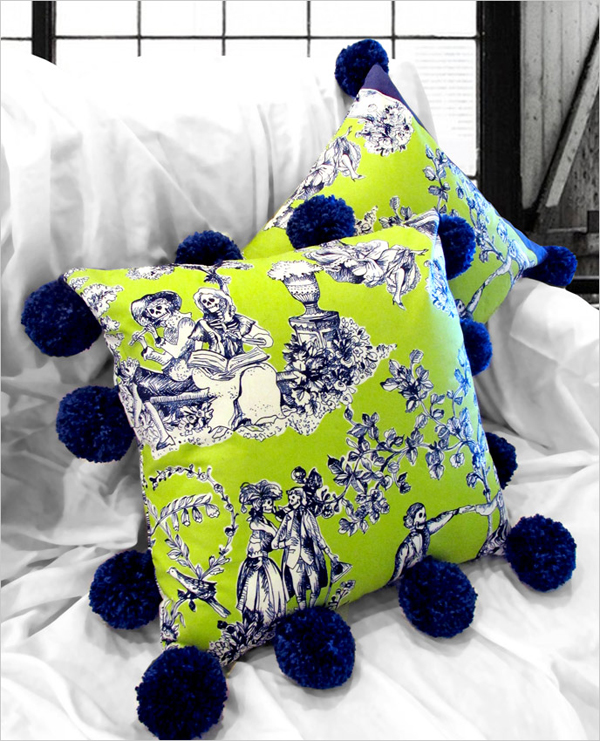
And I wanted it very very badly.
I actually woke up at night thinking how I could use it. It came in a few different colors but nothing that popped like the chartreuse. Which matches NOTHING in my house.
So I decided to make a tote. Because it doesn’t matter what a tote matches with. Especially if you only wear jeans and white t-shirts. I bought two yards of Alexander Henry Nicole’s Prints the Romantics in Chartreuse from Fabric.com.
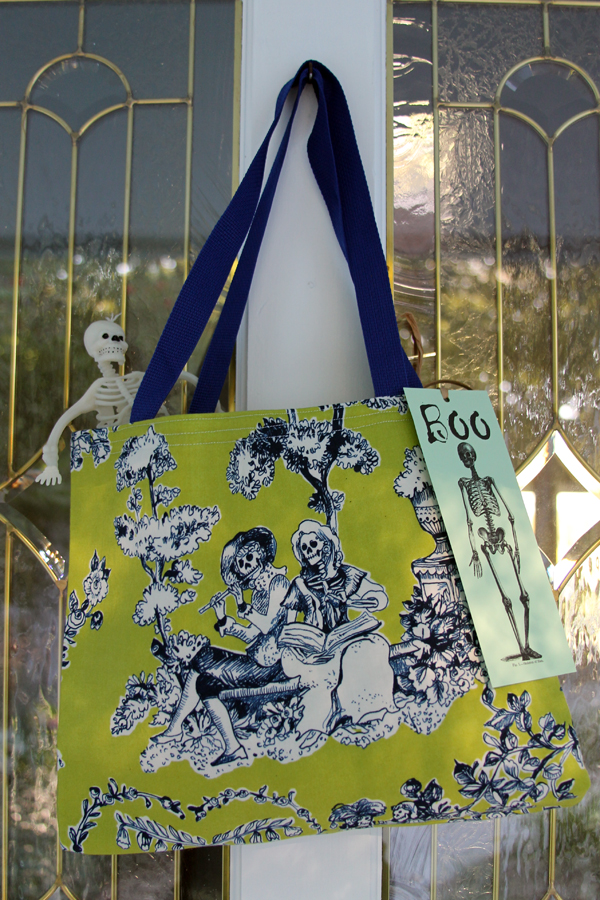
So I thought about what to name this little number and came up with Boo Bag and went out to google to make sure that Boo Bag isn’t something nasty. (You never know)
And it turns out that Boo Bag is actually a new Halloween thing where you are supposed to leave a bag with treats and a boo poem on someone’s front porch. And then the recipient has to put a “I’ve been booed sign” in the window and return the favor to other neighbors. That’s a really short synopsis. Just do a google on boo bags if you want to know more.
And I think it sounds absolutely awful! If I left a bag full of treats on someone’s porch here in Florida, it would be full of little green frogs in a heart beat. And they’d be leaving little green frog poo on all those treats.
So this boo bag will not be sitting at someone else’s front door.
I never made this bag before and created it as I went. It turned out much better than expected. The only problem I had was that I twisted both handles when I sewed them on. Duh! Where’s the ripper?
Well, there was one other little problem. I had a really hard time photographing this color. When I tried to adjust the colors through Photoshop, it just made it worse, so please forgive the wide variations of colors through the following steps! That chartreuse really skewed the colors in the photos. Some of the pics made my eyes hurt!
By the way, September is National Sewing Month. Did you know that? There is a drive out there to teach just one other person to sew. So I think my tutorials are perfect timing! I’m trying to introduce something new every week. The first week was just a very basic easy-peasy bag. Last week I introduced pockets and a pleated bottom for the tote. This week, I’m “fussy cutting”, lining the bag, using fusible fleece and boxing the bottom.
Anyhow, here’s the tutorial. Just skip it if you’re here to enter the Giveaway. Go right to the comments! Because this is a really nice bag and if no one wants it, I know someone that does.
That would be ME!
Boo Bag!
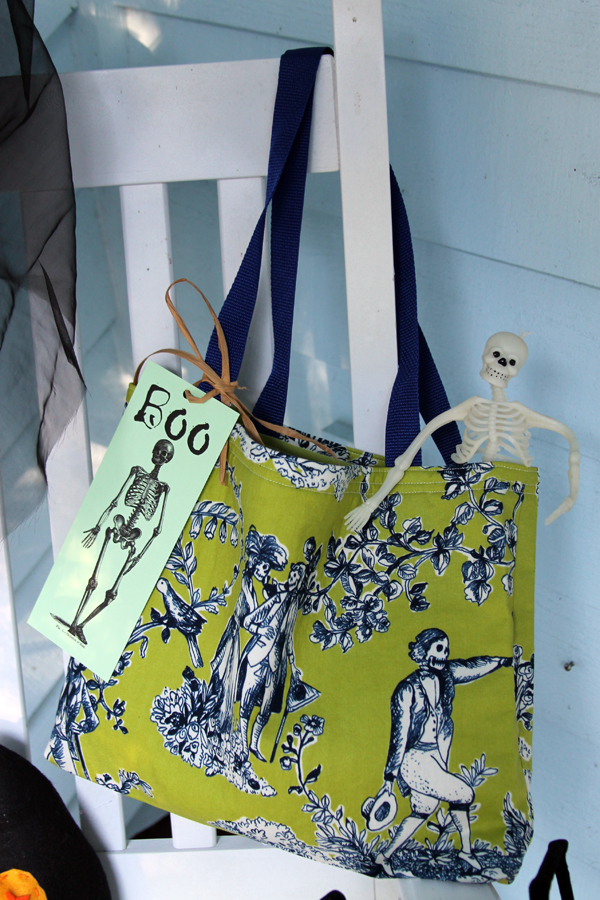
This makes a bag that’s 11 ½” tall, 14 ½” wide, and 2” deep.
Main Fabric:
Fussy Cut two 17” x 14” pieces for bag
The bottom 1 ½” will be the bottom of the bag so make sure you don’t get any of the cute stuff in that section. I know that I’m going to have a ½” seam on the top so I centered the pic in that area.
Fussy Cut one 12” x 8” for pocket
Lining:
One 33” x 13 ½”
Two Fusible fleece 16” x 13”
Cut 12” x 8” for pocket
Cut 2 pieces of webbing 26” long for handles
Use ½” seams throughout
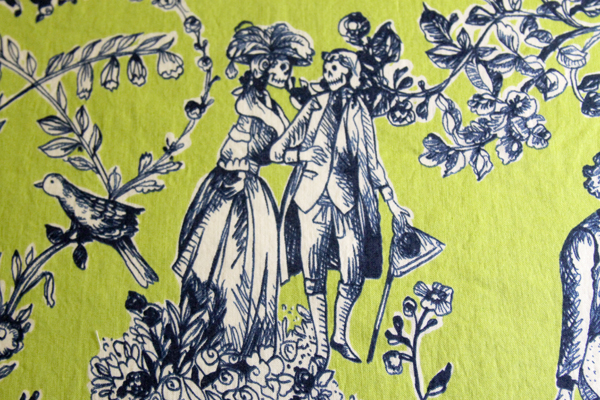
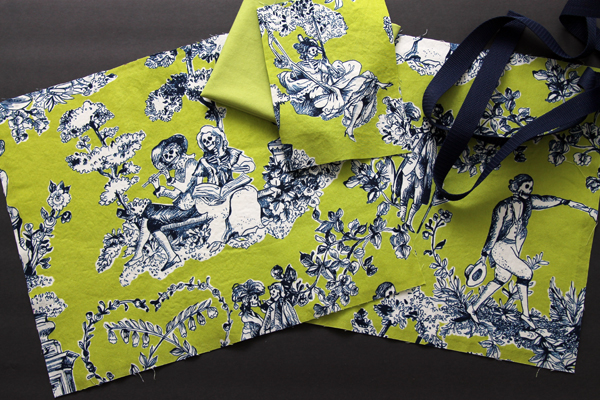
Let’s talk about “fussy cutting”. This is where you feature something from your fabric. You need to buy extra material when you do this. I wanted to use this sweet little vignette on the front of the bag.

I’m boxing the corners of the bag which will take up 2 1/2″ on the bottom. In addition, there will be 1″ used for the seam on the top plus 1/2″ seam allowances on each side. So I want the scene to be centered in that area.
Here’s what I used for the back:
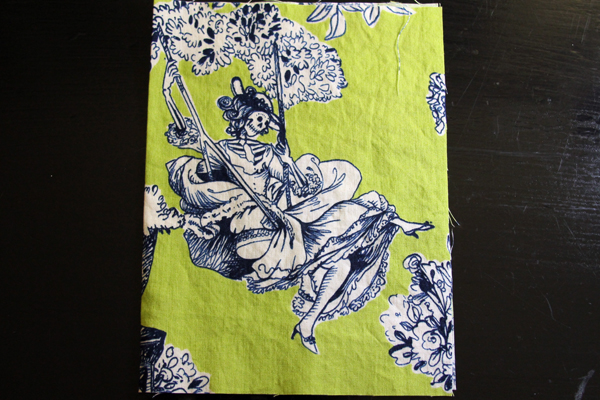
 And since I had a bit of fabric with this lovely lady in the swing, I added a pocket to the inside of the bag.
Lining
Make the pocket by folding right sides together.
Stitch ¼” seam around the three sides leaving an opening for turning.
Turn right side out. Press, making sure you turn in 1/4″ on the opening.
Top stitch close to the top and 1/4″ away from the top.
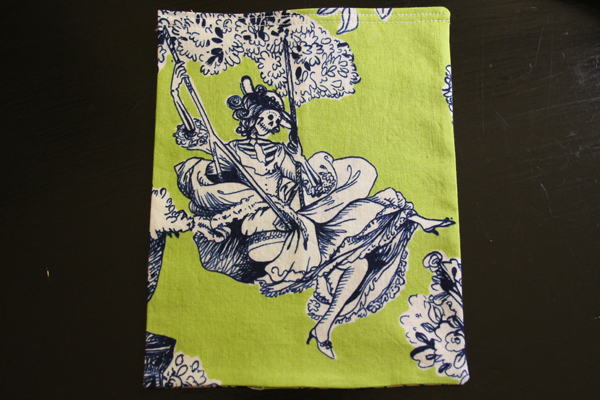
Since I didn’t have to fussy cut the lining, I just cut one large piece — 33” x 13 ½”. To mark the center, fold the lining in half and press.
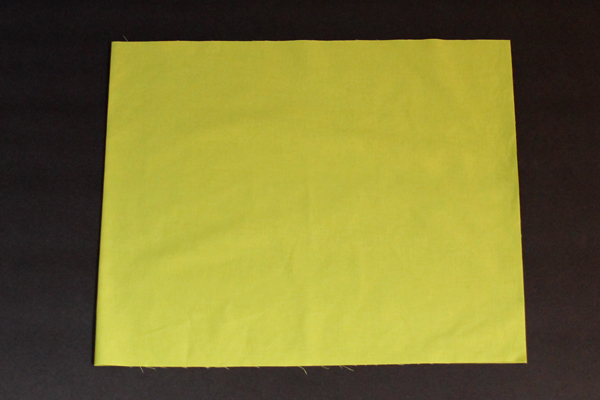
We need to find the true center of one of the sides to place the pocket. Since there will eventually be a 1/2″ seam that has to be accounted for. I marked the 1/2″ seam.
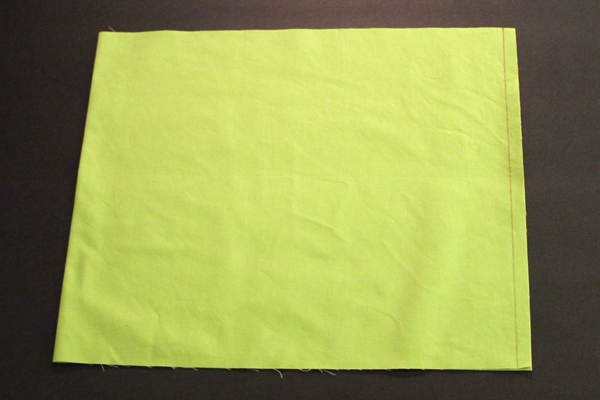
Then I pressed it under.
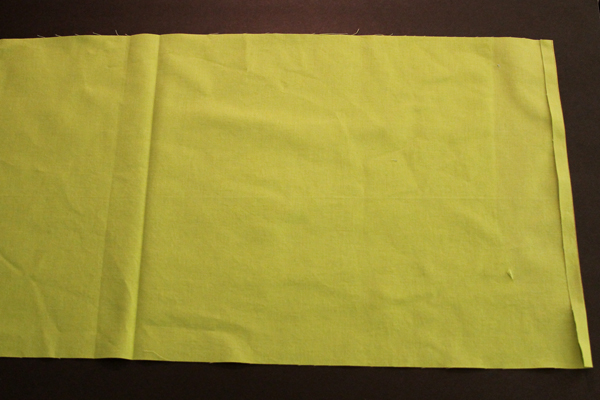
Then brought the pressed seam allowance over to the center.
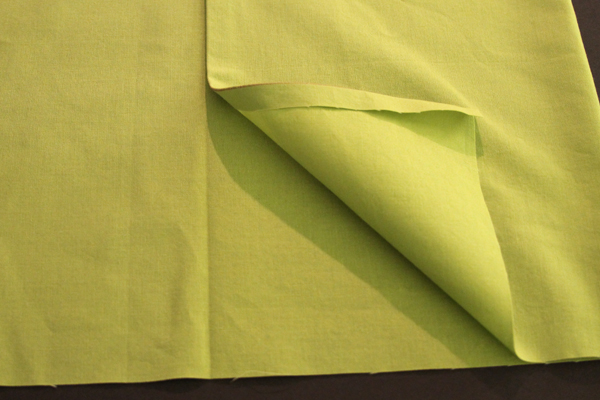
And pressed the fold.
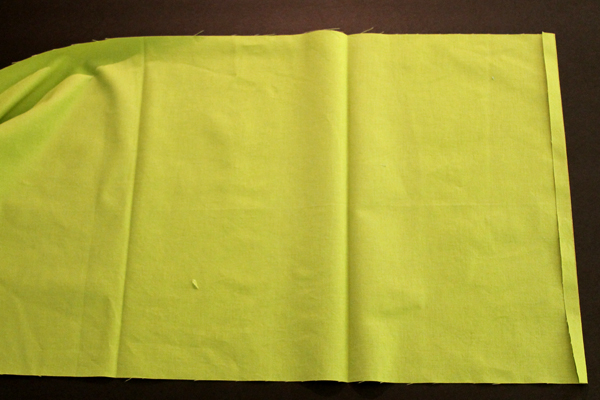 That’s the center and now you can place the pocket.
Press the pocket in half to mark it’s center and place it 2 1/2″ down from the top edge.
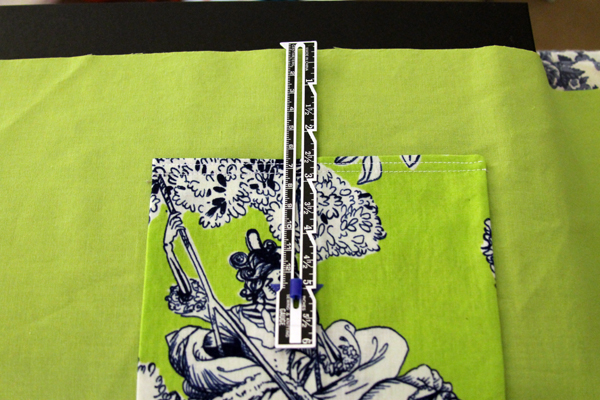
Now make the lining by stitching the side and bottom.
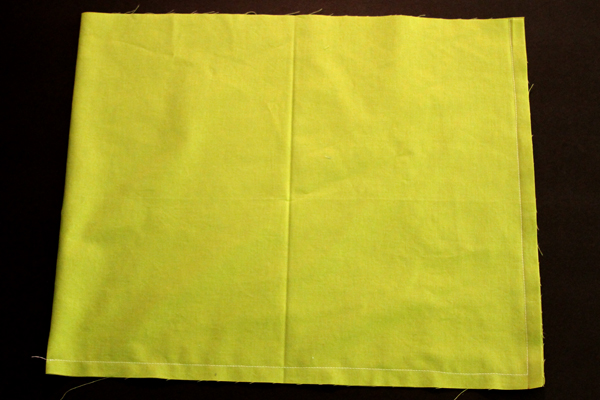 And box the corners. These corners are boxed for 2″. My photographs did not turn out well enough to go step by step on this but I have another tutorial which lovely step by step photos that I am referring you to. Just click here Boxed Corners.
Outside of Bag
Since I’m using quilting fabric for this bag, I’m adding fusible fleece to give it some structure. I’m not crazy about fusible fleece because even after doing the pressing, it still tends to peel off. But if I use regular stitch-in fleece it adds bulkiness to the seams. So I’m using fusible.
Center the fusible fleece onto the wrong sides of the main fabric and press. Follow the instructions that come with the fleece.
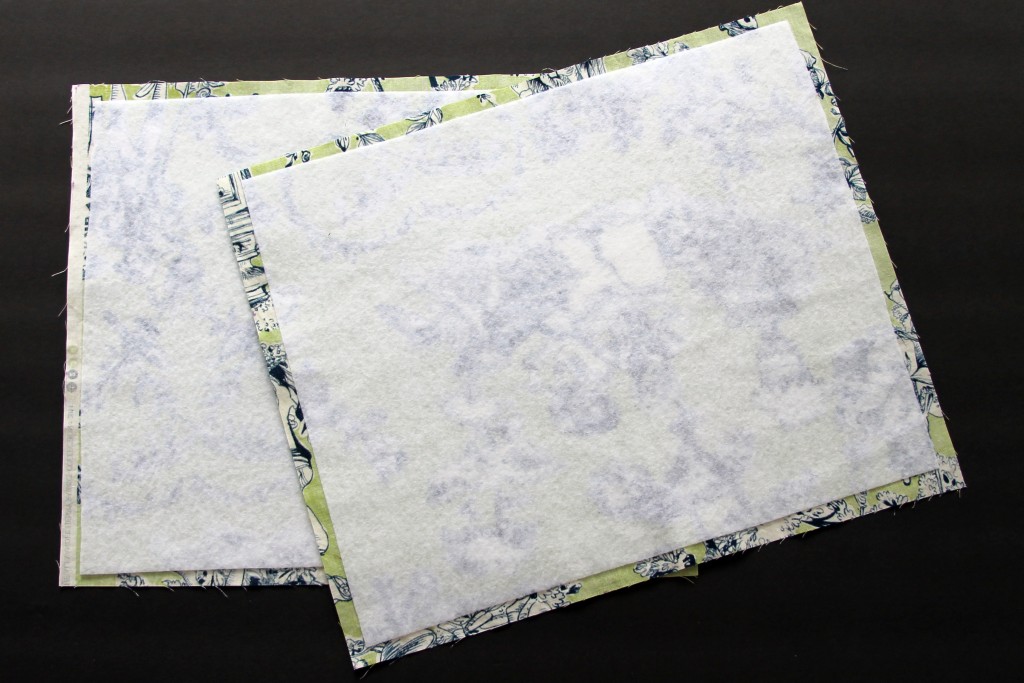
Put right sides together and stitch the two sides and bottom.
Box the corners on the bottom 2”. (For better pictures and explanation, click here for my tutorial on boxed corners.)
Pull the corner apart and line up the seams.
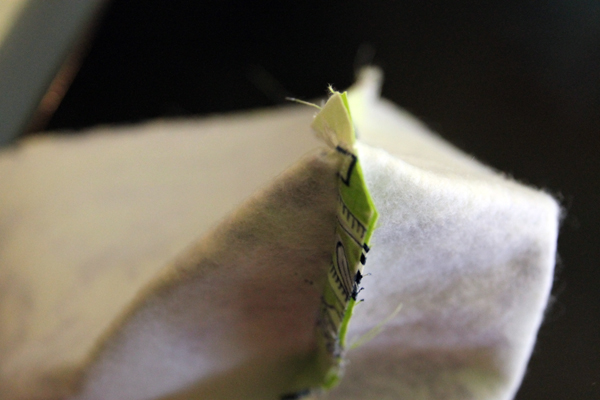
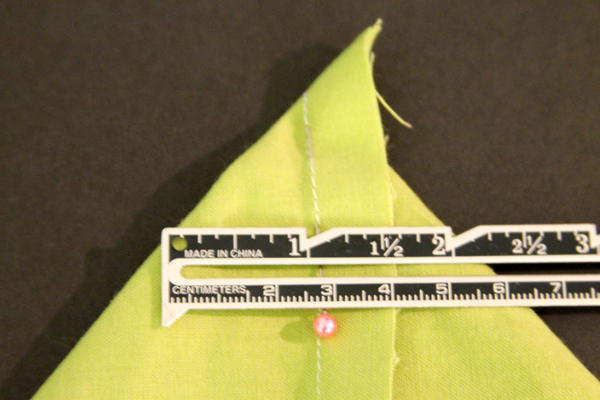
Measure down 1″ and mark 2″ across.
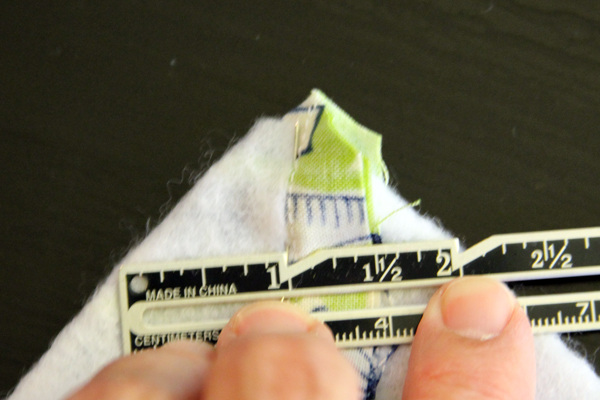
Stitch along that line. Then trim the corner. I usually do an overcast or zigzag stitch to reinforce the corner after trimming.
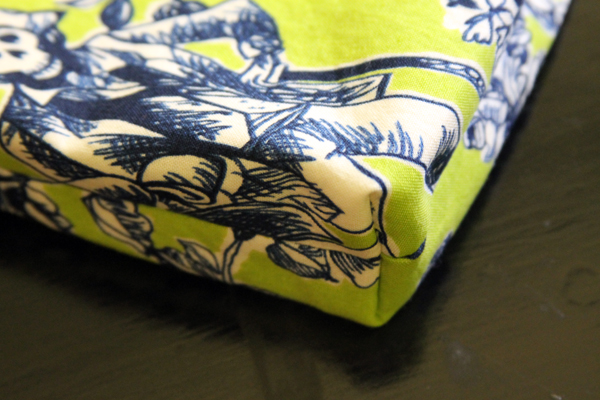
Here’s what the boxed corner looks like on the outside.
 Attach handles 3” from edge on the right side on both sides of the bag. Make sure they are not twisted. I twisted both of my handles and had to rip them out. I think I was tired. Probably need to get more sleep.
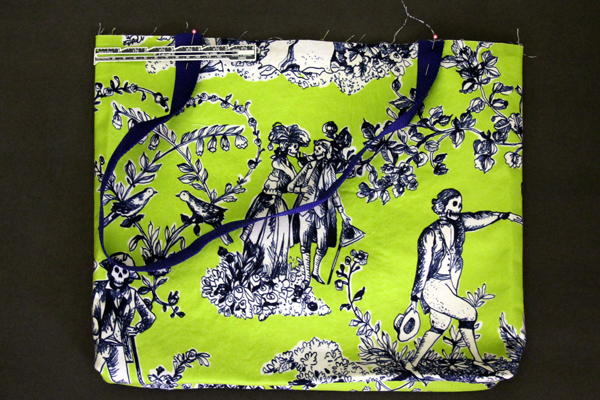
Sewing Lining and Outer bag together
Put the lining and outer bag right sides together.
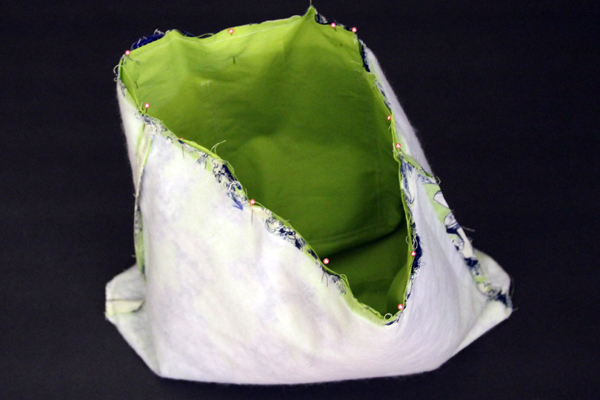 Stitch the top edge, ½” from edge. Leaving an opening for turning right side out.
Pull right side out.
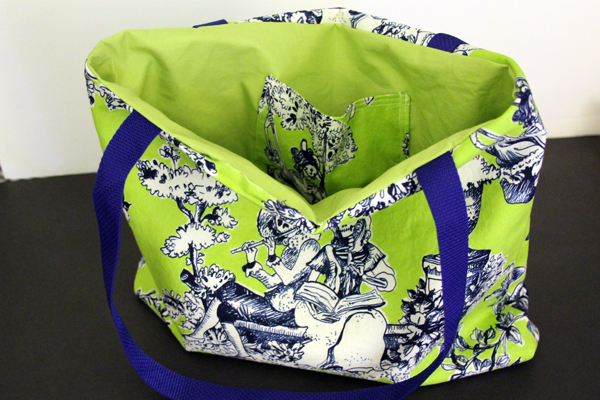 I hand stitched the opening closed with a very loose slip stitch. This was a temporary measure and pulled the stitches out when I was finished with the bag.
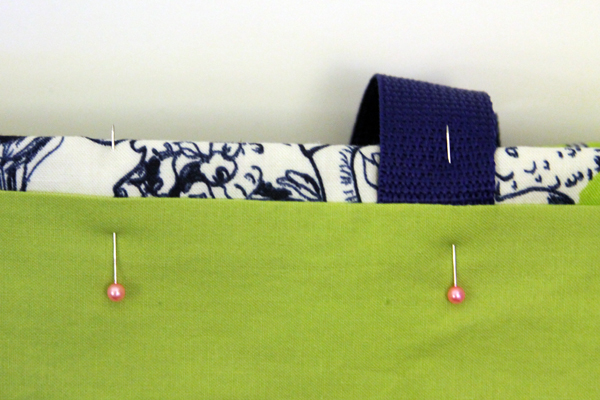
Pull the main fabric ½” to the inside, press and pin.
Stitch “in the ditch”.
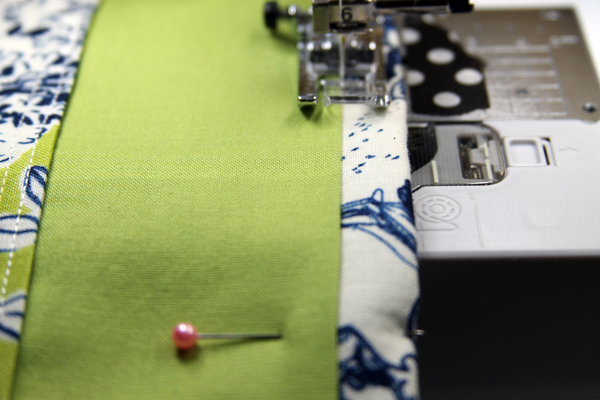 Stitch close to the top edge and again about 3/8″ from the “ditch”, making sure to catch the handles in. This gives three stitches to the handles which should make them extra sturdy.
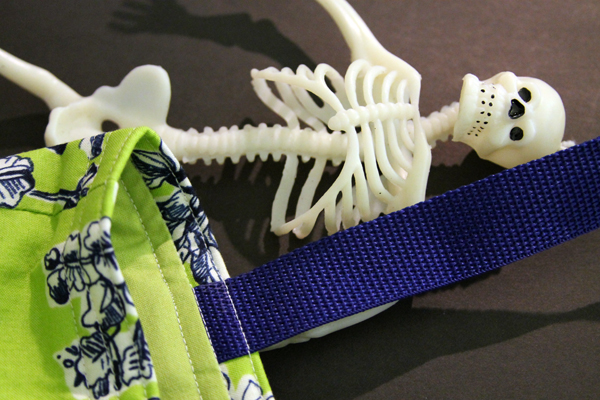
Done!
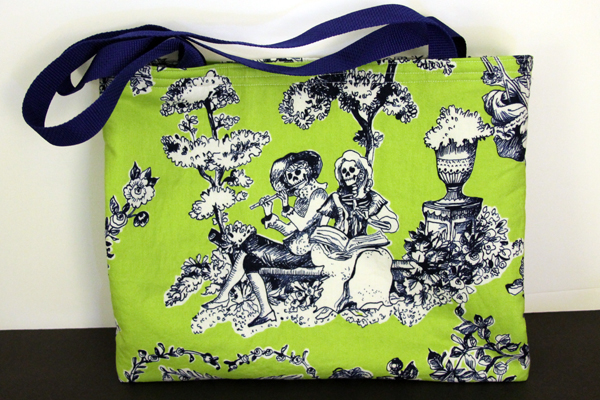
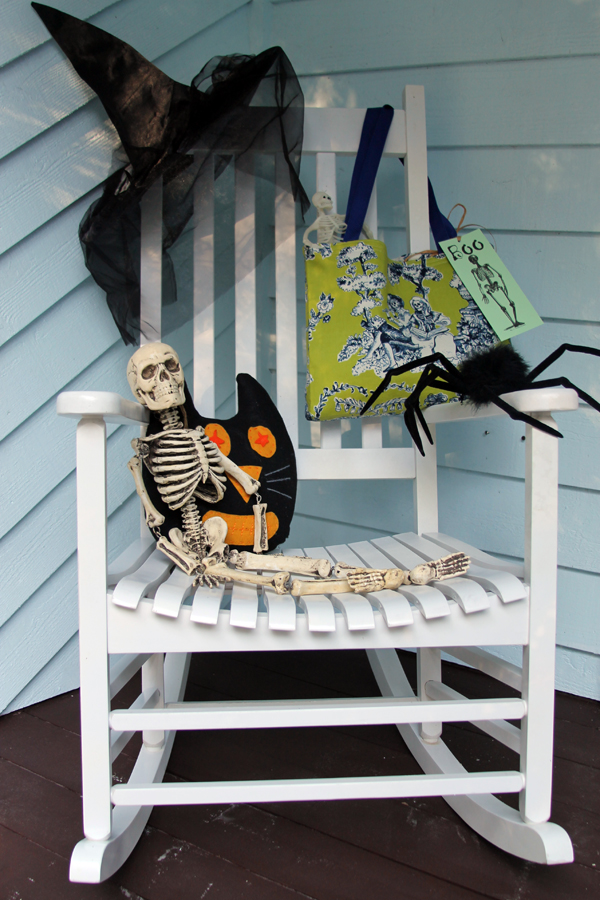
 I’ll have another bag tutorial next Tuesday!
And the other two totes:
Discover more from
Subscribe to get the latest posts sent to your email.



Thanks for the detailed directions. It does help a beginning sewer!