Beer Boo Bag
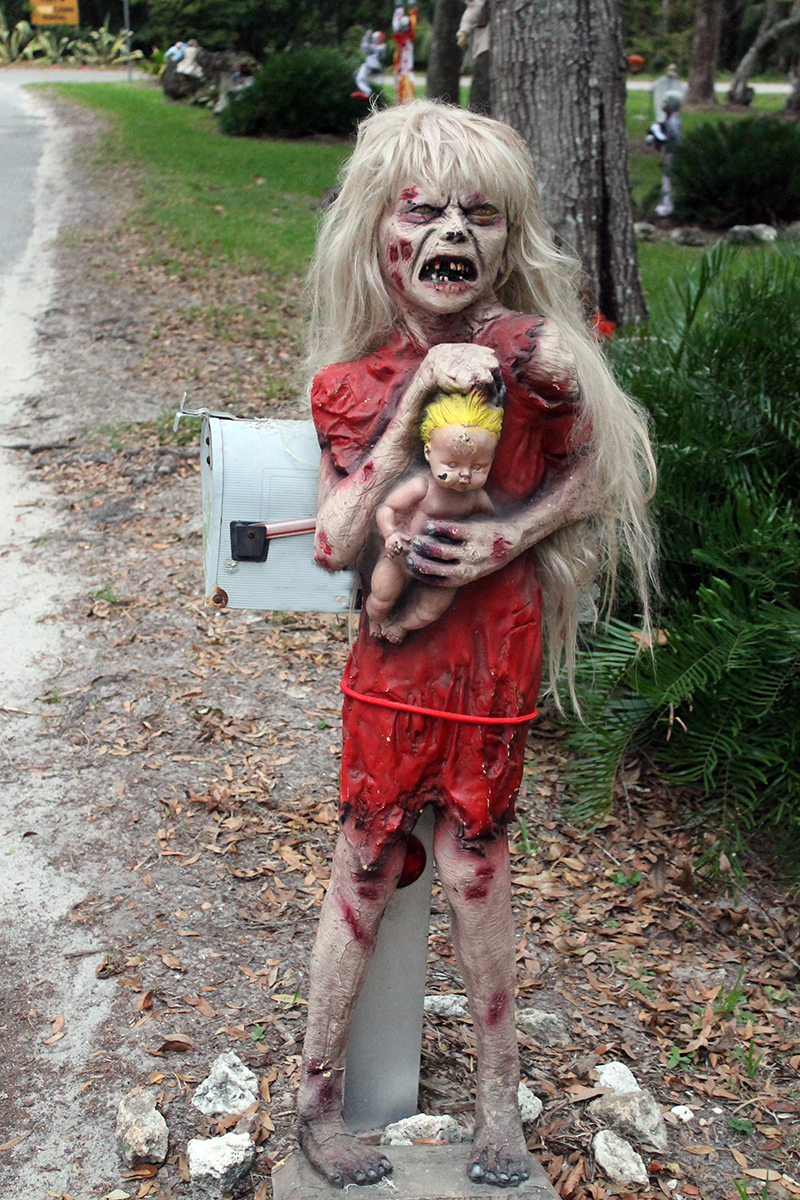
Terry and I are invited to a Halloween party. They’ve already decorated the yard.
Verrrrry Scarrrrrry!


This little doll’s eyes light up and she talks as you walk by. “Ashes to ashes….”
Those are only TWO of the about 100 scary clowns, dolls and zombies that are lurking in every corner and under every bush.
I LOVE HALLOWEEN. THE SCARIER THE BETTER!
So I needed to make a really cool hostess gift, right? Yes! I want to be invited back next year!
I know that our hostesses are beer drinkers. So forget a bottle of wine and wine bag.
What could be better than a beer BOO bag?
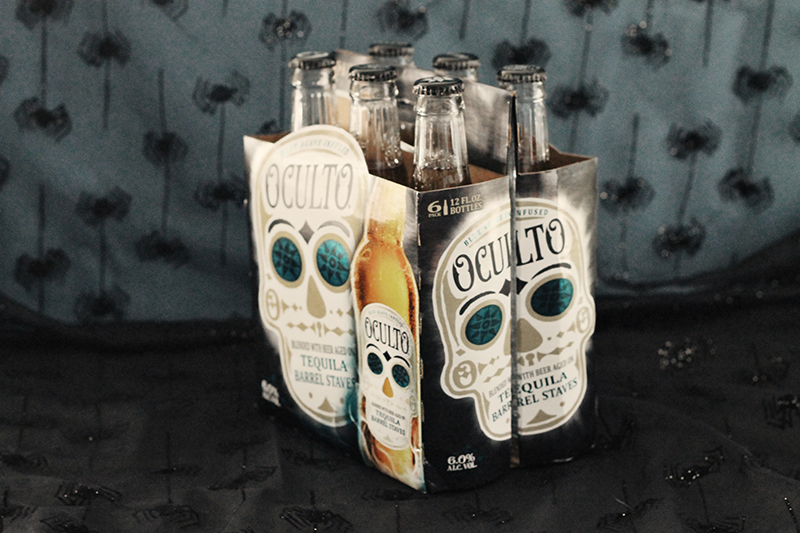
First, we had to find a really scary beer to base the pattern on. Right? We live in a small town and there’s not much of a selection in our one little grocery store….but….this one is really cool!
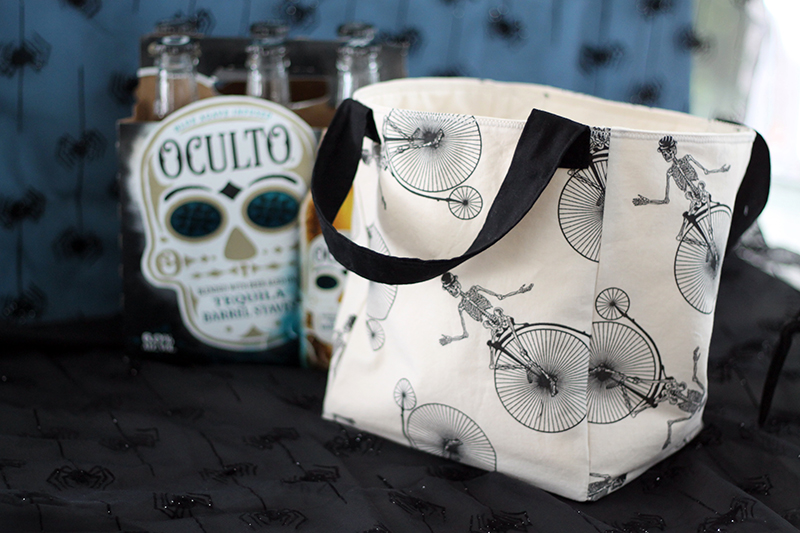
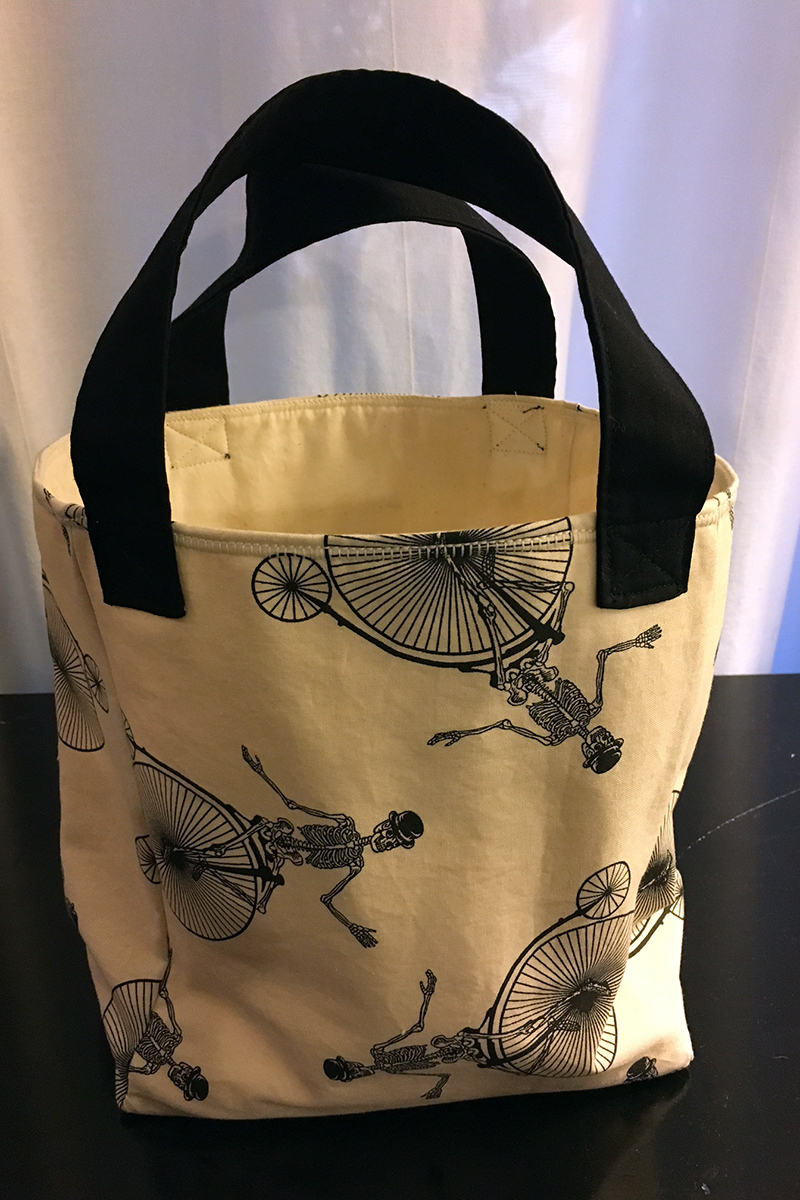
And here’s the bag I made with Chillingsworth fabric that I had left from last year. I think it’s also called Mr. Bones.
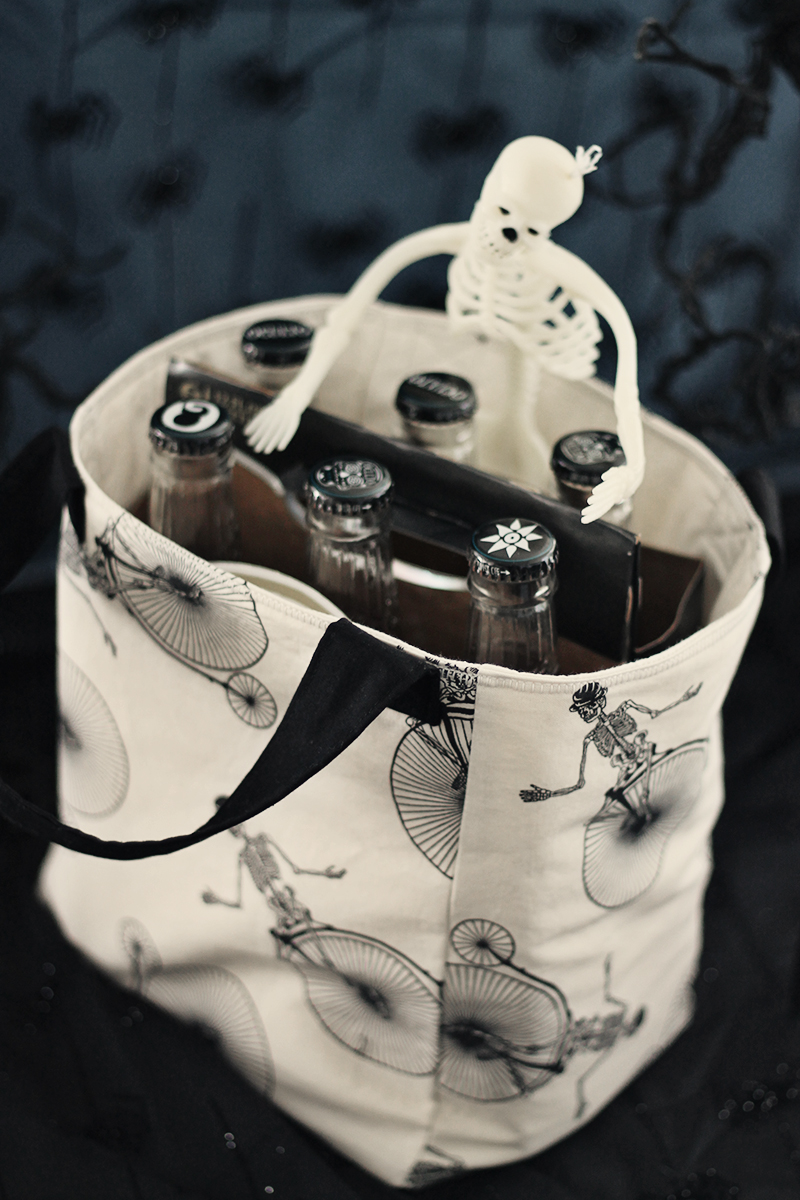
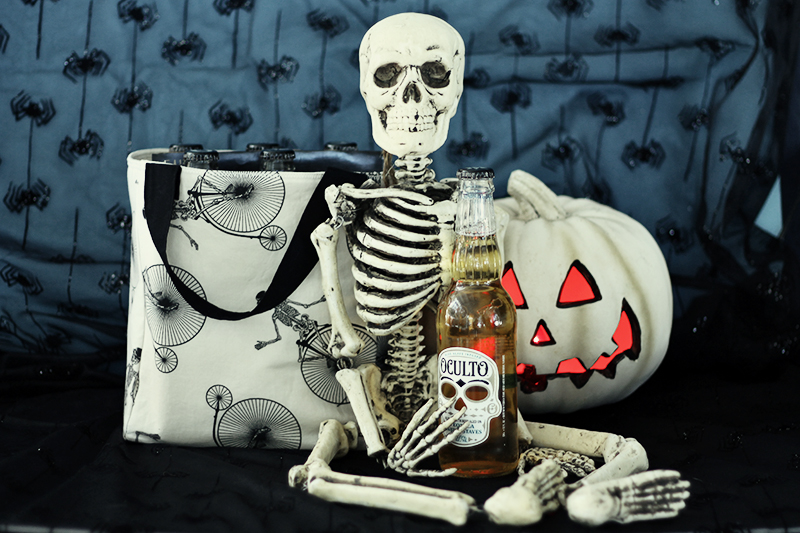
Gotta say. I love this photo!
Alright, so here’s the tutorial. Boring for my non-sewing readers. So if you don’t sew, you can stop reading now!
Except, here’s another scary figure from the yard.
Okay. Here we go.
Like I said, this is fabric that I bought for last Halloween. And I bought way too much. I’ll probably be making stuff next Halloween!
If you go out and search, you’ll find some Chillingsworth fabric still available. Maybe not this one. But there are a LOT of fun spooky fabrics available online and in local stores.
I’m designing this bag as I go. Since I usually sew in the wee hours of the morning before the sun rises, the lighting is pretty awful in my office and some of these photos might not be great. (always looking for a good excuse to explain bad photos!)
Before we even start, let’s talk about straps. And what I’ve learned since I started making bags and totes a few years ago.
Webbing, sometimes called belting, is definitely the easiest thing to use. Because the edges are raw and it’s too bulky to turn a hem under, I typically put the ends between the lining and the exterior.
I NEVER buy polyester webbing. After finishing a shopping tote I was pressing all the sides nice and sharp and the strap melted. Lesson learned! Now I only use cotton.
I quite often make my own straps because the fabric store is a long way away and not open at 4 in the morning when I’m designing, sewing, and creating. For this bag I made the straps out of black quilting cotton. Once upon a time I would cut a piece of fabric double the width I wanted plus add the seam allowance. Fold it and sew the two sides and leave one short end open for turning. Turn right side out. Stitch it closed. But it never looked all that good. Kind of wonky. Now I leave a gap on the long side and turn from there. I’m most likely going to top-stitch it anyhow which will stitch that opening closed. Now my ends are nice and square.
See?
For the exterior of the bag I used Chillingsworth for the sides and a black quilting fabric for the bottom. And just want to add that all of these measurements really depend on the six-pack that you buy. Are they all the same? I have no idea. But these worked for me!
I’m using 1/4″ seams for this bag.
Exterior Fabric:
Cut two 8 1/2″ x 9 1/2″ fabric
Cut two 6″ x 9 1/2″ fabric
Cut one 6″ x 8 1/2″ fabric (bottom of bag)
Cut Peltex 71F (or some other sturdy interfacing) 5 1/2″ x 8″
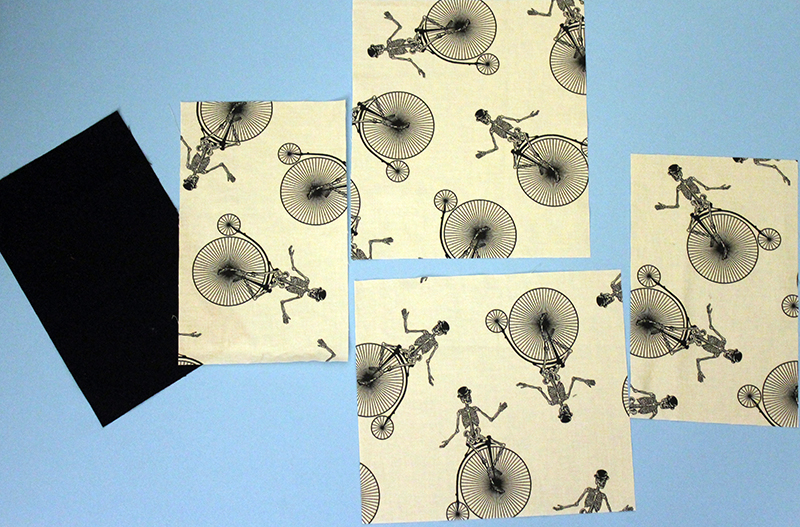
Center the Peltex on the onto the wrong side of the black fabric used for the bottom of the bag and iron.
For the straps I used the same black quilting fabric
Cut two 16″ x 3″ pieces
Interior Bag:
I’m using muslin
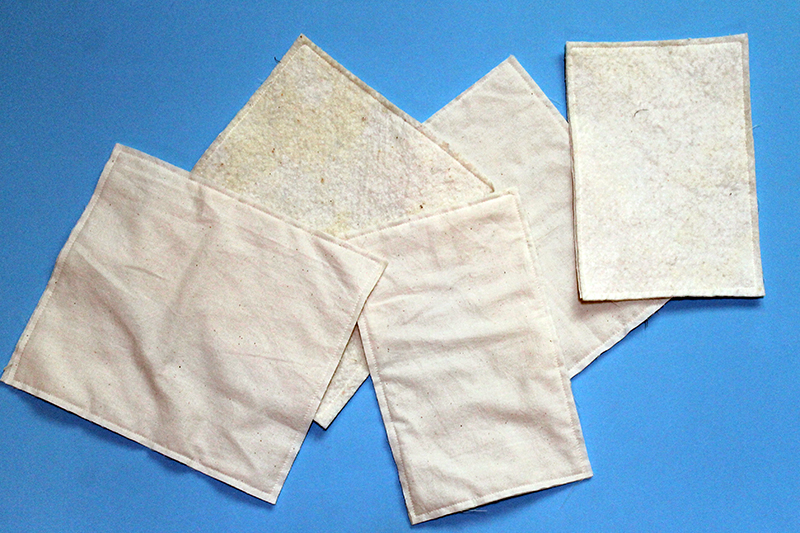
Cut two 8 1/2″ x 9 1/2″ fabric and batting or fleece
Cut two 6 x 9 1/2″ fabric and batting or fleece
Cut one 6 x 8 1/2″ fabric and batting or fleece
Stitch the batting or fleece onto each piece of the interior bag.
Let’s start with the Exterior of the bag.
Sew all four side pieces to the bottom. (1/4″ seam allowance)
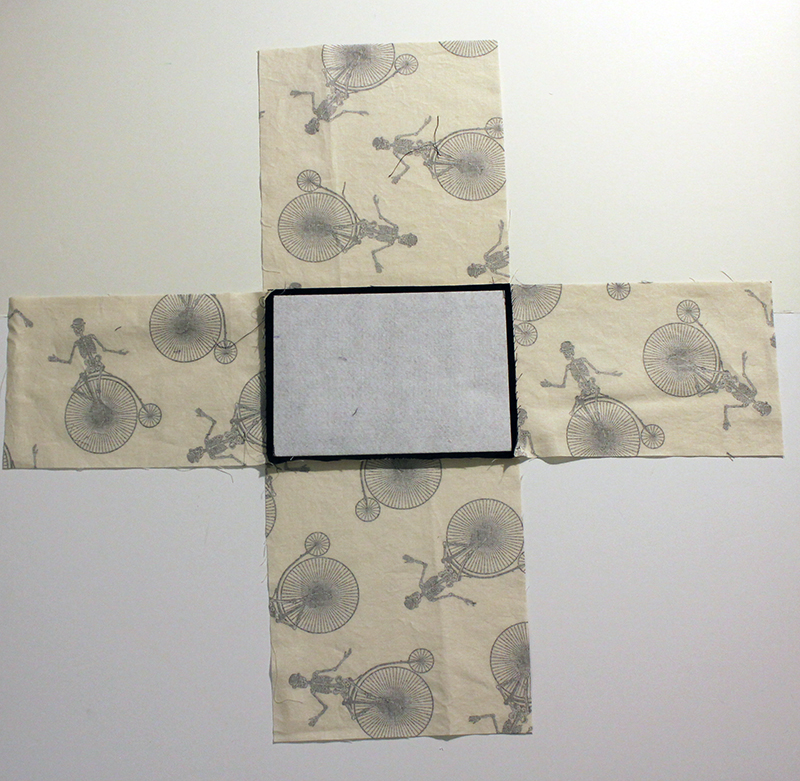
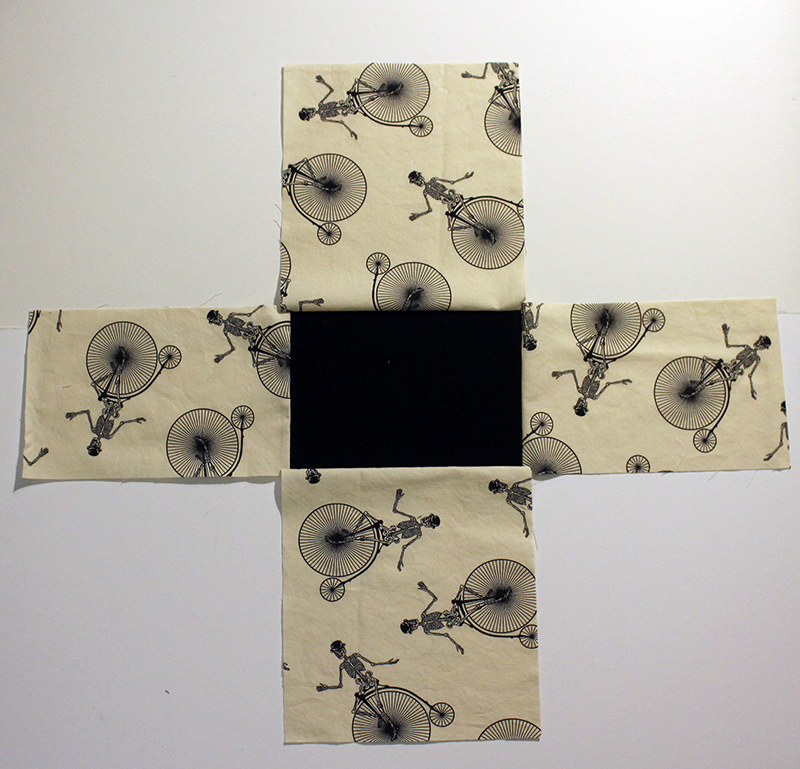
Now it’s a big plus sign. Next we fold the plus sign right sides together and stitch those sides. It’s hard to show because of the Peltex on the bottom. That’s a very sturdy piece of interfacing!
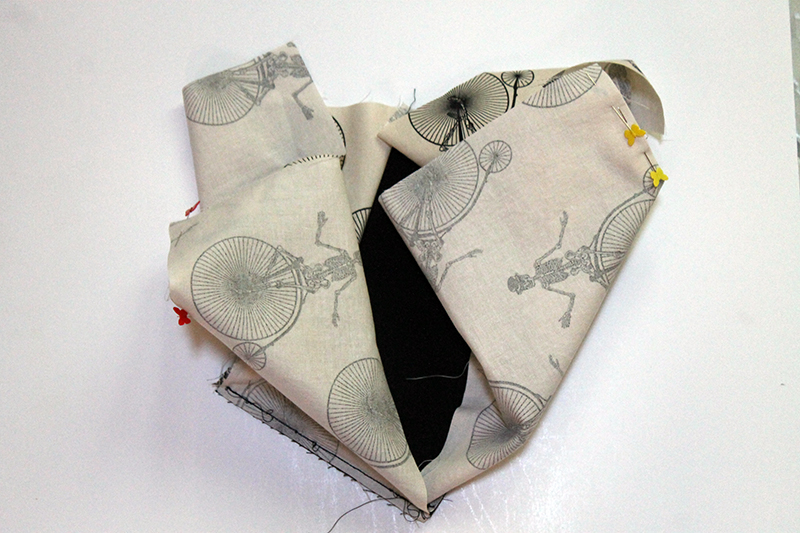
If you think that’s just a crazy bit of tutorial, you can go to my instructions for my wine bag. Very clear photos of the stitching the sides of the plus sign. Didn’t use peltex on that one!
Next you stitch up the two sides that are left!
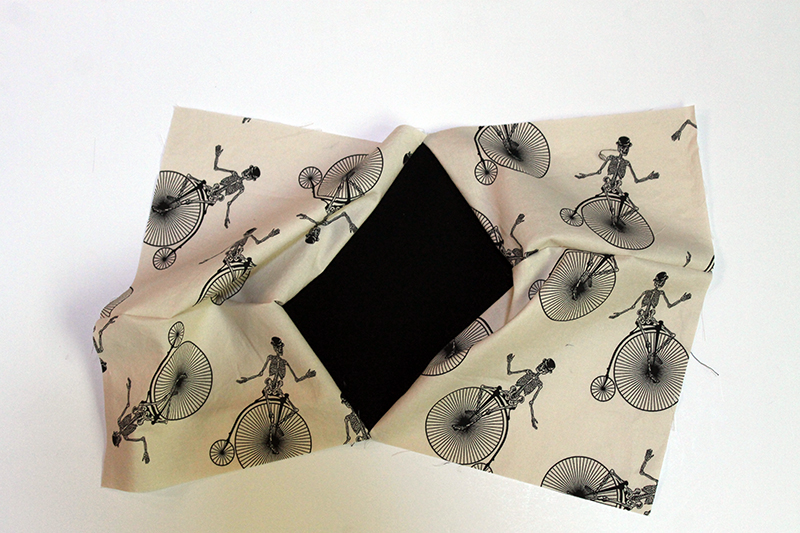 And then you have kind of a wimpy box.
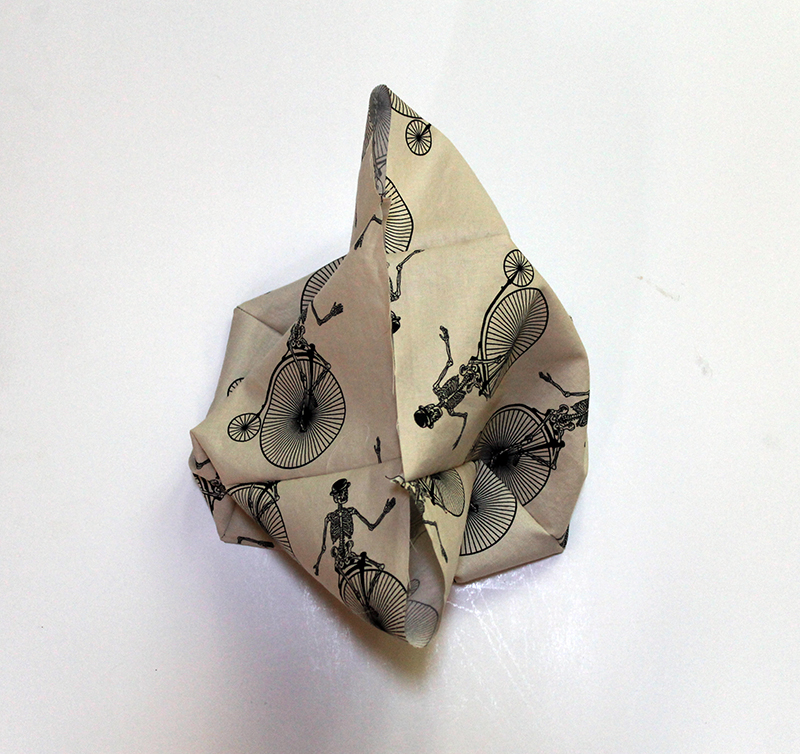
And that’s why I use batting (or fleece) on the interior fabric. To add a bit of structure.
Same exact instructions for the interior but it’s a little sturdier in the following photo because of the batting.
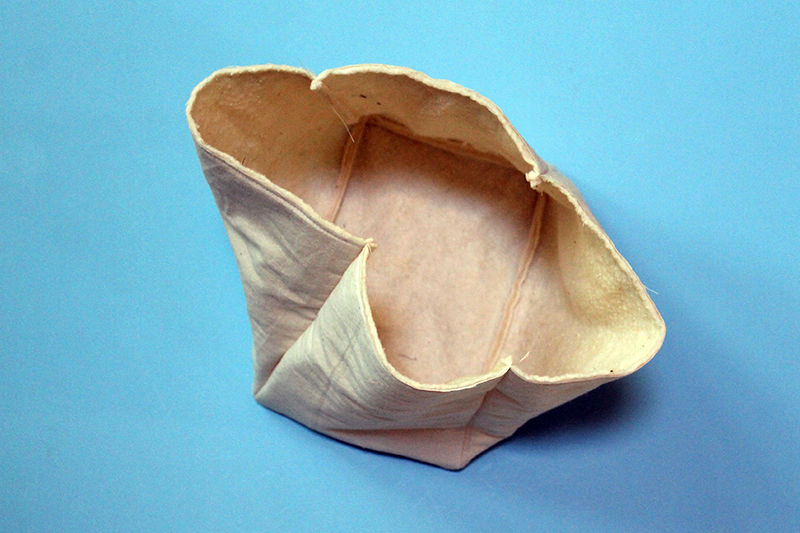
Now we stitch them together.
Right sides together and match up the seams. Leave a 4″ gap for turning.
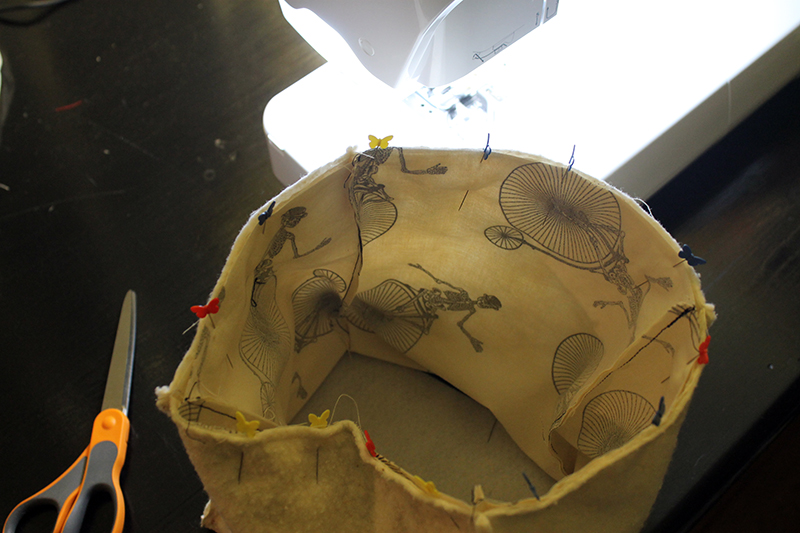
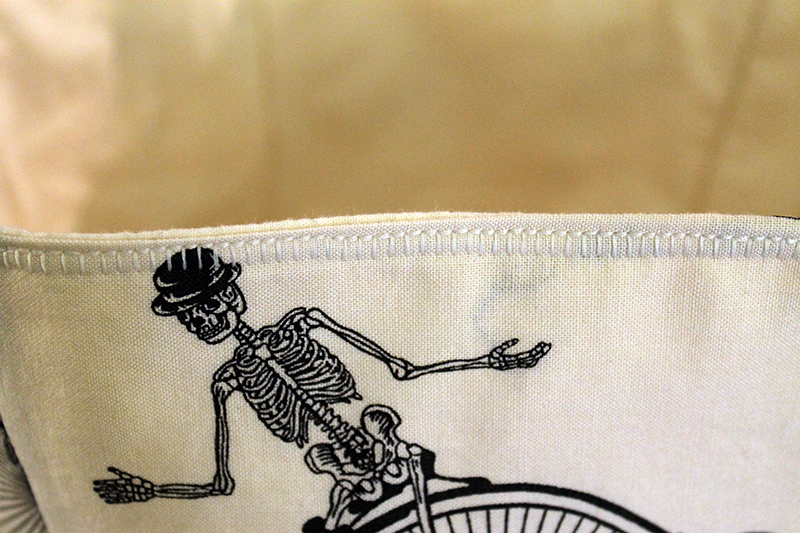
Turn right side out. And stitch the top together, catching the gap. I used a blanket stitch. No reason, just cause I liked the blanket stitch today.
Next I made the straps. Folded the fabric together. Stitched the ends and left a gap for turning on one of the long sides.
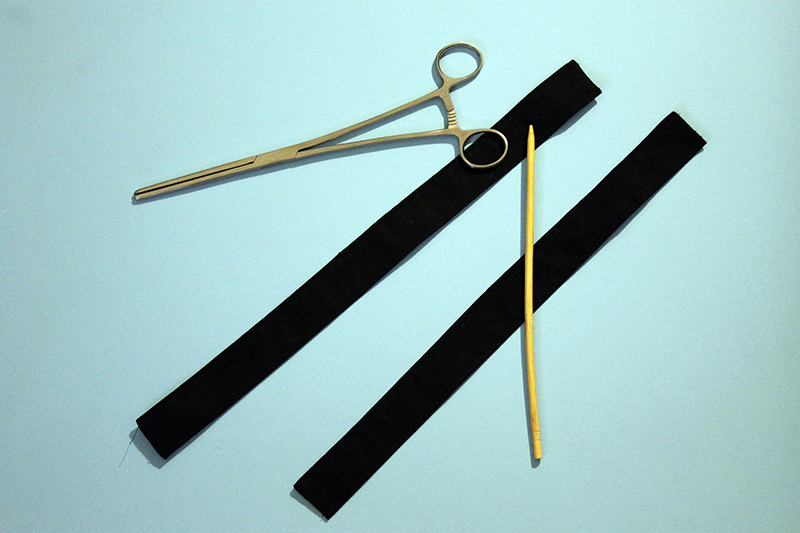
I use a hemostat (very cheap at Amazon.com) to turn my straps and a pointy stick to poke out the corners. I think it came in a bag of poly filling. And Terry sharpened one of the ends.
I attached the straps 1/2″ from the side seams and 1″ down from the top. I put a big X to make it extra sturdy on each end of the straps. Don’t wanna have the straps break and the beer getting broke! Horrors!!!!!

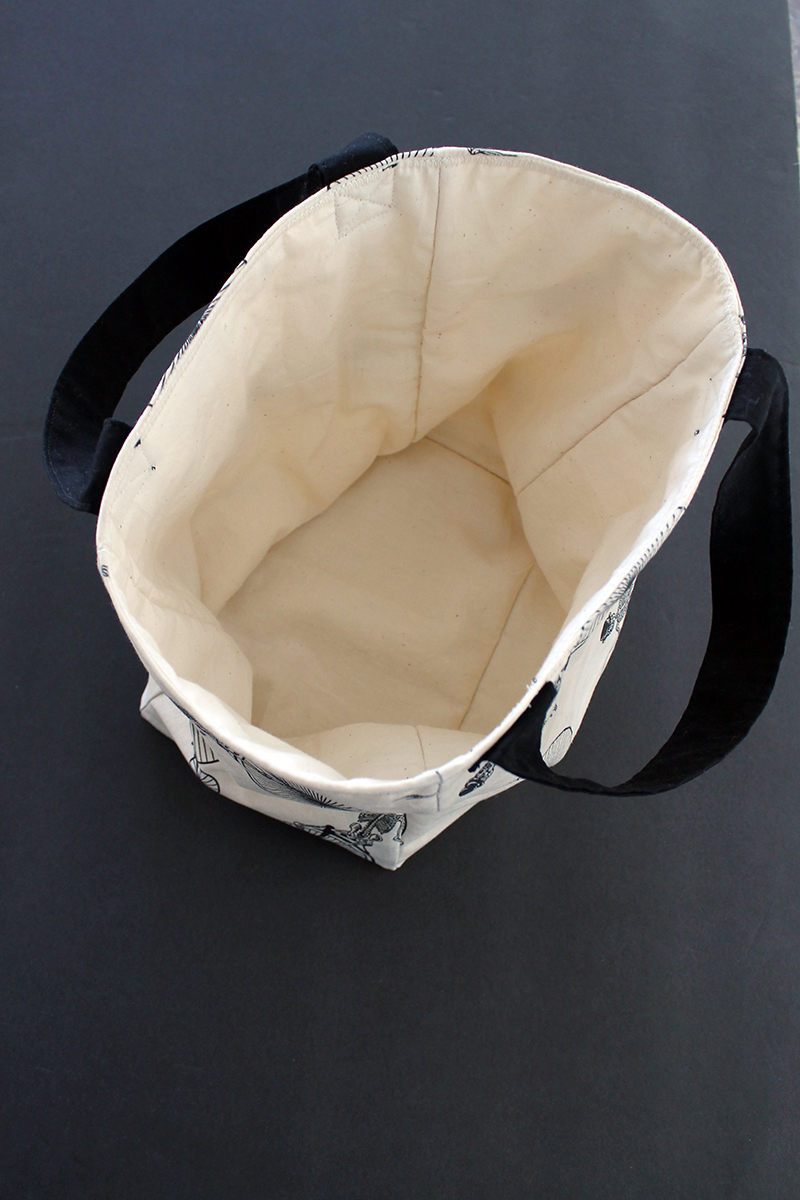
It was fun making this bag because it really is easy. I’ve been dealing with all those bits and pieces of the quilts and making sure everything just lines up exactly. Comparatively this is easy-peasy! You can make it up in a very short time if you have the materials handy. And so cute. Gotta put this photo back up again.

MR BONES enjoying a brew!
I LOVE HALLOWEEN! ESPECIALLY IF IT’S SCARY!
Now I’ve just gotta make a costume for the scariest party ever!
Discover more from
Subscribe to get the latest posts sent to your email.

So cool!