Basic Tea Towel
I love making tea towels for hostess gifts.
Whenever I visit someone, they get a tea towel set. Whether they want it or not!
I try to make them reflect their lifestyle. We were headed to North Myrtle Beach earlier this summer and our friends that we were visiting go to the beach just about every day. So I needed a beach theme!
How cute are these?
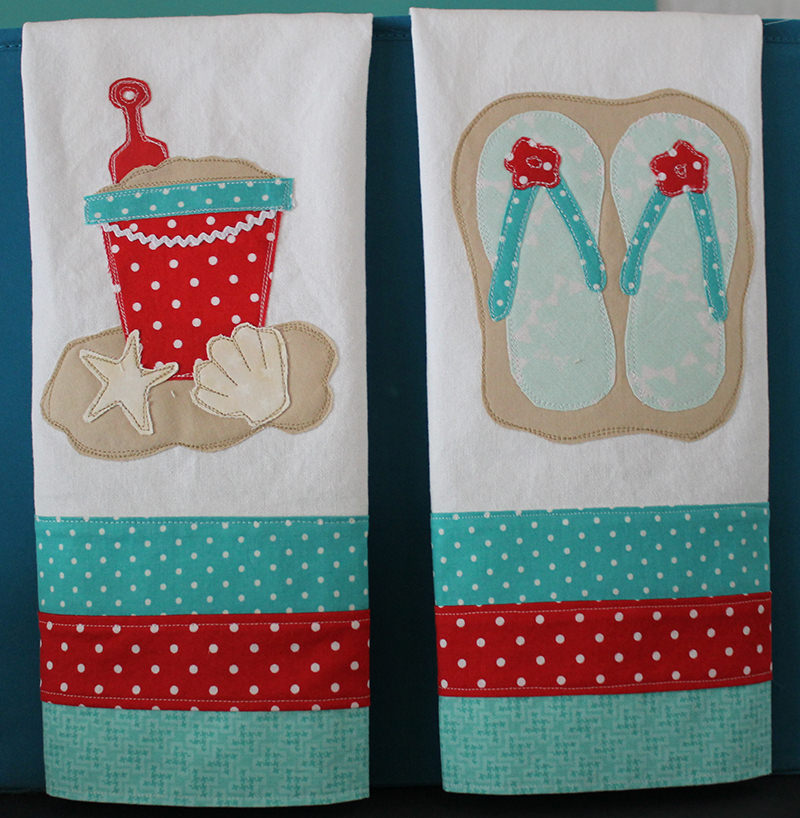
And here’s how I made them!
I used Moda Toweling for these tea towels. It’s a nice 16″ wide cotton fabric that is hemmed on both sides. I recently went to buy more at Fabric.com and they no longer carry it. Fat Quarter Shop had it in different patterns but no white but I was able to buy six yards at Amazon.com. I’m guessing that Moda is discontinuing it. Bummer.
For color bands on the bottom of the towels I used 3 different quilting cottons.
I washed all my fabrics before cutting them. The Moda Toweling starts out at 16″ but usually shrinks a wee bit.
I wanted 1 1/2″ of each color on the bottom of the tea towel. For the bottom strip, this will also be the backing on the tea towel so it has to be cut larger.
Cut
21″ length of Moda Toweling
two 2″ x 17″ strips
one 6 3/4″ x 17″ strip
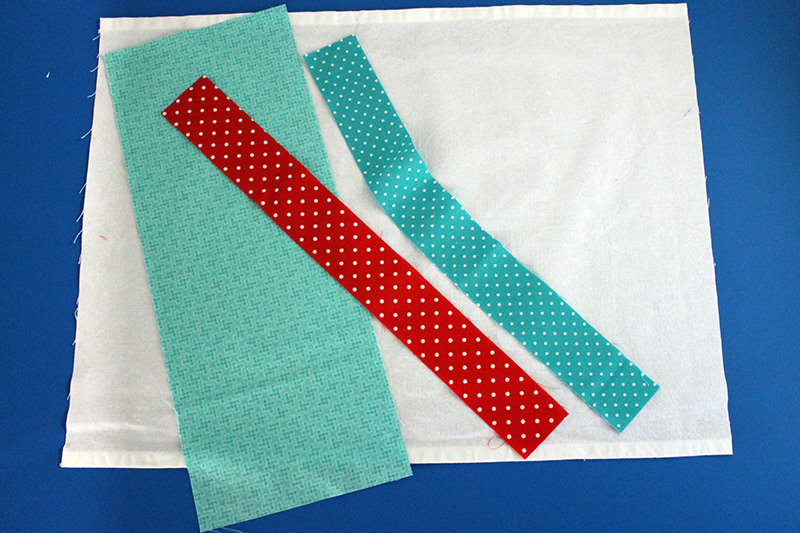
Stitch the strips together with 1/4″ seams. Press seams towards the middle strip which in this example is red.
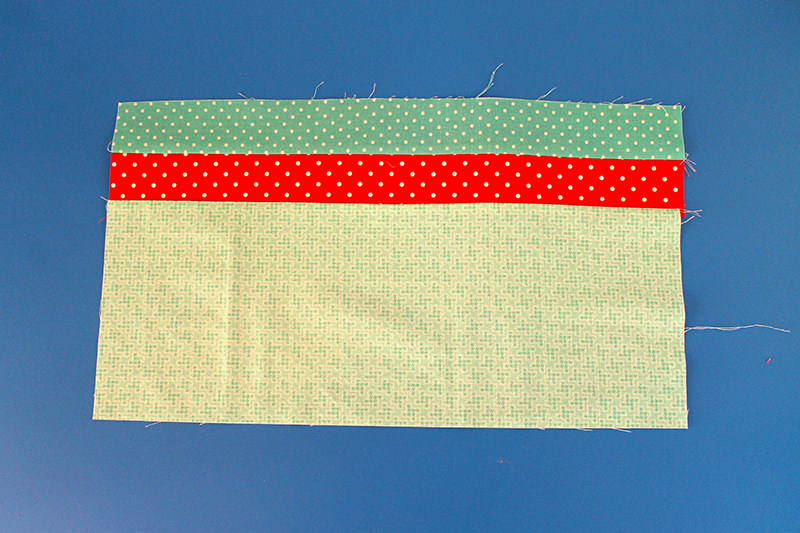
Color Band
With right sides together, center the color band on the bottom of the toweling. Stitch with a 1/4″ seam. Press seam towards color band.
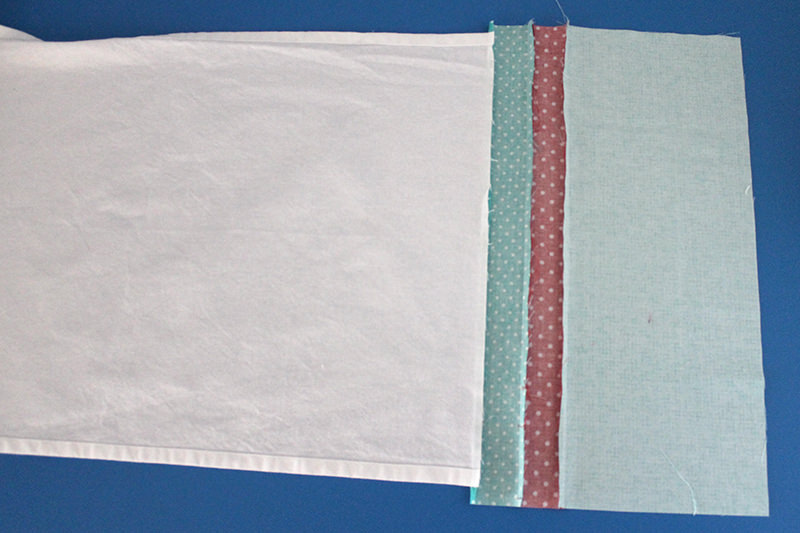
Press under 1/2″ on the bottom of the color band–I’m calling this the folded edge.
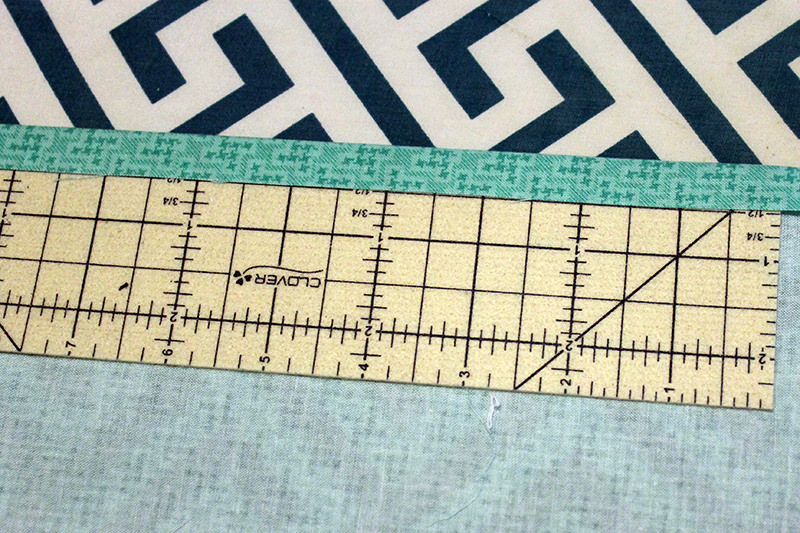
With right sides together, bring the folded edge up to the seam on the front of the towel. Right sides of the color band will be together.
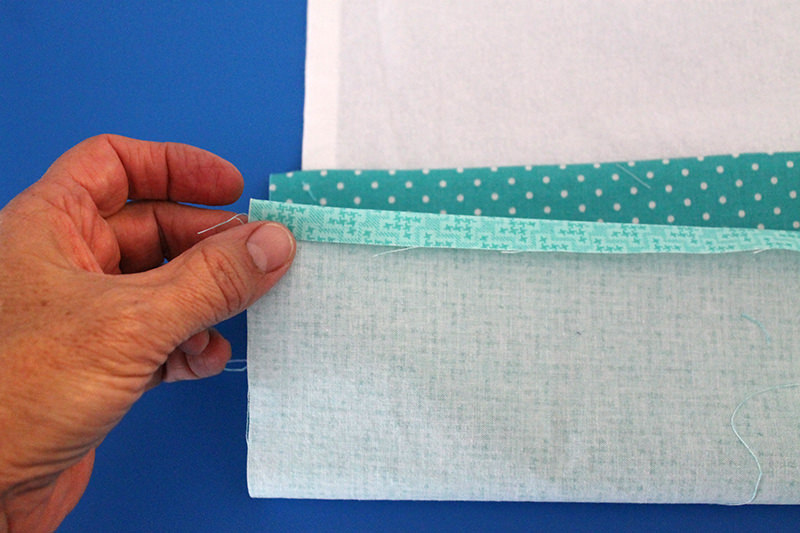
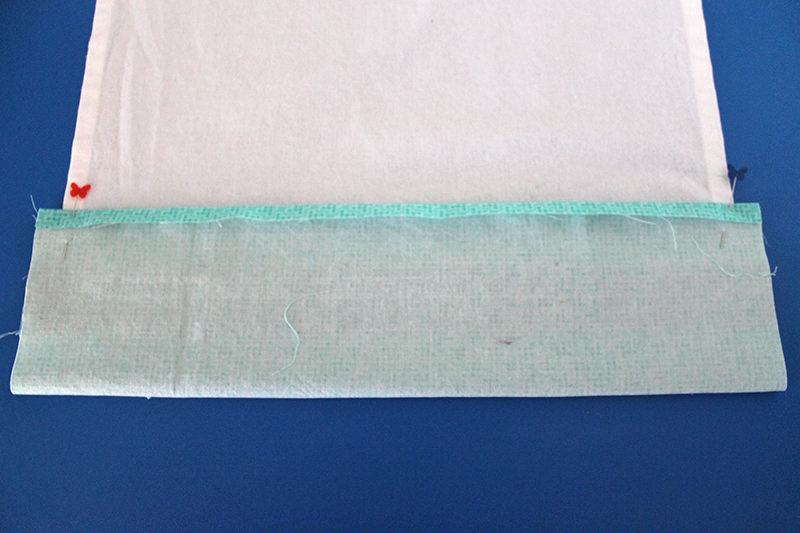
Stitch along the edges with a 1/2″ seam. Well, it should be a 1/2″ seam but you might remember from the very beginning, the toweling did some shrinking when I washed it. Should be 16″ but it probably isn’t. Instead of just going with that 1/2″ seam, I draw a line with a disappearing ink fabric marker.
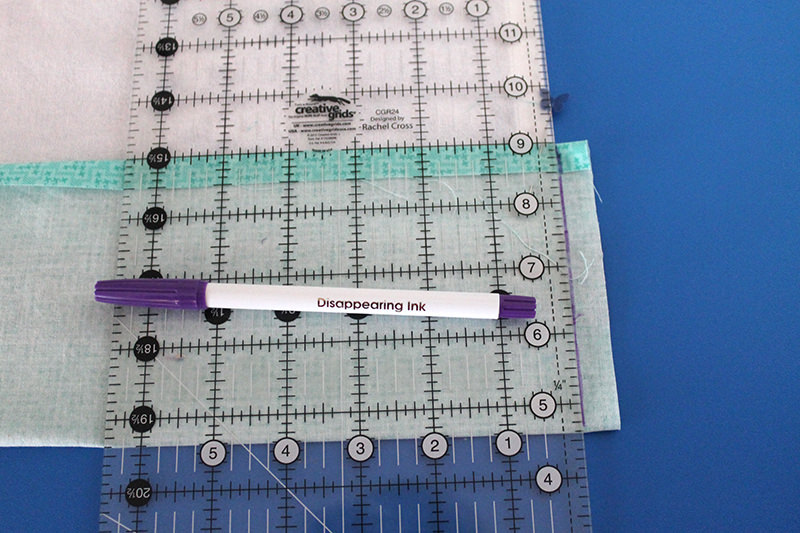
Then I stitch along the drawn line.
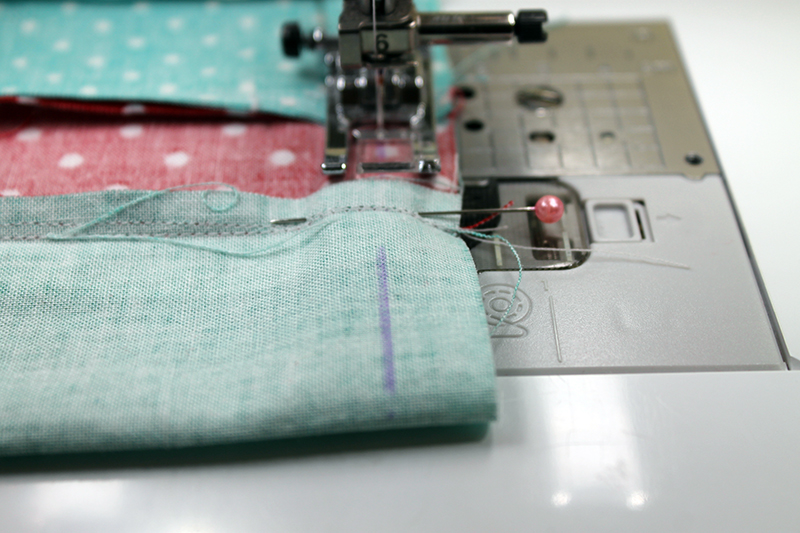
Trim the corners, then turn right side out and poke out the corners so they are nice and pointy. Make sure the folded edge goes EXACTLY along the seam of the toweling. I usually pin it along the back to make sure the seams are EXACT. Then turn it over, pin along the front. Then remove the pins that were in the back. Better to take the extra time than have a wonky seam or miss some of the edge.
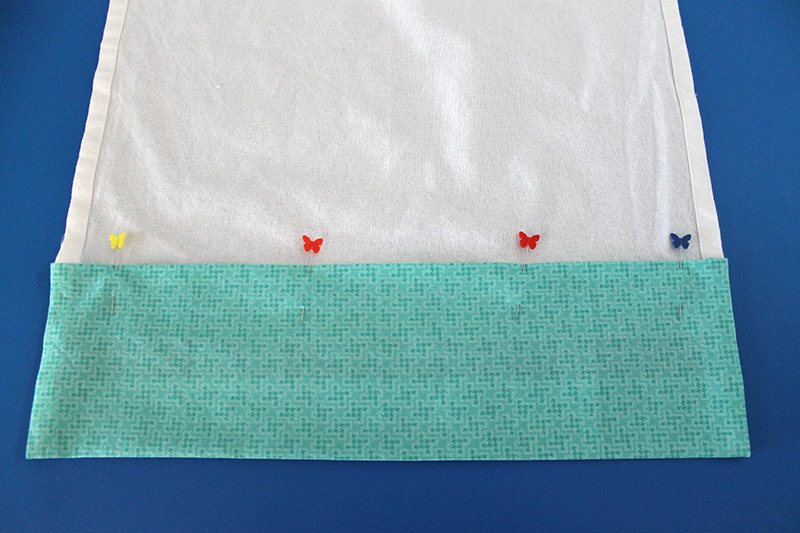
Pinned along the back
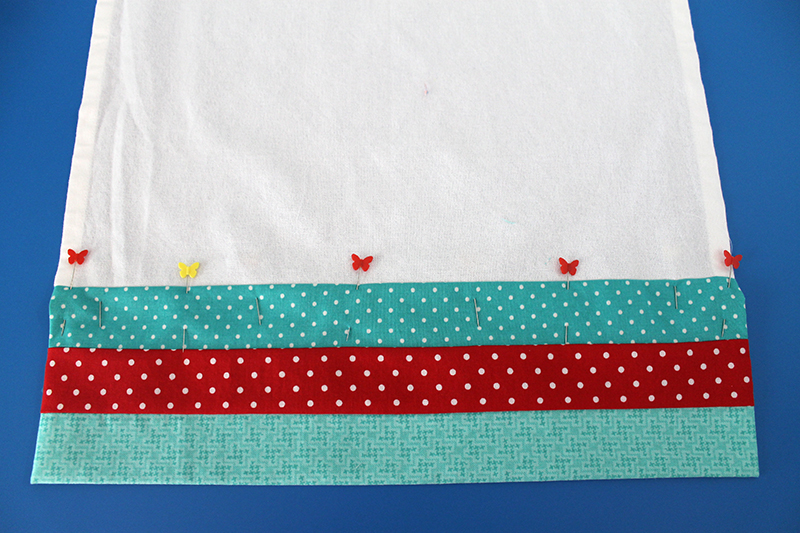
Flipped over and pinned on the front. Then removed the pins on the back.
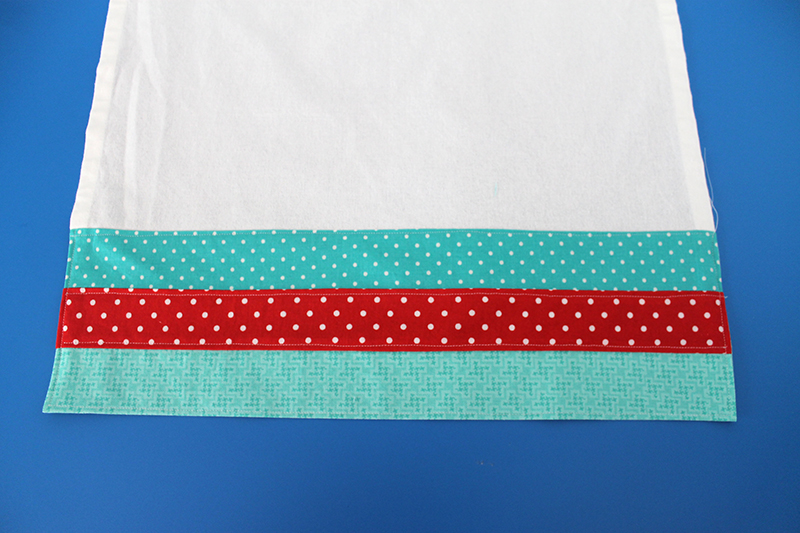
Stitch close to the seam on the front that is between the color band and the towel.
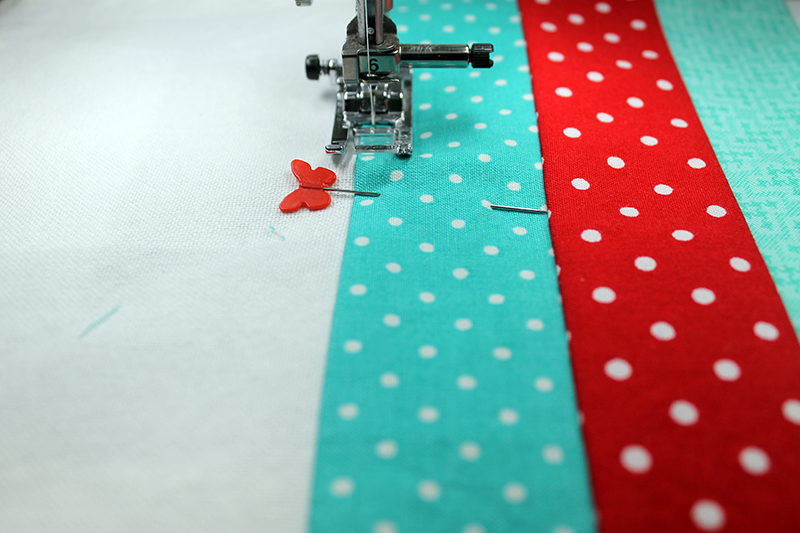
Finish up the color band with some fancy stitching or straight stitch. Here I just did a straight stitch but a blanket or zig-zag stitch also looks very nice. If you noticed how I pressed my seams, I pressed them closed and towards the red. That’s why I top stitched the sides on the red piece. I try to do the same in my quilts. I think it makes the piece stronger.
TOP EDGE
For the top, I used this really cool gadget–a Clover Hot Ruler. It’s heat proof and makes pressing perfect folds SO EASY!
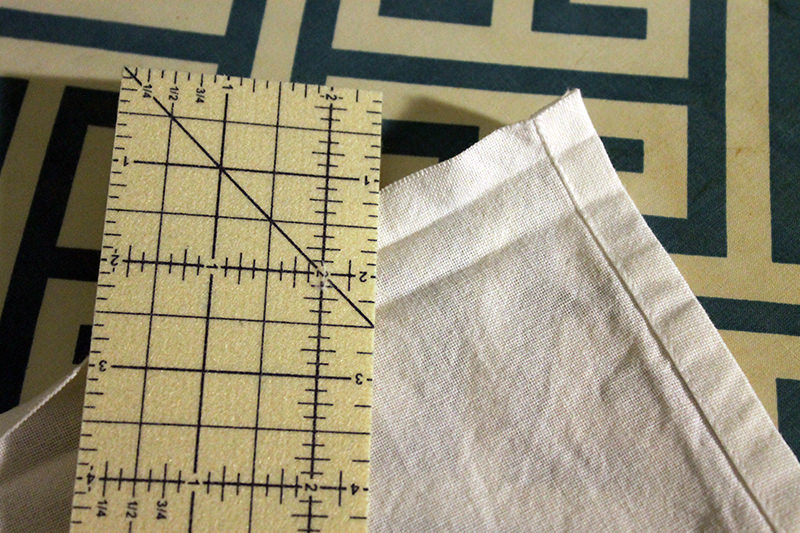
Press under 1/2″ then another 1/2″ then open that up to see the pressed lines.
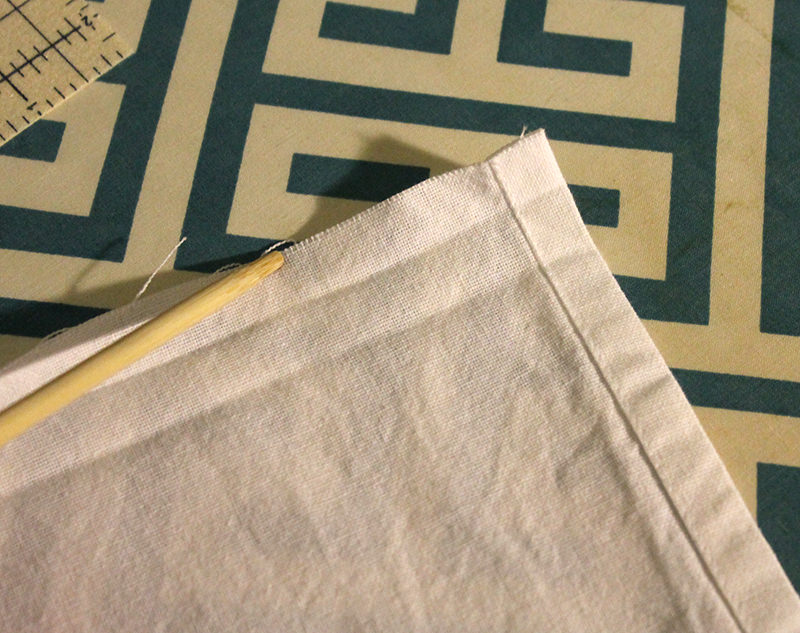
Fold the outer corner to the inner pressed line.
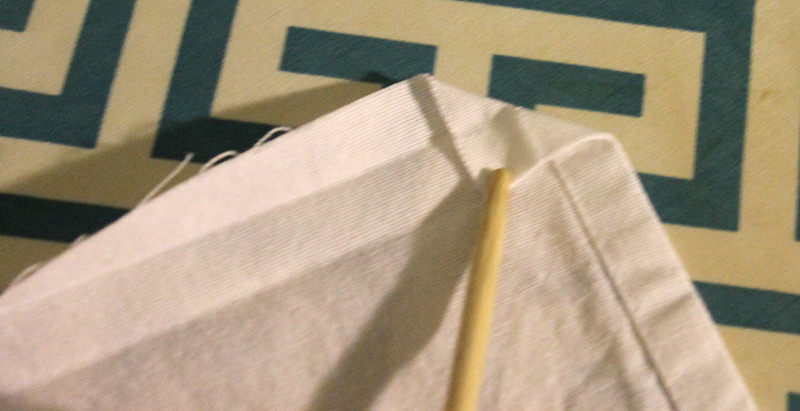
Then fold the top fold to the bottom pressed line.
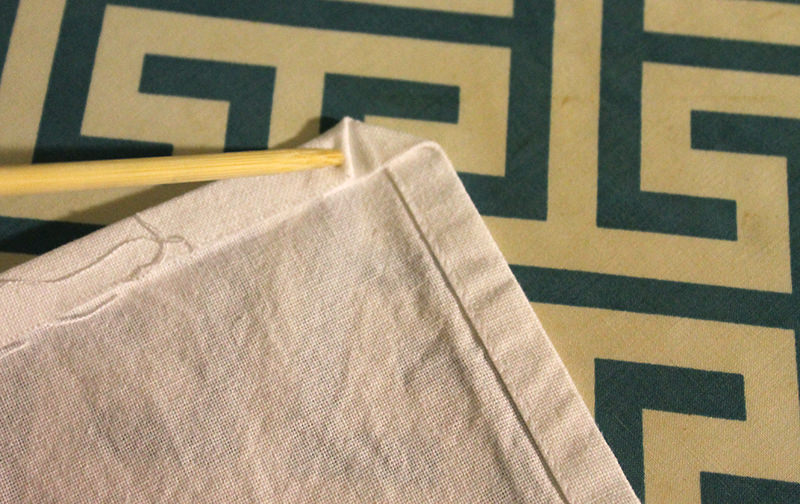
Then fold over again on the last pressed line.
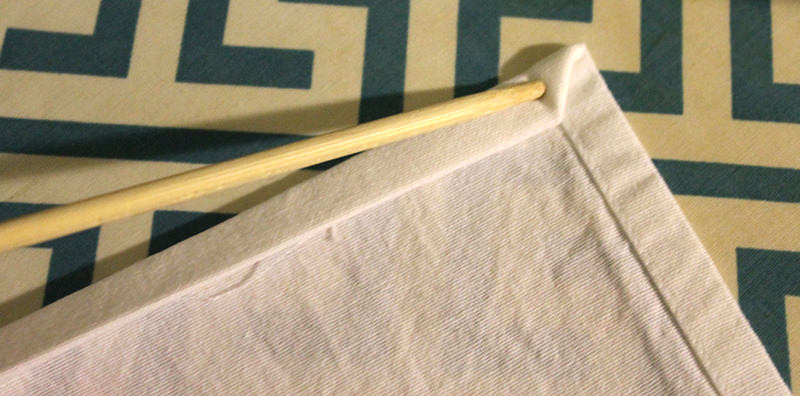
Do the other side, too! And then stitch. Perfect corners!
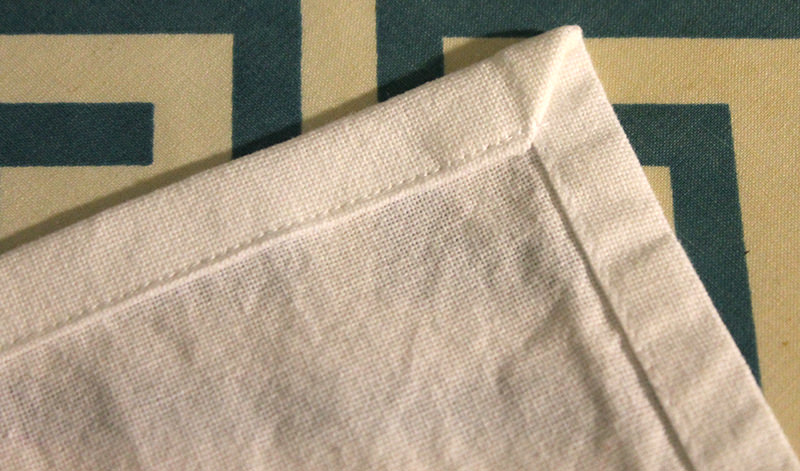
PLACING THE APPLIQUE
I get my ideas for appliques from all over the place–pinterest, blogs, coloring books, magazines, even greeting cards. I use heat ‘n bond lite.
For this applique, I used the bonus block Flip Floppin’ from the Splendid Sampler by Jacquelynn Steves. The pattern was still available when I wrote this post.
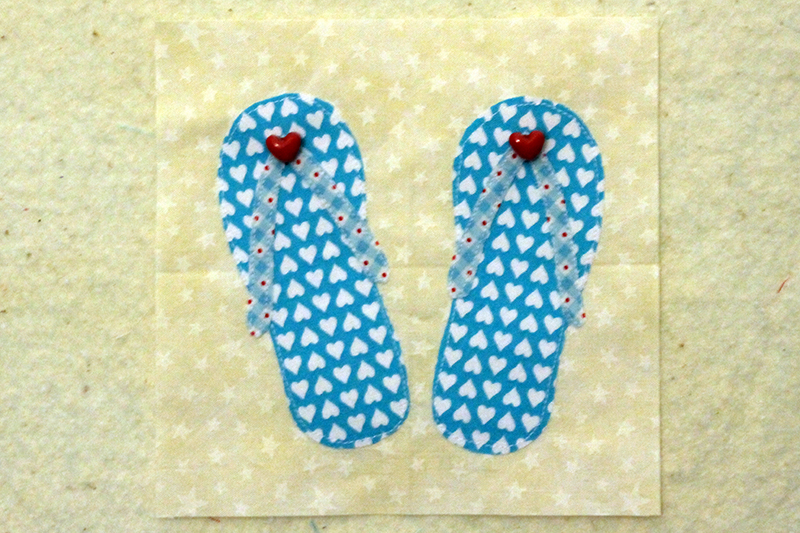
This was my Flip Floppin block for the Splendid Sampler
I “interview” the colors and try to use some of the fabric from the borders to bring it all together. Then I place them.
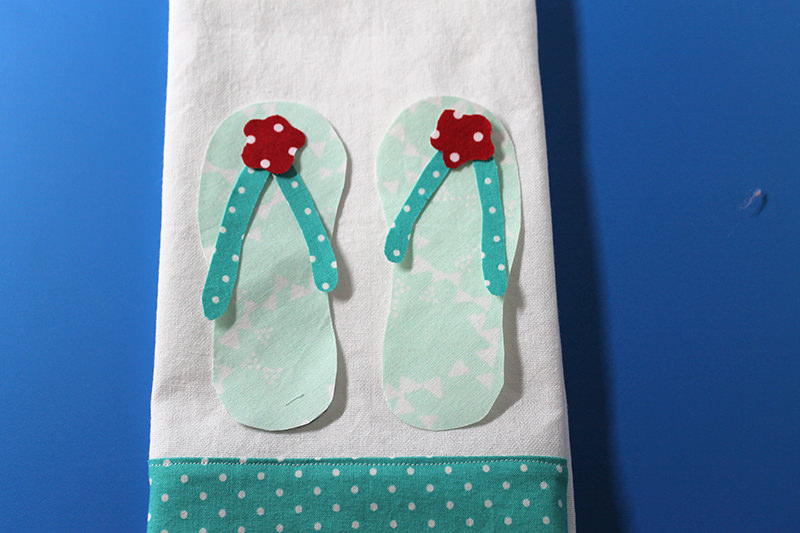
I thought that the flip flops kind of disappeared on the towel. The soles were so light. I added sand for more contrast.
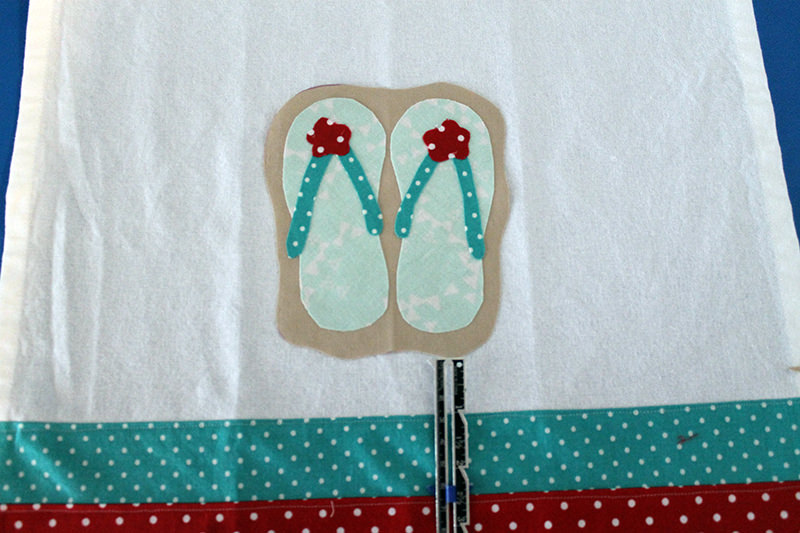
I usually (not always!) center the applique in the middle one third of the towel.
I just finger press the towel into thirds and finger press it in half.
Center applique in that area
I decided that I wanted the appliques to be 1″ from the color band. That gives me an area to work with that is about 5″ wide by 6″ high.
For the second towel I made a cute sand bucket applique that I saw on Pinterest.
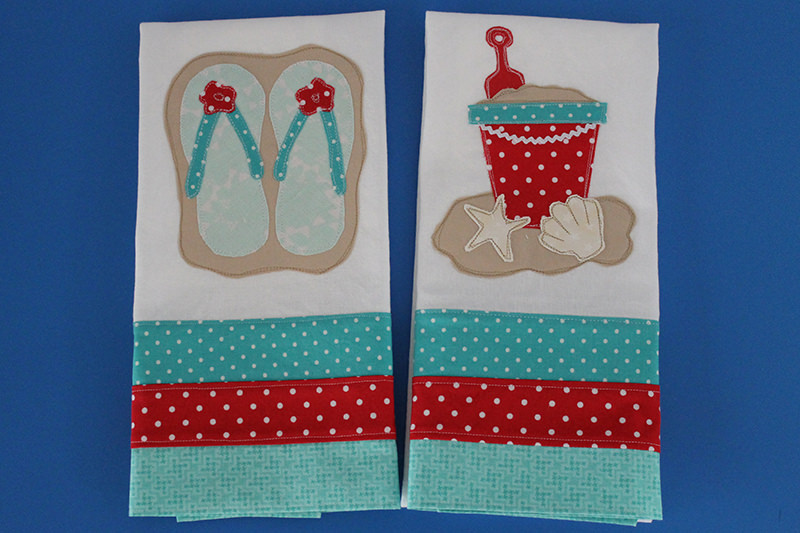
Following the same instructions, I made this tree and bear tea towels for my friend that lives in the Smokies in North Carolina. This is one of the few times I did not center the applique within the middle third of the tea towel. I wanted the tree and leaves to have plenty of room!

So I have six yards of Moda fabric. I can get 5 sets of tea towels out of that bit. Ready to whip together a really cool hostess gift for my next road trip!
Discover more from
Subscribe to get the latest posts sent to your email.

Comments
Basic Tea Towel — No Comments
HTML tags allowed in your comment: <a href="" title=""> <abbr title=""> <acronym title=""> <b> <blockquote cite=""> <cite> <code> <del datetime=""> <em> <i> <q cite=""> <s> <strike> <strong>