Basic Shopping Tote 2020 Update
New resolution. 2020 will be the year I check out all my old tutorials. (Kind of like 20/20 vision) Well, maybe not all, there are a bunch of them.
I’m starting with the Basic Shopping Tote. Here is the new, better, supersized BASIC SHOPPING TOTE. Just kidding. It’s not supersized. But I have tried very hard to clarify the instructions and proof read every word. If you find ANYTHING spelled wrong or you don’t understand something–let me know! But be kind.
This is definitely the tote that has been stitched up more than any of the others. Mostly because this is what I “teach” at the weekly Sew Cool! Workshop at the Old Homosassa Learning Center. I say “teach” because I usually hand them the printed out tutorial or send them to this website and if they need help, I’m there. I’m not a teacher. My mouth gets dry, I stutter, I sew over my finger nails. You get the picture. But I can provide assistance when necessary.
When I started updating this tutorial, I thought I’d add a bunch of options. And then it got too long. Too many words! So I went back to the basic bag.
I did update the part about the straps. My original tutorial called for sewing a long tube and turning it inside out. Next to impossible if using heavy fabric. One of my sewing friends in the workshop called me out on that one. Yep. I’ve done it many times but it’s not easy. I added a couple different methods. (Easy Peasy is to just buy cotton webbing)
I made three test bags while updating the tutorial.
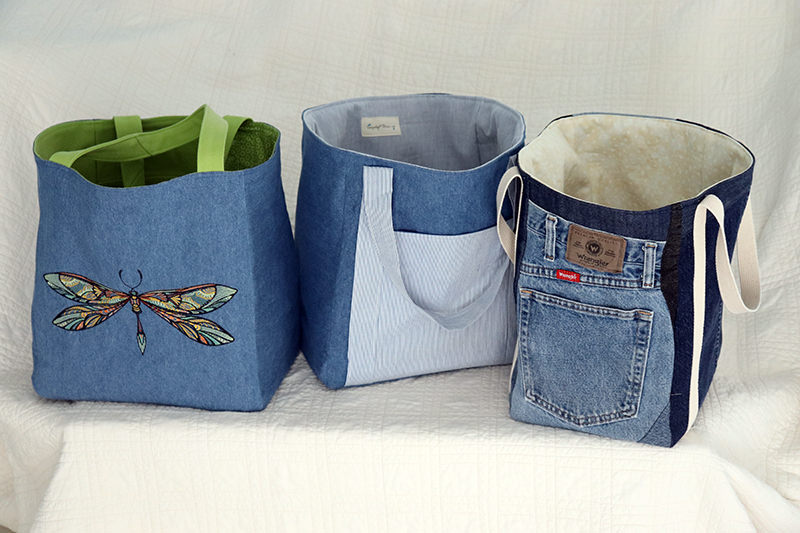
The bag on the far right was the first trial run. It’s headed to a charity raffle. The Roaring 20s for the Tower. (That’s our local heritage council’s project–saving our water tower.)
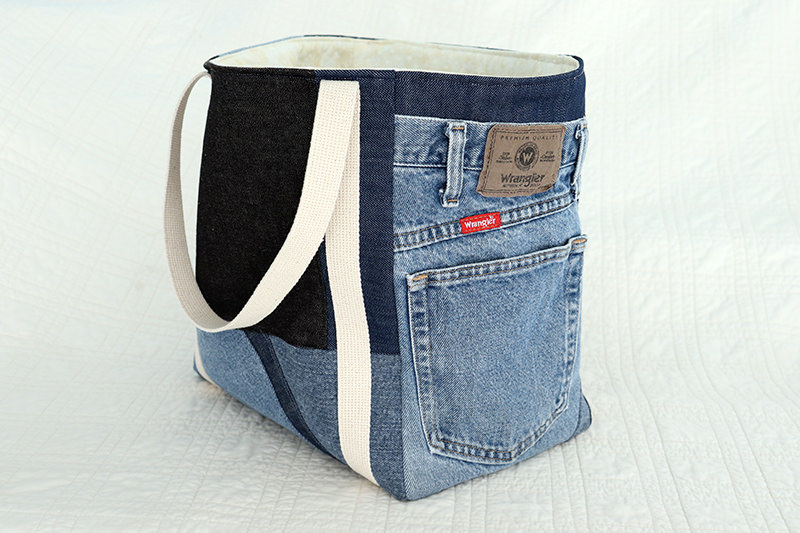
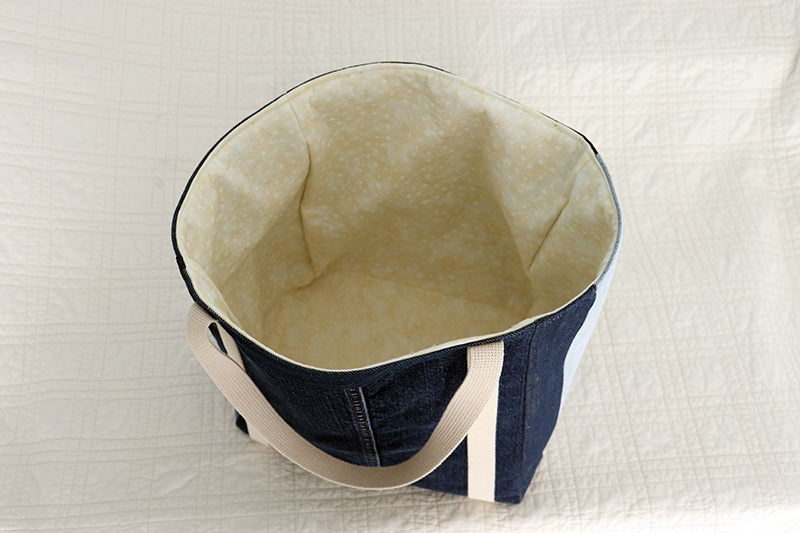
I used cotton webbing for the straps. And I chopped up a lot of jeans for the rest of it! I used a neutral interior fabric so men or women would bid on the bag.(no pink!) Oh yeah, it will have ingredients in the bag for a Fiesta. Tequila, margarita mix and glasses, chips, salsa, and other fun items. Hoping it gets bid up high! The gala is Saturday night. There might be pictures!
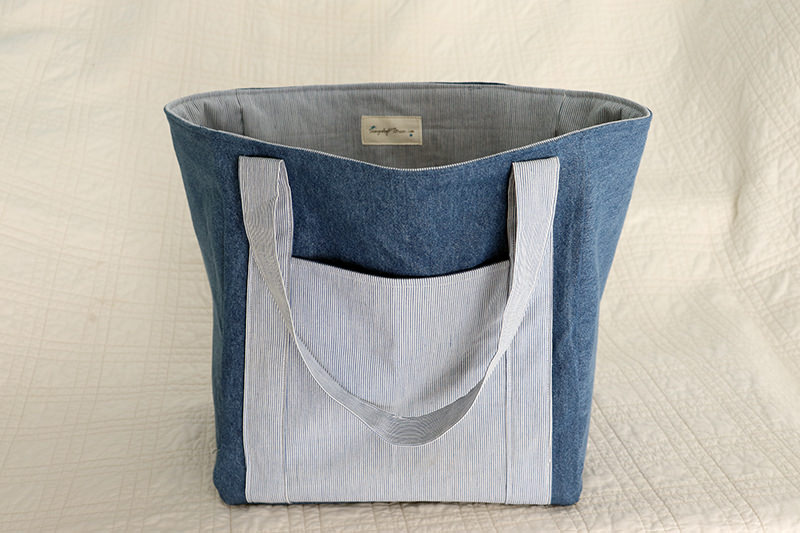
Next test subject was this bag. I added a pocket on the front between the straps and a pocket inside.
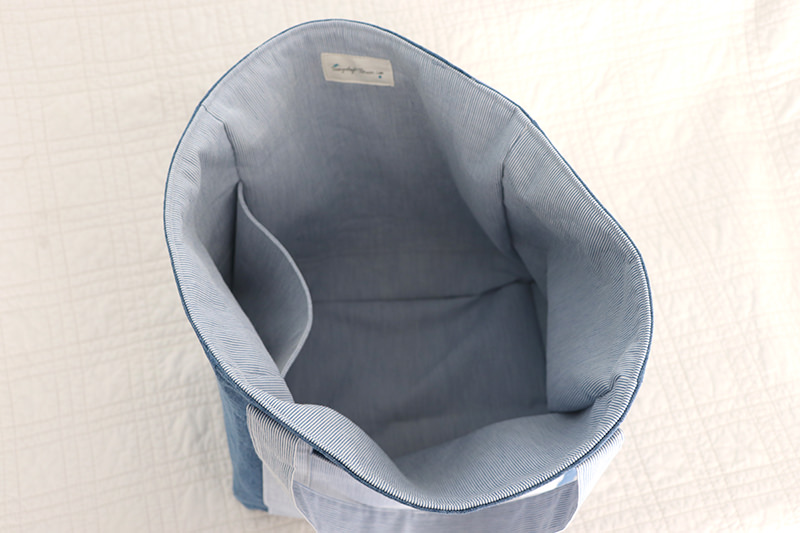
I had already machine-embroidered the front panel for the third bag when my friend Connie gave me a couple pair of jeans.
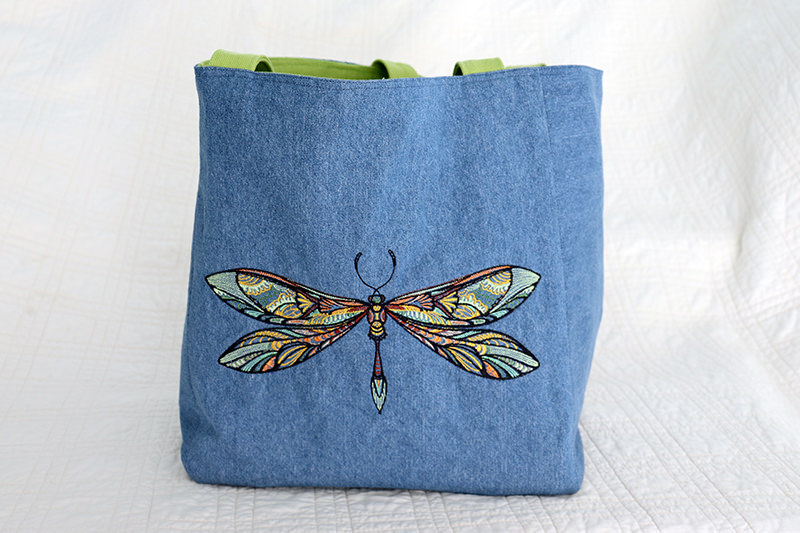
Not your typical blue denim. At first I thought “What will I do with these?” But, since I’m a denim hoarder, I happily squirreled them away in my denim stash. Then when I was pulling fabrics out to match the dragonfly, I had a serendipitous moment. O M Gee. Totally perfect! Even better I had a quilting fabric that was the exact match to the jeans!
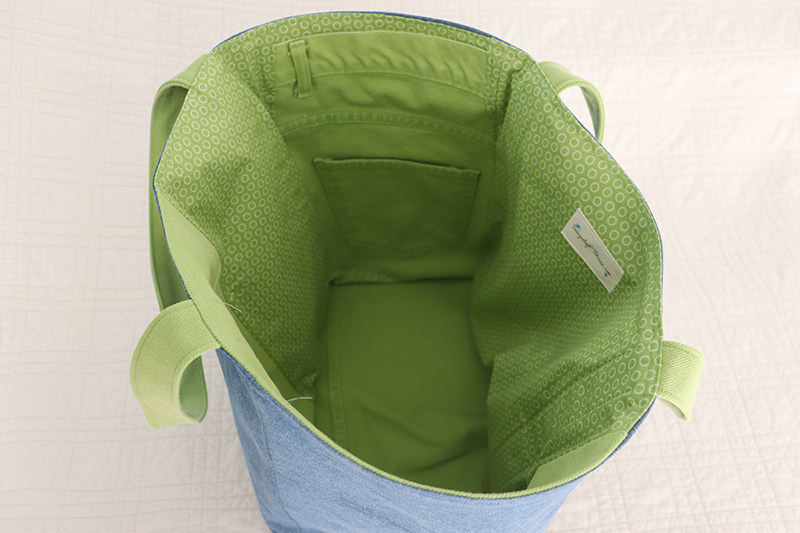
And it’s reversible!
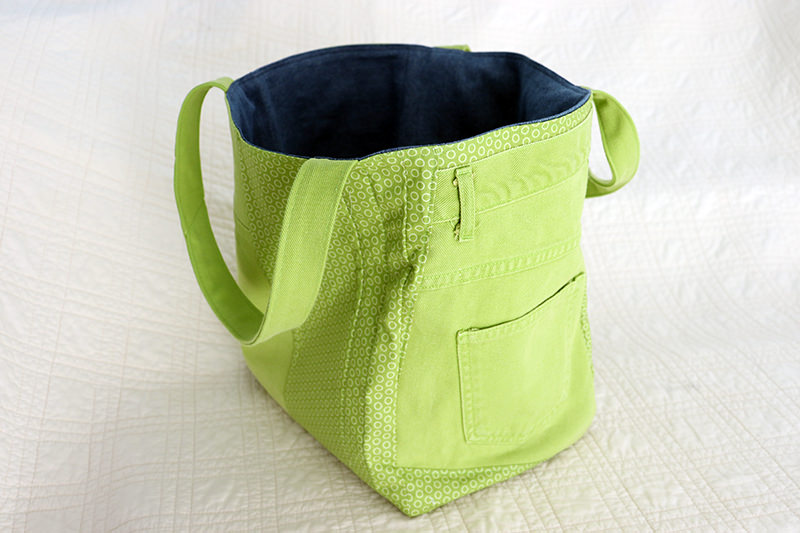
Anyhow. Each of the last two bags has options. Those additional pockets on the second bag and on the third bag I put the straps on the inside. If you want to know about those options, email or comment and I will make a future post covering them.
One of my friends in the Sew Cool! Workshop has made at least 25 of these bags. She gives them to friends. She does lots of embroidery on them. They are adorable. A few weeks ago she brought a friend with her to the workshop and they had turned the tutorial into a zipper-top purse. I don’t know the dimensions she used. There are SO many ways to change up this tutorial.
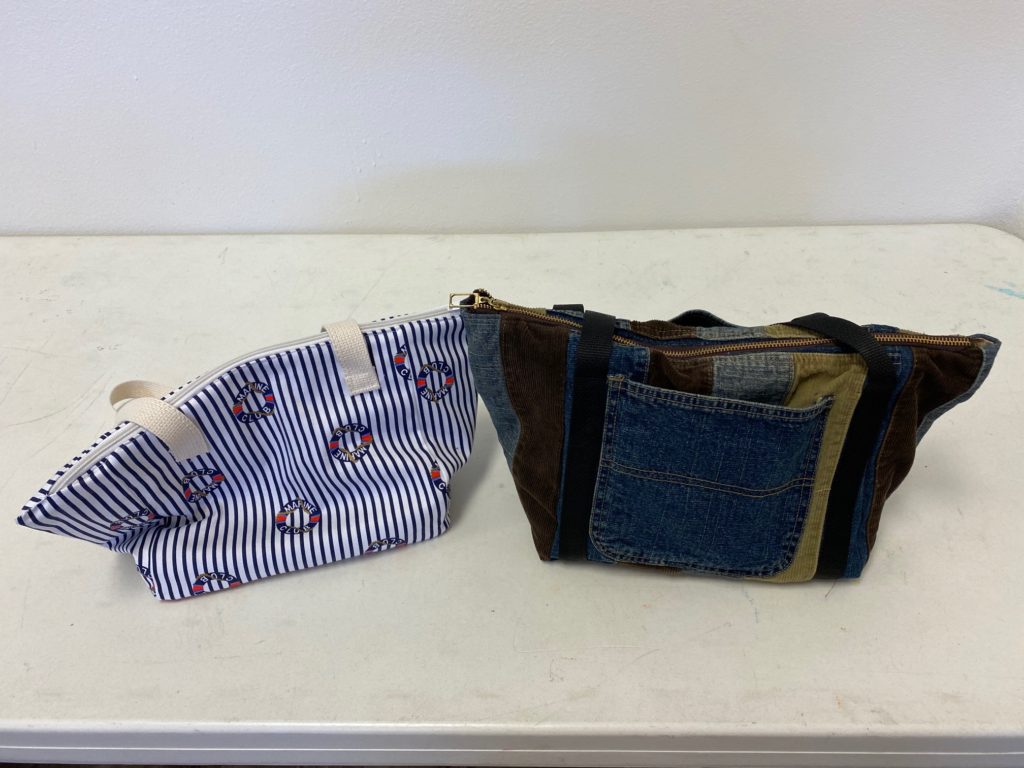
Now I’m going to show you some of the totes I’ve made. There are many more. This one went to a raffle. The Women’s Package at the Homosassa Arts, Crafts, and Seafood Festival.
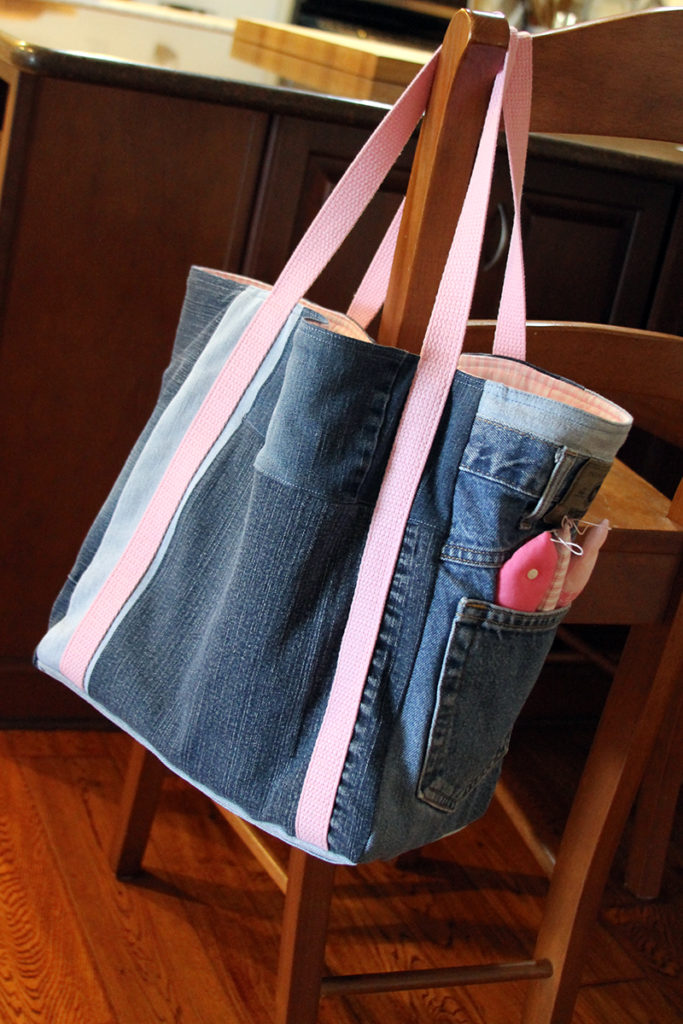
In this next bag, I love this beautiful fabric and paired it with a shorter strap along with a divided pocket on the inside and one on the outside. I did make a post about those options last year.
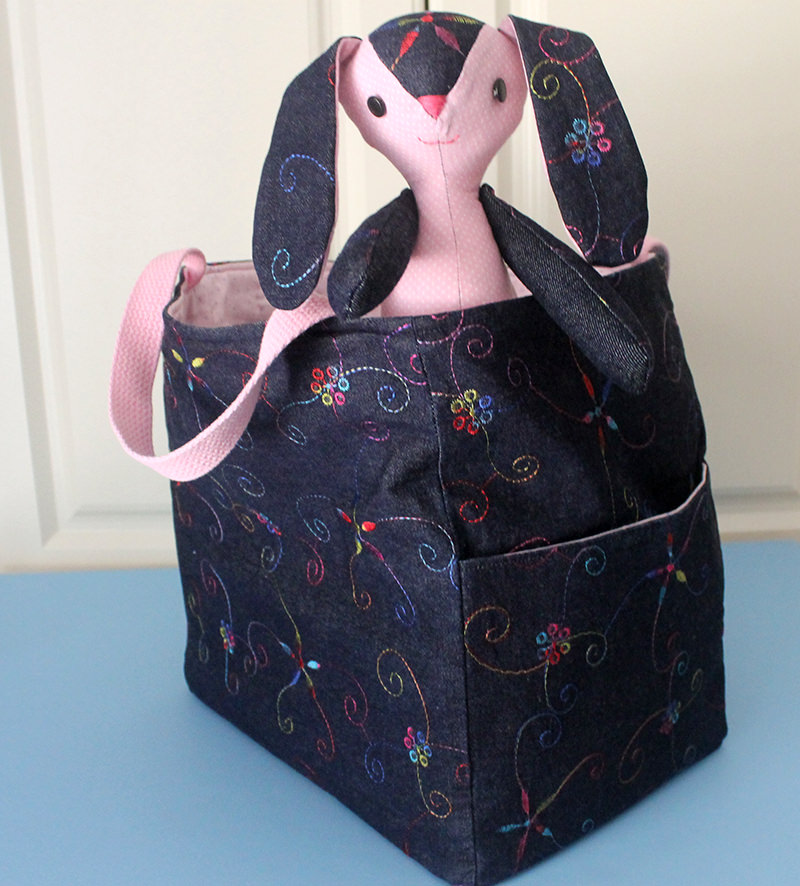
This is one of the very first totes I made. I was not using the “plus sign method” at the time. I was inserting the bottom after making the sides. Obviously not quite as neat! I made this EIGHT years ago. I’ve progressed! I gave this one to my daughter. Hmmmmmm. Wonder if she still has it???? I still have that chair! And the art work in the background but it has moved to a different room.
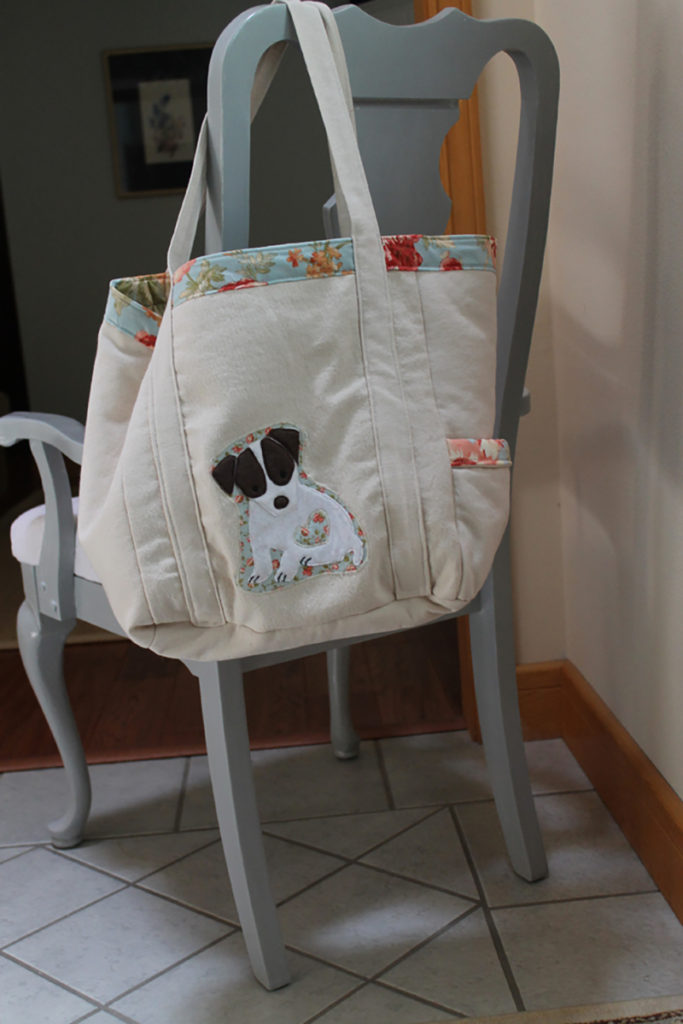
Okay. So. There are a lot of updates you can do with this very basic pattern. And it is easy. Not quite easy-peasy. For the total beginners that come to the Sew Cool! Workshop, I start them on some very basic sewing with my Simple Lined Tote then put them onto this tutorial.
Anyhow. Check out the tutorial for the Basic Shopping Tote.
Next 20/20 update is the Shark Softie Tutorial. Another fun and easy project!
Discover more from
Subscribe to get the latest posts sent to your email.

Comments
Basic Shopping Tote 2020 Update — No Comments
HTML tags allowed in your comment: <a href="" title=""> <abbr title=""> <acronym title=""> <b> <blockquote cite=""> <cite> <code> <del datetime=""> <em> <i> <q cite=""> <s> <strike> <strong>