Basic Shopping Tote
So I moved my “creative cave” upstairs about a month ago. Still struggling with that decision!
When I was downstairs I had a lot of storage spaces with fabric tucked all over the place. A chest in the hall way and another in the sewing room. Beautiful boxes on top of armoires. A trunk in the bedroom closet. Wicker baskets stacked. Sounds cluttered but no one, other than me, knew what all those little pretties held!
But going up and down the steps to get into all those spots of fabric stash—reality is—not convenient. (Once I’m up there I don’t really want to leave the room!)
So I’ve almost brought EVERYTHING upstairs and I’ve just about found a home for most of it. (Who am I kidding? I just pulled all the fabric out of the trunk in the bedroom closet yesterday afternoon and threw my body on it sobbing—why do I have so much stuff????)
But ignore that cry of insanity—this post is about denim. And that I have to accept that I’m a blue jean hoarder. Sad but true.
And now it’s time to own up to the addiction and do something with all that beautiful blue sturdy fabric.
I had two baskets and one bin full of denim. When I got it upstairs it didn’t even fit into one of those super duper extra large Tupperware storage totes.
Scheesh.
Time to use up that denim!
And I’m starting with this BASIC SHOPPING TOTE. (link updated on 2/13/2020)

I’ve been making and designing totes, bags, and boxes for years. Many shapes and sizes. This shopping tote is one of my favorites. I’ve covered this tote here in the past but thought I’d throw together a tutorial in PDF format. Mostly so when I have new people come into the “Sew Cool! Workshop”, I can hand them the directions rather than bringing it up on this website. (Internet access is sometimes kind of sketchy in the learning center!)
For this baby, I sliced and diced to get the right measurements. Word of warning, if you want to make the tote by piecing old jeans together, make sure your pockets for the front and back are at least 3 inches from each side so you can attach the handles and at least 1 inch from the top for all four sides. And don’t put the pockets too close to the seam allowance on the sides bits because then you’ll have way too much thickness to sew through!
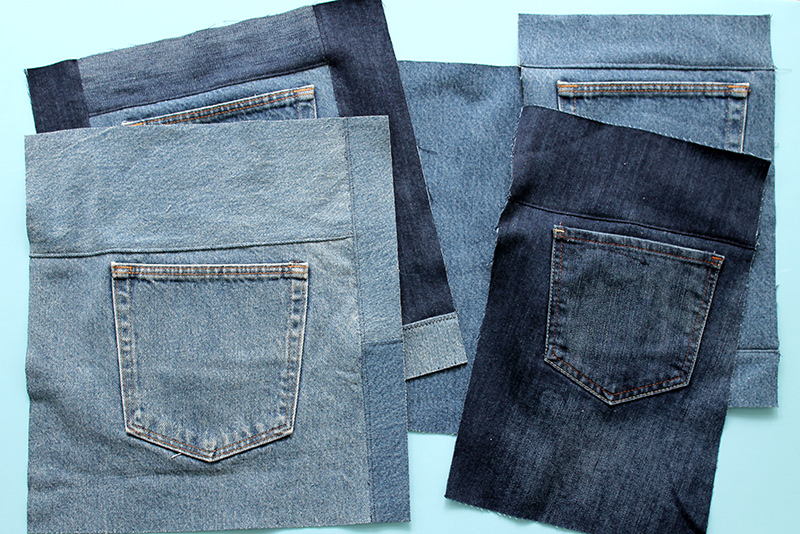
And don’t even bother using the knee area of a jean. Can’t make that flat unless you cut it into small pieces–and who has time for that??? Plus it’s weak. Lots of knee bending and stretching that stuff.
Once I had everything cut up and sewn back together I kind of wished I had continued the idea and made it kind of a crazy quilt with some lace and cool buttons and maybe some embroidery of spiders and webs….
I digress.
Based on the reusable shopping bags that you can buy at the grocery store, these are extra durable because the handles go all the way to the bottom of the bag and I double-stitch all of the seams.
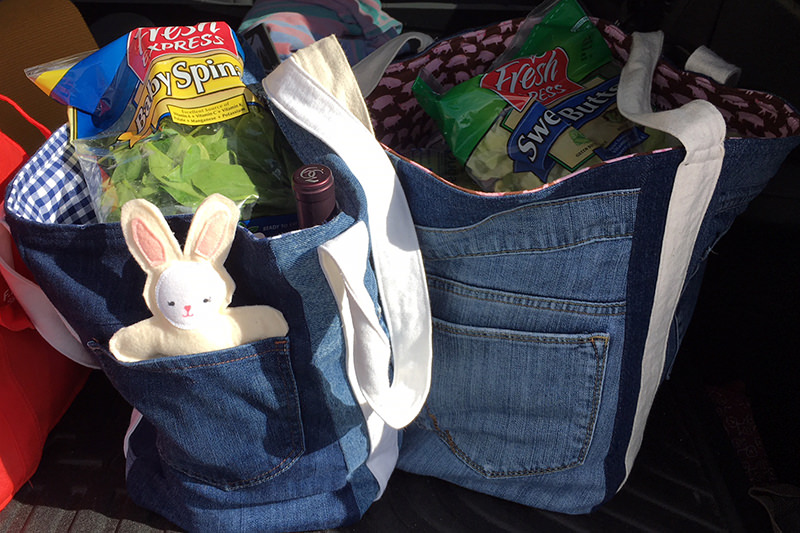
I’m still using the very first tote I made back in 2012! There’s a little fraying along a wee bit of the top but it’s still serviceable! Can’t see that in this pic because I took this when the bag was still shiny and bright and hadn’t faced the perils of groceries and packers!
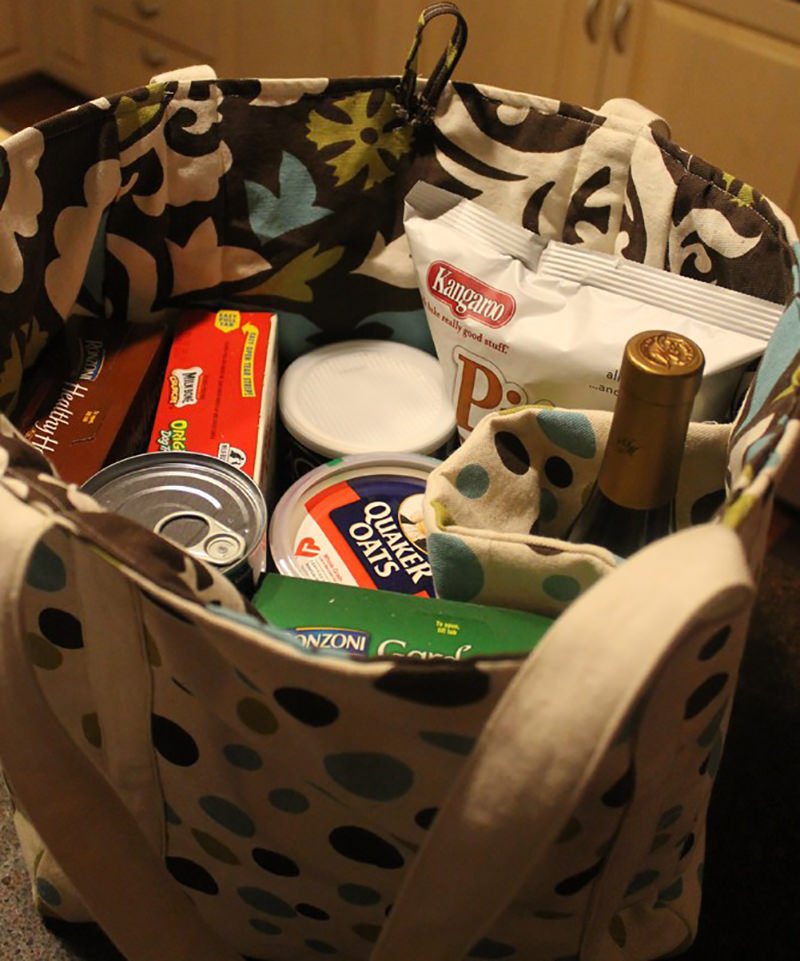
Now let’s talk about these bags. I’ve carried frozen turkeys, watermelons, books, beer–these bags have never let me down!
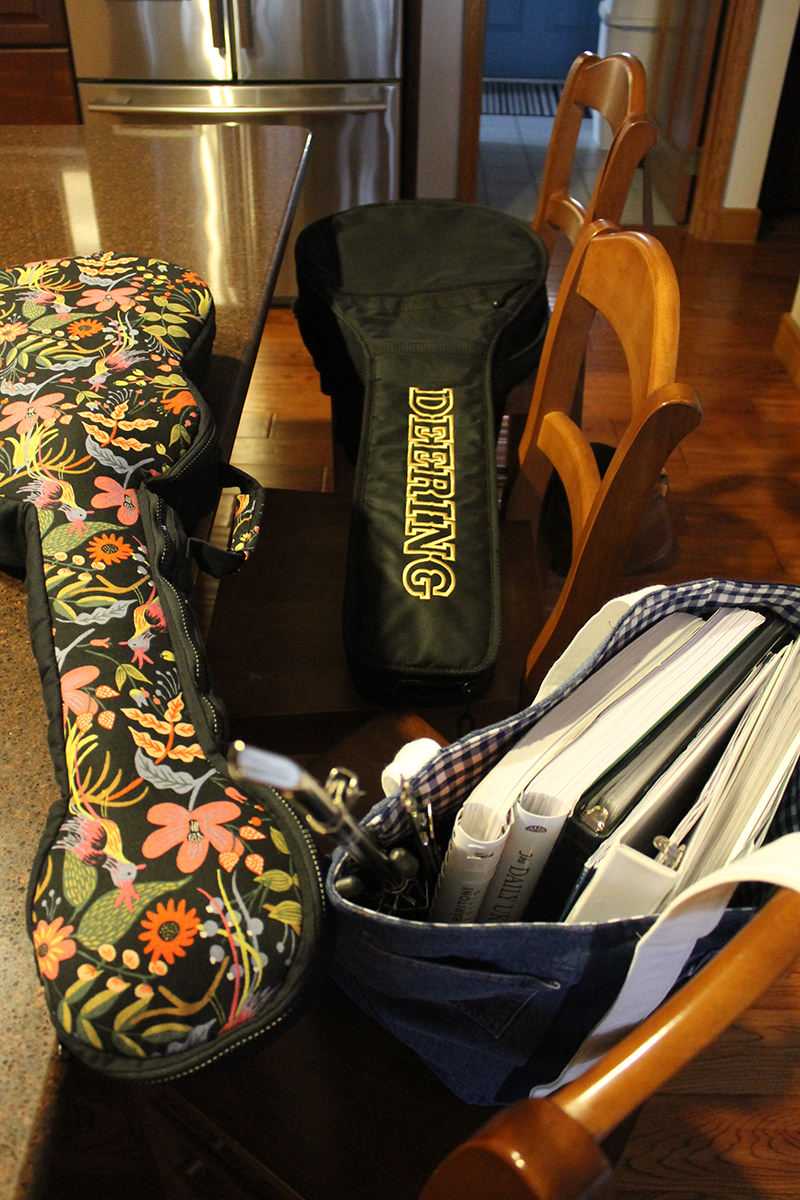
Had to take both my ukulele and banjo to the learning center the other day. The shopping tote easily held all the necessary music books and music stand!
I’ve made these totes with pockets on the outside and inside and a few with wine bottle holders. They’ve been gifted, raffled, and accidentally left behind (heavy sigh).
And I’ve learned a few things along the way. Which I’ve decided to share. Because that’s how I am.
The “Plus Sign” method to put them together is the best and easiest way to go!
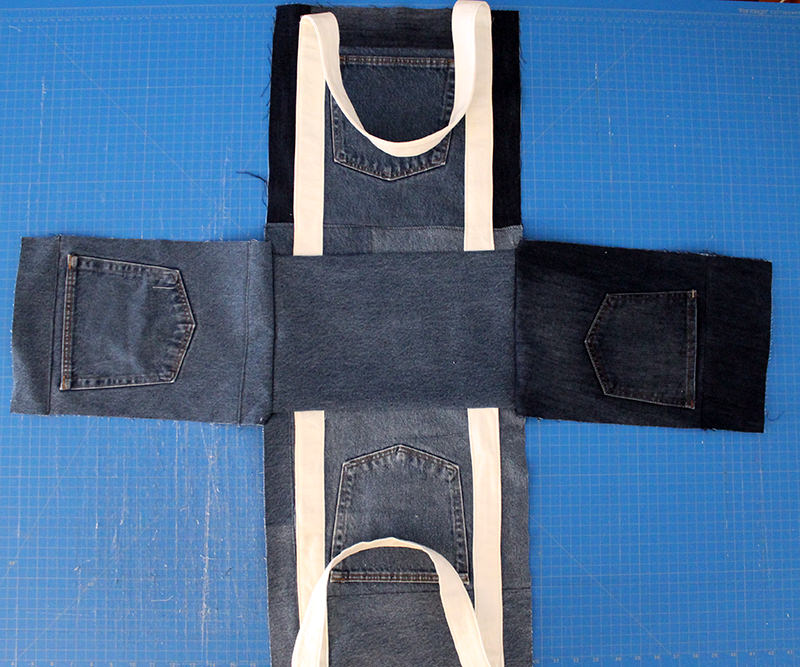
Step one, sew the sides to the bottom.
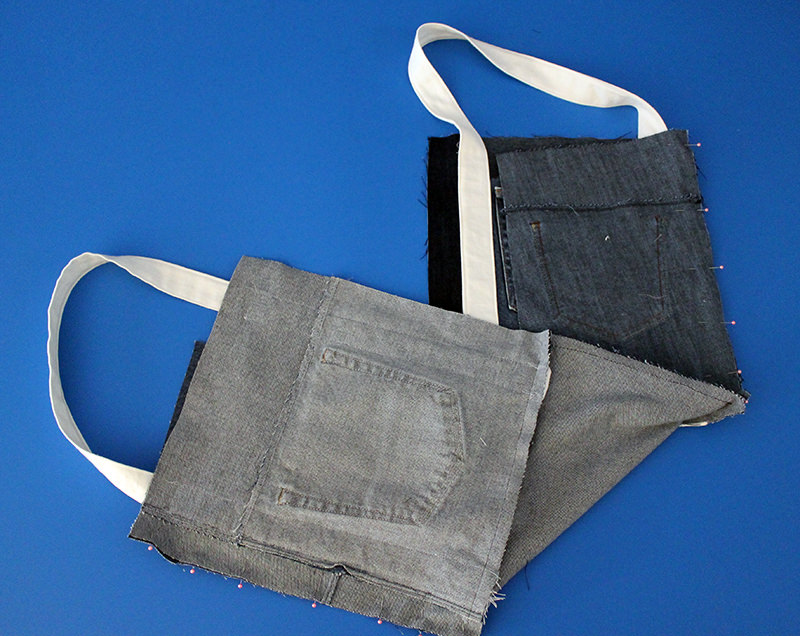
Step two, fold these sides together, stitch.
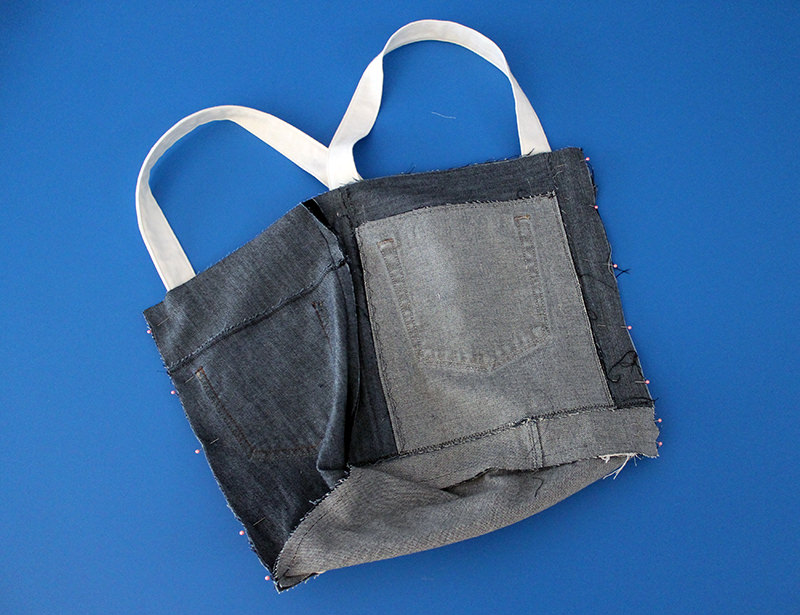
Step three, sew the last two sides together!

Easy Peasy! (Don’t even think that bag is standing up on its own. I’ve got boxes in there. Oh. You knew that.
Don’t use polyester webbing for handles–it melts when ironed. Yes. I’m a crazy hot iron user and what a mess that makes! Either make your own or get cotton webbing.
Creating a bottom insert with plastic canvas and muslin makes a nice sturdy bottom! A sturdy bottom is always a good thing!
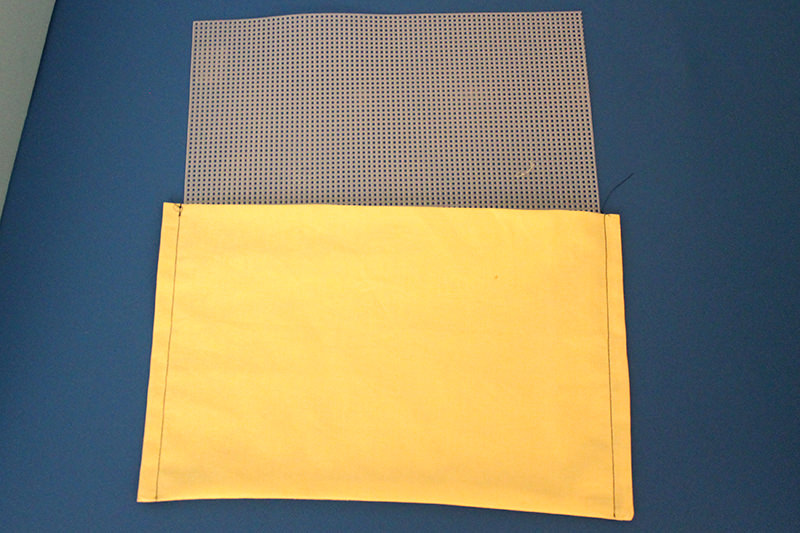
Using fusible fleece on the lining cut smaller than the seam allowance reduces the bulk in seams and provides stability. (we all need some stability, right?)
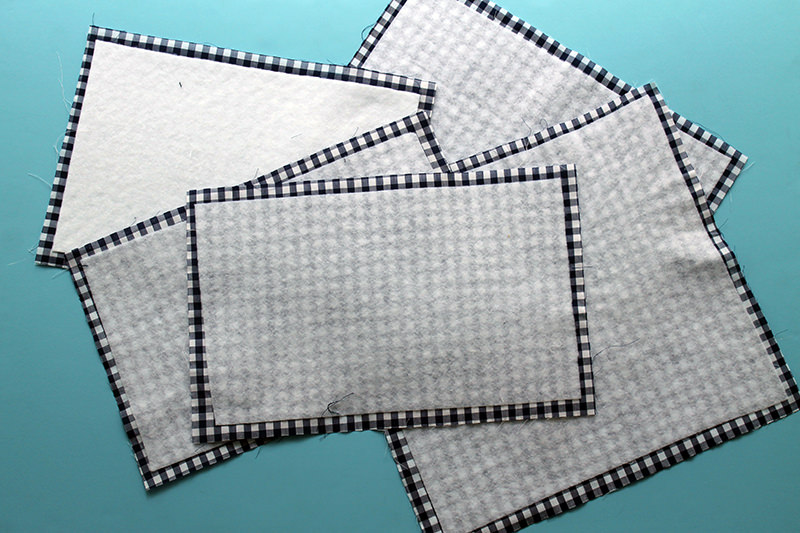
For the tote in this tutorial, I found I had just enough white denim to make the handles. So went with blue gingham for the lining because I thought it made a fun country look. (And I have a bunch of blue gingham that I need to use up, too! Yes. I’m beginning to recognize that I might have a problem!)
Now that I’ve “perfected” this tote, here’s the PDF with a tutorial for the Basic Shopping Tote.
Basic Shopping Tote. (link updated on 2/13/2020)
I wanted to put one more pic of the shopping bag here. But couldn’t find a dog model to work with me. I miss you Maggie!
Have fun!
Discover more from
Subscribe to get the latest posts sent to your email.

Comments
Basic Shopping Tote — No Comments
HTML tags allowed in your comment: <a href="" title=""> <abbr title=""> <acronym title=""> <b> <blockquote cite=""> <cite> <code> <del datetime=""> <em> <i> <q cite=""> <s> <strike> <strong>