Basic Boxed Bottom Bag – Part 1
Basic Boxed Bottom Bag
Love me some alliteration!
There are a LOT of ways to make bags and today I’m going to cover the Boxed Bottom Method and how to calculate the measurements for your bag.
I’ve had many questions about that over the years so I’m making a new tutorial! Woo-hoo.
I’ve decided that I need a traveling “Crafty Bag”. Something that will hold my hand-stitching while I’m on the road.
I based the size of this bag on this box that I keep my embroidery stuff in.
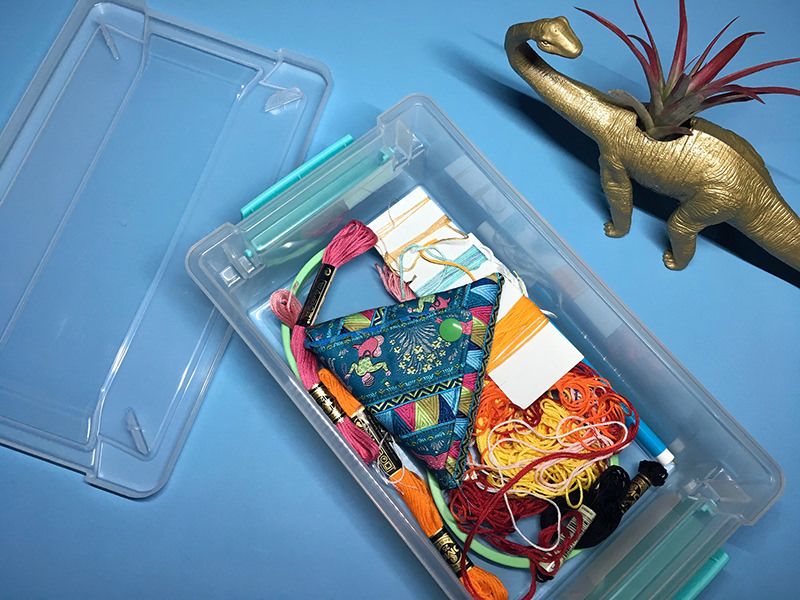
It’s about 8″ wide and I need room to put a few other crafty items in there so I’m making a bag that is 12″ high x 12″ wide x 8″ deep.
Now, how do I conjour up the size to cut the fabric? It’s not wizardry. It’s algebra!
And here’s where the calculations come in….
I keep an Excel Spreadsheet on my computer with formulas in it just to figure out–quickly and easily–how to change the sizes on bags, totes, baskets and boxes.
My three variables are height (h), width (w), and depth (d). Plus I have to account for the seams.
I use 1/2″ seams on all my totes, bags, and boxes. (unless I don’t–ha!)
I want this tote to be 12″ in height (h), 12″ in width (w), and have an 8″ depth (d).
So I need a piece of fabric cut 41″ x 17″. And how did I know that?
To get the width, the calculation is ((2 * w) + (2 * d) + 1)
Again. That’s one front and one back, two sides, plus 1″ for the 1/2″ seam.
The desired height is 12″ and the depth is 8″ so I just fill in the variables.
(2 * 12) + (2 * 8) + 1 = 41
The height formula is (h + (1/2 * d) + 1)
The height is 12″ and the depth is 8″. Taking the height, half of the depth, and adding 1″ for the seam.
(12 + (.5 * 8) + 1) = 17
One last calculation allows me to figure out how to box the corners.
(d/2)
My depth on this bag is 8″
8/2=4″
So I cut a piece of fabric 41″ x 17″.
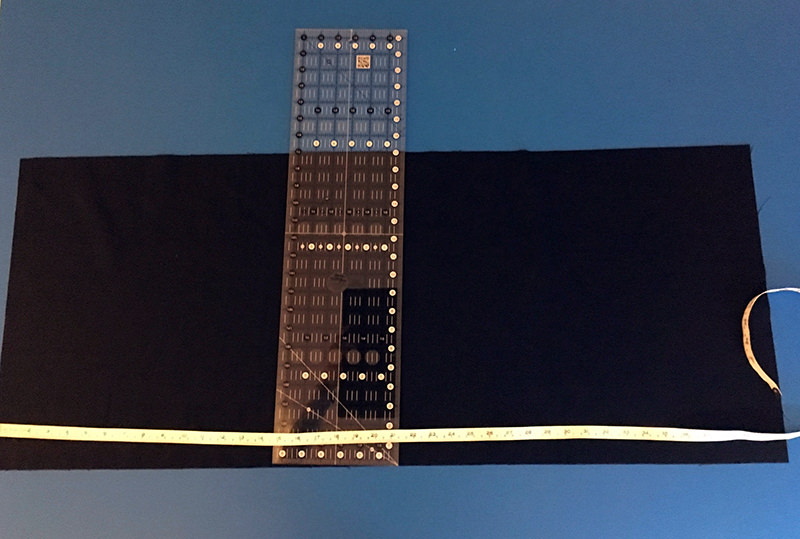
Folded the fabric’s two short ends together and stitched the side and bottom together with a 1/2″ seam.
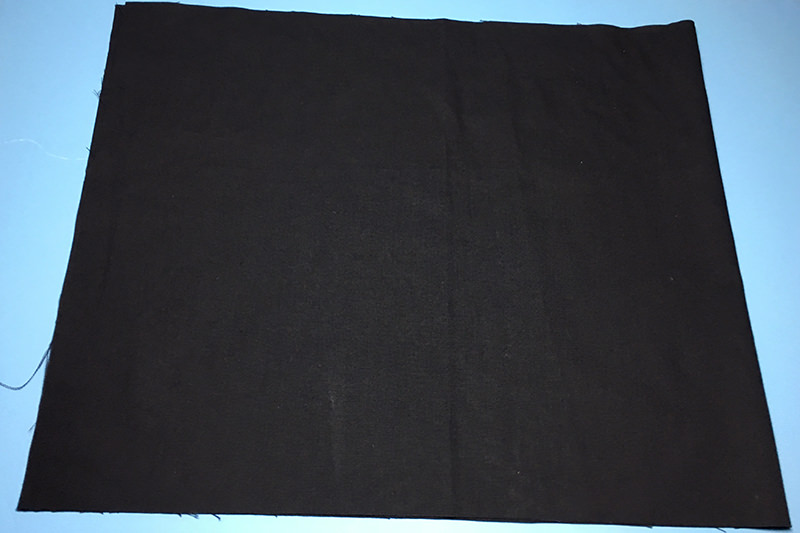
Time to box the corners!
This is how I do it. And I’m pretty acurate on my seams. I’m sure there are other ways but….
I pull the corners out. Then make sure the seams on the bottom and side match up. To do that I stick the pins through the seam. Here’s the front side.
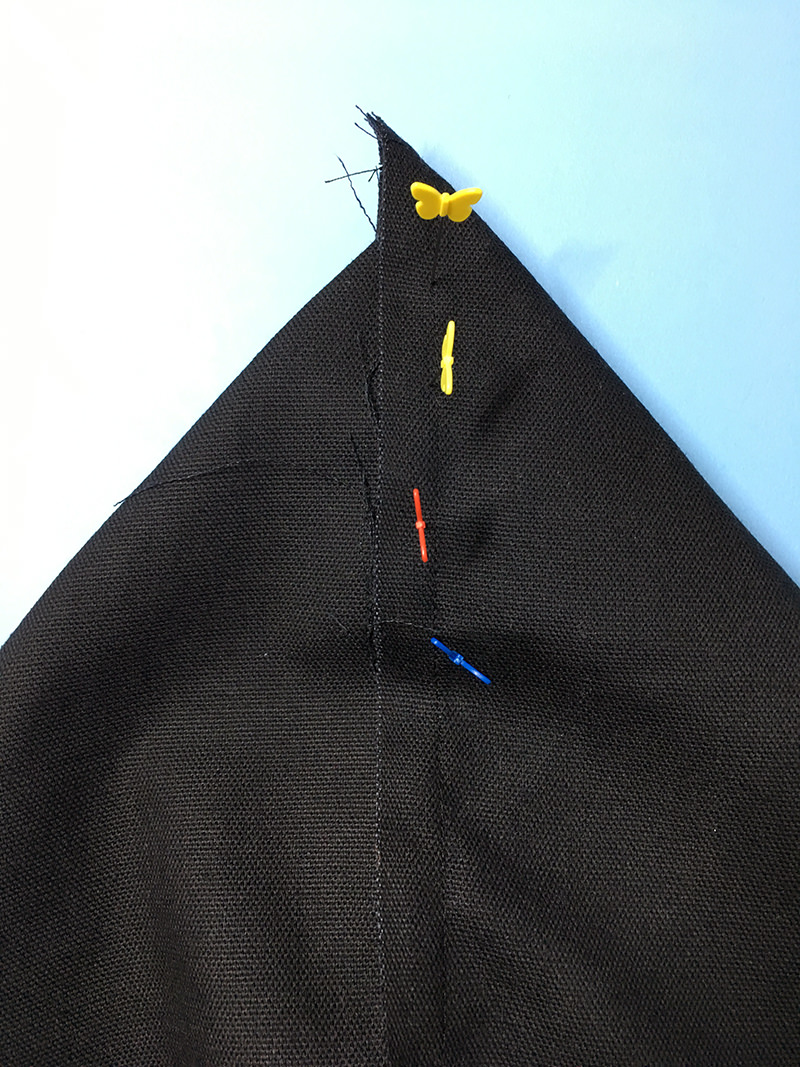
And the back side. The pointy (ouchy) end of the pins are a little hard to see so I’m marked them for you! And there they are–right on the seam!
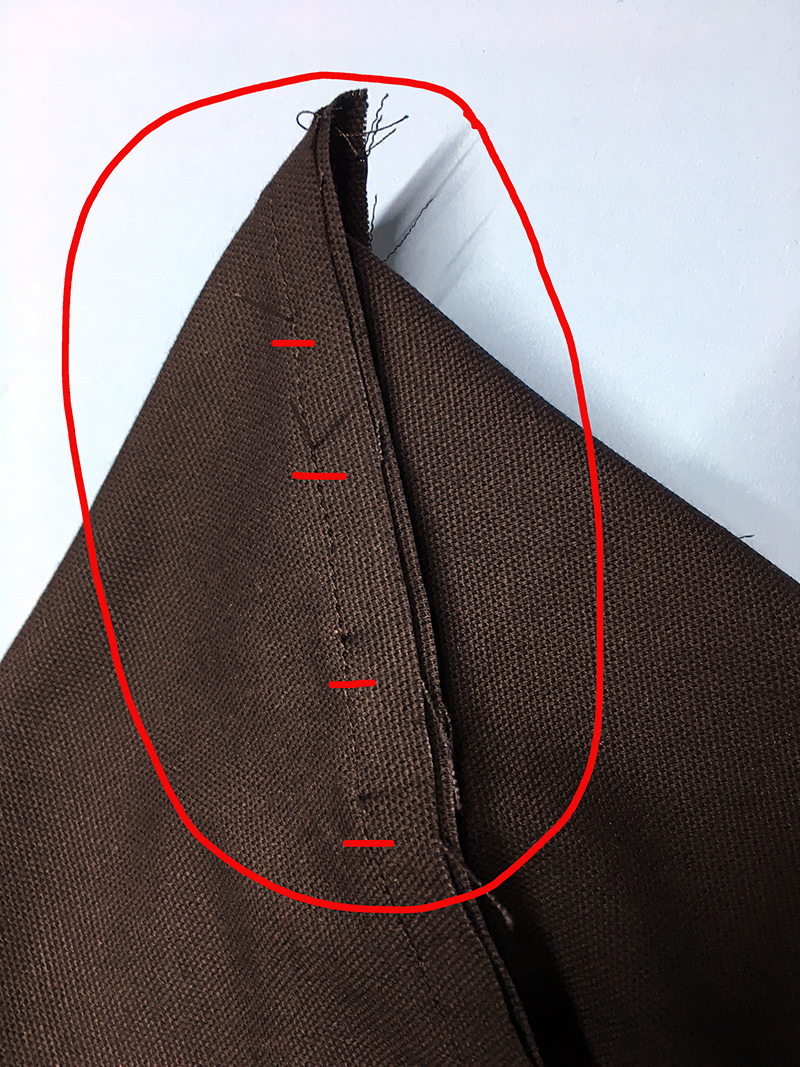
Then I put pins in on the front like they are supposed to be. Flat. And I pull out the other pins.
Next, measure down 4″ from the top corner. The measurement from each side should be 8″.
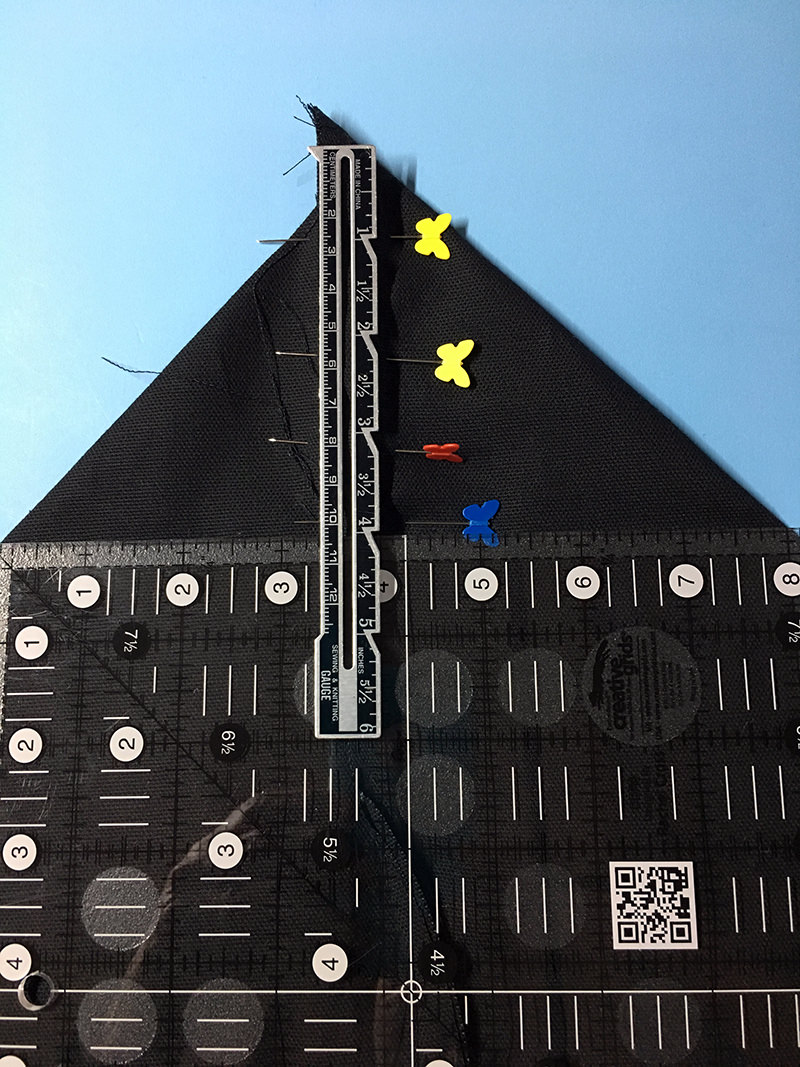
I mark a line, then stitch!
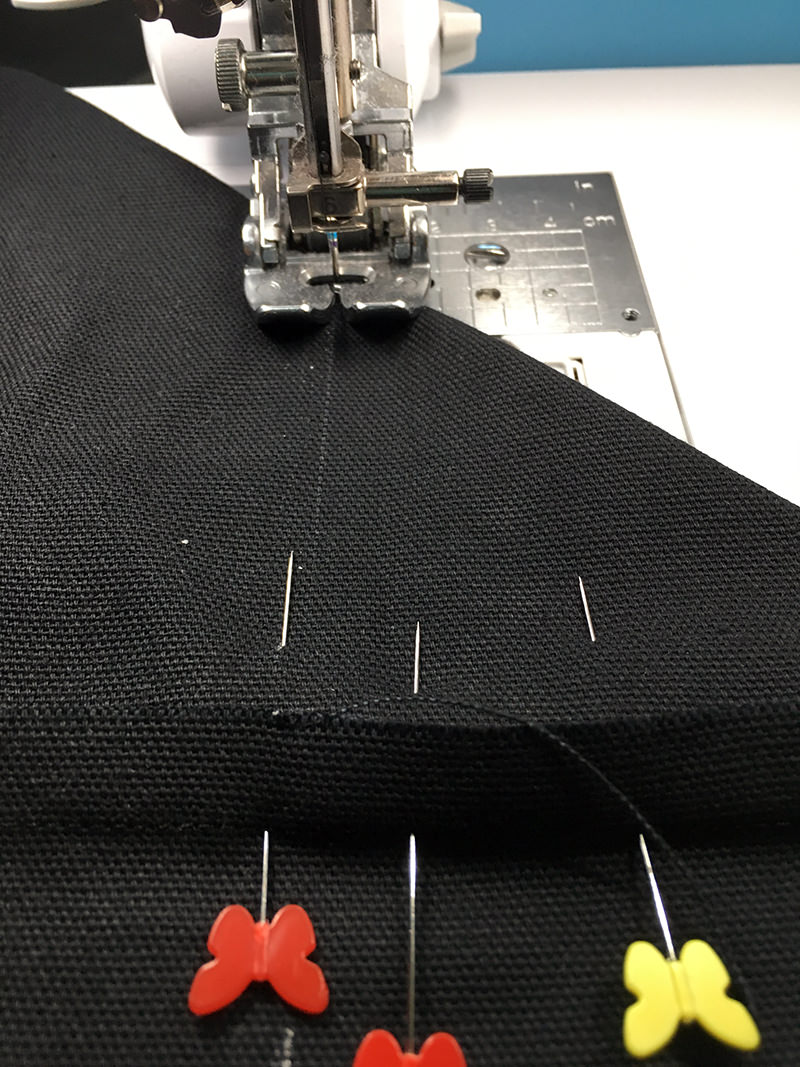
Do the same with the other corner. On that corner you will be lining up the bottom with the folded seam. Might want to press so you can see it easier.
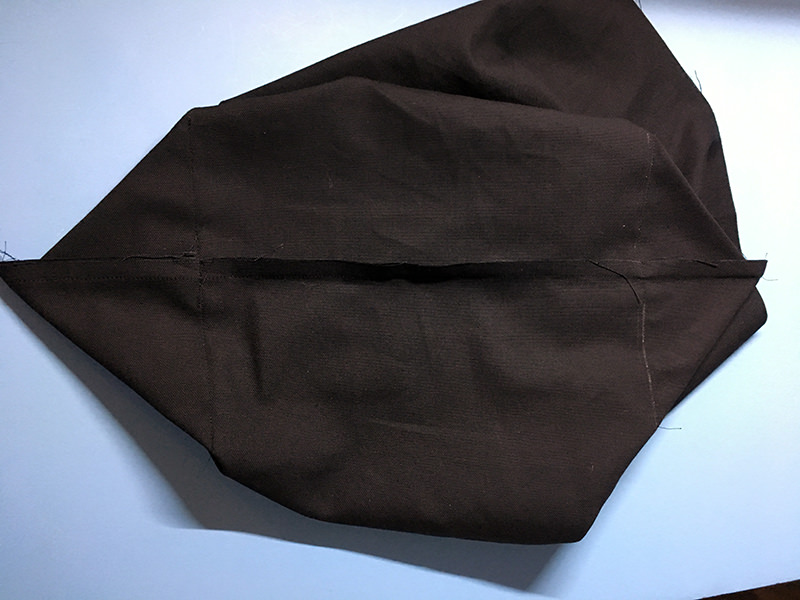
Then we trim off those corners to eliminate bulkiness.
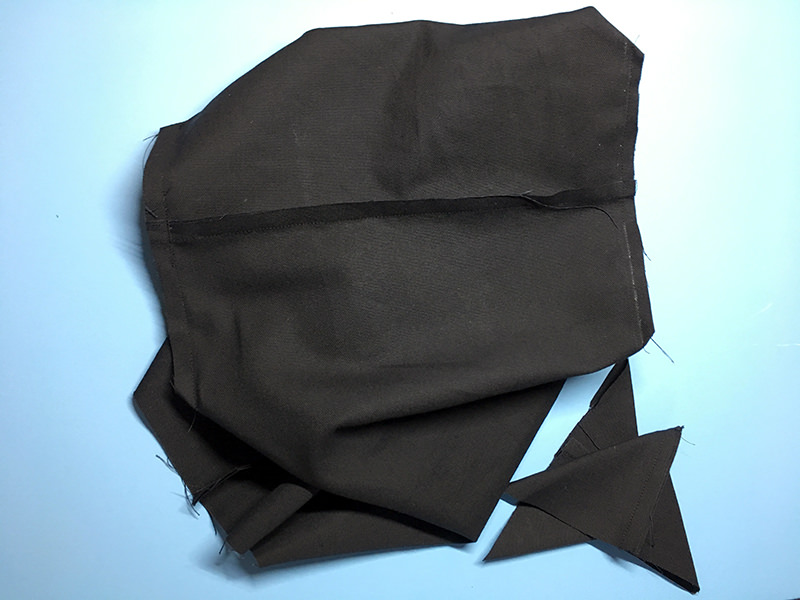
Turn right side out!
I’ve put boxes inside the bag because it doesn’t have any stability yet. But I wanted to show you that the bag is 12 1/2″ tall (that 1/2″ is for the seam on top) and 8″ wide.
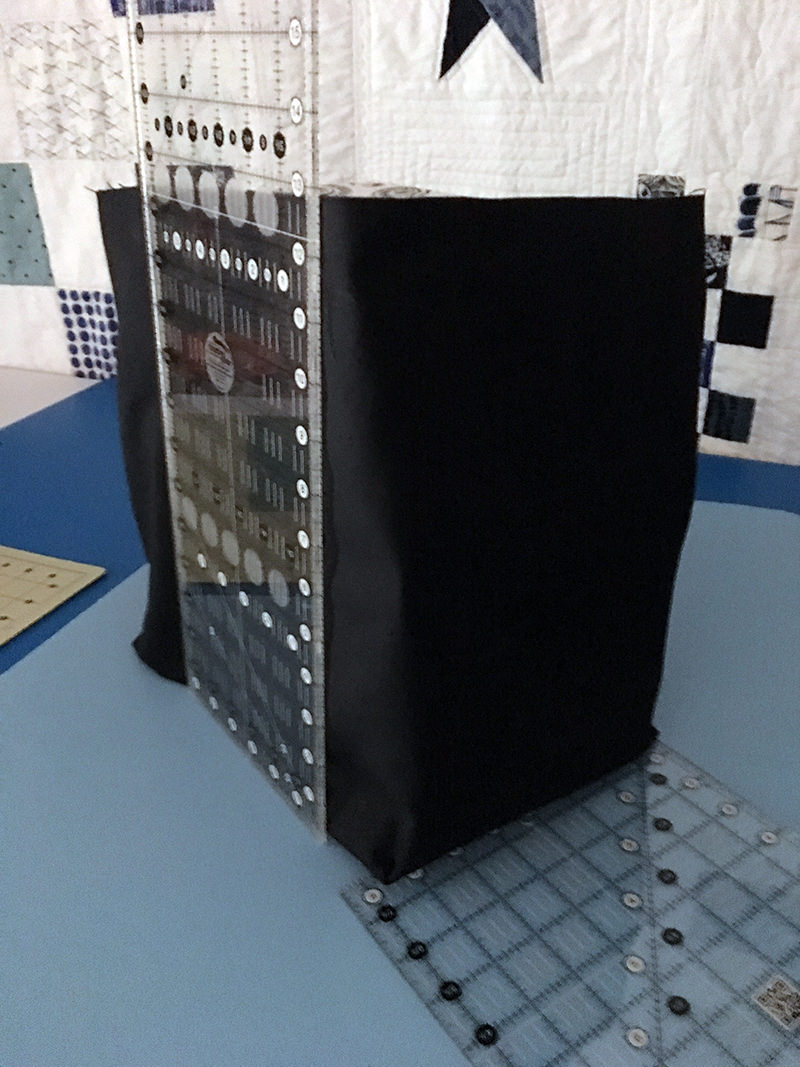
Not magic! Algebra!
Works every time!
So that’s how to make a very BASIC BOXED BOTTOM BAG!
Discover more from
Subscribe to get the latest posts sent to your email.

Need to use 2 pieces joined tog. (.Lrg bag) do I cut 2 half width of final calculation plus 1 extra seam allowance divided by 2? Or would I halve the-width formular throughout the spread sheet. Think it a brilliant idea to use a spreadsheet! I need a bag for my circular saw (box caput) so will just over stitch outside corners. Have made one for shopping but can’t find my calculations.
Regards Joanne UK
I hope I understand your question right. You would need to add the seam allowance on both pieces. Then stitch them together to make one large piece. If you look at this post: https://designsbyktgreen.com/lets-go-tote-tutorial/ it might be a bit clearer because I join several pieces together. (No promises though!) Thanks for reading my blog! Kathy
Can you share the excel spread sheet you are mentioning please.
Can you explain a couple of your directions please.
1. Calculate width: ((2 * w) + (2 * d) + 1)
That’s one front and one back, two sides, plus 1″ for the 1/2″ seam.
I am not understanding the “two Sides”, I am making a bag with a front and back and want to box the bottom, so I don’t understand the instructions for the “sides”
2.The desired height is 12″ and the width is 12″ so I just fill in the variables.
(2 * 12) + (2 * 12) + 1 = 41
So is this 2 x 12 = 24 + 2 x 12 = 24 =48 + 1 = 49…I am probably doing the math wrong. Can someone explain please.
Thanks so much.
There is a miscalculation or typo error ,the correct answer is 49.. good luck
Thank you for pointing this out to me. The correct answer is 41″ but I used the wrong variables and the wrong formula. I will fix it now. I do test my patterns but I missed this one.
Kathy
Can you please explain how the seams come into play as far as a cut out boxes at the bottom I can’t figure this out. for example if you’re cutting out a two by two box in the bottom which will lead to four in death how are the seams counted in this?
Hi Barbra, I’m not sure what you mean about the “cut out boxes at the bottom”. I do not cut boxes out, I know that is how some people box the bottoms. After I box the bottoms, then I trim the corners off which you can see in the pictures in the directions. The seams are 1/2″ and are included in the calculations for the bag.
Is there a part 2? I love your explanations. I am now trying to make my own sizes so the math really helps, plus your explanations and fotos are invaluable. Thank you.
I often wonder what happened to part 2! What was I thinking? Did I write one? So I went back to my post and figured out what I did.
Part 2 would be the “hand stitchery” bag that I posted about a few weeks later. By then, I must have forgotten about Part 1! Then I posted the tutorial for the hand stitchery bag the following week. I still use that bag every time I do any hand stitching. It fits perfectly in a basket that fits perfectly on the bookcase in our family room.
Thanks for reading and your kind words!
Thank you so much! I was actually trying to figure out how to box corners when using an accent piece at the bottom, so that when boxed, the bottom piece lines up on all sides. So, half the height of the bottom piece minus the seam allowances (ir your bottom was 9″ high, minus 2 seam allowances of /5″, then halved, is 4. If you were doing box cut outs, would the squares also be 4″? i wish I’d found your blog earlier! Love the humour, gorgeous fabrics, beautiful products and the clear instructions. I have bag envy now….
That sounds about right. I have never done the box cut outs so I’m not sure how that works. Let me know how your bags out! And thanks for reading and commenting!
Kathy
Hi, I am about to make a large bag following your method (and excel formula, thank you for that). I would like to double check something: the bag is one large piece of fabric and you sew a seam along the bottom and one of the sides? is there a reason you do it this way (if I have it correct) as opposed to having no seam on the bottom and 2 side seams? Where do you like to orientate your one vertical seam in relationship to the boxed bottom?
No reason to sew the bottom and one side rather than the two sides. Just that’s the way I do these bags. I have done it the other way for simple bags that I do not line. When you say vertical seam,I’m assuming you mean the bottom seam. It goes right down the center of the bottom of the bag. Matches up with the side seam and the folded seam when it is boxed.
thanks for the quick response!
I will try and clarify the last bit:
The one side seam.. Do you like it to actually got down 1 side of the bag once boxed? or centrally at the front or back?
It’s on the center of the side. I was stuck at my computer updating websites for some of our local nonprofits that I do pro Bono when I saw your question. I’m not always that fast at responding! But sewing questions are a lot more interesting than updating websites. Done for today.
Do you have a tutorial AND formula using the cut out method?
I’m not sure what you are asking. This post is the tutorial and includes the formula for how I design bags. And I don’t know what the cut out method is. Are you referring to cutting out the corners?
Hi, yes, cutting a square out of the corners to make a box bottom. Would the formula be different?
I am out of town for a few weeks and have no sewing equipment to test with but, Yes, I believe the formula would work. If you do a search and find my “let’s go tote” tutorial (it is a PDF) I do that design with cut out corners.
Thank you.